Pressed Leaf Art Projects for Beginners: A Simple Guide to Nature-Inspired Crafting

There’s something quietly magical about picking up a fallen leaf and turning it into a lasting piece of art.
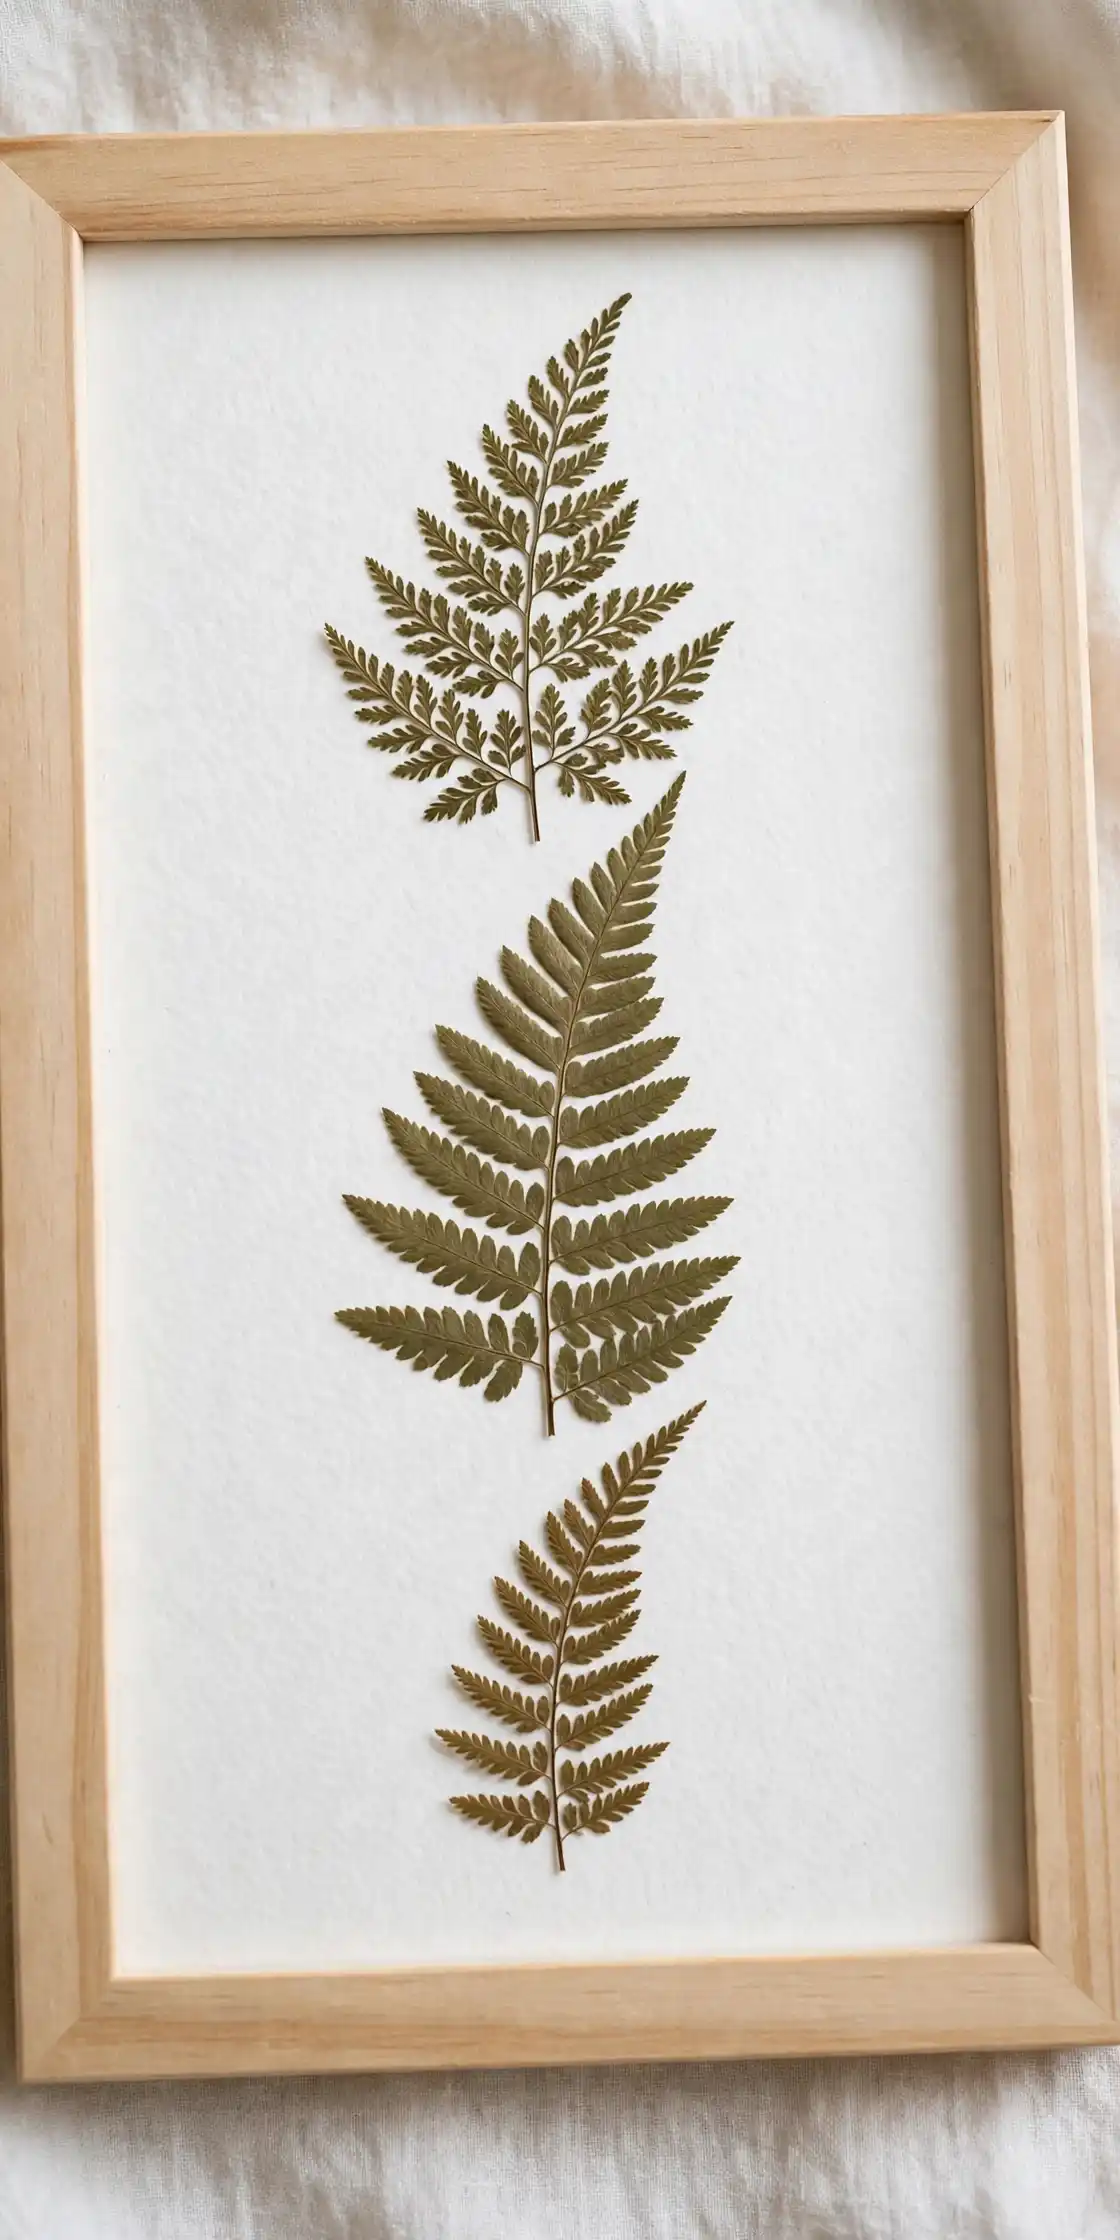
Pressed leaf crafting is one of the oldest and most accessible forms of nature art, requiring no special talent, expensive tools, or prior experience.
If you’ve ever wanted to bring a bit of the outdoors into your home in a creative way, this is the perfect place to start.
Why Pressed Leaf Art Is Great for Beginners
Unlike painting or drawing, pressed leaf art doesn’t ask you to create something from nothing. The leaves themselves already carry beautiful shapes, colors, and textures.
Your job is simply to arrange, preserve, and present them in a way that highlights their natural beauty.
🌿 No Wrong Way: Even a simple arrangement looks stunning — this craft is naturally forgiving.
This makes it an especially forgiving craft — there’s no “wrong” way to do it, and even a simple arrangement can look stunning.
It’s also a wonderfully calming activity. Walking outside to collect leaves, sorting through their colors, and carefully flattening them is a slow, mindful process that many people find relaxing. Plus, it costs almost nothing to get started.
What You’ll Need
Before diving into projects, gather these basic supplies:
- Fresh, pliable leaves (avoid ones that are brittle or already dried out)
- Heavy books or a flower press
- Parchment paper or blotting paper
- Scissors
- Glue or a glue stick
- Cardstock, canvas, or a picture frame
- Tweezers (optional, but helpful for delicate leaves)
Leaves with interesting shapes, vibrant fall colors, or unusual vein patterns tend to work best.
Maple, oak, ginkgo, and Japanese maple leaves are popular choices because they press well and hold their shape.
Step One: Collecting and Pressing Your Leaves
Choose leaves that are freshly fallen or freshly picked, since these still have moisture that allows them to press evenly. Avoid leaves that are torn, moldy, or overly dry, as they tend to crumble.
To press them, place each leaf between two sheets of parchment or blotting paper, then sandwich this inside a heavy book.
Stack more books on top for added weight, or use a flower press if you have one. Leave the leaves untouched for one to two weeks. Resist the urge to peek too early — leaves need time to fully flatten and dry without curling.
⏳ 1-2 Weeks
Patience matters most here — leaves need this full time to flatten without curling.
Simple Project Ideas to Try
Once your leaves are pressed and ready, here are a few beginner-friendly projects to bring them to life.
1. Framed Leaf Art
This is the easiest project to start with. Arrange your pressed leaves on a piece of cardstock or directly onto the backing of a picture frame.
You can create a single statement piece with one large leaf or design a pattern using several smaller ones.
Once you’re happy with the layout, glue the leaves in place and seal them behind glass.
2. Leaf Bookmarks
Pressed leaves make gorgeous, functional bookmarks. Glue a small leaf onto a strip of cardstock, then laminate it or cover it with clear contact paper to protect it from wear.
This is a great project for kids, beginners, or anyone looking for a quick and low-pressure craft.
3. Nature Journals
Turn your pressed leaves into a personal record of the seasons. Glue them into a notebook alongside handwritten notes about where you found them, the date, or the tree they came from.
Over time, this becomes a beautiful keepsake that also builds your knowledge of local plants and trees.
4. Leaf Greeting Cards
Fold a piece of cardstock in half and glue a single pressed leaf or a small cluster onto the front.
Add a handwritten message inside for a thoughtful, homemade touch. These cards are perfect for birthdays, thank-you notes, or seasonal greetings.
5. Leaf Suncatchers
For a slightly more creative project, place pressed leaves between two sheets of clear contact paper or wax paper, then trim them into a circular or leaf-shaped outline.
Punch a small hole at the top and thread through a string to hang in a window. As sunlight passes through, the leaves glow with warm, natural color.
Tips for Better Results
⚠️ Watch for Moisture: Swap parchment paper every few days if leaves feel damp — this prevents mold from ruining your pressed leaves.
- Work with slightly damp leaves rather than fully dried ones, as they tend to flatten more evenly.
- Change the parchment paper every few days if leaves feel too moist, to prevent mold.
- Use a thin layer of glue to avoid wrinkling delicate leaves.
- Store finished pieces away from direct sunlight, since UV rays can fade the natural colors over time.
- Experiment with layout before gluing anything down — take a photo of your arrangement so you can recreate it if you like it.
Final Thoughts
Pressed leaf art is proof that beautiful crafting doesn’t require fancy materials or advanced skills — just a bit of patience and an eye for the small wonders found outdoors.
Whether you’re making a quick bookmark or a framed piece for your wall, each project connects you a little more closely to the changing seasons.
So next time you’re on a walk and spot a particularly striking leaf, pick it up. It might just become your next favorite piece of art.






