
DIY Paper Quiet Book: 6 Fun Learning Ideas

Need a quiet activity that keeps kids busy and happy? These DIY Paper Quiet Book ideas are a perfect solution! With a mix of colors, textures, and interactive pages, you can create a playful learning tool that sparks creativity and focus.
When I started looking for ways to keep my toddler busy without screens, I felt stuck. Toys were everywhere, but nothing held attention for long. That’s when I discovered the idea of a DIY Paper Quiet Book, and it changed everything.
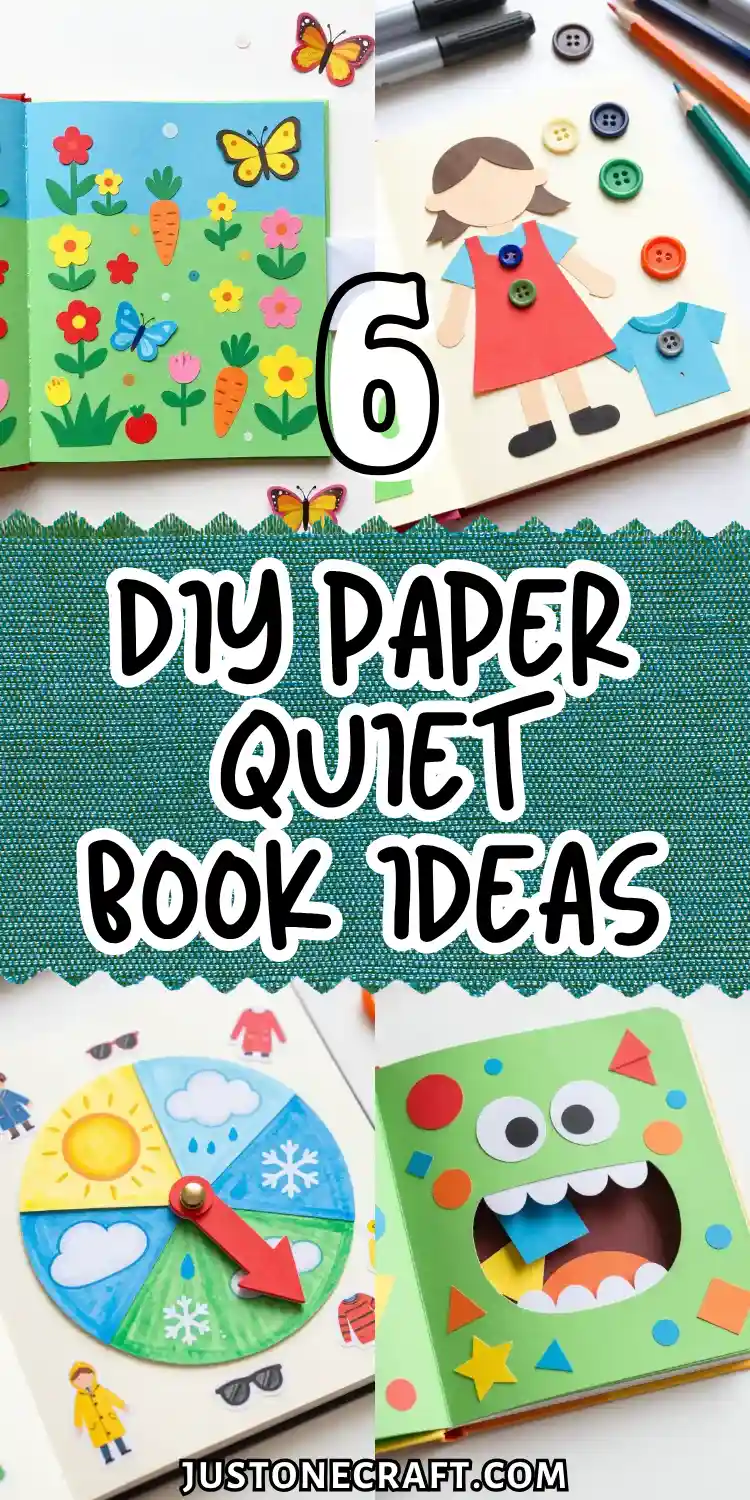
The issue wasn’t having enough toys, it was about meaningful play. I wanted something simple, creative, and engaging without feeling like learning.
With just paper, glue, and a little imagination, I created interactive pages with matching, folding, and small puzzles. It was affordable, customizable, and surprisingly calming.
That’s when I realized, the simplest DIY ideas can make the biggest impact.
Rainbow Matching Page With Colorful Flaps
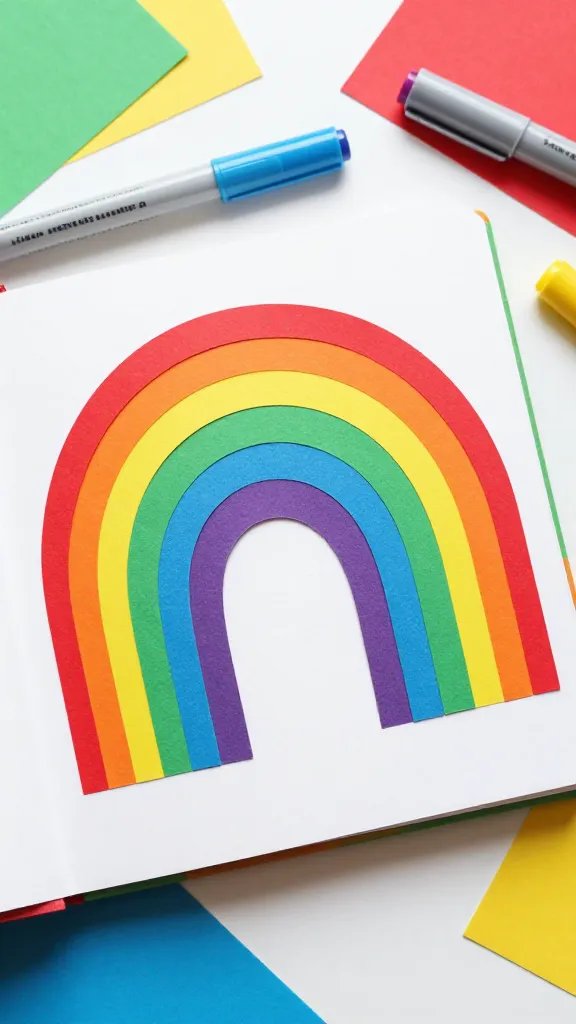
This bright and cheerful quiet book page is all about color recognition, and it looks absolutely adorable when it’s done.
Picture a rainbow arching across the page with little flaps in corresponding colors that kids can lift to reveal hidden pictures or matching objects underneath.
It’s simple, it’s colorful, and it’s incredibly engaging for toddlers who are just learning their colors.
Materials Needed
- Cardstock or construction paper in rainbow colors
- White cardstock for the base page
- Markers or crayons
- Glue stick
- Scissors
- Small stickers or drawn images
How to Make It
Cut out semicircle flaps in red, orange, yellow, green, blue, and purple, then attach them to your base page with glue only along the top edge so they can lift up.
Under each flap, draw or stick something that matches the color—a red apple, an orange pumpkin, a yellow sun, you get the idea. Kids will flip (literally) for the surprise element!
This one’s perfect for kids ages 2-4 who are working on color identification. Plus, it’s so visually appealing that it makes for great photos if you’re into sharing your crafty wins on social media.
Button-On Clothing Activity Page
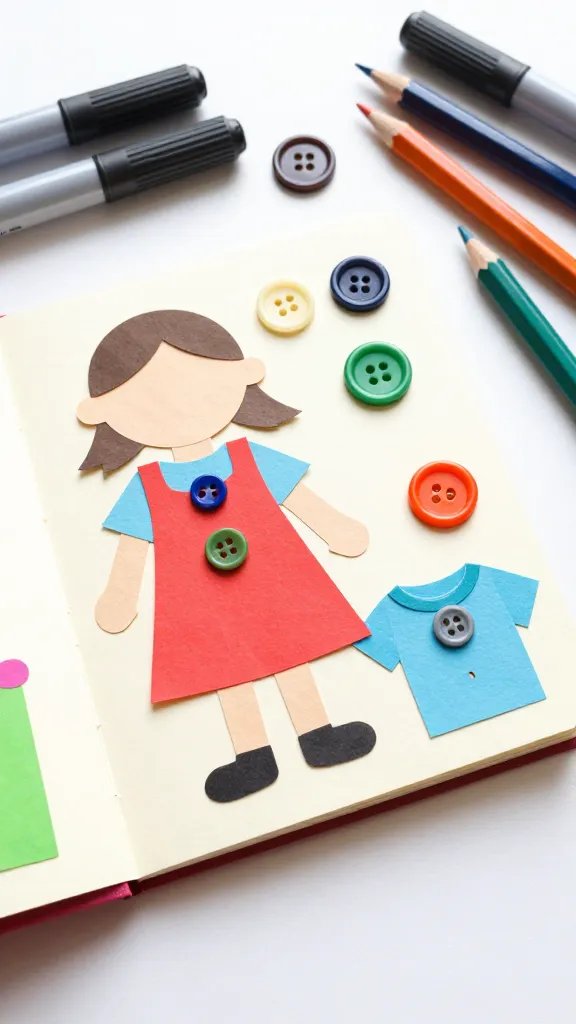
Fine motor skills meet fashion in this interactive dress-up page that lets kids practice buttoning without the frustration of actual clothing.
You’ll create paper outfits with real buttonholes and actual buttons that little fingers can manipulate to “dress” a paper character. It’s functional, it’s adorable, and it sneaks in some serious developmental practice.
Materials Needed
- Heavy cardstock or cardboard
- Buttons (varying sizes)
- Craft knife or hole punch
- Glue or tape
- Markers or colored pencils
- Scissors
How to Make It
Draw a simple character on your base page—think a basic person outline or even a cute animal.
Then create separate clothing pieces like shirts, pants, or dresses on different colored paper.
Use a craft knife to carefully cut small slits for buttonholes in the clothing pieces, and glue real buttons onto your character where the clothes would fasten.
Pro Tips
Start with larger buttons for younger kids and work down to smaller ones as they get better at the skill.
You can also laminate the pieces to make them more durable since this page will get a lot of hands-on action. FYI, this activity is gold for preschoolers working on getting dressed independently!
Velcro Sorting Garden With Removable Pieces
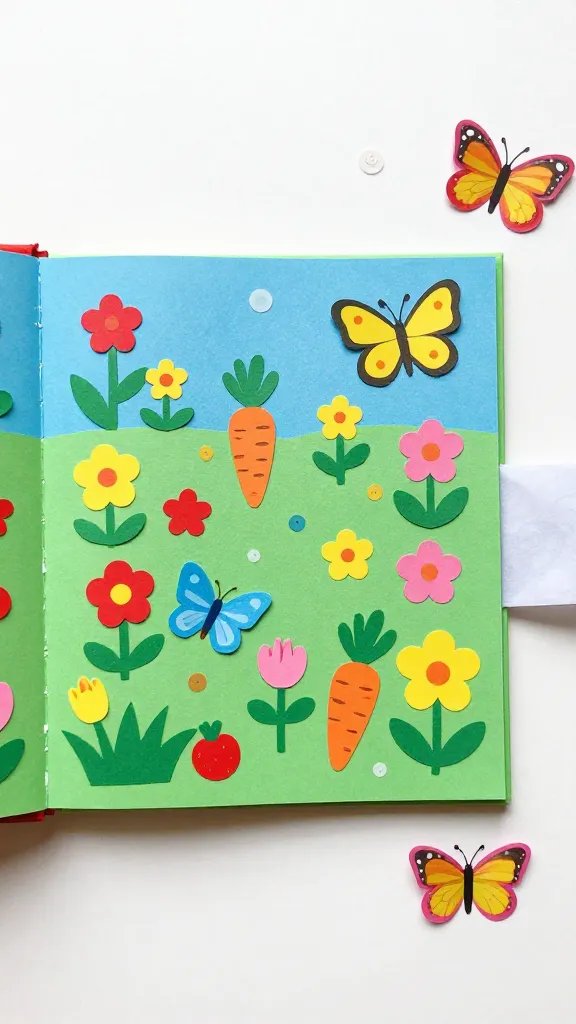
Create an enchanting little garden scene where flowers, butterflies, and vegetables can be placed and rearranged over and over again thanks to the magic of Velcro dots.
This tactile page is perfect for teaching categorization, counting, and even storytelling as kids create their own garden adventures.
Materials Needed
- Green and blue cardstock for background
- Colored paper for garden elements
- Self-adhesive Velcro dots
- Scissors
- Markers or crayons
- Optional: small envelope or pocket to store loose pieces
How to Make It
Design your garden background with a blue sky and green ground. Cut out flowers, butterflies, bees, carrots, tomatoes, and any other garden-themed shapes you like.
Attach the rough side of Velcro dots to the background page and the soft side to each garden piece so they can stick and remove easily.
Add a small paper pocket to the bottom of the page where all the loose pieces can be stored when not in use. This keeps everything together and teaches kids about cleanup too.
Seriously, it’s educational on multiple levels, and the best part is kids can rearrange their garden however they want, keeping them entertained for ages.
Shape Monster Feeding Frenzy Page
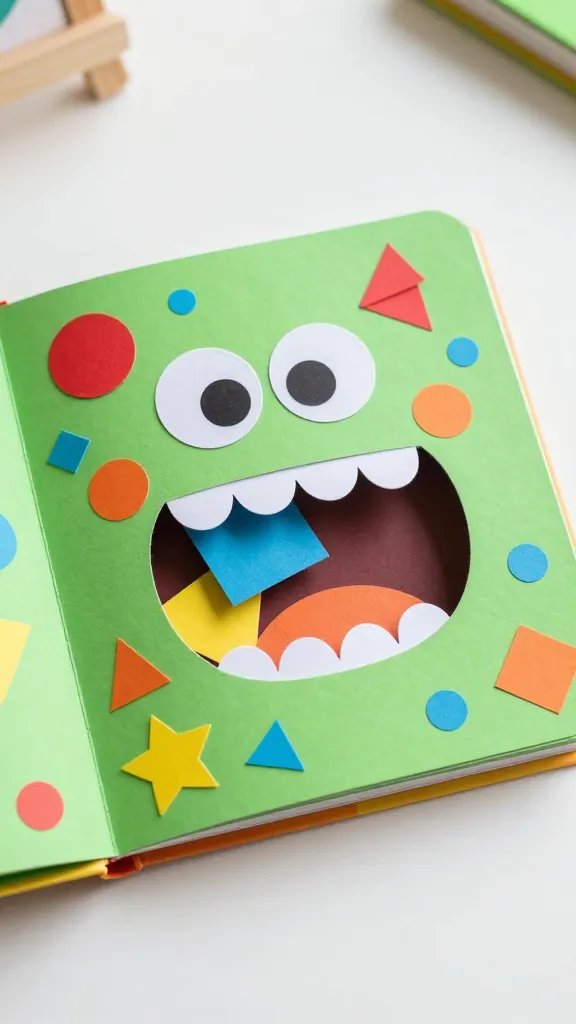
This hilarious page features a friendly monster with a big open mouth and an appetite for shapes.
Kids “feed” the monster by sliding paper shapes through a slit in its mouth, which is not only entertaining but also reinforces shape recognition and fine motor coordination.
Materials Needed
- Bright colored cardstock
- Googly eyes
- Glue
- Craft knife
- White paper for teeth
- Various colored paper for shapes
- Small envelope attached to back for shape storage
How to Make It
Draw and cut out a large, silly-looking monster on your cardstock—the goofier, the better. Use a craft knife to cut a horizontal slit where the mouth should be, making it wide enough for paper shapes to slide through.
Decorate with googly eyes, paper teeth, and maybe some wild hair for personality.
Cut out circles, squares, triangles, stars, and other shapes from different colored paper. You can even label them if your kiddo is learning shape names.
Attach a small envelope to the back of the page to catch the “eaten” shapes, and another to the front to store them when not in use.
Toddlers absolutely love this one because there’s something inherently funny about feeding a monster. You’ll love it because it keeps them busy while teaching valuable concepts!
Lacing Practice Shoe Page
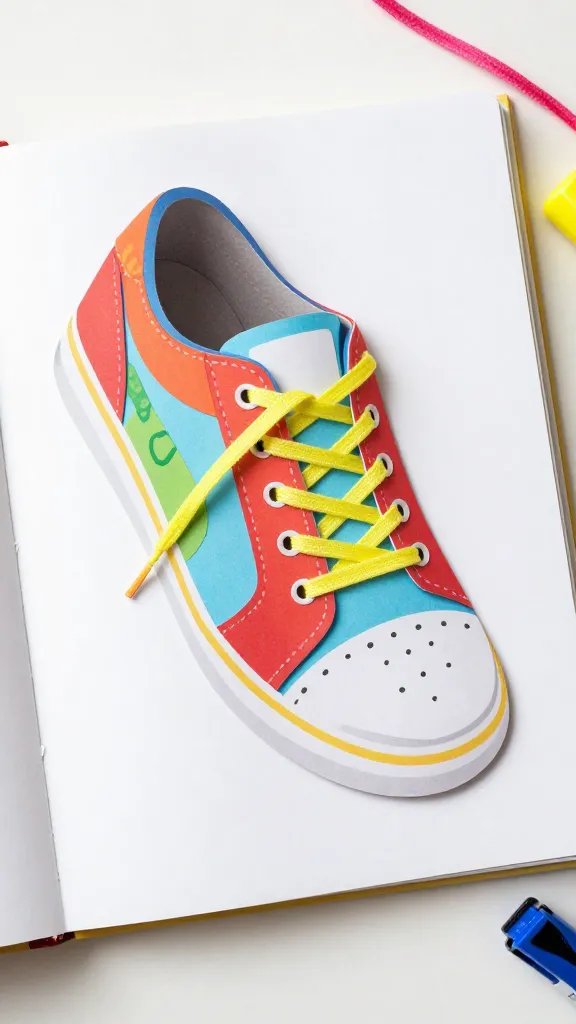
Help your little one master the art of shoe-tying with this oversized paper shoe that’s much easier to manipulate than the tiny shoes on their feet.
This page features a big, friendly sneaker with reinforced holes and colorful laces that kids can thread through over and over again.
Materials Needed
- Thick cardstock or thin cardboard
- Hole punch or eyelet setter
- Shoelaces or thick yarn
- Markers or paint
- Clear tape or eyelets for reinforcement
- Glue
How to Make It
Draw a large sneaker outline on your cardstock and decorate it however you like—stripes, polka dots, your child’s favorite colors, whatever makes it fun.
Punch holes along both sides where the lacing would go, and reinforce them with eyelets or clear tape on the back so they don’t tear with repeated use.
Thread a shoelace or thick, colorful yarn through the holes, tying a knot at the bottom to keep it from pulling all the way through. Kids can practice lacing patterns, and older preschoolers can even work on tying bows.
Pro Tips
Use contrasting colors for the shoe and laces so the holes are easy to see. This is perfect for kids ages 3-5 who are working toward that big milestone of tying their own shoes. Plus, the oversized format makes it way less frustrating than the real deal!
Weather Wheel With Spinning Arrow
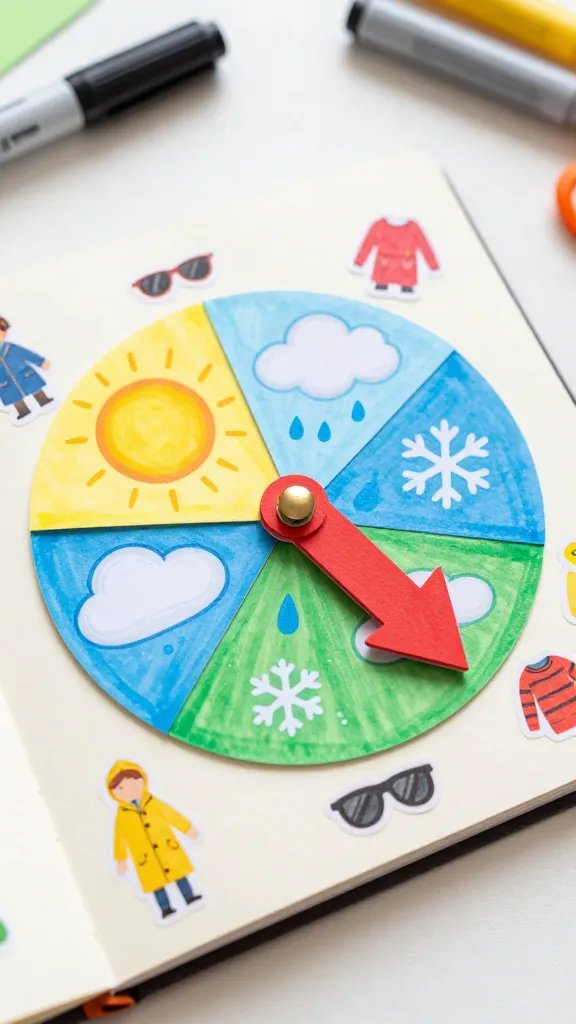
This interactive page features a spinning arrow that points to different weather conditions, complete with adorable illustrations and matching outfit suggestions.
It’s educational, it’s functional, and it helps kids understand weather concepts while practicing decision-making skills about what to wear.
Materials Needed
- Two pieces of cardstock
- Brad fastener
- Scissors
- Markers or crayons
- Ruler
- Compass or circular template
How to Make It
Draw a large circle on your base page and divide it into sections—sunny, rainy, cloudy, snowy, and windy work well.
Illustrate each section with the corresponding weather and maybe a suggested outfit (sunglasses for sunny, umbrella for rainy, etc.).
Cut out an arrow from a contrasting color cardstock and attach it to the center of the circle with a brad fastener so it can spin freely.
Kids can spin the arrow to match the current weather, or use it for pretend play and discussion. “What should we wear if the arrow points to rainy?” It’s a sneaky way to build vocabulary and critical thinking skills.
This page is especially great for preschoolers who are learning about weather and seasons. You can even make it a morning routine activity where your child checks the weather and sets the wheel accordingly!
Wrap Up Your Quiet Book Adventure
There you have it—six completely unique paper quiet book pages that are budget-friendly, customizable, and guaranteed to provide hours of educational entertainment.
The best part is you can mix and match these ideas, add your own creative spin, or make multiple pages and bind them together into a full quiet book that becomes a treasured learning tool.
So grab your cardstock, round up those craft supplies, and get ready to create something special.
Your little one will be thrilled with their new interactive toy, and you’ll have the satisfaction of making something both fun and educational with your own two hands. Happy crafting!






