
How to Make Vintage Paper That Looks Authentic

Vintage paper is ordinary paper that’s been artificially aged to look like it’s 50–200 years old — and when done right, it’s indistinguishable from the real thing.
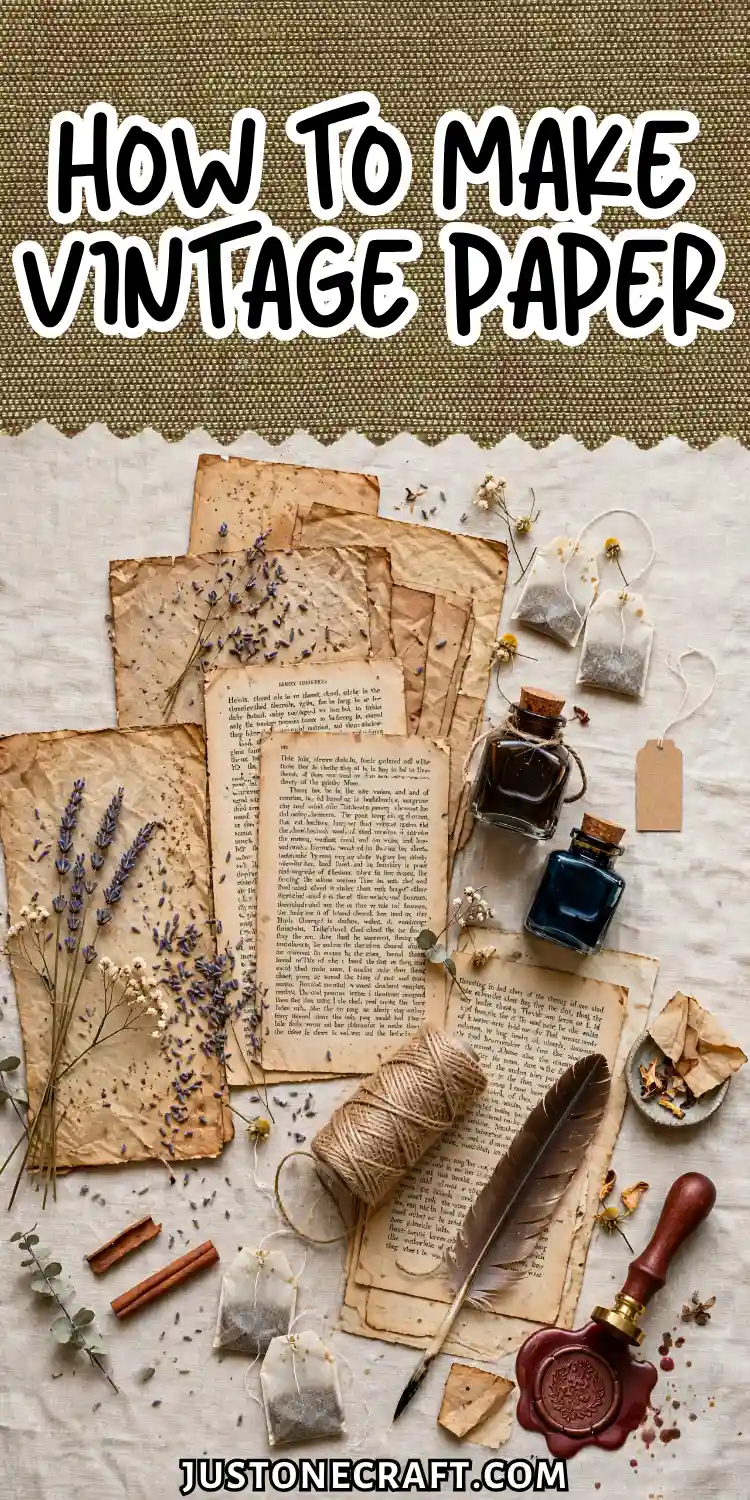
Writers, artists, prop makers, and journalers use it to add weight and history to letters, maps, invitations, and artwork.
The Benefits of This Method
Paper looks old because oxidation and tannins gradually turn white cellulose fibers yellow or brown over time.
Tea and coffee mimic this effect by staining the paper with natural tannins, while heat helps set the color and creates subtle warping for a more authentic aged appearance.
Essential Supplies
- Uncoated Paper (20–24 lb or 90 gsm): Absorbs tea or coffee evenly for a realistic aged look. Avoid glossy paper and heavy cardstock.
- Black Tea Bags (3–4 per cup): High tannin content creates a warm vintage yellow-brown color.
- Instant Coffee (2 tbsp per cup): Produces a darker, richer antique effect than tea.
- Flat Baking Tray: Keeps the paper flat during soaking to prevent unwanted creases.
- Oven or Hair Dryer: Speeds up drying, sets the color, and enhances the aged texture.
- Optional: Fine sandpaper, a lighter, or used coffee grounds for distressed edges, burn marks, and natural-looking stains.
Step-By-Step Instructions
1. Brew a Strong Staining Solution
Boil 1 cup (240ml) of water. Add 3–4 black tea bags and steep for 5 full minutes, then squeeze the bags before removing them to extract maximum tannins.
If using coffee instead, dissolve 2 tablespoons of instant coffee in 1 cup of hot water and stir until no granules remain.
The liquid should be dark enough that you can’t see the bottom of the cup through it. If you can, add another bag or half a tablespoon more coffee.
2. Pour the Staining Solution into Your Baking Tray
Pour enough liquid to cover the bottom of the tray by approximately 1/4 inch (6mm).
This is enough to saturate the paper without pooling excessively. Most beginners use too little and get patchy, uneven coverage.
3. Submerge the Paper Fully and Let It Soak for 3–5 Minutes
Lay each sheet flat in the tray and gently press it down with your fingertips to ensure full contact with the liquid.
The paper will immediately begin to absorb color — you should see the tone deepen within 30 seconds. For a lighter, more subtle aged look, remove it at 2 minutes.
For a darker, heavily aged effect, leave it for up to 8 minutes. Lift the sheet carefully — wet paper tears easily.
⏳ Soak Time Guide
🕑 2 min → Light, subtle age
🕗 8 min → Deep, heavy age
4. Add Texture and Distress Marks While the Paper Is Still Wet (Optional)
While the sheet is sitting in the tray, press small pinches of used coffee grounds onto the surface and leave them for 1–2 minutes, then brush off.
These leave dark irregular spots. For edge staining, dab a tea bag directly onto the corners and borders.
The wet stage is the only time these techniques work — once dry, the paper won’t absorb further staining evenly.
5. Transfer the Paper to a Flat Surface or Baking Tray Lined with Foil
Lift each sheet by one corner, let excess liquid drip off for 5 seconds, then lay it flat.
If you want minimal warping, place a second foil sheet on top and press gently. If you want natural wrinkling, lay it flat without pressing.
6. Dry the Paper at 200°f (93°c) for 4–6 Minutes
Place the tray in a preheated oven and check at 4 minutes. The paper is done when the edges curl slightly and the surface feels completely dry to the touch — not cool-damp, which means moisture is still present.
Remove and let cool for 2 minutes on a flat surface. The color will deepen very slightly as it cools.
7. Burn the Edges (Optional)
🔥 Safety First
Keep a glass of water nearby. Work in short 1-2 second passes and blow out the flame immediately — never leave it in one spot.
Hold the cooled sheet by one corner, tilt it at a 45-degree angle, and briefly pass a lighter flame along the edge — 1–2 seconds of contact maximum.
Blow out immediately. Work in 2-inch sections along each edge. Keep a glass of water nearby.
The most common mistake: holding the flame in one place too long and losing control of the burn line.
Aftercare and Storage
Store finished sheets flat in a folder or between pieces of card. Stacking them loosely in a pile can cause tannin transfer if any residual moisture is present.
Keep them away from high humidity — above 60% relative humidity, tannin-stained paper can continue to darken unevenly over time. For long-term storage, interleave sheets with plain white tissue paper.
Variations
Map-Aged
Parchment
Spotted Antique
Tobacco-Stained
Map-Aged Paper
Use a 50/50 mix of tea and coffee solution, soak for 6 minutes, and while wet, crumple the paper firmly into a ball, then flatten it out before drying. The crease lines mimic a folded, well-used map.
Manuscript Parchment Effect
Use 90 gsm sketch paper and soak in tea for 8 minutes. Before drying, gently pull and stretch the wet paper slightly at the corners.
Dry flat under light weight. This mimics the uneven surface texture of genuine parchment.
Heavily Spotted Antique Look
Before soaking, flick droplets of the staining solution onto the dry sheet from 12 inches above using a pastry brush.
Let dry completely, then soak normally. The pre-dried spots resist the second layer of color, creating a two-tone mottled effect.
Dark Tobacco-Stained Paper
Double the coffee concentration to 4 tablespoons per cup and add 1 tablespoon of soy sauce.
Soak for 5 minutes. The result is a much darker, almost brown-black tone associated with very old, tobacco-stained letters or journals.
Troubleshooting
| Problem | Likely cause | Fix |
|---|---|---|
| Color is too light and patchy | Solution too weak or soaking time too short | Re-soak in fresh, stronger solution for 3–4 more minutes |
| Paper tears when lifting from tray | Paper too thin or overly saturated | Use 24 lb / 90 gsm minimum; slide a flat spatula under the sheet to lift |
| Paper dries completely flat with no texture | Pressed too firmly during drying or air dried under weight | Let dry unconstrained; oven at 200°F without foil on top |
| Edges look burned, not singed | Flame held too long in one spot | Work in 1-second passes; keep the sheet moving; blow out at first sign of spread |
| Uneven blotchy staining across the sheet | Paper not fully submerged or liquid level too low | Add more solution; press paper flat with fingertips for the first 30 seconds |
| Color fades significantly after drying | Tannin concentration too low | Brew a stronger batch; always dry with heat to set color, never air dry only |
The Mindset Shift That Makes Everything Click
Think of paper as a sponge with a fixed capacity. Every variable — concentration, soak time, heat, and pressure — controls how much of that capacity you fill and in what pattern.
🧽 Remember This
Paper = sponge with fixed capacity. Too light = under-absorbed. Too blotchy = uneven absorption. Too stiff = over-saturated.
Once you understand that you’re working with absorption and heat-setting rather than paint or dye, you can diagnose any problem instantly: too light means insufficient absorption, too blotchy means uneven absorption, too stiff means over-saturation.
Every adjustment traces back to one of those three things.






