
9 Simple DIY Paper Rose Ideas That Look Real

If you love flowers but want something that never fades, DIY paper roses are the perfect solution. These easy and stylish ideas will help you create gorgeous blooms that look just as charming as real ones.
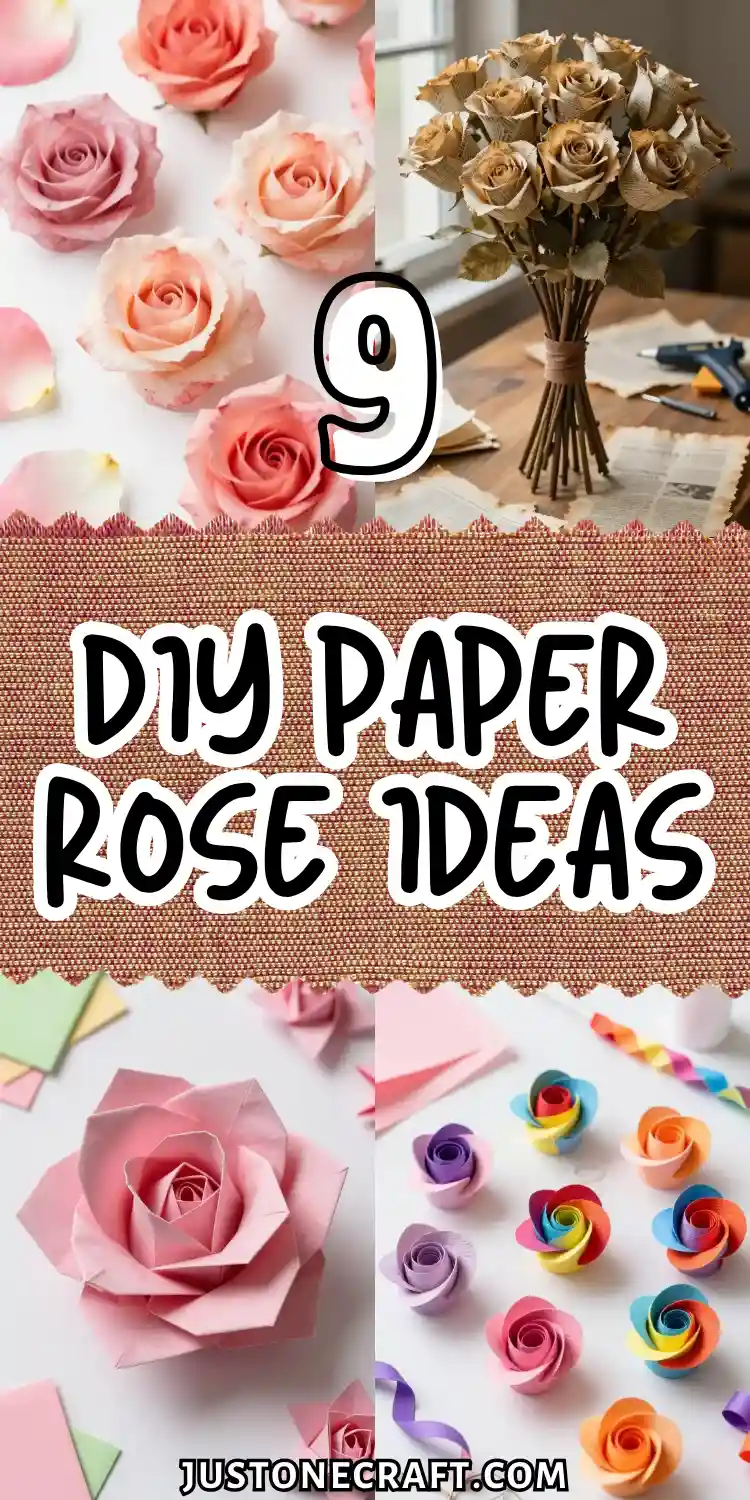
When I first tried making a DIY Paper Rose, I thought it would look messy and childish. My early attempts had crumpled petals and uneven shapes, but I quickly realized the issue wasn’t the materials, it was my approach.
Paper roses aren’t just about cutting and sticking. With a little patience and proper shaping, the petals start to look soft and realistic. Once I slowed down and followed simple steps, everything changed.
The best part? You don’t need expensive tools or expert skills. Just paper, scissors, and creativity can turn into something beautiful for decor or gifts.
If you’ve ever felt paper flowers were too difficult, this might change your mind.
9 DIY Paper Rose Ideas
Spiral-Cut Coffee Filter Roses With Watercolor Edges
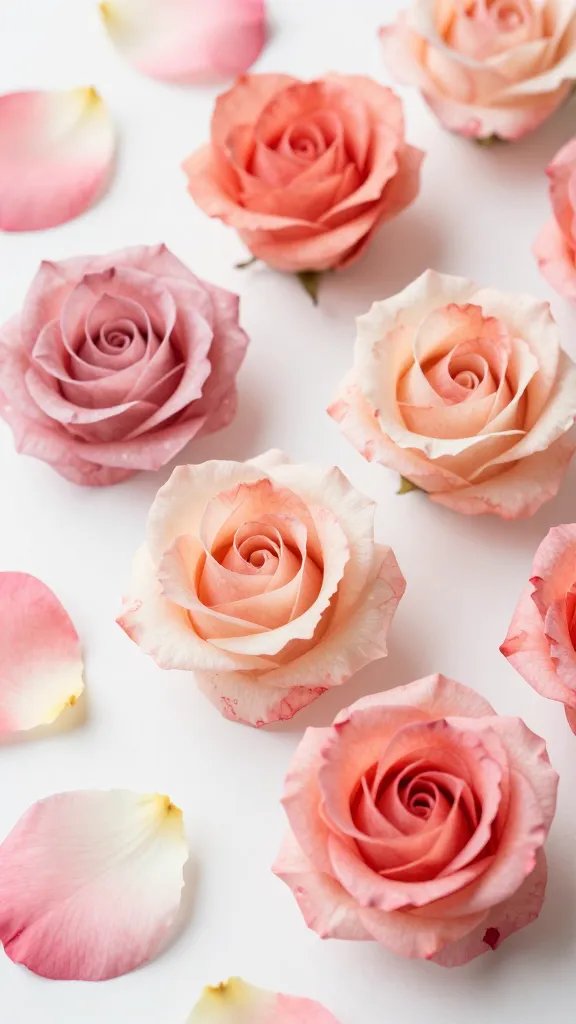
Picture delicate, dreamy roses with soft ombre petals that look like they were dipped in sunset colors.
Coffee filters make the most ethereal paper roses because they’re naturally translucent and absorb watercolor beautifully, creating those gorgeous color gradients you see in expensive boutique flowers.
How to Make It
Start by painting your coffee filters with diluted watercolors in shades that fade from deep to light.
Once they’re dry, cut them in a spiral from the outside edge toward the center, then roll them up from the outer end, securing with hot glue as you go.
The ruffled edges of the filter create realistic petal texture without any fancy folding required.
These are perfect for shabby chic weddings or nursery decor where you want something soft and whimsical. Trust me, the watercolor effect makes each rose completely one-of-a-kind.
Newspaper Rose Bouquet With Vintage Book Page Accents
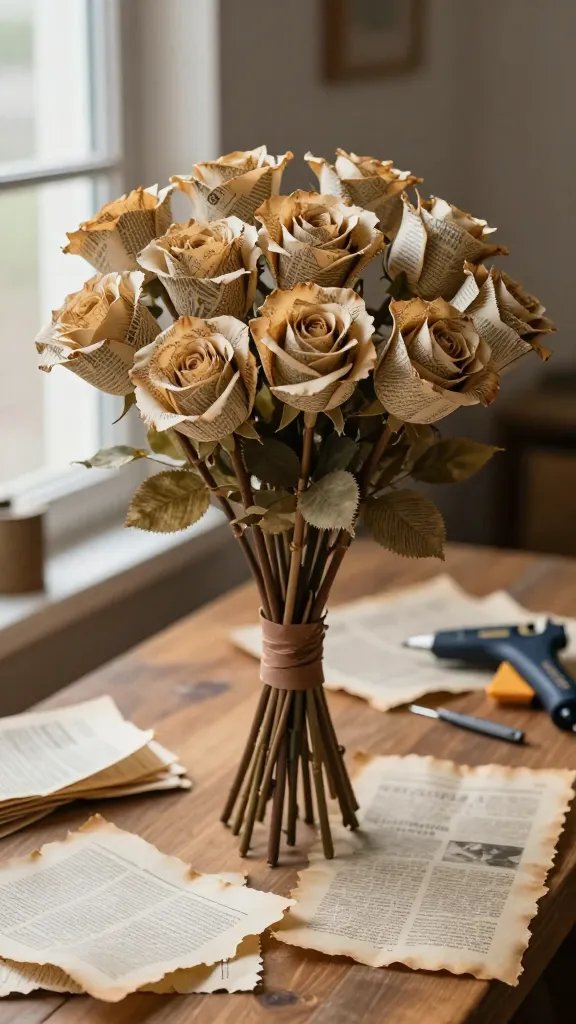
There’s something incredibly charming about roses made from actual reading material—the text peeking through the petals adds character and a literary vibe that plain paper just can’t match.
This project gives old newspapers and damaged books a second life as statement-worthy decor.
Materials Needed
- Old newspaper or vintage book pages
- Floral wire or wooden skewers
- Hot glue gun
- Brown floral tape
- Optional: tea or coffee for aging
Pro Tips
If you want an even more antique look, dip your pages in strong tea or coffee before cutting them into petal shapes.
Layer the petals from small to large around your wire stem, securing each layer with glue.
The contrast between the newsprint and the rose shape creates this cool vintage-meets-modern aesthetic that works everywhere from industrial lofts to farmhouse kitchens.
These make thoughtful gifts for book lovers and English teachers who appreciate a good literary pun bouquet.
Crepe Paper Garden Roses With Realistic Ruffled Petals
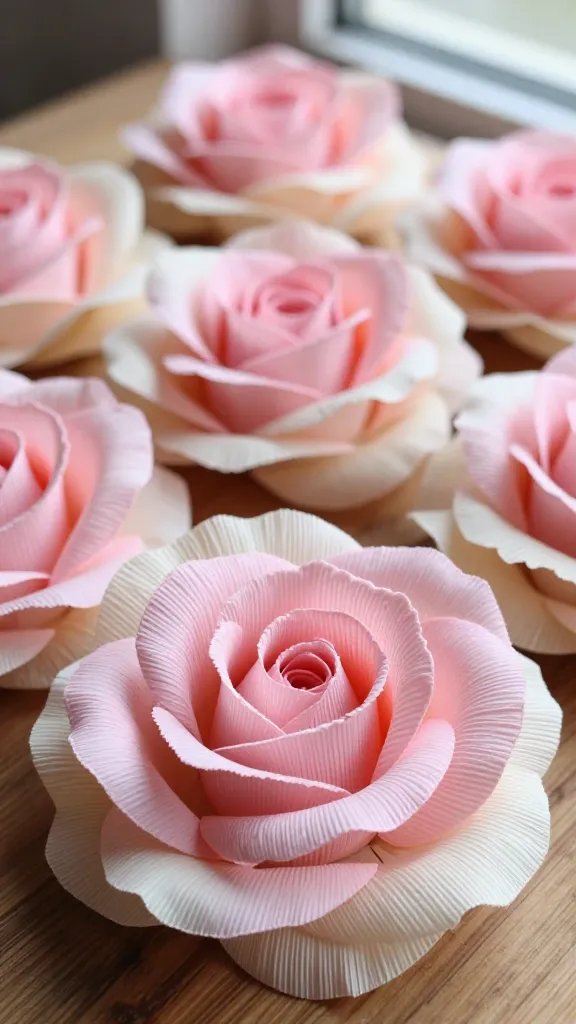
Crepe paper is the secret weapon of professional paper florists because it stretches and shapes like actual flower petals.
These garden roses have that full, cabbage-rose look with layers upon layers of ruffled petals that honestly look bakery-cake level realistic.
The key is gently stretching the center of each petal to create a cupped shape before attaching it to your rose center.
Start with a tight bud in the middle, then add increasingly larger petals, ruffling the top edge as you go.
FYI, crepe paper comes in hundreds of colors, so you can match any color scheme from blush pink to deep burgundy.
Display these in a simple vase on your dining table and watch guests do a double-take when they realize they’re handmade.
Glittered Cardstock Roses for Glamorous Centerpieces
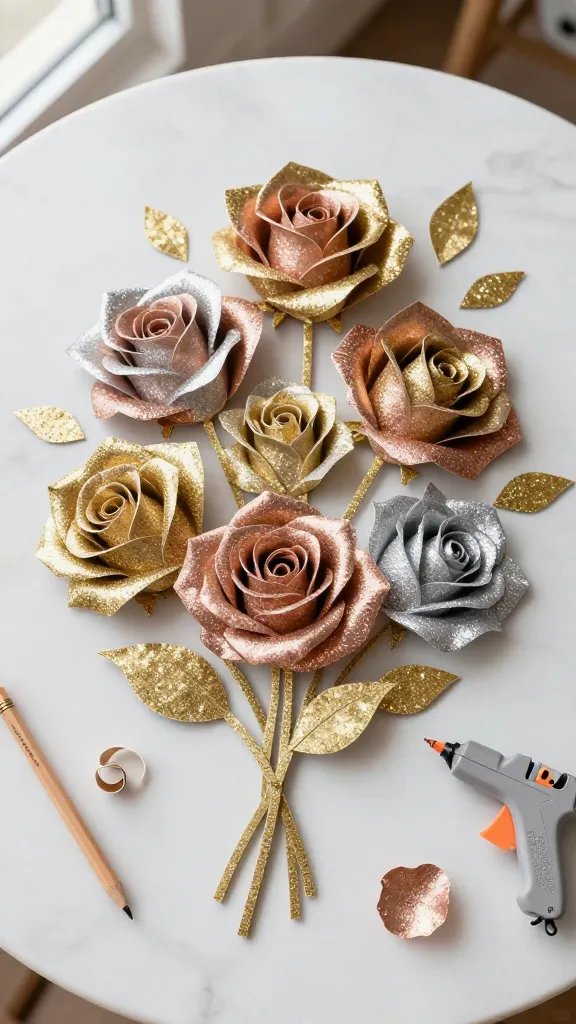
Sometimes you need flowers with a little more sparkle and a lot more staying power than fresh blooms.
These glitter cardstock roses bring serious glam without shedding glitter all over your house because the glitter is embedded in the paper itself.
How to Make It
Use a rose template to cut petal shapes from glitter cardstock in metallic shades like gold, rose gold, or silver.
Roll each petal around a pencil to give it natural curve, then layer them in a circular pattern, securing with a glue gun. Add a crystal or pearl center for extra elegance.
These are absolute showstoppers for New Year’s Eve parties, quinceañeras, or anywhere you want that Gatsby-level sophistication.
They photograph beautifully and catch the light in the most magical way.
Origami Kawasaki Roses That Actually Stay Folded
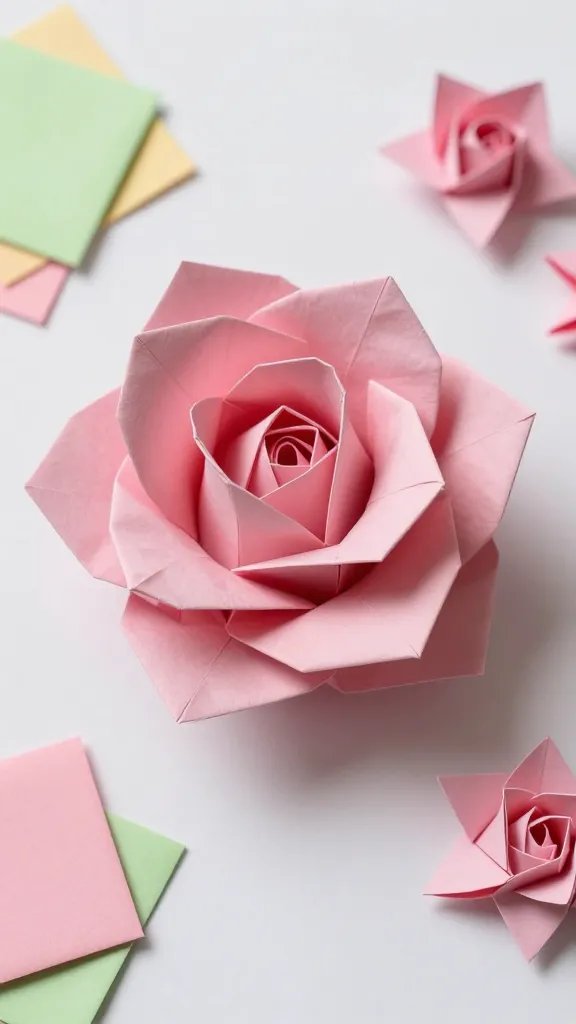
If you’re more into precise folds than hot glue messes, the Kawasaki rose is the origami project that’ll make you look like a paper-folding genius.
This classic design creates a rose bloom that’s recognizable from any angle, complete with a twisted center and layered petals.
You’ll need square origami paper and a good tutorial video to walk you through the somewhat complex folding sequence.
The finished result is worth the learning curve—these roses are sturdy, dimensional, and seriously impressive. Seriously, people will assume you studied origami in Japan.
String several together for a unique garland, or attach them to gift packages instead of traditional bows. They’re perfect for the detail-oriented crafter who loves a technical challenge.
Giant Paper Roses for Photo Backdrop Walls
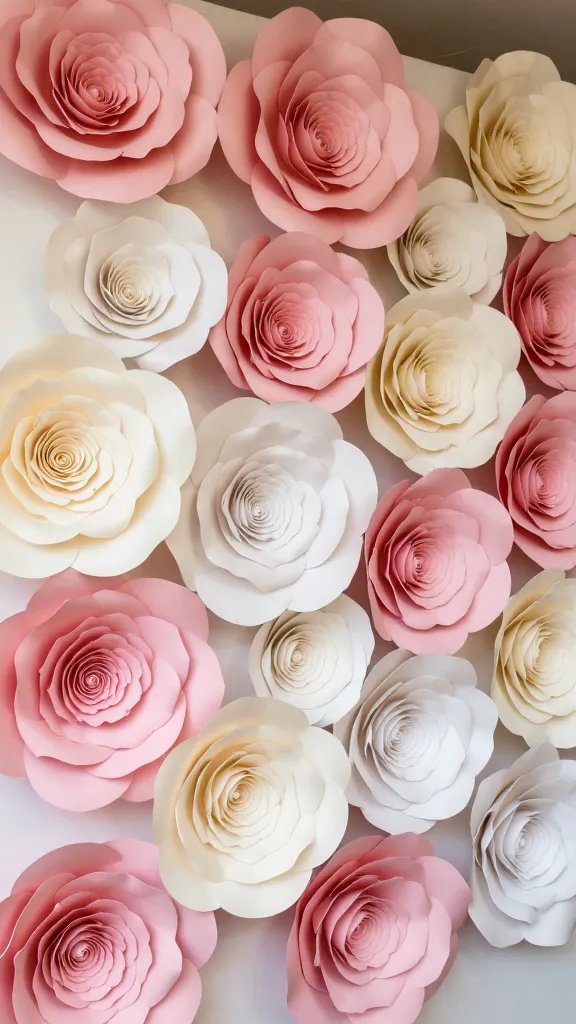
Go big or go home with oversized paper roses that make a dramatic statement at parties, weddings, or in kid’s bedrooms.
We’re talking roses that are 12 to 24 inches in diameter—basically the size of dinner plates or even larger.
Materials Needed
- Heavyweight cardstock or poster board
- Printable or hand-drawn rose templates (scaled up)
- Hot glue gun and lots of glue sticks
- Scissors or cutting machine
- Command strips or mounting tape
Styling Ideas
Create a lush flower wall by making 15-20 giant roses in coordinating colors and arranging them on a backdrop board. Mix in some large leaves cut from green cardstock for extra dimension.
This installation piece works beautifully behind dessert tables, as a ceremony backdrop, or even as permanent bedroom wall art.
The best part is that these giants are actually easier to make than tiny detailed roses because you don’t need precision—the size makes them impressive automatically.
Twisted Tissue Paper Roses in Rainbow Colors
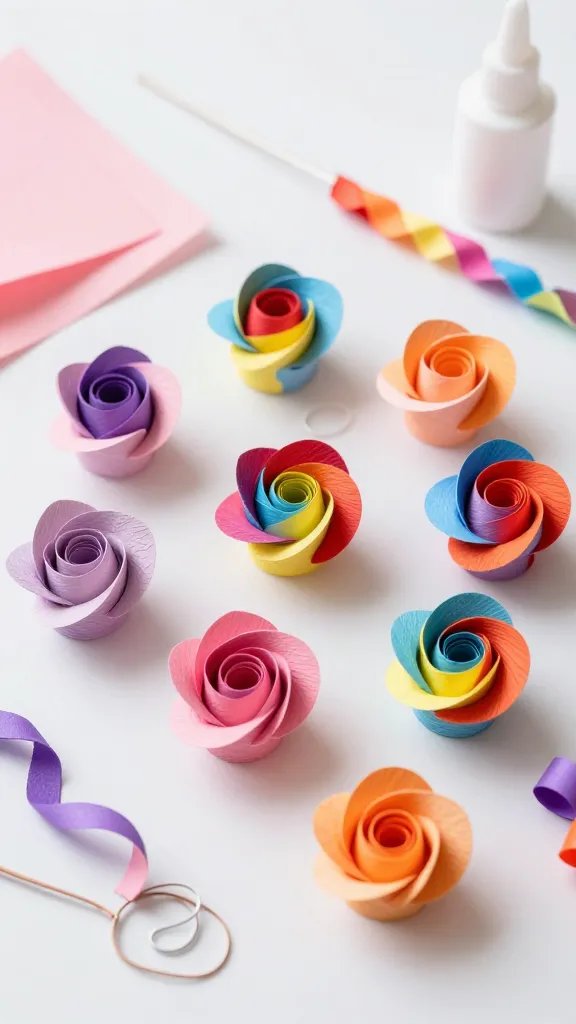
Tissue paper creates the softest, most delicate-looking roses with almost zero effort required.
This technique uses twisted tissue paper strips that get shaped into blooms perfect for party decorations or gift toppers.
Cut tissue paper into strips about two inches wide, then twist them loosely down the length.
Coil the twisted strip around itself in a spiral, securing the base with floral wire or a dab of glue.
Fluff out the tissue to create fullness, and you’ve got an adorable pom-pom style rose in under five minutes.
Make a whole rainbow collection for birthday parties, or stick with pastels for baby showers. Kids can easily help with this project, making it great for group crafting sessions.
Book Page Roses With Button Centers and Fabric Leaves
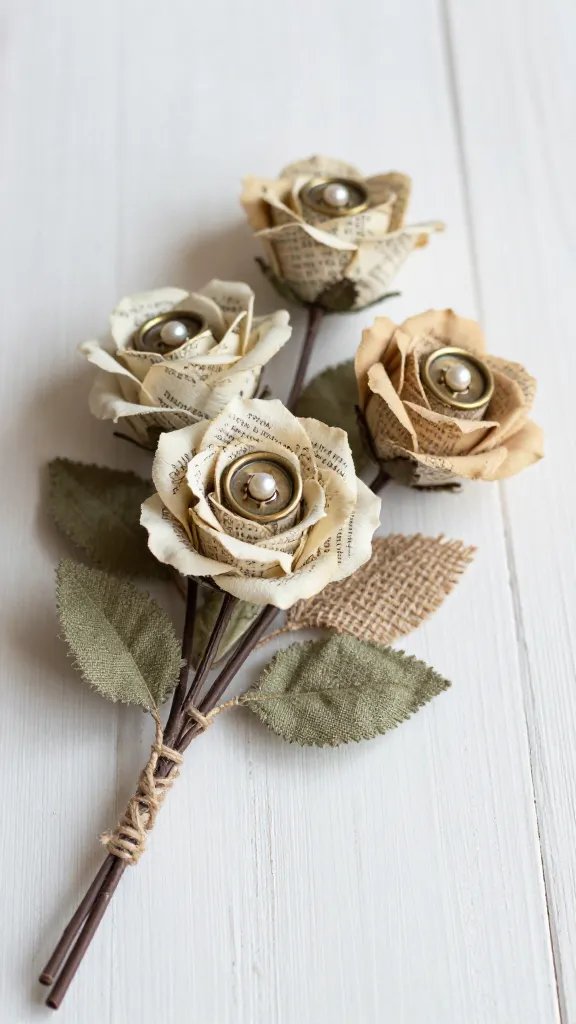
Mix your materials for roses that have texture, dimension, and that collected-over-time charm.
The combination of paper petals, vintage buttons, and fabric leaves creates depth that single-material flowers just can’t achieve.
How to Make It
Cut petal shapes from old book pages or sheet music and layer them around a pretty vintage button glued to floral wire.
Cut leaf shapes from burlap, linen, or cotton fabric, adding them below the bloom with a touch of hot glue. Wrap the stem with jute twine or ribbon for a finished country-chic look.
These mixed-media beauties are perfect for rustic weddings, farmhouse decor, or craft fair selling because they feel handmade and artisan without being overly precious.
You’ll love how each rose has its own personality based on which materials you combine.
Accordion-Fold Paper Roses That Come Together in Seconds
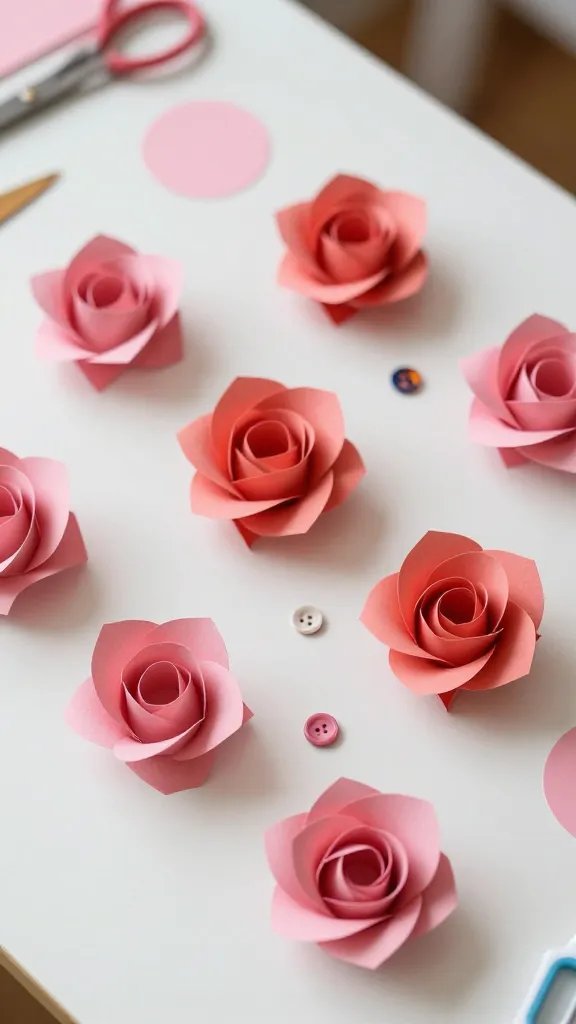
When you need dozens of roses fast and don’t want to spend hours on intricate folding, this accordion method is your best friend.
It’s basically the speed-run version of paper roses, perfect for last-minute party prep or large-scale decorating.
Cut strips of colored paper or patterned scrapbook paper, accordion-fold them along the length, then gather one edge and fan out the other to create an instant rosette.
Glue a circle of matching paper to the back to stabilize, and add a button or brad to the center. Done.
Attach these to everything—favor boxes, banner garlands, wreath forms, or bobby pins for hair accessories. They’re cute, quick, and customizable to literally any color scheme or theme you can imagine.
Start Crafting Today
There you have it—nine completely different ways to create paper roses that range from quick and easy to impressively intricate.
The beauty of paper flowers is that they last forever, cost almost nothing, and give you total creative control over colors and styles.
Pick the technique that matches your skill level and available time, grab some paper, and start creating blooms that’ll brighten your space all year long.






