
5 Easy DIY Paper Airplane Ideas for All Ages

Never underestimate the power of paper! With just a few simple materials, you can create stunning DIY paper crafts that add charm and personality to your space. These easy ideas are perfect for beginners and craft lovers alike.
I didn’t think much about paper airplanes until one afternoon when my nephew challenged me to a “distance contest.”
My plane nosedived instantly, while his glided across the room. That’s when I realized a DIY Paper Airplane is more than just a quick fold.
Most people struggle with planes that crash, fly unevenly, or barely lift off. Usually, it comes down to small details like uneven folds or poor balance. The good news? These are easy to fix.
With a few simple tweaks like sharper creases and better wing shapes, I learned how to turn a failed throw into a smooth glide. What once felt basic became a fun and creative craft anyone can enjoy.
5 DIY Paper Airplane Ideas
Vintage Travel Map Paper Airplanes for Wanderlust Decor
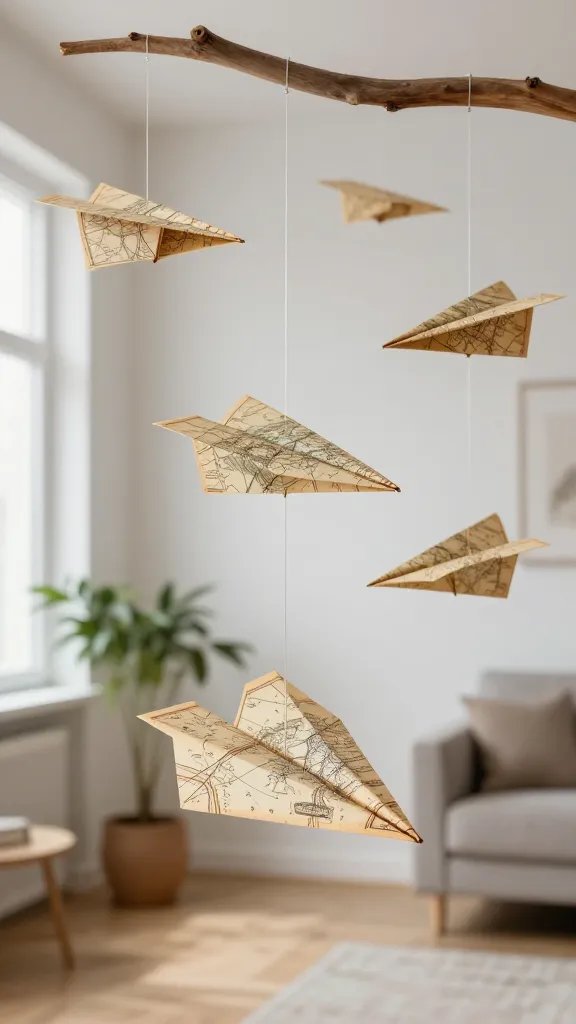
Picture this: delicate paper airplanes made from vintage maps, strung across your living room or office like they’re mid-flight to somewhere magical.
This project combines the classic paper airplane with gorgeous cartography prints to create stunning wall art that speaks to every travel lover’s soul.
Materials Needed
- Vintage map paper or printed atlas pages
- Clear fishing line or thin twine
- Small wooden dowel or branch for hanging
- Scissors
- Optional: mod podge for extra durability
How to Make It
Start by selecting maps of places that mean something to you—your hometown, dream destinations, or places you’ve visited.
Cut the map paper into classic 8.5 x 11 inch rectangles, then fold them into traditional dart-style paper airplanes. The beauty is in the repetition, so make at least five to seven planes.
String them along your fishing line at varying heights to create that floating, mid-flight effect.
Attach the line to your wooden dowel and hang it near a window where natural light can highlight the vintage map details. FYI, this looks absolutely magical in a home office or nursery.
Pro Tips
Seal your planes with a light coat of mod podge if you want them to last longer and resist dust.
You can also mix maps with vintage sheet music or old book pages for an eclectic gallery wall vibe. This craft makes an incredibly thoughtful gift for anyone with serious wanderlust.
Rainbow Ombré Paper Airplane Mobile for Kids’ Rooms
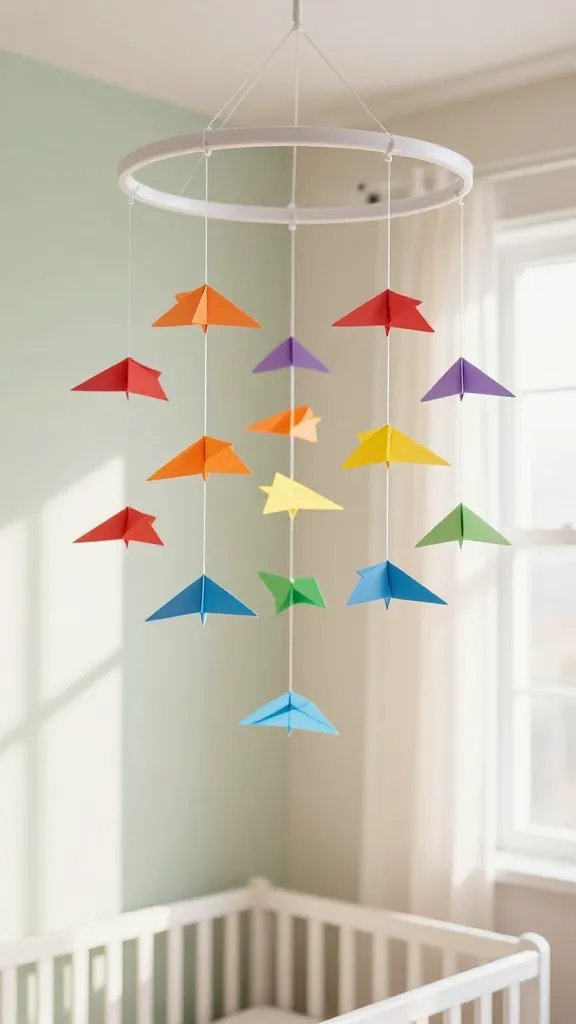
If you’re going for that dreamy, Instagram-worthy nursery or playroom look, this colorful mobile is calling your name.
Imagine dozens of tiny paper airplanes in a gorgeous color gradient, gently spinning above a crib or reading nook.
It’s whimsical, it’s cheerful, and seriously, kids absolutely love watching them move.
Materials Needed
- Cardstock in rainbow colors (red, orange, yellow, green, blue, purple)
- Embroidery hoop or circular wreath frame
- Clear thread or thin ribbon
- Hot glue gun
- Scissors or paper trimmer
How to Make It
Cut your colored cardstock into smaller rectangles—about 6 x 6 inches works perfectly for a mobile.
Fold each piece into a simple paper airplane design, making sure to crease sharply for clean lines. Aim for at least 20-30 planes to create that full, cascading effect.
Arrange your planes by color to create an ombré rainbow pattern. Tie each airplane to varying lengths of thread, then attach them to your embroidery hoop, spacing them evenly around the circle.
Hang the mobile from the ceiling using a sturdy hook, and watch as it becomes the focal point of the entire room.
Styling Ideas
Go monochromatic with all white or blush pink planes for a more minimalist aesthetic.
You could also make this seasonal—think orange and black for Halloween, or red and green for the holidays. Parents will appreciate that it’s lightweight and safe for little ones to admire from below.
Metallic Gold Paper Airplanes as Party Escort Cards
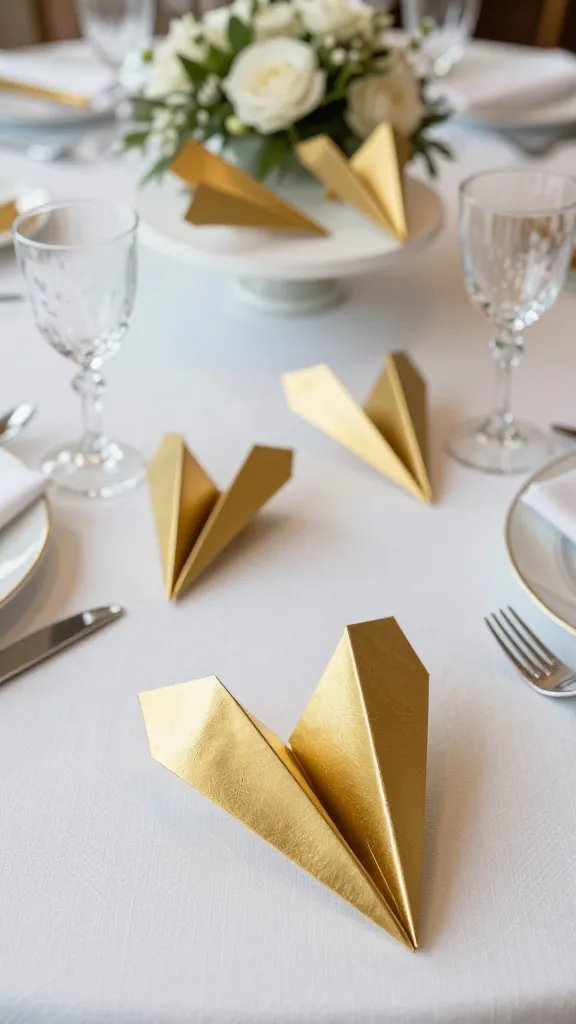
Want to add a unique twist to your next dinner party or wedding reception? These elegant metallic paper airplanes double as escort cards and conversation starters.
Each guest gets their own personalized plane that “flies” them to their assigned seat—how fun is that?
Materials Needed
- Metallic gold or silver cardstock
- White gel pen or metallic marker
- Small place card table or display board
- Optional: small weights to keep planes in place
How to Make It
Fold your metallic cardstock into sleek, streamlined paper airplanes—the simpler the design, the more sophisticated they’ll look.
Before folding, write each guest’s name and table number on the wings using your gel pen. Make sure the writing is visible once the plane is folded.
Display them on a dedicated table at your event entrance, arranged in neat rows or artfully scattered.
Guests will love the interactive element of “receiving” their airplane and carrying it to their table. You’ll love this because it’s so much cooler than standard place cards.
Pro Tips
Test your pen on scrap metallic paper first—some inks don’t show up well on shiny surfaces. Consider adding a tiny ribbon “tail” to each plane for extra elegance.
This idea works beautifully for graduation parties, baby showers, or any celebration where you want that Pinterest-perfect detail.
Glow-in-the-Dark Paper Airplanes for Epic Night Flights
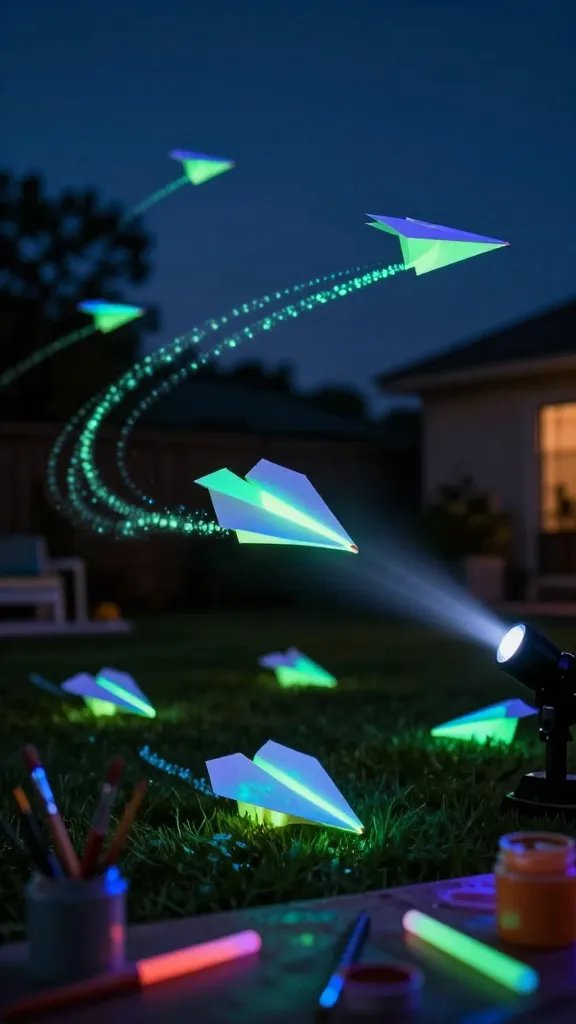
This one’s for the kids who refuse to come inside when the sun goes down. Imagine paper airplanes that actually glow in the dark, turning your backyard into a magical nighttime flight zone.
It’s half craft project, half outdoor adventure, and 100% guaranteed to make you the coolest parent or aunt on the block.
Materials Needed
- White or light-colored cardstock
- Glow-in-the-dark paint or markers
- Paintbrush
- Black light flashlight (optional but amazing)
- Glow sticks (as an alternative)
How to Make It
Before folding your planes, decorate the paper with glow-in-the-dark paint in fun patterns—stars, lightning bolts, or abstract designs.
Let the paint dry completely (this is important, or you’ll get sticky planes). Once dry, fold them into your favorite aerodynamic design.
Charge the planes under a bright light or in direct sunlight for about 30 minutes. When dusk hits, take them outside and watch them soar through the air leaving glowing trails behind them.
You can also tape small glow sticks to the bottom of regular paper airplanes for an instant glow effect.
Styling Ideas
Turn this into a full-blown backyard party activity with glow-in-the-dark boundaries and targets.
Kids can have contests to see whose plane flies farthest or glows brightest. This craft is perfect for summer camping trips, sleepovers, or Fourth of July celebrations.
Pressed Flower Paper Airplanes as Botanical Art Pieces
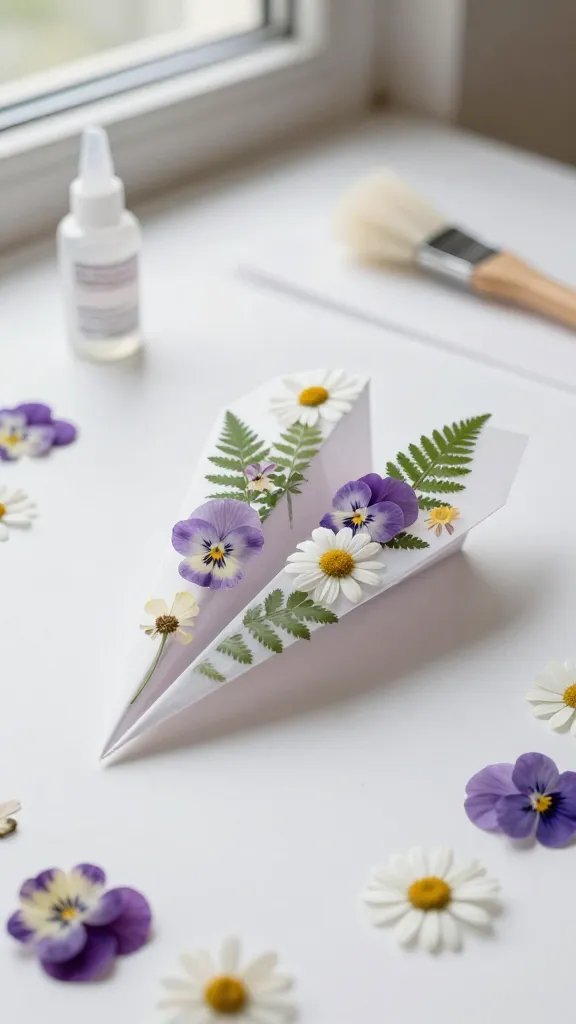
For the craft lovers who appreciate delicate, nature-inspired beauty, these pressed flower paper airplanes are pure magic.
They’re less about actual flight and more about creating frameable art pieces that capture the ethereal beauty of dried flowers suspended in a classic childhood shape.
Materials Needed
- Translucent vellum or lightweight rice paper
- Pressed flowers (pansies, daisies, ferns work beautifully)
- Mod podge or clear-drying glue
- Soft brush
- Parchment paper
- Heavy books for pressing
How to Make It
If you haven’t pressed flowers before, start by placing fresh blooms between parchment paper and weighing them down with heavy books for about two weeks.
Once your flowers are properly dried and flattened, it’s time to create your planes.
Lay out your vellum paper and arrange pressed flowers on one side in a pattern you love. Carefully brush a thin layer of mod podge over the flowers to seal them to the paper.
Let it dry completely, then gently fold the paper into a simple airplane shape—nothing too complicated, as you want the flowers to remain visible.
Pro Tips
These are too pretty to actually throw, so display them in shadow boxes, attach them to canvas backgrounds, or string them as garland.
The translucent paper allows light to shine through, highlighting the delicate flower details.
This craft is absolutely perfect for spring weddings, garden parties, or as thoughtful handmade gifts for plant-loving friends.
Start Now
There you have it—five completely different ways to elevate the humble paper airplane from classroom distraction to legitimate art form.
Whether you’re decorating a nursery, hosting a party, or just looking for a creative weekend project, these ideas prove that sometimes the simplest crafts make the biggest impact. Pick your favorite and get folding!






