
How to Make DIY Floating Shelves (Easy Guide)

Floating shelves are wall-mounted boards with no visible brackets — the hardware is hidden inside the shelf itself, giving the illusion that the wood is growing straight out of the wall.
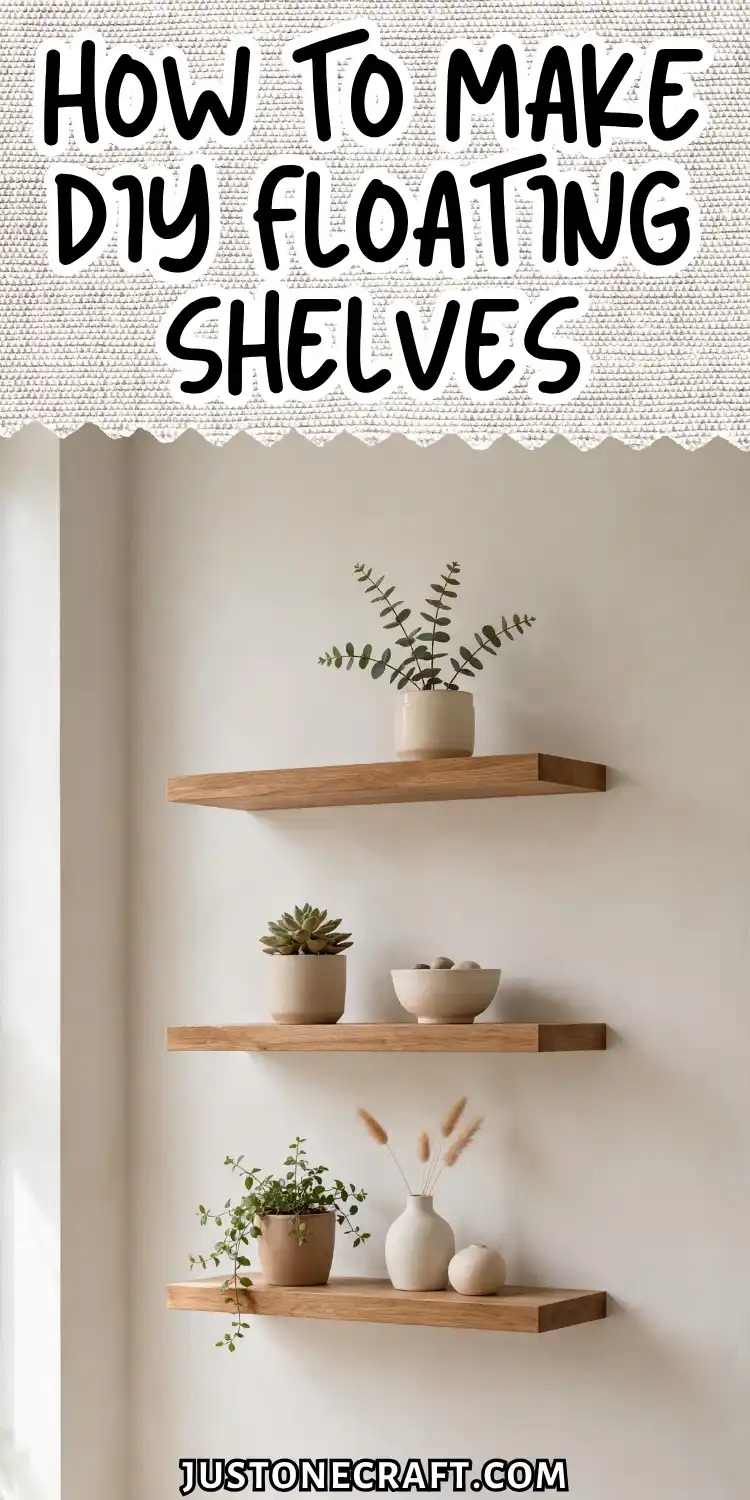
Done right, a single shelf can hold 50 to 80 pounds and look like it cost three times what it did.
How Floating Shelves Work
Floating shelves work by hiding a wall-mounted cleat or steel rods inside the shelf, creating the appearance of a shelf with no visible brackets.
For a strong installation, the mounting screws should be anchored into wall studs rather than drywall, as studs can support much more weight. Proper mounting prevents the shelf from pulling away from the wall under load.
What You Need
🧰 Gather These First
Wood Board: Use a 1×8 or 1×10 pine or poplar board. Avoid MDF because it’s heavy and less durable.
Floating Shelf Bracket: Choose a sturdy floating shelf bracket or wood cleat sized slightly shorter than the shelf depth.
Stud Finder: Use a stud finder to locate wall studs for secure installation.
3-Inch Wood Screws: Use #8 × 3-inch wood screws for strong attachment to studs.
Drill & Bits: A cordless drill with a Phillips bit and 1/8-inch pilot bit makes installation easier and prevents splitting.
Level: Use a 24-inch or longer level to ensure the shelf is perfectly straight.
Sandpaper & Finish: Smooth with 120- and 220-grit sandpaper, then protect with a water-based polyurethane finish.
Measuring Tools: Keep a tape measure, pencil, and painter’s tape handy for accurate marking and clean layout lines.
Step-By-Step Instructions
1. Cut your board to length
Cut the board to your final shelf length using a miter saw or circular saw with a straightedge guide. A 36-inch shelf is a practical starting length.
The cut ends should be perfectly square — run your finger along the edge and feel for any angle. A non-square end will leave a visible gap against the wall.
2. Sand and finish the wood before mounting
Sand with 120-grit, then 220-grit, wiping with a tack cloth between passes. Apply 2 coats of Polycrylic with a foam brush, letting each coat dry for 2 hours.
Finishing before mounting means you can reach every surface, including the back edge. Most beginners mount first and then struggle to paint the wall-facing edge properly.
3. Locate the wall studs
⚠️ Studs Only
Screws into drywall alone will not hold weight. Every screw must land in a confirmed stud center — no exceptions.
Run the stud finder slowly across the wall at the shelf height, marking both edges of each stud with a pencil. The center of the stud sits exactly between those two marks — typically a 1.5-inch-wide zone.
In standard US framing, studs are 16 inches apart on center. Confirm your marks by driving a small finish nail at the center mark — if it hits wood resistance at 1 inch depth, you’ve found the stud.
4. Mark the bracket position
Hold the bracket against the wall at your desired shelf height. Mark the screw hole locations through the bracket onto the wall with a pencil.
Every screw location must fall within a confirmed stud center. If your bracket holes don’t line up with studs, reposition the shelf left or right until they do — even 3 inches of adjustment usually solves it.
5. Drill pilot holes
Drill a 1/8-inch pilot hole at each marked screw location, going 2.5 inches deep into the wall.
You’ll feel a change in resistance as the bit exits drywall and enters wood — the drilling gets noticeably harder. That resistance is what you want every screw going into.
6. Mount the bracket
Hold the bracket in position and drive the first screw until snug, then the diagonally opposite screw. Before fully tightening all screws, place your level on the bracket and adjust.
Once level, drive all remaining screws fully. The bracket should feel completely immovable when you try to wiggle it by hand — if it moves at all, the screws have missed the stud.
7. Slide on the shelf
Slide the finished shelf sleeve over the bracket from the front. It should fit snugly with minimal play. If the bracket uses steel rods, the shelf holes should align and slide home with light hand pressure.
Secure the shelf to the bracket with the included set screws tightened from the underside with a hex key. The shelf surface should be flush and level — sight down it from one end to confirm there’s no bow.
Aftercare and Maintenance
Wipe shelves with a barely damp cloth — never a wet one. Water sitting on polyurethane finish causes white rings.
Re-coat with a light scuff-sand (220-grit) and one fresh coat of Polycrylic every 3 to 5 years if the finish starts to dull.
Check the bracket screws annually by gripping the shelf front edge and pressing firmly upward and downward — any movement means a screw has loosened and needs retightening.
Variations
Rustic wood shelf
Use a rough-sawn cedar or Douglas fir board instead of pine. Skip the polyurethane and apply one coat of Danish oil, wiping off the excess after 20 minutes.
The oil soaks in rather than sitting on top, leaving a natural matte look that shows all the grain character.
Built-in bookshelf alcove
Install 3 to 5 shelves at 12-inch vertical intervals inside a wall alcove or between two walls.
Each shelf uses the same cleat method, but you can also dado (groove) a vertical side panel to accept the shelf ends — eliminating the need for studs at the shelf sides.
Pipe-and-wood industrial shelf
Replace the hidden bracket with exposed 0.5-inch black steel pipe flanges screwed into studs, with a 12-inch pipe nipple as the visible support arm.
The shelf sits on top and is secured from underneath with a #8 screw up through the flange. The pipe becomes a deliberate design feature rather than hardware to hide.
Troubleshooting
| Problem | Likely cause | Fix |
|---|---|---|
| Shelf tilts down at one end | Bracket wasn’t level before final tightening | Loosen screws, re-level bracket, retighten |
| Screws spin without gripping | Missed the stud; screwing into drywall only | Remove screw, relocate stud, drill new pilot hole |
| Shelf wobbles side to side | Set screws not tightened, or bracket too short | Tighten set screws; if bracket is short, add a second bracket |
| Finish looks streaky | Applied too thick or over-brushed while drying | Sand lightly with 220-grit and apply a thinner second coat |
| Gap between shelf back and wall | Wall isn’t flat, or board has a bow | Scribe and sand the back edge to match the wall contour |
| Shelf surface bows in the middle | Board width too wide for unsupported span | For spans over 36 inches, add a third bracket at center |
One Final Thought
🔍 Before You Troubleshoot, Ask:
1️⃣ Did this screw hit solid wood?
2️⃣ Is this bracket sitting perfectly flat?
Every floating shelf problem is either a wall problem or a levelness problem.
Before you question your technique, ask two things: did this screw hit solid wood, and is this bracket sitting perfectly flat?
Those two variables explain almost every failure. Once you can answer both confidently, the woodworking almost doesn’t matter.






