
7 DIY Paper Xmas Tree Ideas for a Cozy Holiday

Want to decorate your home for Christmas without the mess of a real tree? A DIY Paper Xmas Tree might be just what you need. These easy and beautiful ideas will help you bring holiday vibes into any corner of your home.
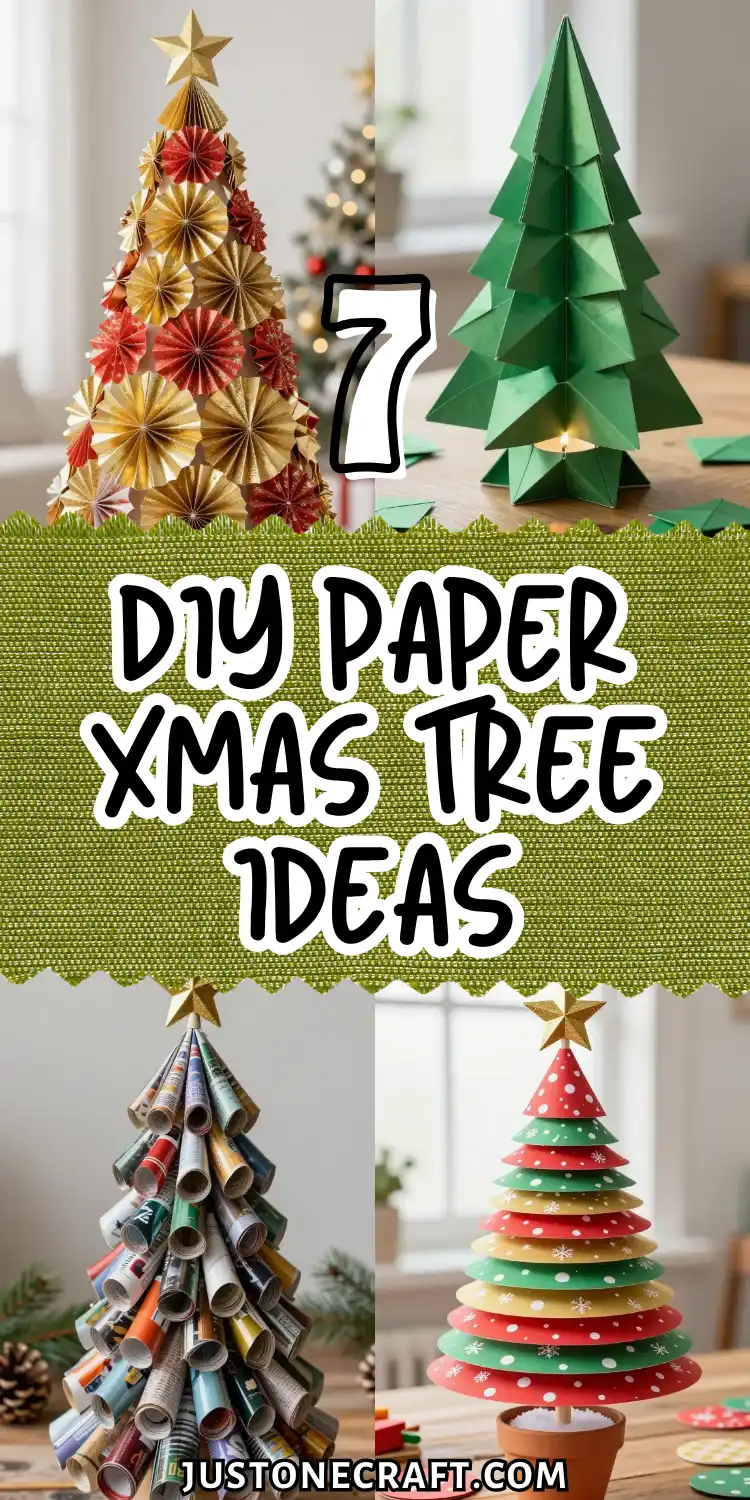
Every year, I want to decorate for Christmas without adding clutter, and that’s how I discovered the DIY Paper Xmas Tree. I needed something simple, affordable, and perfect for small spaces.
At first, I doubted if paper could look good enough. But once I started experimenting with folds and layers, I realized how versatile and elegant it can be.
The only challenge was making it sturdy without complicating the process. After a few tries, I found that even simple designs can hold their shape beautifully with the right technique.
A DIY Paper Xmas Tree is lightweight, customizable, and adds a soft handmade touch to your decor—proving that something simple can completely transform your space.
7 DIY Paper Xmas Tree Ideas
Rolled Magazine Page Christmas Tree

Picture this: a gorgeous cone-shaped tree made entirely from rolled magazine pages, giving off those vintage, eco-chic vibes.
This project transforms glossy magazine pages into a stunning centerpiece that looks way more expensive than it actually is.
The colorful pages peek through each rolled cone, creating this beautiful layered effect that catches the light perfectly.
Tools and Materials
- Old magazines (the glossier, the better)
- Foam cone or cardboard base
- Hot glue gun
- Small star topper
- Scissors
How to Make It
Start by cutting magazine pages into squares—different sizes work great for adding dimension. Roll each square into a cone shape and secure with a dot of hot glue.
Then glue these little cones all over your foam base, starting from the bottom and working your way up, overlapping them slightly for that full, lush look.
The best part? You can customize the color scheme by choosing specific magazine pages.
Go all red and green for traditional, or stick with fashion magazines for pops of color. This one’s perfect for your entryway table or as a quirky office decoration.
Accordion-Fold Paper Tree Garland

If you love decorations that double as art installations, you’re going to flip for this one.
These dimensional accordion trees create the most Instagram-worthy garland you’ve ever seen.
They’re surprisingly sturdy and cast amazing shadows when you hang them near a window or above string lights.
Materials Needed
- Cardstock or scrapbook paper in festive colors
- Twine or ribbon
- Hole punch
- Glue stick
- Wooden beads (optional)
How to Make It
Cut your paper into long strips, then accordion-fold them (remember those paper fans from elementary school?).
Pinch the folded strip in the middle and glue the ends together to create a circular, tree-like shape.
Punch a hole at the top and string them onto your twine, spacing them out with wooden beads if you want that boho look.
Hang this beauty across your mantel, along a staircase, or even as a backdrop for your holiday photos. Trust me, your guests will ask where you bought it.
Origami Modular Christmas Tree
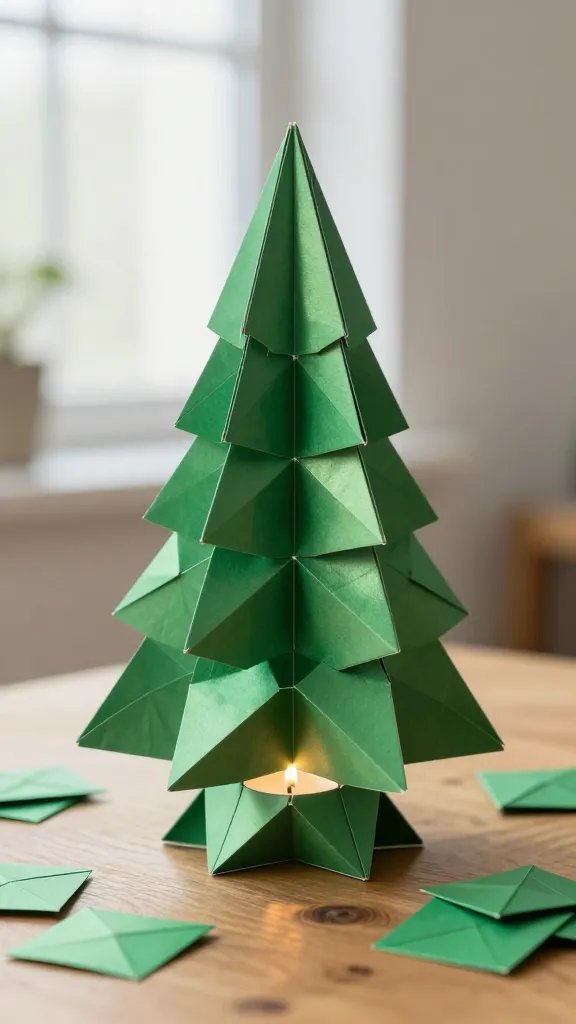
Ready to impress literally everyone? This geometric masterpiece uses modular origami techniques to create a modern, sculptural tree that belongs in a design magazine.
It’s made up of individual folded units that lock together—no glue required—which makes it totally reusable year after year.
⏱️ Skill Level
Advanced — needs patience, but no glue required and fully reusable
Required Material
- Square origami paper (green, white, or metallic)
- Patience (seriously, this one takes time)
- Small LED tea light for the base
Pro Tips
Start with a simple modular origami unit pattern—the Sonobe unit works beautifully for this. You’ll need about 30-40 units depending on how tall you want your tree.
Stack them in decreasing circles as you build upward, creating that classic Christmas tree silhouette.
The geometric angles and clean lines make this perfect for minimalist décor lovers. Place it on a side table with a small LED light underneath, and watch it glow. This is definitely a Netflix-and-craft project, but so worth the effort.
Layered Circle Paper Tree

Imagine a whimsical tree made from perfectly stacked paper circles that get progressively smaller as they rise—like a Dr. Seuss illustration came to life.
This one’s incredibly kid-friendly and gives you tons of room for creative expression with patterns, colors, and embellishments.
👶 Kid-Friendly Pick: Perfect for classroom parties — kids love choosing patterns and stacking the circles themselves.
Materials
- Cardstock in various patterns
- Wooden dowel or sturdy stick
- Circle punches or templates
- Small pot with foam or clay
- Decorative star or button for topper
How to Make It
Cut circles in graduated sizes—start with maybe 6 inches at the bottom and decrease by half an inch for each layer.
Poke a hole through the center of each circle and thread them onto your dowel, spacing them with small beads or foam pieces. Secure your dowel in a small pot filled with clay or floral foam.
This project is fantastic for using up scrapbook paper scraps, and kids absolutely love choosing the patterns and stacking the circles. It makes an adorable table decoration for classroom parties or bedroom windowsills.
Book Page Feather Tree

Book lovers, this one’s for you—a delicate, ethereal tree made from feather-cut vintage book pages.
The soft, wispy edges create this incredibly romantic, shabby-chic look that’s perfect for cozy farmhouse décor. FYI, old hymnals or dictionaries work especially well because of the thin, aged paper.
Essential Materials
- Old book pages
- Foam cone base
- Scissors
- Hot glue gun
- Twine or lace ribbon
📚 Best Paper Choice: Old hymnals or dictionaries work best — their thin, aged pages feather-cut cleanly for that shabby-chic look.
Styling Ideas
Cut book pages into teardrop shapes, then make tiny cuts along the edges to create that feathered effect.
Glue them onto your cone base in overlapping rows, working from bottom to top.
The texture builds up beautifully, and the printed text adds character without being overwhelming.
Wrap some vintage lace or twine around the base, maybe add a few pearl pins, and you’ve got yourself a centerpiece worthy of a wedding. This looks absolutely stunning on a mantel surrounded by candlelight.
Quilled Paper Swirl Tree
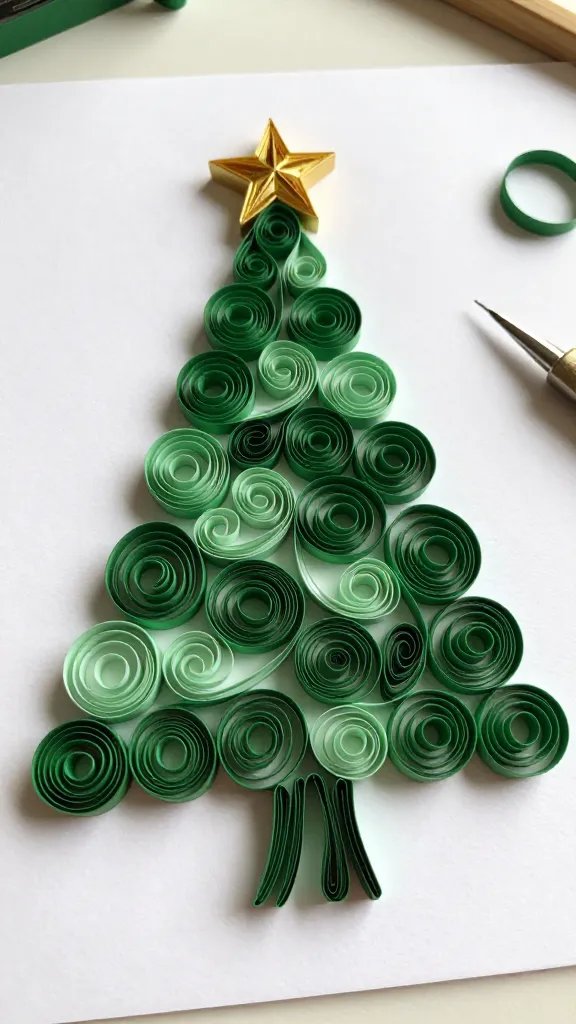
Paper quilling might sound fancy, but this project breaks it down into the simplest technique ever—and the results are absolutely magical.
These tight spiral swirls create a textured, almost fluffy appearance that’s totally unique. The dimensional quality makes it look way more complicated than it actually is.
Everything You Need
- Quilling paper strips (or cut your own from cardstock)
- Quilling tool or toothpick
- Canvas or sturdy backing board
- Craft glue
- Pencil for sketching
How to Make It
Sketch a simple triangle tree shape on your canvas. Roll paper strips into tight coils using your quilling tool, let them loosen slightly, then glue the end.
Fill in your tree outline with these coils, varying the sizes and packing them tightly together. Use different shades of green for depth, or go wild with rainbow colors.
This creates actual wall art that you can frame and display year after year. It’s perfect for apartment dwellers who don’t have room for a real tree but still want that festive spirit on their walls.
Folded Rosette Christmas Tree
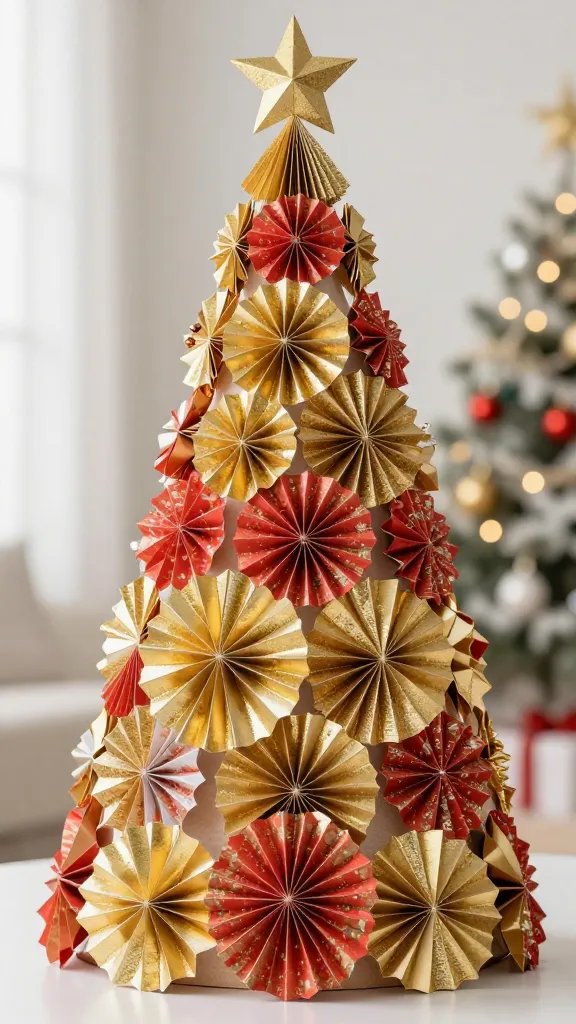
These paper rosettes—you know, those circular fan decorations—stack up to create the most dimensional, party-ready tree you’ve ever seen.
Each rosette acts like a layer of branches, and when you use metallic or patterned paper, the light reflection is just gorgeous. This one’s a total showstopper for holiday parties.
Essential Tree Supplies
- Cardstock or wrapping paper
- Stapler
- Hot glue gun
- Foam board backing
- Decorative embellishments
5-7
🌸 Rosettes needed, largest at the bottom, smallest at the top
Pro Tips
Make rosettes in graduating sizes by accordion-folding strips of paper, forming them into circles, and stapling the center.
You’ll need about 5-7 rosettes depending on your desired height. Mount them on foam board in a triangle arrangement, largest at bottom, smallest at top.
Add rhinestones, buttons, or even small ornaments to the rosette centers for extra pizzazz.
This works beautifully as a front door decoration or party backdrop, and it’s flat enough to store easily for next year. You’ll love how photo-ready this one is.
Time to Create
There you have it—seven completely different ways to bring paper Christmas trees into your holiday décor!
The best part about these projects is that they’re budget-friendly, customizable to your exact style, and way more fun than buying something mass-produced.
Pick the one that speaks to you, grab some paper and glue, and let’s make this holiday season a little more handmade and a lot more special.






