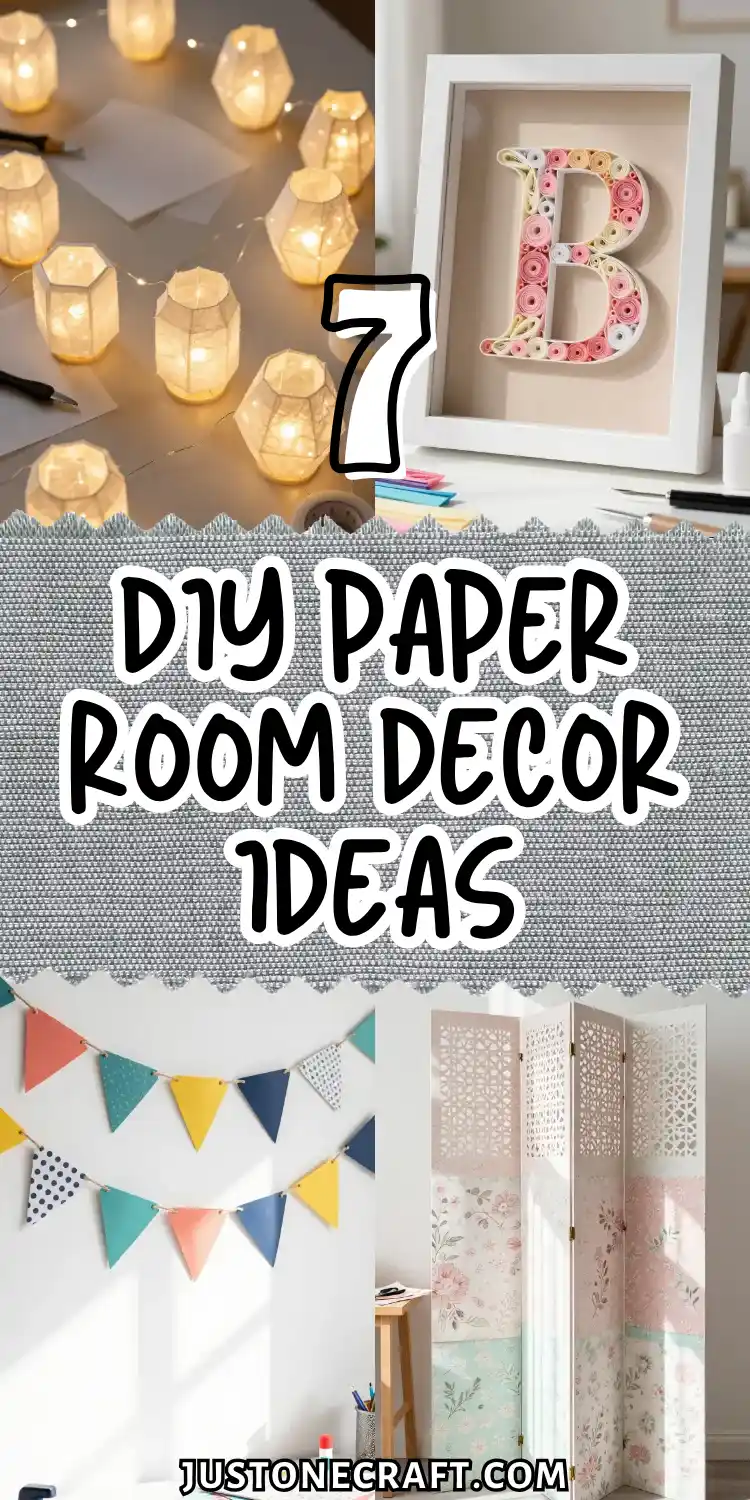
7 DIY Paper Room Decor Ideas You’ll Love

Want to refresh your room but don’t know where to start? With these DIY Paper Room Decor ideas, you can turn plain walls and corners into beautiful, eye-catching spaces in no time.
When I first started decorating my room, I realized store-bought decor looked nice but didn’t feel personal.
Everything felt repetitive, like it could belong to anyone. That’s when I turned to DIY Paper Room Decor to add creativity without spending much.
At first, I thought paper crafts might look too simple. But once I played with colors, textures, and layering, everything changed. Even small pieces like paper flowers and wall hangings brought life into my space.
The best part is how flexible it is. You can easily switch styles anytime, from soft pastels to bold, vibrant looks.
DIY Paper Room Decor gives you full control to create a space that feels unique, cozy, and truly yours.
7 DIY Paper Room Decor Ideas
Giant Paper Dahlia Wall Flowers
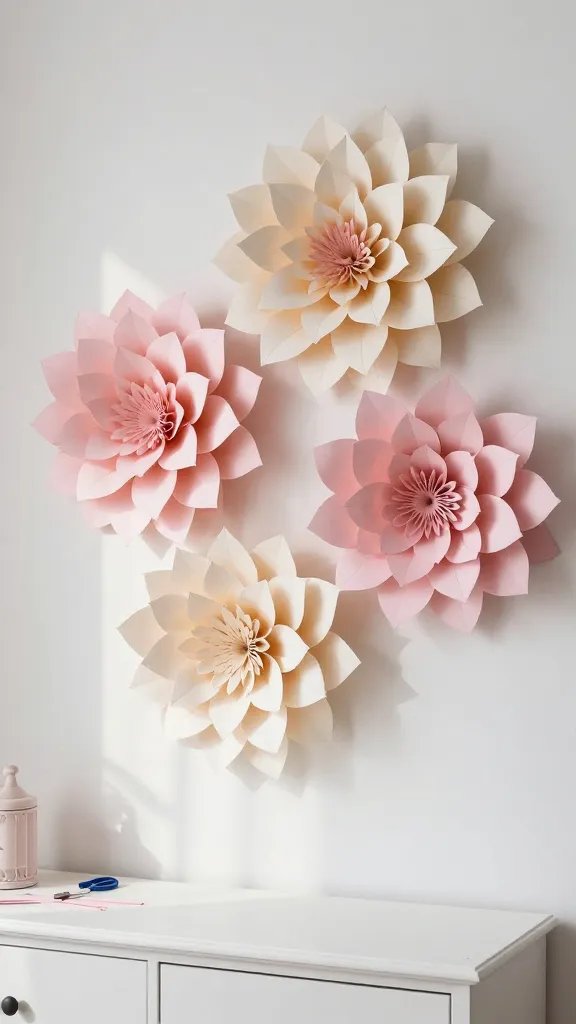
These oversized blooms are total showstoppers and way easier to make than they look.
Picture gorgeous three-dimensional flowers in whatever colors match your aesthetic, creating a stunning focal point above your bed or dresser.
They’re perfect for anyone who wants that romantic, dreamy bedroom vibe but can’t commit to keeping real flowers alive.
Materials Needed
- Cardstock in your chosen colors (pastels look amazing)
- Paper flower templates (free ones online or DIY your own)
- Hot glue gun
- Scissors
- Circular cardboard base
How to Make It
Start by cutting out petal shapes in various sizes—small, medium, and large. Roll the edges of each petal around a pencil to give them dimension and curl.
Layer the petals from largest to smallest on your cardboard base, gluing each layer as you build upward toward the center.
The magic happens when you overlap the petals at different angles. Don’t worry about perfection here—nature isn’t perfect either, and that’s what makes these look so realistic.
Pro Tips
Mix two or three shades of the same color for depth. A cluster of three different-sized flowers looks more dynamic than just one. These also make incredible backdrops for photos, FYI.
Origami Crane Mobile Chandelier
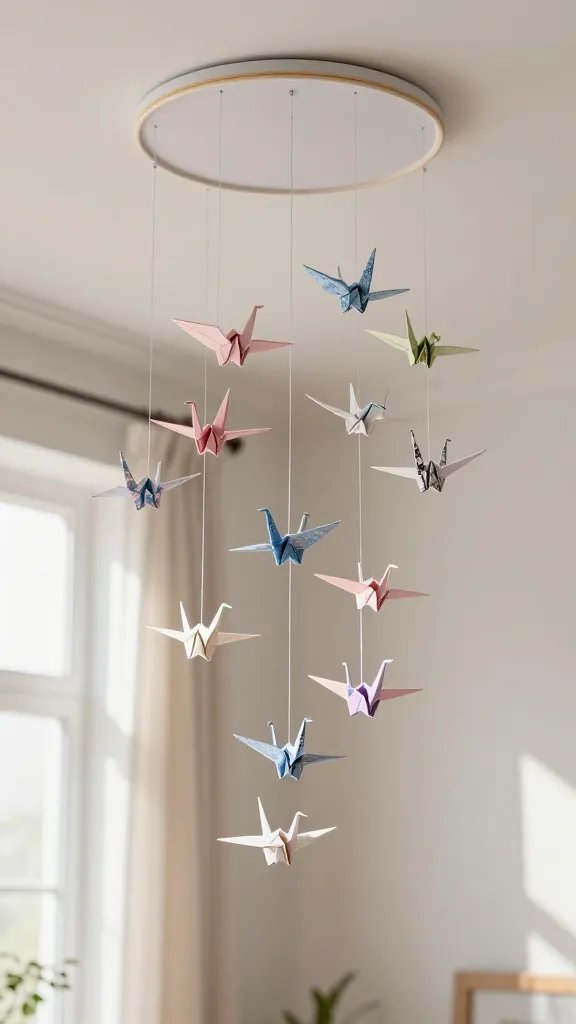
This floating art piece brings such peaceful energy to any room. Imagine dozens of delicate paper cranes suspended at different heights, gently spinning and catching the light. It’s like having a piece of meditation hanging from your ceiling.
Materials Needed
- Origami paper in coordinating patterns
- Embroidery hoop or wire wreath frame
- Clear fishing line
- Needle
- Ribbon for hanging
Fold anywhere from 20 to 50 origami cranes depending on how full you want your mobile.
Thread fishing line through the body of each crane using your needle, and tie them at varying lengths to your hoop.
Hang your cranes at different heights to create visual interest and movement. Space them around the hoop evenly, then attach ribbon to three points on the hoop for balanced hanging.
Styling Ideas
Metallic origami paper catches light beautifully near windows. This works wonderfully in nurseries, reading nooks, or above your workspace. You could also make seasonal versions—pastels for spring, warm tones for fall.
Geometric Paper Garland Bunting
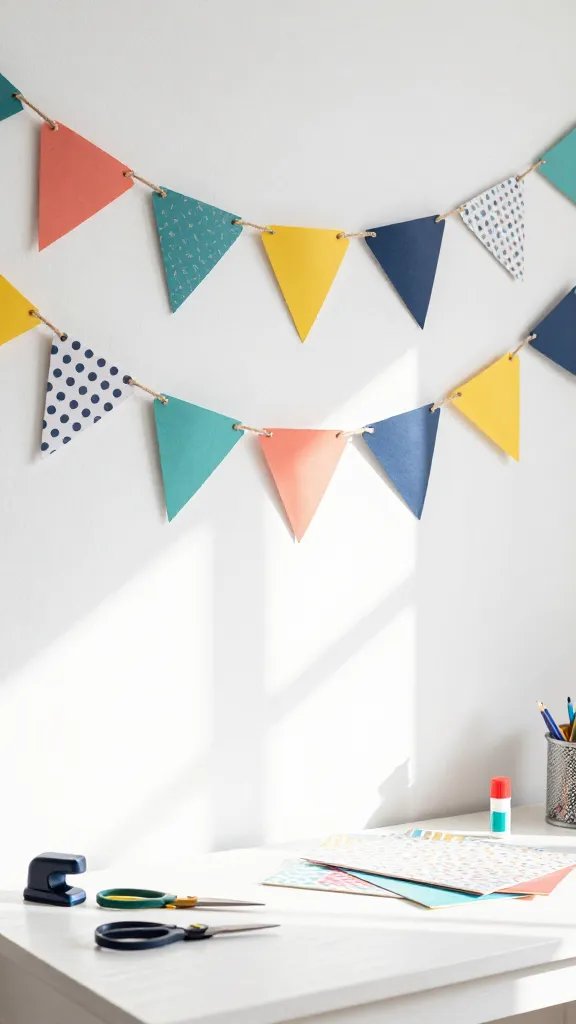
Garlands aren’t just for parties anymore, trust me. This modern geometric version adds color and personality to blank walls without being overwhelming. Think of it as jewelry for your room—it pulls everything together.
What You’ll Need
- Patterned scrapbook paper or cardstock
- Template for shapes (triangles, hexagons, or diamonds)
- Twine or thin rope
- Glue stick
- Hole punch
Cut out your geometric shapes in whatever pattern speaks to you. The beauty of this project is mixing different patterns and solids that share a color palette.
Fold each shape over your twine and glue the two sides together, spacing them evenly.
Layer multiple strands at different lengths for a more dynamic look. Drape them across a wall, frame a mirror, or hang them above shelves.
The geometric shapes give off major modern minimalist vibes while still feeling playful.
This is perfect for renters since it’s completely damage-free. Switch out the papers seasonally or whenever you’re craving a change.
Rolled Paper Wall Art Canvas
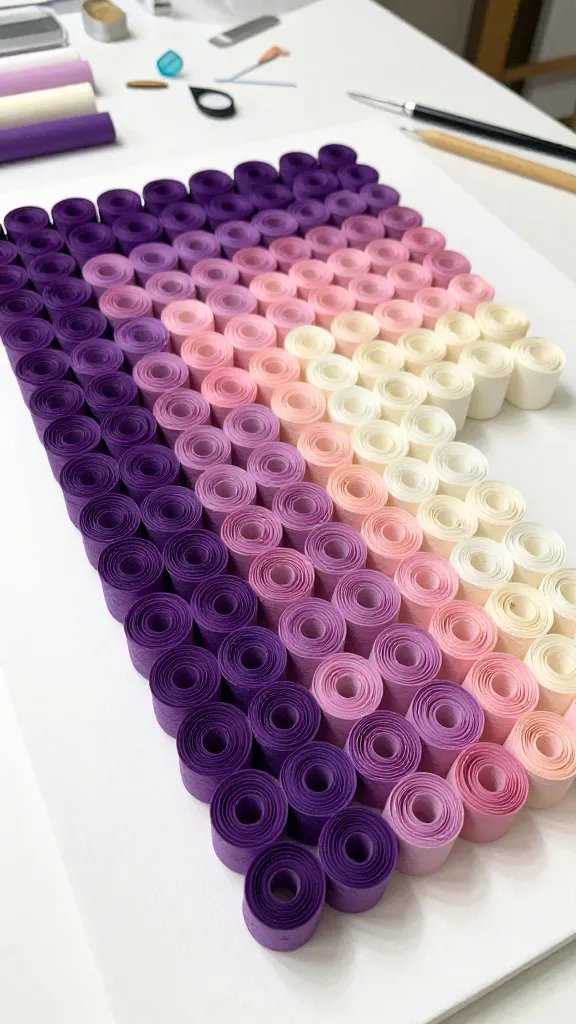
This textured masterpiece looks like expensive gallery art but costs practically nothing.
You’re basically creating a relief sculpture from tightly rolled paper tubes arranged in patterns or ombré designs. Seriously stunning.
Materials Needed
- Magazines, old books, or colored paper
- Canvas board or thick cardboard
- Strong craft glue
- Acrylic paint (optional)
- Toothpicks for rolling
How to Make It
Cut your paper into strips and roll them tightly around a toothpick to create little tubes. Glue the ends so they stay rolled. Create dozens of these in various sizes.
Arrange your rolls on the canvas in whatever design you love—concentric circles, flowing waves, or an abstract pattern.
Glue them standing upright, packed closely together. The different heights and shadows create incredible dimension.
Paint everything one solid color for a monochromatic statement piece, or embrace the printed paper for an eclectic look. Either way, people will ask where you bought it.
Paper Lantern String Lights
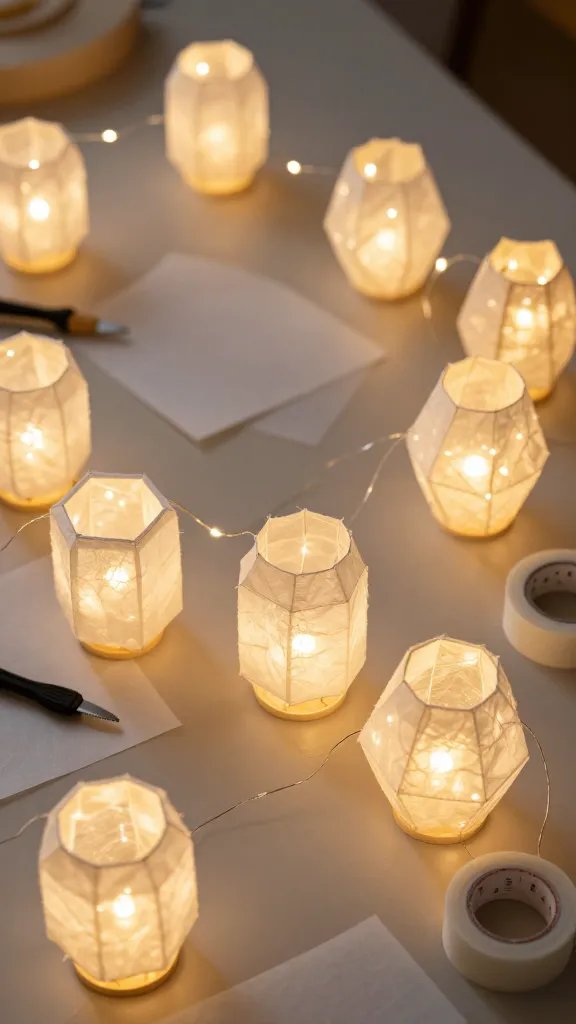
Transform basic string lights into something magical with custom paper lantern shades. This project gives you that cozy, café-style ambiance without the café prices. Your evening lighting situation is about to get an upgrade.
What You’ll Need
- Vellum or thin translucent paper
- Paper templates (cylindrical or geometric)
- Battery-operated fairy lights
- Double-sided tape
- Scoring tool
Create small lantern shades by scoring and folding paper into shapes that fit over each light bulb.
Cylindrical and geometric shapes work best and are surprisingly simple to construct. Use translucent paper so the light glows through beautifully.
Secure each shade with double-sided tape, leaving one end open to slide over the bulb. Make sure you’re using LED or battery-operated lights since they don’t generate heat.
Pro Tips
Mix different colored vellum for a rainbow effect, or stick with white for elegant simplicity.
These look incredible draped across headboards, wrapped around mirrors, or lining bookshelves.
Accordion-Fold Paper Room Divider
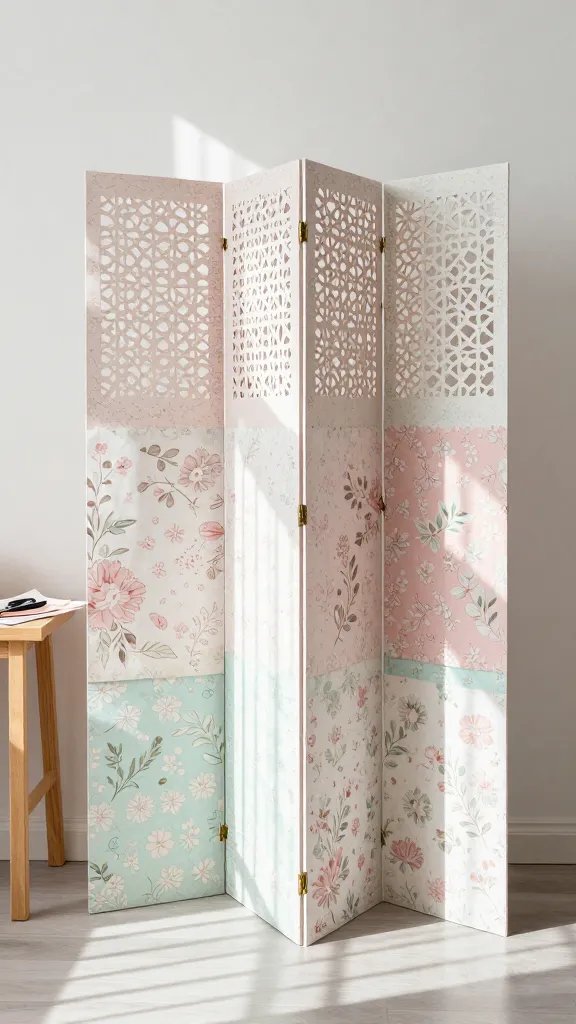
Need to create zones in your space without building actual walls? This decorative screen does exactly that while looking like an art installation. It’s functional sculpture, basically.
Materials Needed
- Large sheets of cardstock or posterboard
- Decorative paper or wrapping paper
- Strong tape or brads
- Cutting mat and knife
- Stencils for cutout designs (optional)
Connect multiple panels of decorated cardstock using tape or brads to create hinges. The accordion fold allows it to stand freely and adjust to different angles.
You can keep the panels solid or cut decorative patterns into them for visual interest.
Cover your panels with patterned paper, paint them, or create cutout silhouettes that cast beautiful shadows.
This works wonderfully for separating a workspace from a sleeping area in studio apartments or creating a dressing area in bedrooms.
The lightweight nature means you can move it around whenever you need to reconfigure your space. It’s temporary architecture at its finest.
Quilled Paper Monogram Letter
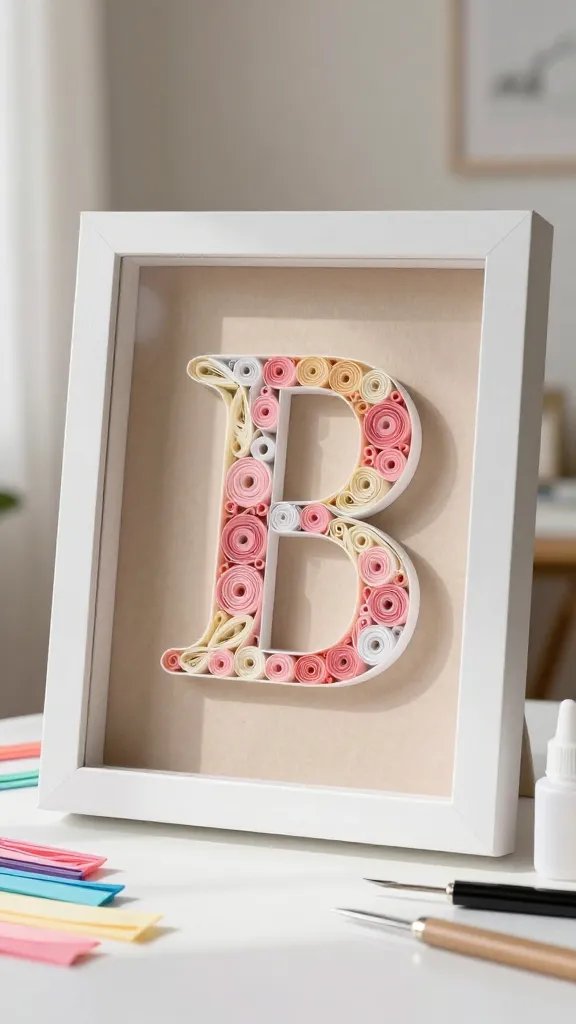
Paper quilling looks incredibly intricate but follows simple techniques once you get the hang of it.
A quilled monogram adds such a personal, handcrafted touch to your space. This is the kind of thing guests notice immediately and compliment.
What You’ll Need
- Quilling paper strips
- Quilling tool or toothpick
- Cardboard letter (from craft store)
- Strong glue
- Shadow box frame
How to Make It
Roll your paper strips into coils using the quilling tool, then pinch and shape them into various forms—teardrops, marquises, and tight circles.
Cover your cardboard letter completely with these quilled shapes, packing them tightly and varying the shapes for texture.
Work in sections, gluing as you go and holding each piece until it sets. Use a single color for modern elegance or multiple shades for an ombré effect.
Display your finished letter in a shadow box frame to protect all that detailed work. It makes an amazing focal point on a gallery wall or a thoughtful handmade gift. You’ll love this one.
Styling Ideas
Make the first letter of your name, your family initial, or spell out a short word using multiple letters. The dimensional quality of quilling gives it such a luxe, boutique feel.
There you have it—seven completely different ways to transform paper into room decor that actually looks expensive and intentional.
Pick whichever project speaks to your style and give it a try this weekend. The best part about paper crafts is that if you mess up, you’re only out a few sheets of paper, so there’s zero pressure to be perfect. Happy crafting!






