
How to Make Beeswax Wraps at Home

Beeswax wraps are reusable, washable food covers made by infusing cotton fabric with a mixture of beeswax, tree resin, and oil — and a single batch replaces hundreds of plastic bags and cling film sheets over its 12-month lifespan.
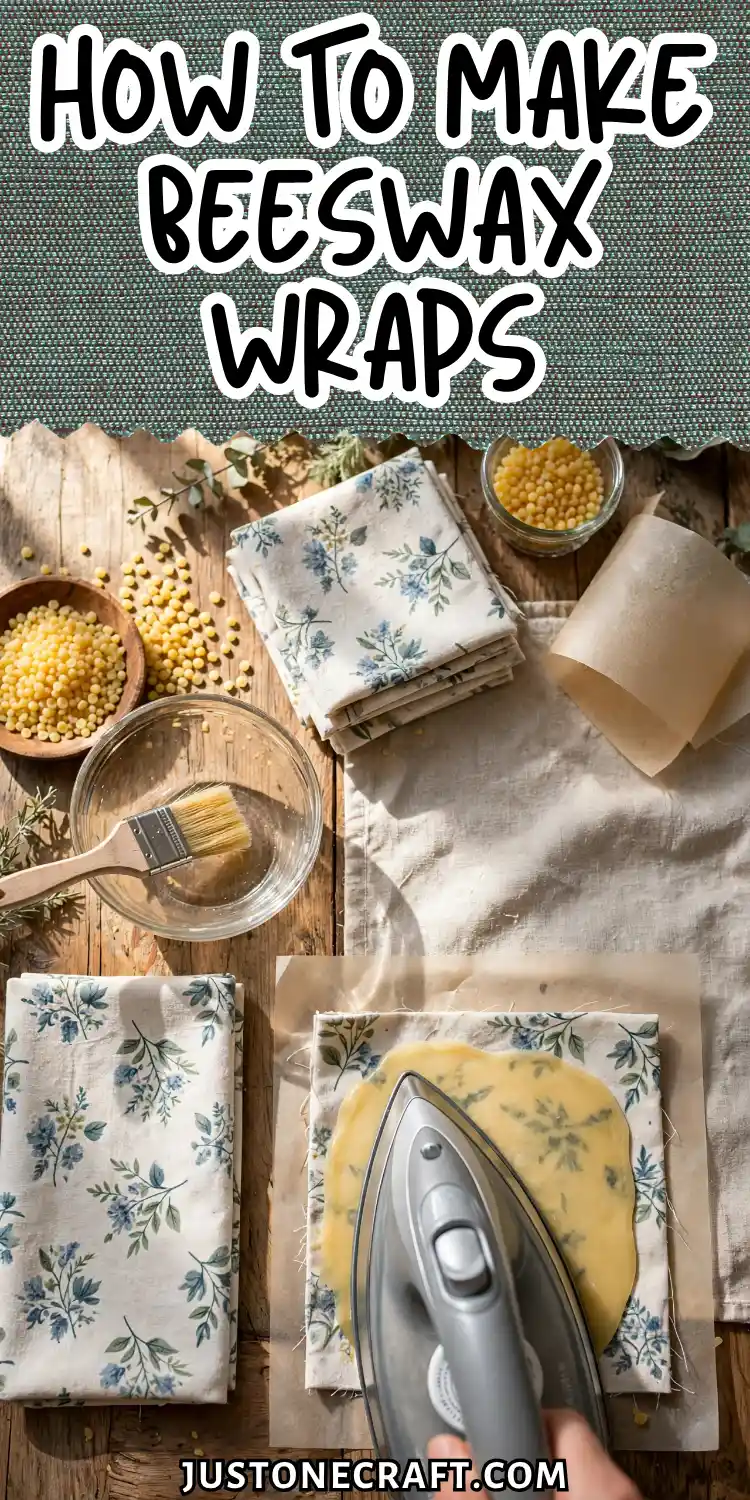
Why It Works
Beeswax naturally repels water and has antimicrobial properties. When melted into cotton, it creates a breathable barrier that keeps moisture and bacteria out while allowing produce to release ethylene gas, helping fruits and vegetables stay fresh longer than in airtight plastic.
Tree resin gives the wrap its natural stickiness, allowing it to cling to bowls and food. Without it, the fabric feels waxy but won’t seal properly.
Jojoba oil keeps the beeswax flexible, preventing cracks and brittleness in the refrigerator while maintaining a smooth, reusable wrap.
What You Need
🧪 The Formula
- Beeswax pellets (60g) — Use food-grade or cosmetic-grade yellow pellets. They melt quickly and evenly. Avoid paraffin wax.
- Pine resin or damar resin (20g) — Adds the necessary stickiness. Use only food-safe natural resin.
- Jojoba oil (10ml / 2 tsp) — Keeps wraps flexible and extends shelf life. Avoid olive oil.
- 100% cotton fabric — Pre-washed quilting cotton or muslin works best. Avoid synthetic fabrics.
- Parchment paper — Place one sheet above and one below the fabric. Don’t use wax paper.
- Old baking tray or oven-safe dish — Reserve it for wax projects only.
- 1-inch natural-bristle paintbrush — Spreads melted wax evenly. Avoid synthetic brushes.
- Iron and ironing board — Used to melt and distribute the wax mixture evenly.
Step-by-Step Instructions
1. Pre-cut and pre-wash your fabric
Cut cotton into three sizes: 20x20cm (sandwich size), 30x30cm (bowl cover), and 35x35cm (large wrap). Run them through a hot wash cycle with no fabric softener.
20×20cm
Sandwich
30×30cm
Bowl Cover
35×35cm
Large Wrap
Softener leaves a coating that repels wax. The fabric should feel slightly rough and stiff after drying — that’s correct.
2. Combine wax, resin, and oil in your dedicated tray
Measure 60g beeswax pellets, 20g resin, and 10ml jojoba oil directly into the tray. No need to pre-mix. Place the tray in an oven preheated to 100°C (210°F).
Check at 5 minutes — the pellets will be half-melted. Stir gently with a silicone spatula at 7 minutes. Everything should be fully liquid by 8–10 minutes.
The mixture should look like clear amber honey with no solid lumps. If you see white lumps, the resin hasn’t fully melted — give it 2 more minutes.
3. Lay one fabric square on parchment paper on your ironing board
Place the fabric flat, right side up. Smooth out any wrinkles by hand — wrinkles create thin spots in the wax coating.
4. Brush the wax mixture onto the fabric immediately
Working quickly (the wax re-solidifies within 90 seconds outside the oven), brush the hot mixture across the fabric using horizontal strokes, then vertical, covering all the way to the edges.
⏱️ Work Fast: You have about 90 seconds before the wax re-solidifies outside the oven. Have everything ready before you start.
You should see the fabric darken and become translucent as the wax absorbs — like watercoloring paper. If you see white patches, those areas have insufficient wax.
The most common beginner mistake here is applying too little mixture and leaving dry spots that won’t cling or resist moisture.
5. Place a second sheet of parchment paper on top and iron immediately
Set your iron to medium heat (no steam). Iron over the parchment in slow, overlapping strokes for 45–60 seconds.
You’ll see the wax spread and pool slightly under the parchment — that’s correct. Lift one corner of the parchment to check: the fabric should look uniformly glossy with no matte dry patches.
6. Peel the wrap off the parchment and wave it in the air for 20 seconds
The wax sets almost instantly on contact with air. Within 20 seconds, the wrap will go from limp and warm to firm and slightly tacky.
Hold it by two corners and wave gently. It’s ready when it holds its shape and feels like a stiff cloth — no longer soft and droopy.
7. Repeat for remaining fabric pieces, reheating the wax tray as needed
Return the tray to the oven for 3–4 minutes between wraps to keep the mixture liquid. Don’t try to work with wax that has started to solidify — the coverage will be uneven.
Storage and Aftercare
Wash wraps in cold water only with a tiny drop of dish soap. Hot water above 40°C melts the wax coating and ruins the wrap permanently.
Hang or lay flat to dry — never put in the dryer. Store flat or loosely rolled in a drawer. With cold-water washing, a well-made wrap lasts 9–12 months before the wax begins to crack along fold lines. Do not use on raw meat or fish.
Variations
Vegan wraps: Replace beeswax with candelilla wax (use 40g — it’s twice as strong, so use less) and carnauba wax (20g). The tackiness won’t be quite as pronounced, but the wraps are fully plant-based and perform well for dry foods and bread.
Herb-infused wraps: Add 5 drops of food-grade tea tree essential oil to the wax mixture before brushing. Tea tree boosts the antimicrobial properties and adds a subtle clean scent. Do not use citrus oils — they degrade the wax over time.
Kids’ size wraps: Cut fabric into 15x15cm squares for snack portions. These are also the easiest to practice on — less surface area means more control over wax coverage on your first attempt.
Troubleshooting
| Problem | Likely cause | Fix |
|---|---|---|
| Wrap won’t stick to bowls or itself | Resin was omitted or under-measured | Re-melt wrap between parchment, add 10g more resin to the mixture, re-coat |
| Wrap feels greasy after cooling | Too much jojoba oil | Reduce to 1 teaspoon (5ml) in next batch; lay current wrap on paper towel and press with warm iron to absorb excess |
| White streaks or dry patches on surface | Wax applied too cool, or brush strokes missed sections | Reheat wrap between parchment sheets and re-iron with a fresh light coat of wax |
| Fabric shrank or melted during process | Fabric contained synthetic fibers | Always test a small scrap before cutting a full batch; replace with 100% cotton |
| Wrap cracks along fold lines after first week | Insufficient jojoba oil, or wax cooled too quickly | Re-melt with added oil; wave the finished wrap slowly rather than snapping it open |
| Wrap smells burnt or chemical after making | Wax mixture overheated in oven | Keep oven at 100°C maximum; don’t leave mixture in oven longer than 12 minutes total |
One Final Thought
Every problem with a finished beeswax wrap — poor cling, dry patches, cracking — is a wax distribution problem, not a formula problem.
♻️ Good News: Wax never bonds permanently until it cools — remelt between parchment and re-iron anytime before it sets.
If something’s wrong, you can always remelt. Lay the finished wrap between two sheets of parchment, run a warm iron over it, and reapply.
The wax never truly bonds permanently until it cools completely, which means every wrap you make is correctable right up until the moment it sets.






