
How to Crochet for Absolute Beginners

Crochet is the craft of interlocking loops of yarn using a single hooked needle to build fabric, garments, and objects from scratch.
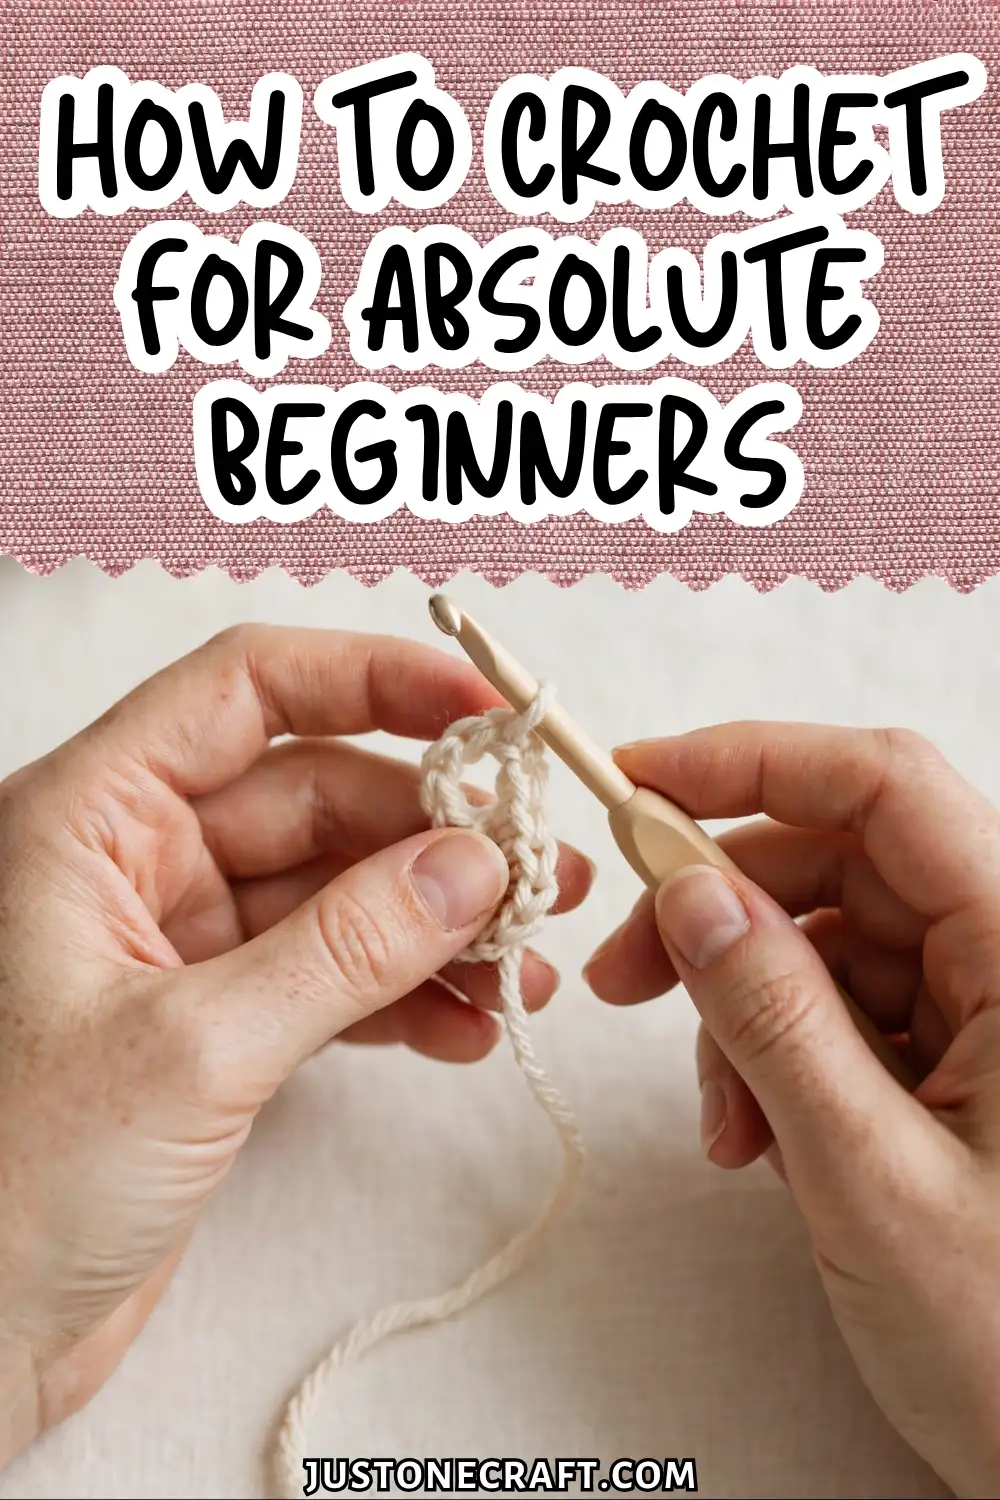
Unlike knitting (which uses two needles and keeps many live stitches at once), crochet works one stitch at a time — making it far more forgiving for beginners and almost impossible to unravel by accident.
Why Crochet Actually Works
Every crochet stitch is a loop pulled through another and locked in place—structurally complete, like a chain of anchored slip knots. It can’t unravel unless you deliberately pull it back out.
The hook grabs yarn and creates tension. Hook size versus yarn thickness determines “gauge”: thin hook + thick yarn = dense fabric; big hook + thin yarn = airy mesh. Getting this ratio right matches your piece to the pattern.
🪡 Thin Hook + Thick Yarn
Dense, stiff fabric
🪝 Big Hook + Thin Yarn
Airy, stretchy mesh
Tension—how firmly you hold the yarn—controls loop size. It evens out naturally after 30–60 minutes of practice.
What You Need Before You Start
Yarn: Worsted weight, 100% acrylic (Lion Brand or Red Heart). Washable, cheap, easy to see stitches. Skip cotton (no stretch) and fluffy/textured yarn (can’t see stitches).
Hook: 5.0mm (US H/8), aluminum or plastic. Skip cheap bamboo—it snags.
Scissors: Any sharp pair, for finishing stitches cleanly.
Yarn needle: For weaving in ends. Don’t skip—loose ends unravel over time.
Stitch markers (optional): Track your place. A safety pin works too.
Step-By-Step: Your First Crochet Swatch
1. Make a slip knot Form a loop about 15cm from the yarn end, pull the working yarn (the strand attached to the ball) through the loop, and tighten it onto the hook.
It should slide freely when you tug the tail — snug but not locked. This is your starting point for every single crochet project.
2. Chain 16 stitches Hold the hook in your dominant hand and the yarn in the other, with the yarn draped over your index finger for tension control.
Wrap the yarn over the hook (called “yarn over”) and pull it through the loop on the hook. That’s 1 chain stitch. Repeat 15 more times.
Your chain should look like a row of evenly spaced V shapes. Most beginners chain too tightly here — if you can’t easily insert the hook into each chain later, start again with a looser grip.
3. Turn and insert for your first single crochet Skip the first chain from the hook (it’s your turning chain — it counts as height, not a stitch).
Insert the hook into the second chain from the hook, going through both strands of the V. You should feel slight resistance, then a clear “seat” for the hook.
4. Complete the single crochet Yarn over and pull through the chain — you now have 2 loops on your hook. Yarn over again and pull through both loops.
One loop remains on the hook. That’s 1 complete single crochet stitch. What you’ll feel: a subtle click of the loops locking.
What you’ll see: a small knot forming on the foundation chain.
5. Work across the row Repeat step 4 in each remaining chain. You should end with 15 stitches across. Count them.
If you have 14 or 16, you either skipped a stitch or added one — pull back and recount before moving on.
6. Chain 1 and turn At the end of the row, chain 1 (this gives the row height), then rotate the whole piece 180°. The working yarn should now be on the right side again.
7. Work back across Insert the hook under both loops of the first stitch at the top of the previous row. Complete single crochets across.
The most common beginner mistake at this stage: crocheting into the turning chain at the end of the row, which adds a stitch and creates a growing, trapezoidal piece.
Stop 1 stitch before you think you’ve reached the end, count, then decide.
⚠️ #1 Beginner Trap: Crocheting into the turning chain adds an extra stitch and creates a growing, trapezoidal piece. Stop and count first.
8. Repeat for 15 rows, then fasten off When you’ve worked 15 rows, cut the yarn leaving a 15cm tail. Yarn over and pull the full tail through the last loop on the hook to lock it.
Thread the tail onto your yarn needle and weave it back and forth through 4–5 stitches on the back of the work. Trim close.
Variations to Try Next
Double crochet — uses a taller stitch (yarn over before inserting the hook) that creates looser, drapier fabric. Great for blankets and scarves. Chain 3 instead of 1 to turn.
The magic ring — replaces the foundation chain when working in the round (for hats, granny squares, amigurumi). Lets you close the center hole completely.
Granny squares — small geometric motifs worked in the round, then joined together. The foundation of hundreds of blanket and garment patterns.
Slip stitch join — used to connect rows into a tube (think beanies) or to join granny squares without bulk. Identical to a chain stitch, but inserted into an existing stitch.
Troubleshooting
| Problem | Likely cause | Fix |
|---|---|---|
| Piece gets wider each row | Crocheting into the turning chain | Stop before the last stitch, count across — you should have exactly 15 |
| Piece gets narrower each row | Missing the last stitch in each row | Look for the stitch sitting directly below the turning chain and work into it |
| Stitches are too tight to insert hook | Tension too tight while chaining | Relax your grip; try holding the hook closer to the tip |
| Yarn splits when inserting hook | Hook is catching yarn fibers | Slow down; angle the hook slightly downward on entry |
| Uneven stitch height across a row | Inconsistent yarn-over tension | Keep the working yarn draped over the same finger position every stitch |
| Loose, loopy fabric with gaps | Hook too large for yarn | Drop down one hook size (try 4.5mm) |
One thing that changes everything
Crochet feels hard because beginners try to track too much at once—tension, hook angle, loop count, placement.
👀 Watch the Stitches, Not Your Hands
Consistent V shapes = you’re doing it right. Twisted or irregular Vs = that’s exactly where to adjust.
The fix: stop watching your hands, start watching your stitches. They’re your feedback loop.
Consistent, even Vs on top of each stitch, easy to hook under? You’re doing it right.
Twisted, tight, or irregular Vs? That’s where to adjust. Your hands find their rhythm on their own—trust the stitches to guide you.






