
What’s the Best Way to Store Ribbons, Beads, and Small Supplies?

If you’ve ever spent twenty minutes hunting for a single spool of ribbon or dumped a jar of beads across your kitchen table by accident, you already know the problem. Small craft supplies are wonderful to work with and miserable to organize.
They’re tiny, they multiply fast, and they don’t sit neatly on a shelf the way a stack of fabric or a box of yarn does.
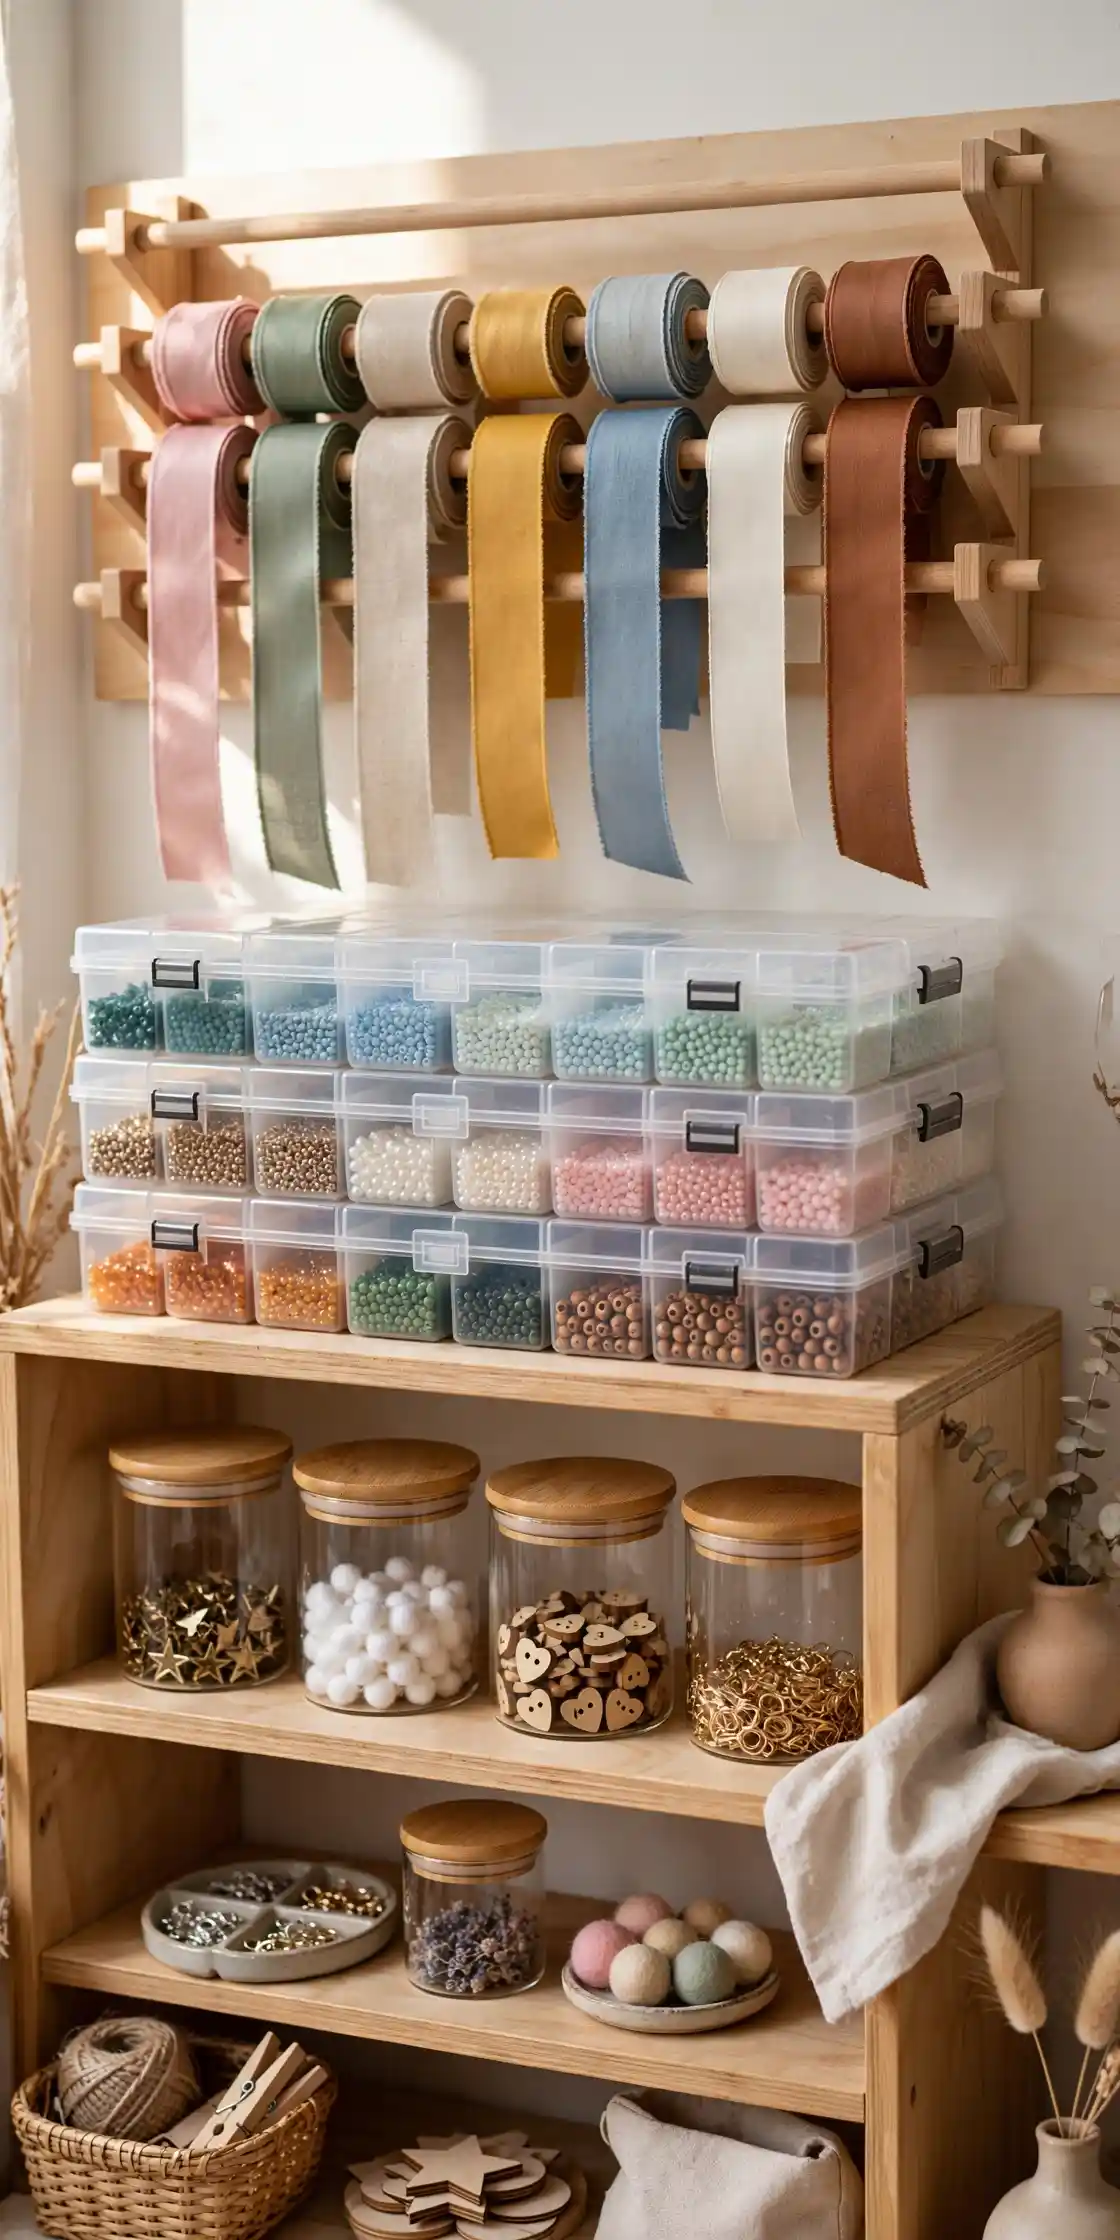
The good news is that storing these items well doesn’t require expensive furniture or a Pinterest-perfect craft room. It just requires a system that matches how you actually work. Here’s how to build one.
Start by Sorting, Not Buying
The instinct when things feel messy is to go buy containers. Resist that urge for a moment. Before you spend a dollar, sort what you have into rough categories: ribbons, beads, buttons, thread, findings, embellishments, and so on.
🛑 Resist the Urge: Don’t buy containers first. Sort what you already have — you’ll likely find duplicates and forgotten stashes.
This step matters more than the containers themselves, because it tells you what you actually need to store and how much of it you have.
You might discover you own twelve half-used spools of the same white ribbon, or three bags of beads you forgot about entirely.
Once everything is grouped, you’ll have a much clearer picture of the right storage solution for each category.
Ribbons: Keep Them Visible and Untangled
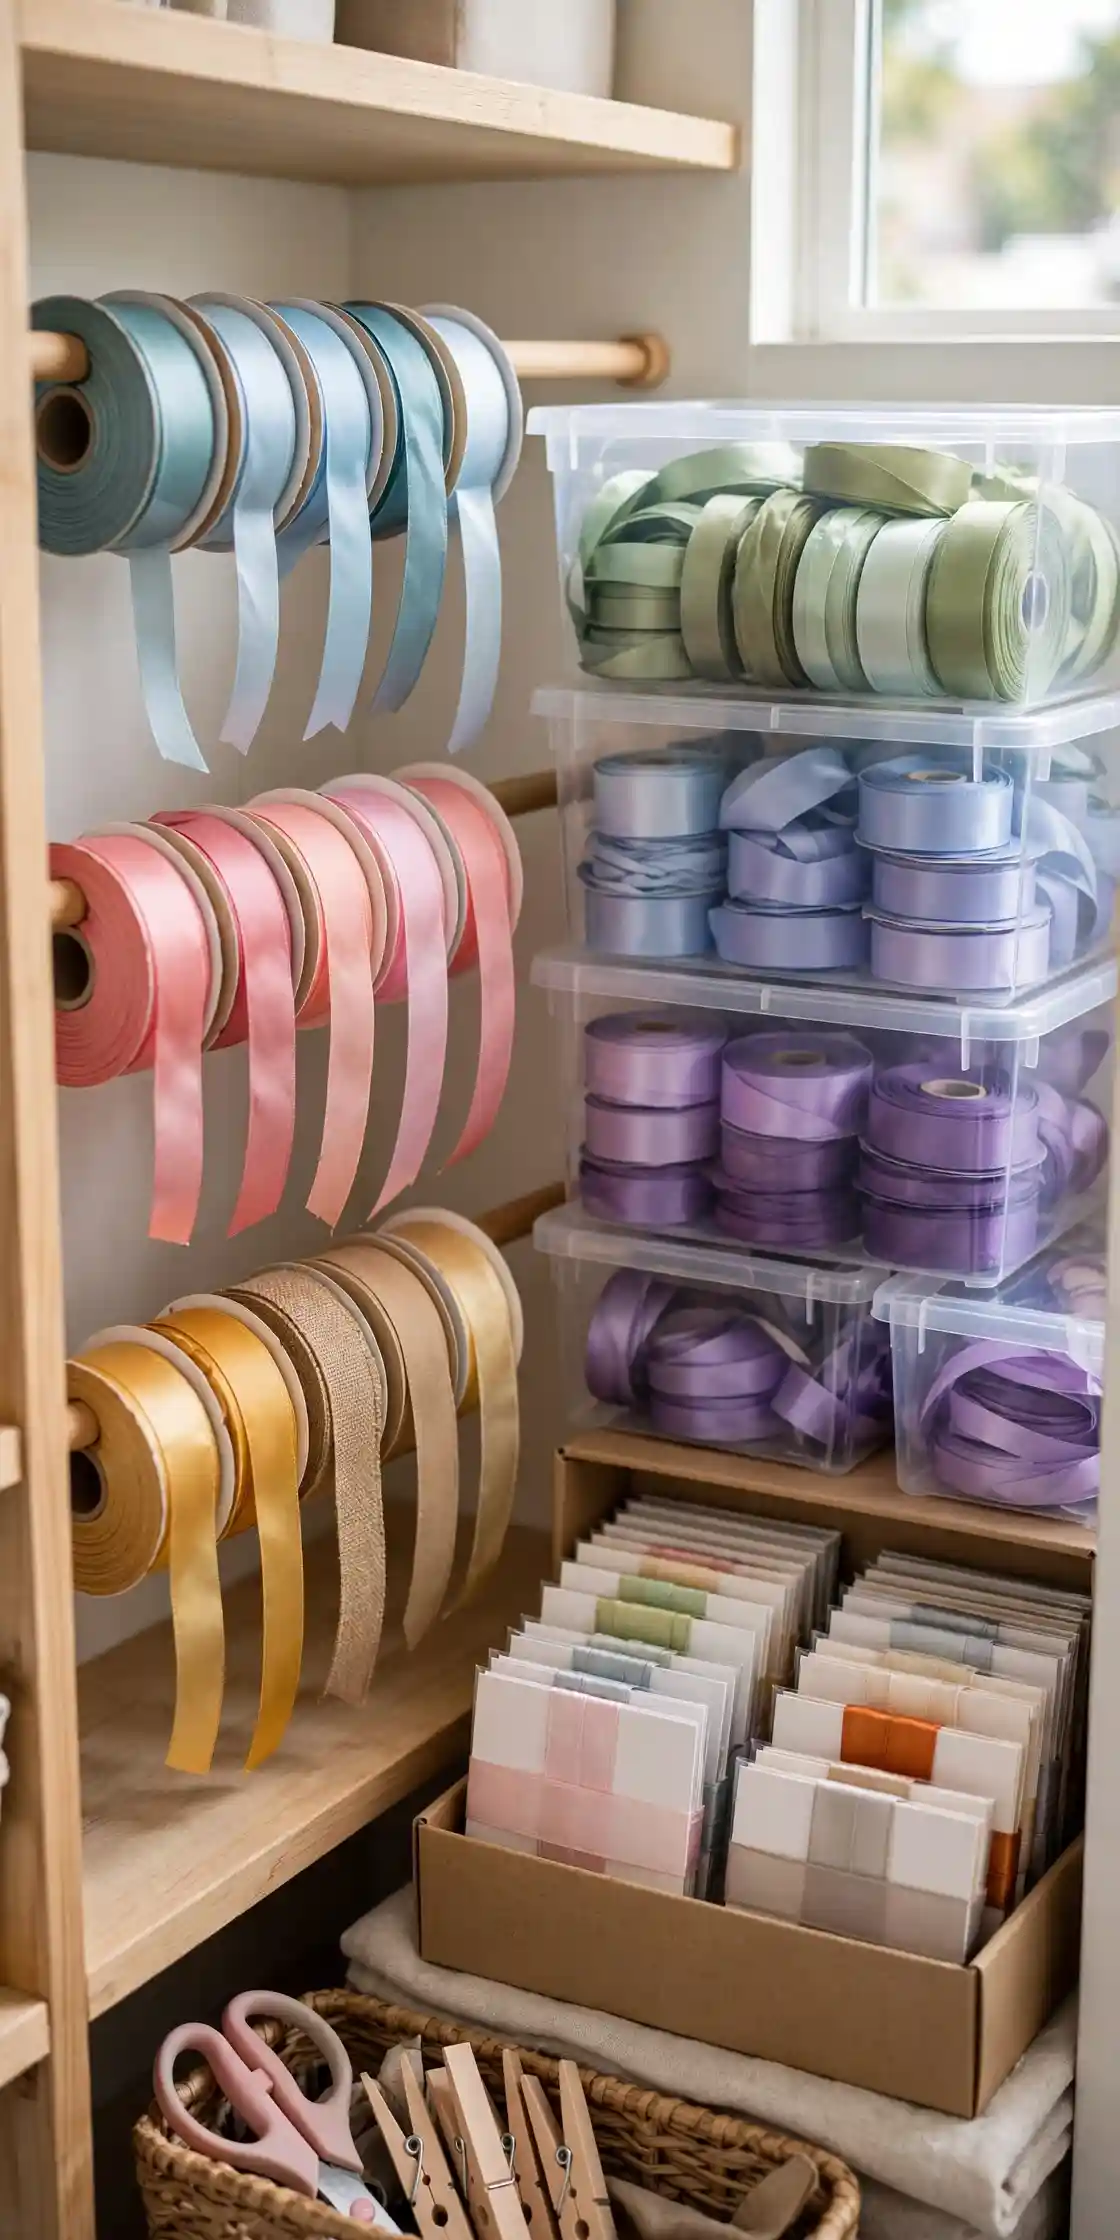
Ribbon is deceptively hard to store because it’s long, flat, and prone to tangling the moment it’s left loose in a drawer.
A few reliable options:
- A dowel or tension rod inside a drawer or box. Slide ribbon spools onto the rod like a paper towel holder. You can see every color at once and pull exactly what you need without unraveling anything else.
- Clear stackable bins by color or width. If you have a large collection, sorting by color first and width second makes it easy to grab what matches a project.
- Small ribbon cards. For short lengths or ribbon that’s no longer on a spool, wind it around cardstock cards. These stack neatly in a shoebox-sized container and take up far less space than loose spools.
The main goal with ribbon is visibility. If you can’t see it, you’ll forget you have it and buy more.
Beads: Contain Them by Size and Type
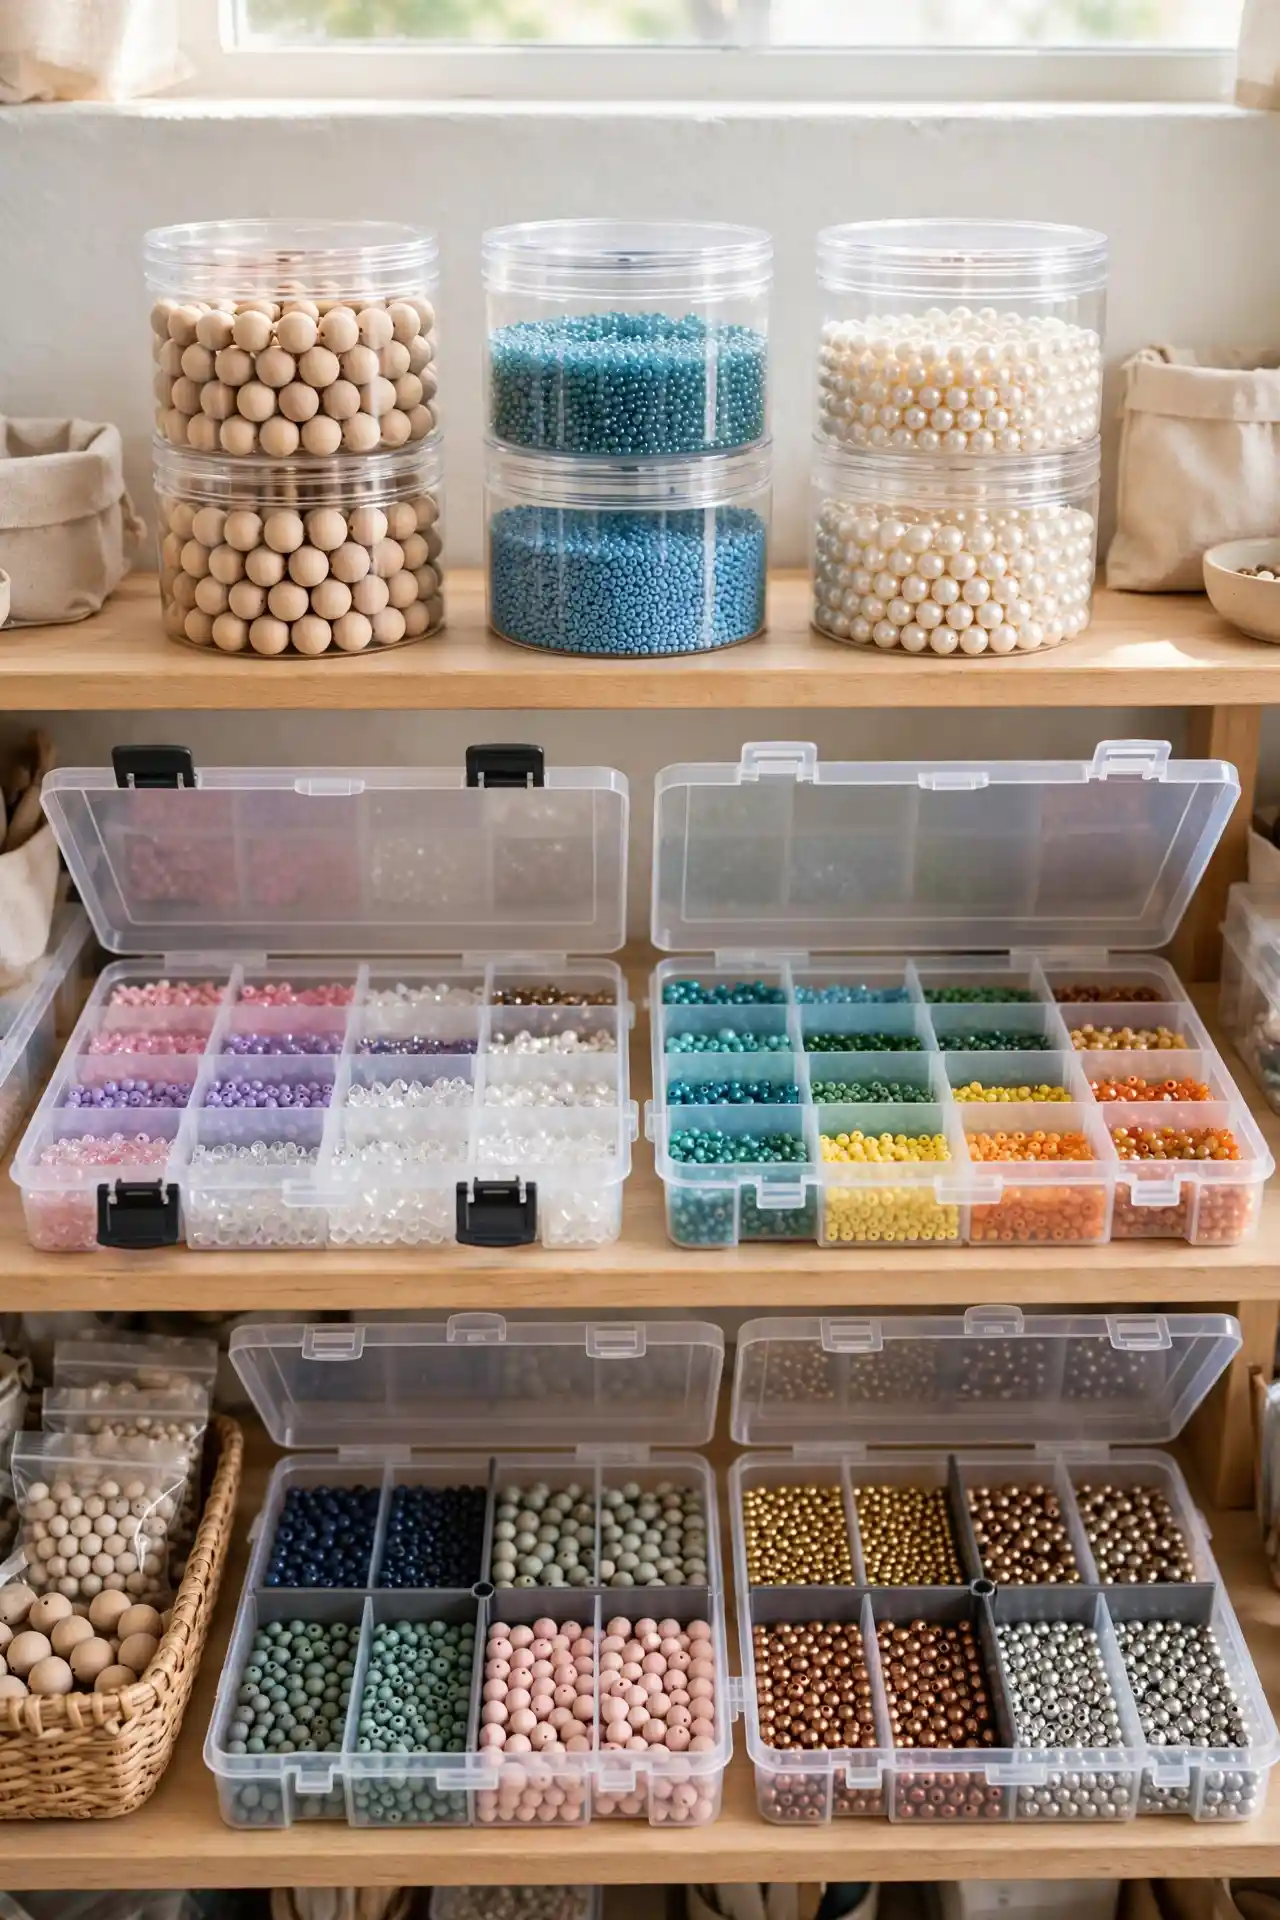
Beads are the supply most likely to end up all over your floor, so containment is priority one.
- Divided storage boxes with small compartments work well for beads sorted by color or size. Look for boxes with a secure latch, since beads escape through the smallest gaps.
- Stackable screw-top jars are ideal for larger quantities of a single bead type. They seal tightly, stack efficiently, and let you see contents at a glance.
- Bead organizers with adjustable dividers give you flexibility as your collection grows or shrinks in certain categories.
A tip that saves a lot of frustration: label every container, even if you think you’ll remember what’s inside. Six months from now, “assorted 6mm” will not mean anything to you.
🏷️ Label Everything: Even if you’re sure you’ll remember — future you won’t. A label maker or masking tape both work fine.
Small Supplies: Buttons, Findings, Charms, and More
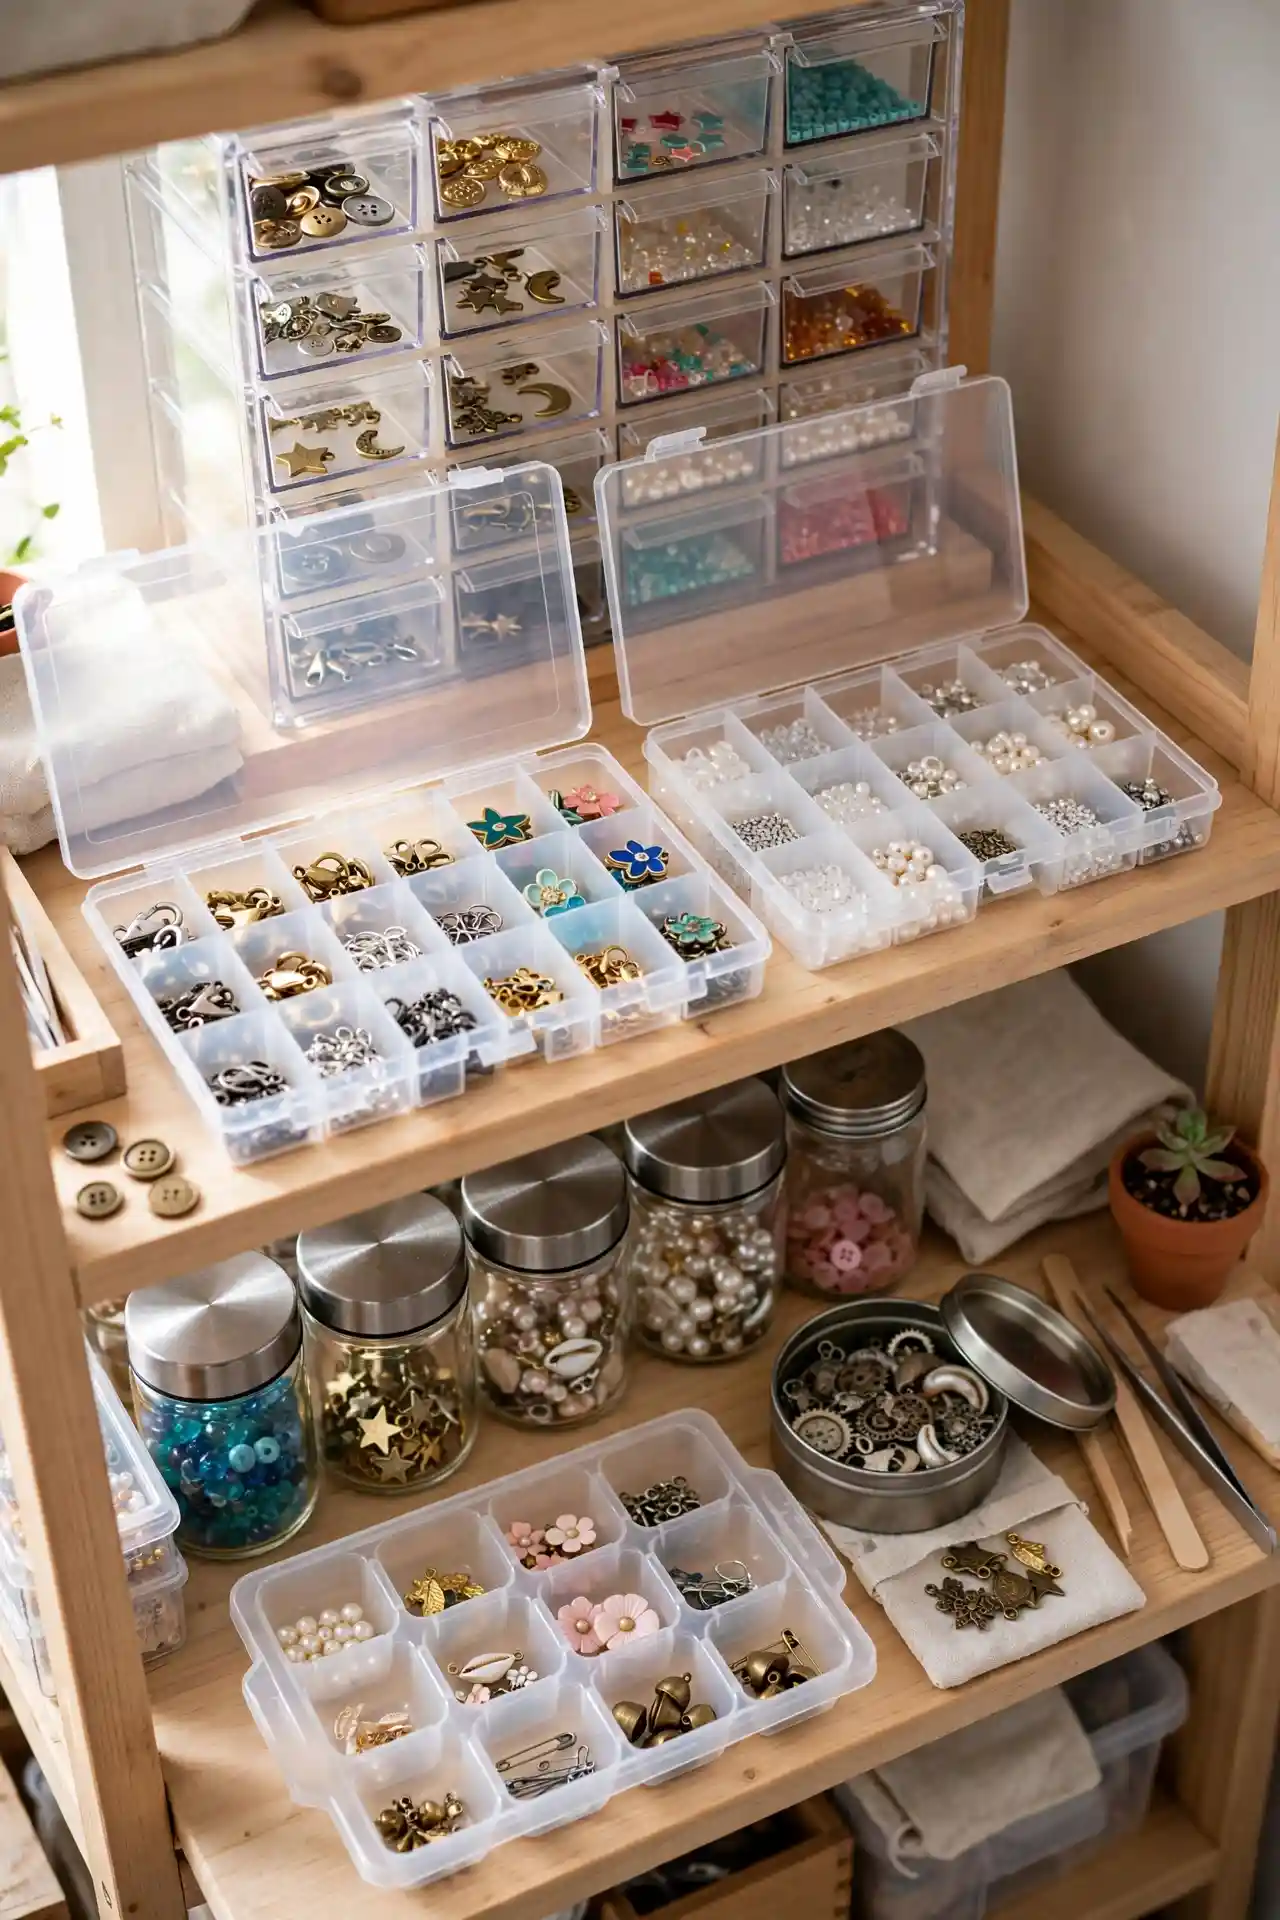
This is the catch-all category, and it benefits most from a home base rather than scattered storage.
- Clear plastic drawer units with multiple small drawers are a classic for a reason. Each drawer can hold one type of item, and the clear fronts mean no guessing.
- Fishing tackle boxes or bead organizer cases are inexpensive and surprisingly well-suited to craft supplies, since they’re already designed for tiny, easily lost items.
- Repurposed containers, like clean spice jars, mint tins, or ice cube trays, work fine for smaller collections and cost nothing extra.
Three Principles That Make Any System Work
Regardless of which containers you choose, a few habits will keep your storage functional long after the initial organizing session:
1️⃣
Group by Project
2️⃣
Label Clearly
3️⃣
Leave Room to Grow
- Group by project, not just by type. If you regularly make the same kind of item, like earrings or gift bows, consider keeping a small stash of everything needed for that project together. It saves time even if it means a bit of duplication.
- Label clearly and consistently. Whether it’s handwritten tags or a label maker, consistent labeling is what keeps a system usable six months from now instead of just on the day you set it up.
- Leave room to grow. Craft supplies accumulate. Choose storage that has a little breathing room rather than packing everything in at full capacity, so new finds have a place to go.
Keep It Where You’ll Actually Use It
Finally, think about location. The best storage system is the one you’ll actually maintain. If your craft space is a corner of the living room, bulky drawer units might not be practical, but a rolling cart or a few stackable bins could work perfectly.
If you have a dedicated craft room, you have more freedom to build out a full wall of labeled storage.
There’s no single “correct” way to store ribbons, beads, and small supplies. The best system is the one that keeps things visible, contained, and easy to put back after a project.
Start small, adjust as you go, and you’ll spend a lot less time digging through drawers and a lot more time actually creating.






