
How to Make a Ribbon Bow: Easy & Pretty Styles

A ribbon bow is a looped, symmetrical knot made from decorative ribbon — and getting it right is the difference between a gift that looks store-bought and one that looks like it was thrown together in 30 seconds.
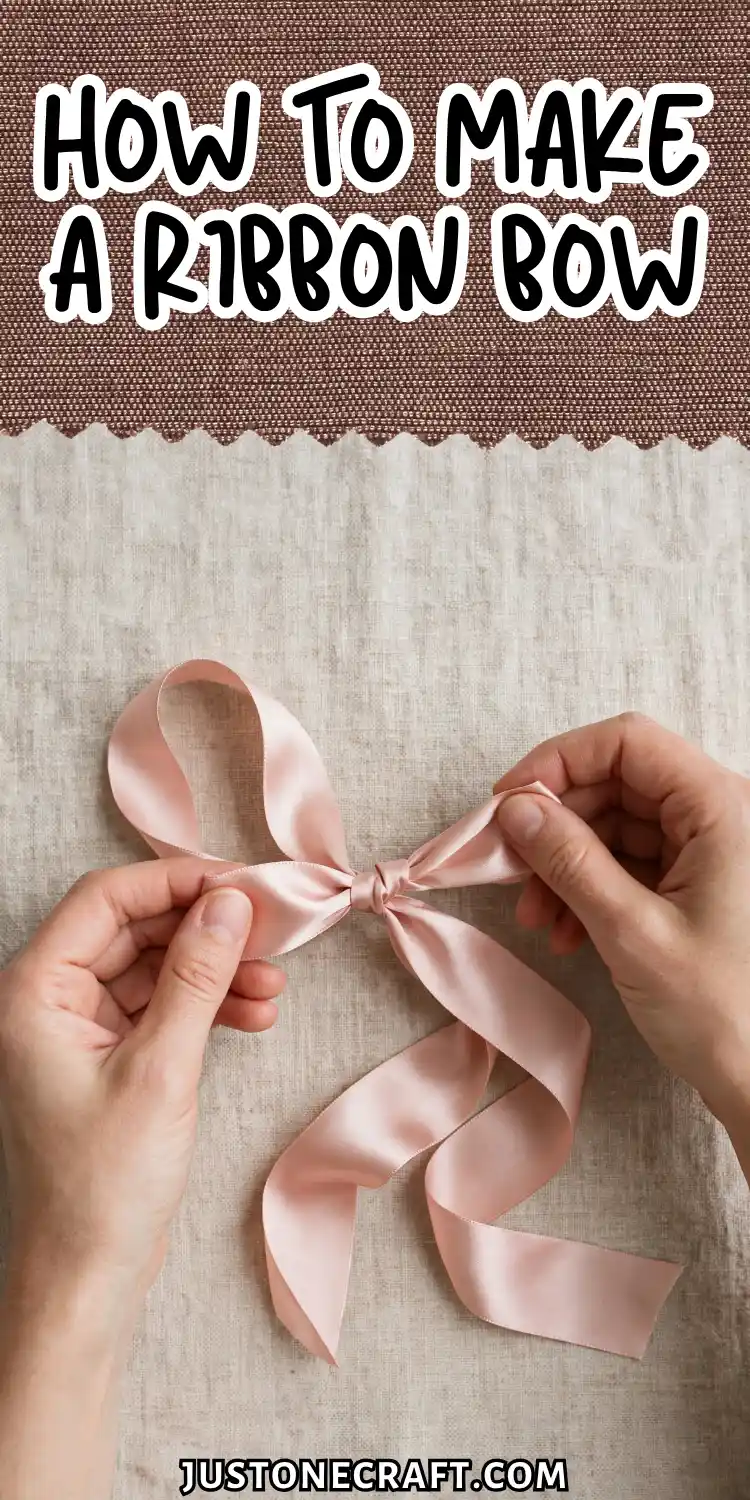
The technique takes under five minutes once you understand what’s actually happening mechanically.
How a Ribbon Bow Works
A ribbon bow keeps its shape through tension and the ribbon’s memory. A tight center tie locks the loops in place, while the ribbon naturally holds its curved shape. More loops create a fuller bow, and longer loops make a larger, more dramatic bow.
What You Need
Ribbon Use 2.5-inch wired ribbon for your first bow—it holds its shape and is beginner-friendly.
Avoid thin satin (too soft) and sheer organza (too slippery). Use 3–4 yards for a gift bow or 6–9 yards for a large decorative bow.
Floral wire or a twist tie 24-gauge green floral wire is the standard. It bends without snapping and is thin enough to hide. Avoid tape — it shifts over time and doesn’t grip ribbon the way wire does.
Scissors Sharp fabric scissors only. Craft scissors drag on ribbon and produce frayed, uneven cuts.
A clean 45-degree diagonal cut on ribbon tails looks intentional; a ragged straight cut looks like a mistake.
A ruler or your hand as a guide Consistent loop size is what separates a professional-looking bow from a messy one.
Your hand span (about 6 to 7 inches fingertip to wrist) works as a reliable guide if you don’t have a ruler nearby.
Step-By-Step Instructions
1. Leave a tail. Pull about 8 inches of ribbon off the spool without cutting. This becomes one of the two hanging tails.
Hold it between your thumb and index finger — this pinch point is your center, and you’ll hold it the entire time you’re building the bow.
2. Form your first loop. Bring the ribbon up and over your pinch point to create a loop about 4 to 5 inches long.
Pinch it against your thumb. You should feel the ribbon naturally try to twist — let it. A slight twist at the center is normal and actually helps the loops fan out later.
3. Form the second loop on the opposite side. Bring the ribbon under the center and form a matching 4–5 inch loop on the opposite side. Pinch the center tightly and keep a firm grip to hold the loops in place.
4. Repeat until you have 8 to 10 loops total. Alternate sides with each loop. Four to five loops per side gives a full, balanced bow.
As you add loops, the stack at your pinch point gets thicker — use your whole thumb and index finger to clamp it, not just the tips.
5. Leave a second tail. After your last loop, let about 8 inches hang free on the other side. Cut from the spool.
6. Secure the center. Cut a 6-inch floral wire, place it through the center of the loops, and twist the ends tightly at the back (at least 2 full twists). The loops should be firmly locked and not slide or rotate.
7. Separate and shape the loops. Starting with the outer loops, gently pull and spread each loop upward and outward.
Rotate them slightly so they point in different directions, creating a full, balanced bow.
8. Trim the tails. Cut each tail at a 45-degree angle or a V-notch (fold the tail in half lengthwise and snip a diagonal from the folded edge to the open edge). Both cuts prevent fraying and look clean.
Storage and Aftercare
Store finished bows in a box rather than a bag — compression is what kills the shape. If a bow arrives crushed, hold it over steam from a kettle for 10 to 15 seconds, then reshape the loops by hand while the ribbon is still warm. Wired ribbon bounces back almost completely.
Variations
Layered double bow: Make two bows of different sizes and wire them together, offset by 45 degrees. The smaller bow sits on top. Ideal for large gifts and wreaths where one bow looks undersized.
Stacked multi-ribbon bow: Build the bow using two ribbons simultaneously — one patterned, one solid — held together at the pinch point.
The two ribbons naturally separate as you pull the loops, creating a two-tone effect without any extra steps.
Florist-style curled ribbon bow: Use non-wired curling ribbon. Skip the looping entirely — cut 6 to 8 strips of equal length, hold each strip against a scissor blade, and pull firmly along the length.
The ribbon curls into tight spirals. Gather the strips at the center and tie once with a short piece of the same ribbon.
Rustic burlap bow: Burlap ribbon doesn’t hold a loop the way wired ribbon does, so you need to stiffen the loops.
A light spray of spray starch before you begin, or tucking a small square of cardboard inside each loop while the bow dries, keeps the shape intact.
Troubleshooting
| Problem | Likely cause | Fix |
|---|---|---|
| Loops won’t stay open | Non-wired ribbon or loose center wire | Switch to wired ribbon; re-twist wire until loops are locked |
| Bow looks flat, not full | Too few loops or all loops fanned the same direction | Add 2 to 4 more loops; rotate each loop to a different angle when shaping |
| Center looks bulky and messy | Too much ribbon gathered at the pinch point | Keep loops tighter (3 to 4 inches instead of 5 to 6) or use a thinner ribbon width |
| Tails are uneven lengths | Not measuring tail before starting | Always leave a measured 8 inches before forming the first loop |
| Ribbon keeps slipping at knot | Slippery satin ribbon with no wire | Use a zip tie instead of floral wire, or knot the center with a 12-inch piece of the same ribbon |
| Bow falls apart after a day | Wire twisted only once | Always twist the wire at least two full rotations; test by tugging each loop before finishing |
One Final Thought
Think of the bow not as something you assemble, but as something you sculpt. The looping and wiring are just setup — the real work is in the shaping at the end.
Once that clicks, you’ll stop following steps and start adjusting by eye, which is exactly where you want to be.
Any bow that looks “wrong” can almost always be fixed in 60 seconds just by pulling loops in a different direction.






