
How to Mix Resin Without Bubbles (And Keep It Crystal Clear)

Mixing resin without bubbles is the process of combining epoxy resin and hardener in a way that introduces the least possible air into the mixture — and then removing what remains before it cures permanently.
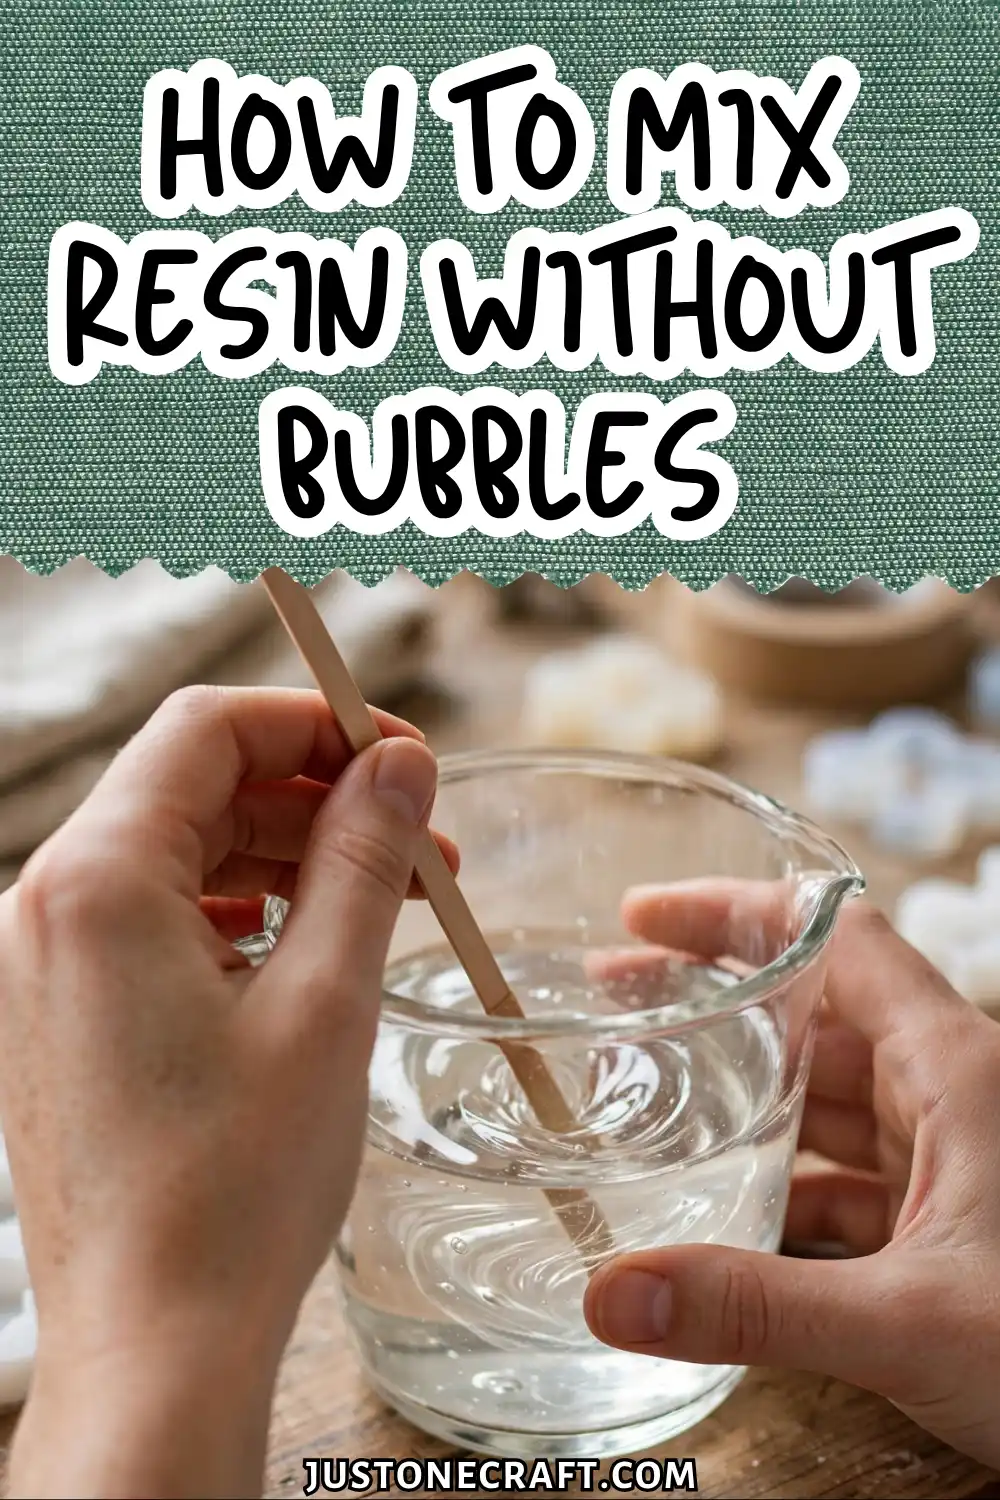
Get this wrong and your finished piece looks cloudy, pitted, or riddled with tiny craters. Get it right and you have glass-clear results every time.
Why Bubbles Form and Why They Stay
Bubbles come from two sources: air you fold in while stirring, and gases released by the exothermic reaction between resin and hardener.
🌀 Folded-In Air
From stirring too fast
💨 Released Gases
From the chemical reaction
Viscous resin traps both — surface tension holds air pockets in suspension, and cold resin holds dissolved gases the same way a cold soda holds carbonation.
Warm your resin before mixing and those gases escape at the surface, where you can deal with them.
Skip that step and they release slowly inside the mold, locked in permanently by the time you notice them.
What You Need Before You Start
Epoxy resin (1:1 or 2:1 ratio)
Wrong ratios cause sticky spots, incomplete curing, and more bubbles. Stick with ArtResin, ProMarine Supplies, or TotalBoat TableTop. Avoid hardware-store polyester resin — it yellows and off-gasses heavily.
Three graduated mixing cups (300ml+)
One for resin, one for hardener, one clean cup to combine them. Measuring both in a single cup introduces ratio errors.
Two silicone stir sticks
Flat spatula-style silicone scrapes cup walls cleanly. Wooden sticks shed fiber; plastic spoons trap air. Have a second clean one ready for the double-cup mix.
Heat gun or butane torch
Your main bubble-removal tool after pouring. Keep it 10–15cm above the surface on low heat. A hair dryer won’t work — the airflow disturbs the surface.
Digital scale (accurate to 1g)
For batches under 200ml, volume cups aren’t precise enough. Small measurement errors at small volumes have an outsized effect on cure quality.
Room thermometer
Work at 24–27°C. Below 20°C, resin thickens enough to trap bubbles for hours.
🌡️ One Step, Half the Bubbles
Warm bottles in 35–40°C water for 8–10 minutes before opening.
Step-by-Step Instructions
1. Warm the bottles
Submerge both closed bottles in 35–40°C water for 8–10 minutes. They should feel warm, not hot. Properly warmed resin flows like thin honey — if it pours like corn syrup, give it 5 more minutes.
2. Measure resin into the first cup
Pour slowly. Any moisture in your cup causes permanent cloudiness — make sure it’s completely dry.
3. Measure hardener into the second cup
Hardener is thinner and clearer than resin and should pour almost like water.
4. Combine into a third clean cup
Pour one into the other and scrape every drop from both cups. Residue left behind throws off your ratio.
5. Stir slowly for 3 minutes
Use deliberate figure-8 strokes, folding from the bottom up. Keep the stick in the liquid at all times — lifting it introduces air.
Scrape the sides every 30 seconds. The mix starts streaky and cloudy, then clears. Beginner mistake: stirring fast. It feels productive but creates far more bubbles.
⚠️ Slow Wins: Fast stirring feels productive but creates far more bubbles than slow, deliberate folding.
6. Transfer to a clean cup and stir 1 more minute
The double-cup method eliminates unmixed resin hiding along the sides and bottom. Same slow figure-8 motion.
7. Rest the mixture for 2–3 minutes
Set the cup down and don’t touch it. Bubbles will rise and form a foamy layer at the top — exactly what you want. Far easier to deal with here than inside the mold.
8. Pour slowly, 2–3cm above the mold
Pour in a thin, steady stream from the center outward. Height introduces air — treat it like pouring wine, not dumping a bucket.
9. Pass the heat gun over the surface
Hold 10–15cm above the resin and sweep slowly — 2–3 seconds per pass. Bubbles will visibly pop and the surface turns glassy. Never hold in one spot. Repeat every 5–10 minutes for the first 30 minutes.
10. Cover and leave undisturbed
Tent cardboard over the pour without touching the surface. Keeps dust and airflow off while it cures — typically 24–72 hours for full cure.
Aftercare
Leave the mold completely undisturbed for 8 hours minimum — resin cures top-down and the underside stays soft longer than it looks.
After full cure, demold gently and check for surface pitting. Wet-sand any imperfections with 400-grit then 800-grit, then buff back to clarity with a polishing compound.
Store unmixed bottles tightly sealed, upright, and out of direct light. Shelf life is 12 months — hardener degrades faster than resin and will yellow your finished work if used past expiry.
Variations
Deep pour / casting resin
Standard table-top resin can only be poured 6–10mm at a time before exothermic heat causes yellowing or cracking. For deep pours, use a slow-cure casting resin with a 36–72 hour cure window — it’s formulated to dissipate heat gradually.
Pigmented pours
Add pigment after mixing is complete, not during. Stir gently for 30 seconds and torch as normal. Stay under 6% pigment by volume or you risk affecting the cure.
Pressure pot curing
A pressure pot at 40–50 PSI compresses remaining bubbles until they’re invisible to the naked eye. The professional standard when a torch pass isn’t enough and clarity is critical.
Resin over wood or porous surfaces
Wood releases trapped air into fresh resin regardless of how well you mixed. Apply a thin seal coat first, torch it, let it tack up for 3–4 hours, then pour the flood coat over a closed surface.
Troubleshooting
| Problem | Likely Cause | Fix |
|---|---|---|
| Bubbles throughout the cured piece | Resin too cold when mixed | Warm bottles to 35°C before mixing; never mix below 22°C |
| Cloudy or hazy finish | Moisture contamination or wrong ratio | Use dry cups; re-measure with a scale; discard and remix |
| Surface pitting after cure | Bubbles popped but left craters | Apply a thin seal coat over the cured surface; torch lightly |
| Sticky or soft spots | Incomplete mixing or ratio error | Sand back to solid resin; apply a fresh flood coat; mix in two cups |
| Yellowing in the finished cure | Heat gun held too long in one spot, or expired hardener | Keep heat gun moving; check hardener expiry date |
| Fish-eye or cratering | Silicone contamination on the mold or surface | Wipe all surfaces with isopropyl alcohol before pouring |
One Last Thing
The reframe that makes all of this click: bubbles are not a mixing problem — they’re a viscosity problem.
🔑 Reframe It: Bubbles aren’t a mixing problem — they’re a viscosity problem. Ask where the resin was too thick or cold.
Every technique in this guide is really just a way to lower viscosity (warmth) or give bubbles more time and opportunity to escape (slow mixing, resting, torching).
When something goes wrong with a pour, ask yourself where in the process the resin was thicker or cooler than it should have been, and the fix will almost always be obvious.






