
How to Create a Beautiful Resin Ocean Wave Pour: A Step-by-Step Guide

A resin ocean wave pour is a layered epoxy art technique that mimics the color gradients, foam, and depth of a breaking ocean wave — and when done right, it looks more like a photograph than a craft project.
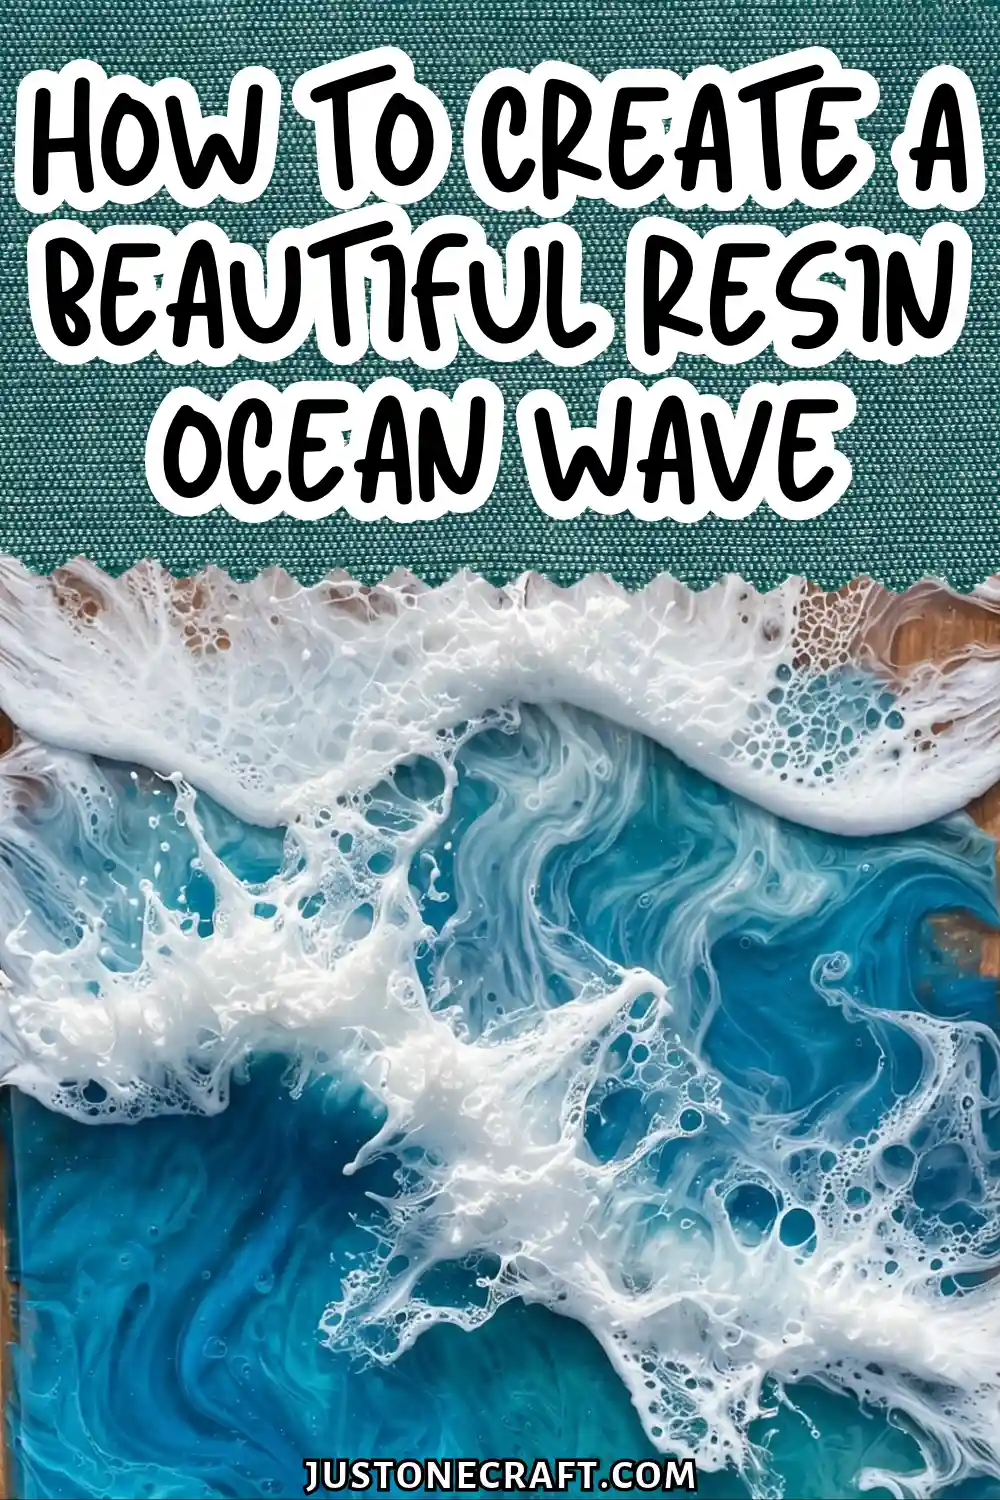
The technique matters because it’s one of the few resin methods where timing, temperature, and layering sequence are what separate a stunning result from a muddy, overworked mess.
Why Resin Ocean Waves Actually Work
Epoxy resin combines resin and hardener, triggering a chemical reaction that turns the liquid into a solid. You have about 25–45 minutes to shape it before it thickens.
25-45 min
⏱️ Your working window before resin thickens
Ocean wave art uses layered translucent colors, moving from deep navy or teal to lighter aqua, with white resin creating the waves.
The foamy effect comes from additives such as silicone oil, which create cells and lacy patterns that resemble breaking waves. Timing and careful pouring help keep the colors layered instead of blending together.
What You Need (And Why Each Item Matters)
Epoxy resin, artist-grade (ArtResin, TotalBoat TableTop, or Pro Marine Supplies) Artist-grade resins are formulated to stay water-clear and UV-resistant after curing.
Hardware-store casting resins yellow within months. For ocean art specifically, you need clarity — any amber tint kills the illusion of water.
Resin pigment paste or alcohol ink (not craft acrylic paint) Acrylic paint contains water, which can cause resin to cloud, streak, or fail to cure properly.
⚠️ Never Use Acrylic Paint: It contains water, which clouds, streaks, or fully stops resin from curing properly.
Use alcohol inks (Ranger Tim Holtz) or resin-specific pigment pastes (Pigmently, KiwiColors) in navy, teal, aqua, and white. You’ll need roughly 5–10 drops of ink or a pea-sized amount of pigment paste per 60ml of resin.
Isopropyl alcohol (91% or higher) Used to create foam cells in white resin. Lower concentrations contain too much water and can cloud your pour. A few drops (2–5) spritzed or dropped into white resin just before application is all you need.
Silicone mold or prepared wood panel (minimum 30cm × 20cm) Smaller surfaces don’t give the wave enough room to develop.
For wood, seal all surfaces with a flood coat of clear resin 24 hours ahead — uncoated wood absorbs resin and causes bubbles and pitting.
Heat gun or butane torch (not a hair dryer) Used to pop surface bubbles and encourage cell formation. A hair dryer blows resin off the surface and introduces dust.
A torch or heat gun applies focused heat that pops bubbles without displacement. Keep the heat source moving — holding it still scorches the resin.
Nitrile gloves, silicone mixing cups, stir sticks Silicone cups flex for easy cleanup. Plastic cups can react with some resin formulations. Measure resin and hardener by volume, not weight, unless your brand specifies otherwise.
⚠️ Don’t skip: A level surface. Resin flows to the lowest point. Even a 2-degree tilt will ruin your color gradient as everything pools to one side.
Step-By-Step Instructions
1. Seal your surface 24 hours in advance
Mix a small batch of clear resin (50ml total) at your brand’s specified ratio, pour it over your panel, and let it level. This flood coat seals wood grain and gives subsequent layers something to bond to chemically rather than physically.
The sealed surface should be tack-free but not fully hard before you pour your art layer — a slightly tacky seal coat bonds better. Beginner mistake: skipping this step and pouring straight onto raw wood.
2. Mix your base colors separately
Mix three batches of resin to your brand’s ratio — 60ml each of deep navy, teal, and aqua. Stir each for a full 3 minutes, scraping the sides and bottom of the cup.
Under-mixed resin leaves uncured sticky patches. The mixture will look slightly cloudy when first combined; it should clear up to translucent within about 60 seconds of stirring.
3. Pour your base layer
Pour navy resin along the back third of your panel (the deep water zone), then teal across the middle, then aqua toward the front.
🌊 Back-to-Front Pour Order
Don’t try to blend them — pour them adjacent and let the resin do the work. You’re aiming for rough color bands, not precise lines. The surface should be fully covered with no dry spots.
4. Tilt and blend the base colors
Slowly tilt the panel left, then right, then forward. The colors will bleed into each other at the edges, creating natural gradients.
Stop when you like what you see — usually 30–60 seconds of movement. Overworking it blends everything into a muddy teal.
5. Mix your white foam resin
In a separate cup, mix 40ml of white-pigmented resin. Stir for 3 minutes, then add 3–5 drops of 91% isopropyl alcohol and stir gently for 10 seconds.
The alcohol disrupts the surface tension and will create lacy foam cells when applied. Don’t stir aggressively — you want the alcohol loosely incorporated, not fully mixed in.
6. Apply the wave crest
Using a silicone spatula or popsicle stick, drag the white resin across the front third of your panel in an uneven, organic line — thicker in some spots, tapering in others.
Real wave crests aren’t uniform. Then pull some white forward toward the panel edge in thin streaks to create the foam run-off. You should already see small cells forming.
7. Torch the surface
Hold your heat gun or torch 15–20cm above the surface and move it in slow, sweeping passes. Bubbles will pop and cells in the white will open up and expand.
Do two passes — one immediately after applying white, one 5 minutes later when the resin has begun to thicken slightly.
The second pass creates sharper, more defined cell edges. Beginner mistake: holding the torch too close or too long in one spot, which scorches the resin brown.
8. Cover and cure
Lay a box or dust cover over your piece (don’t let it touch the surface) and leave it completely undisturbed for 24 hours at 21–24°C.
Colder temperatures slow cure time and can cause clouding. After 24 hours, the piece will be firm but not fully hard — full cure takes 72 hours. Don’t sand or top-coat until after 72 hours.
Aftercare and Finishing
Once fully cured, lightly sand the surface with 400-grit wet/dry sandpaper if there are any dust nibs, then polish with a plastic polish (Novus No. 2) to restore clarity.
To add depth and a glassy finish, apply a final flood coat of clear resin — this also protects your pigments from UV degradation over time. Display away from direct sunlight.
Variations
Sunset ocean: Replace navy and teal with deep orange, coral, and peach tones at the horizon, with a gold shimmer pigment in the water. Use the same layering logic — dark and deep at the back, lighter tones forward.
Deep pour 3D wave: Use a deep pour casting resin (not table-top formula) in a mold 5–8cm deep. Pour transparent blue in stages over 48 hours, adding white foam only in the final layer. The result is a sculptural, three-dimensional wave.
Geode style with wave colors: Incorporate crushed glass, mica, or gold leaf along the wave crest instead of plain white foam. The reflective materials catch light the same way sea foam does in sunlight.
Troubleshooting
| Problem | Likely Cause | Fix |
|---|---|---|
| Colors all blended into one muddy tone | Over-tilted or worked too long | Work faster; stop tilting after 60 seconds |
| Resin didn’t cure / stayed sticky | Wrong mix ratio or under-stirring | Discard; sand and re-pour with fresh batch mixed for full 3 minutes |
| Bubbles won’t pop | Torch too far away or resin too cold | Warm room to 24°C; hold torch 15cm away and slow your passes |
| White foam sank into base colors | Foam layer added too late when base was too thick | Add white within 15 minutes of pouring base |
| Surface has fisheye craters | Silicone contamination on panel | Wipe surface with 91% IPA before sealing; check gloves for silicone |
| Yellowing after a few weeks | Hardware-grade resin or UV exposure | Use artist-grade UV-resistant resin; display away from direct sun |
One Last Thing
Stop thinking about resin as a painting medium and start thinking about it as a liquid that has a schedule.
🔑 Reframe It: Resin isn’t a paint — it’s a liquid with a schedule. Every decision is really a timing decision.
Every decision in this process — when to add white, how long to tilt, when to torch — is actually a timing decision relative to the resin’s working window.
Once you internalize that, every problem becomes a timing problem you can diagnose and fix rather than a mysterious failure you can’t explain.






