
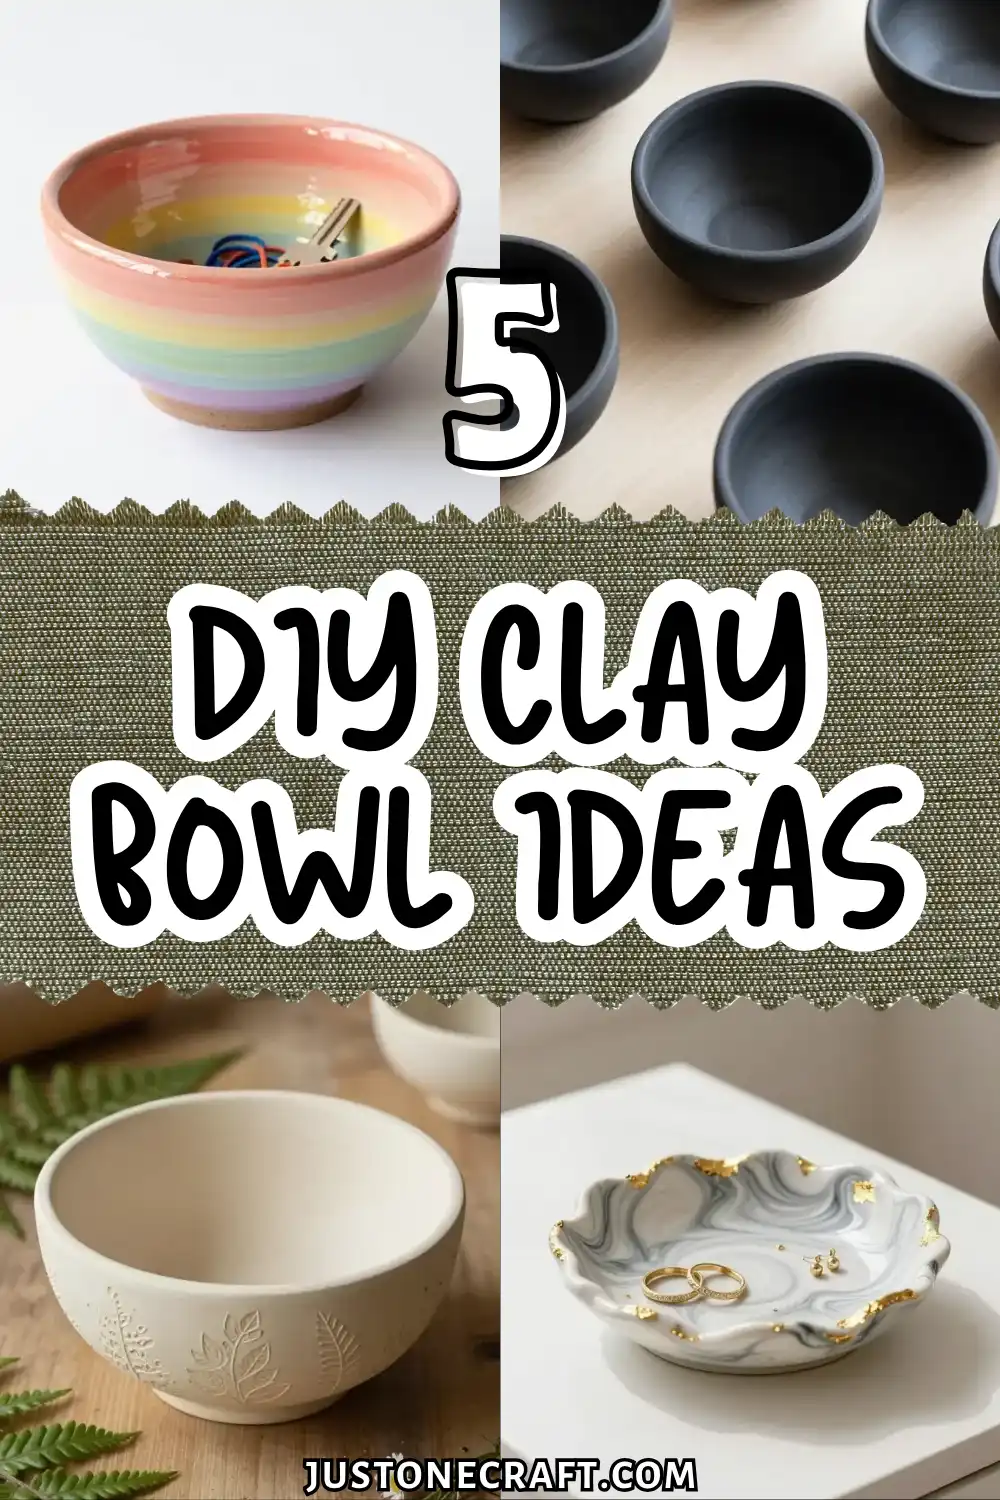
5 DIY Clay Bowl Ideas You’ll Want to Try Today

Need a stylish way to organise your little essentials? These DIY clay bowl ideas are perfect for holding jewelry, keys, or everyday items. Even the simplest designs can turn into eye-catching pieces that keep your space neat and beautiful.
The first time I tried making a DIY Clay Bowl, I didn’t expect it to be so relaxing and rewarding. I only wanted a small dish for my rings, but it quickly became something more personal and meaningful.
At first, I worried it might be messy or hard to shape. But once I started, I realized how easy and forgiving clay can be. Even small imperfections added charm, making each bowl feel unique.
With just a few basic tools, you can create a DIY Clay Bowl that matches your style. Simple, creative, and fun, it’s a craft you’ll love coming back to.
Marbled Gold Leaf Jewelry Dish
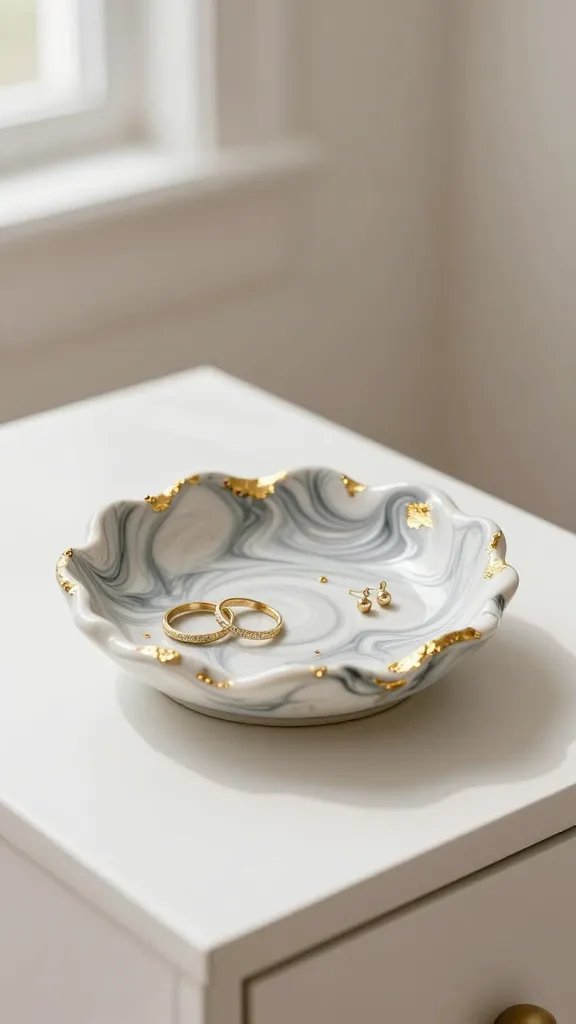
Picture this: a stunning little bowl with swirling marble patterns and delicate gold leaf accents sitting on your nightstand, holding your favorite rings and earrings.
This jewelry dish is the perfect blend of elegant and artsy, and it looks way more expensive than it actually is.
The marbling technique creates those gorgeous, one-of-a-kind swirls that make every piece unique.
Materials Needed
- Air-dry clay or polymer clay in white and gray
- Gold leaf sheets
- Rolling pin
- Small bowl for molding (about 4-5 inches diameter)
- Gold leaf adhesive
- Clear sealant spray
How to Make It
Start by twisting together small amounts of white and gray clay without fully blending them—this creates that gorgeous marble effect.
Roll it out to about a quarter-inch thickness, then drape it over your upside-down bowl mold. Trim the edges for a clean finish and let it dry completely.
Once dry, apply adhesive to random spots around the rim and gently press on small pieces of gold leaf. The imperfect application actually looks more organic and beautiful. Finish with a clear sealant to protect your masterpiece.
Styling Tips
This little beauty works perfectly on a vanity, bathroom counter, or bedside table. You can make a whole collection in different sizes and display them together for maximum impact. Trust me, your guests will ask where you bought it.
Textured Succulent Planter With Geometric Patterns
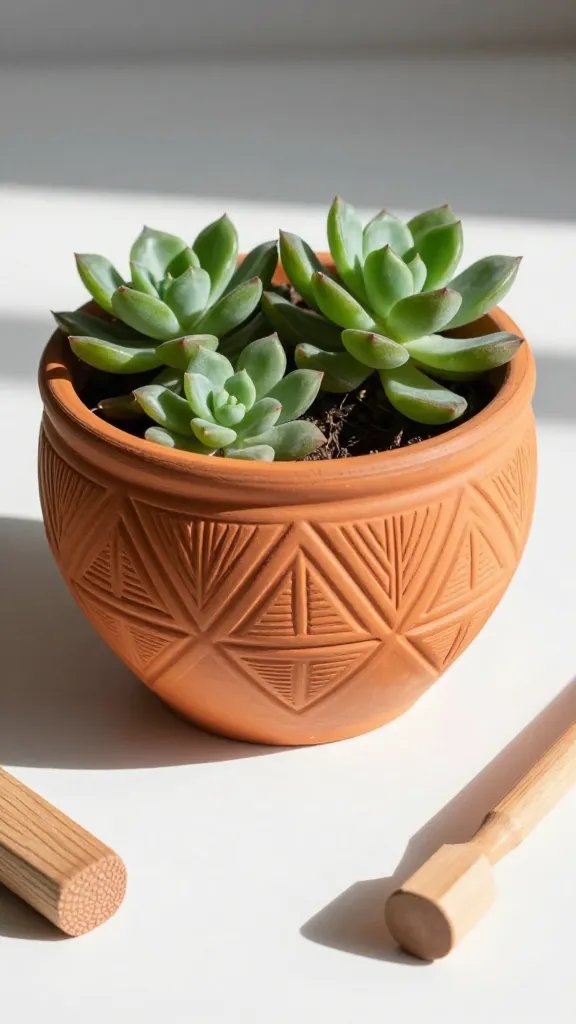
Who says plant pots have to be boring? This geometric patterned clay bowl adds serious style to your succulent collection.
The raised texture creates beautiful shadows and dimension that photographs like a dream for your Instagram feed.
Materials Needed
- Oven-bake clay in terracotta or white
- Texture tools (wooden stamps, toothpicks, or carved erasers)
- Small round bowl for shaping
- Acrylic paint (optional)
- Waterproof sealant
How to Make It
Roll out your clay and press your geometric patterns into the surface before shaping. Think triangles, lines, dots, or even honeycomb patterns—get creative with whatever tools you have.
Mold the patterned clay over your bowl form, making sure the textured side faces outward.
After baking according to package directions, you can leave it natural or paint the raised patterns in contrasting colors. A matte black design on white clay? Absolutely stunning.
Pro Tips
Make sure to poke a small drainage hole in the bottom before baking if you’re actually planting in it.
Or use it as a decorative cache pot and keep your succulent in a smaller container inside. This planter works beautifully on windowsills, desks, or clustered together on floating shelves.
Rainbow Ombré Catch-All Bowl
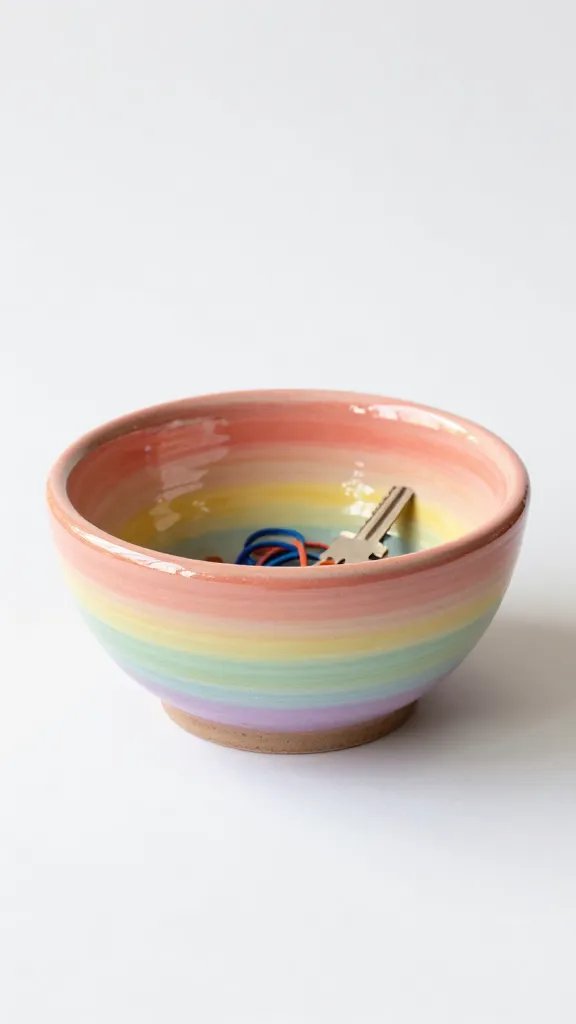
This playful color-gradient bowl brings instant joy to any space and is perfect for corralling keys, coins, or hair ties by the door.
The ombré effect transitions smoothly from one color to another, creating a piece that’s cheerful without being overwhelming. Seriously, this one makes me smile every time I see it.
Materials Needed
- Polymer clay in 3-4 coordinating colors
- Rolling pin or clay roller
- Clay blade or sharp knife
- Medium-sized bowl for molding
- Sandpaper (fine grit)
How to Make It
Create your ombré effect by blending adjacent clay colors at their edges. Roll each color into a flat strip, then carefully blend where they meet by rolling and smoothing until the transition looks seamless. Roll the entire sheet to an even thickness.
Drape your rainbow creation over the bowl mold with the prettiest gradient visible on the inside. Trim edges evenly and bake. Once cooled, lightly sand any rough spots for a professional finish.
Color Combinations to Try
Go classic with pink to purple to blue, try earthy tones from sage to mustard to terracotta, or embrace a sunset vibe with coral to peach to cream.
You can also do a monochromatic ombré in different shades of the same color for a more sophisticated look. This bowl works perfectly in entryways, on coffee tables, or in a colorful craft room.
Minimalist Black and White Pinch Pot Set
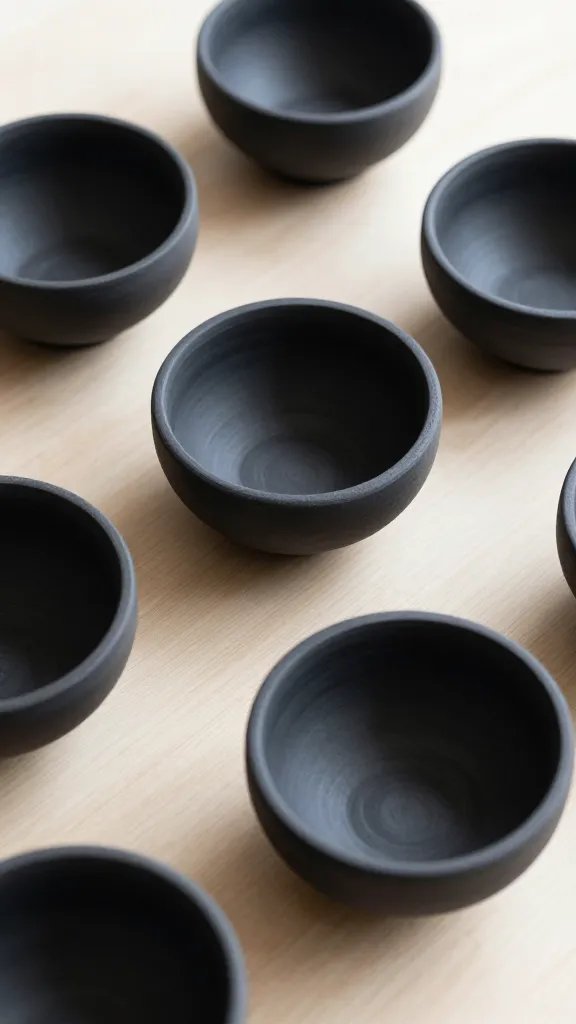
Sometimes less really is more, and these hand-pinched bowls prove it. This set of small organic-shaped bowls in classic black and white brings a modern, artisanal feel to any space.
The irregular, handmade quality is actually what makes them special—embrace those fingerprint textures and slightly asymmetrical edges.
Materials Needed
- Air-dry clay in black and white
- Bowl of water for smoothing
- Small sponge
- Matte sealant
How to Make It
Use the traditional pinch pot technique by rolling clay into a ball, pressing your thumb into the center, and slowly pinching the walls outward.
Keep rotating as you pinch to maintain even thickness. The beauty is in the imperfection, so don’t stress about making them identical.
Make several bowls in varying sizes—some in pure black, some in white, maybe one or two with a marbled mix.
Smooth the rims with a damp sponge for a refined finish while keeping the pinched texture visible on the exterior.
Display Ideas
Group them together on a shelf or coffee table for a curated look. Use them for holding salt at the dinner table, displaying small treasures, or organizing jewelry.
The monochrome palette means they’ll fit literally any décor style from Scandinavian to industrial to boho.
Pressed Botanical Trinket Bowl
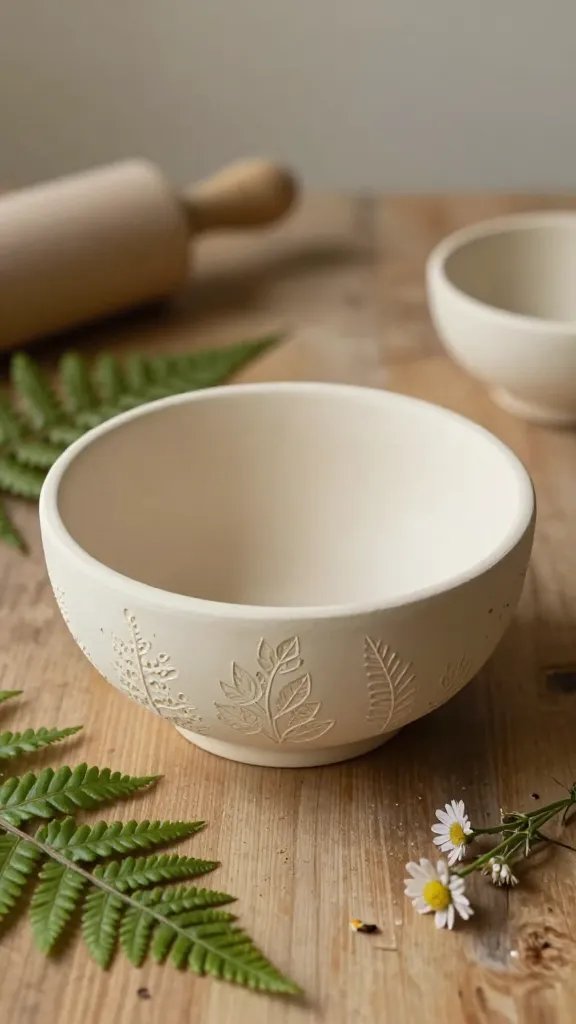
Capture the beauty of pressed flowers and leaves forever in this nature-inspired clay bowl.
This project combines your love of botanicals with functional art, creating a delicate piece that celebrates natural forms. FYI, this makes an absolutely gorgeous gift for plant lovers and nature enthusiasts.
Materials Needed
- White or cream air-dry clay
- Fresh leaves, ferns, or small flowers
- Rolling pin
- Small bowl for shaping
- Clear gloss glaze or resin (optional)
How to Make It
Roll out your clay and carefully press fresh botanical elements into the surface. Press firmly enough to leave a clear impression but not so hard that you push all the way through. Gently remove the plant material to reveal the beautiful imprint.
Shape the impressed clay over your bowl mold and let it dry completely. The impressions will remain visible and create this gorgeous organic texture.
For extra durability and a glossy finish that really makes the patterns pop, apply a clear glaze or thin layer of resin.
Botanical Selection Tips
Ferns create the most stunning detailed impressions, while eucalyptus leaves give you that trendy minimalist look. Small flowers like pansies or daisies add delicate romance.
You can cover the entire bowl in a repeating pattern or create a single statement impression on one side.
Use this beauty to hold special trinkets, display on a bookshelf, or give as a heartfelt handmade gift.
Time to Create
There you have it—five completely different ways to create stunning clay bowls that showcase your creativity and style.
The best part? Each one costs just a few dollars in materials but looks like something you’d find in a boutique shop. Pick your favorite, grab some clay, and get creating!






