
How to Make Slime Without Activator: Easy DIY

Slime is a non-Newtonian fluid — a substance that behaves like both a liquid and a solid depending on how force is applied. You can make it without traditional activators (like borax or contact lens solution) using ingredients that naturally cross-link polymer chains already present in common household products.
The Principle Behind It
Slime forms when PVA glue is linked into a flexible network by an activator. This cross-linking turns runny glue into a stretchy, gel-like material. More cross-links make slime firmer, while fewer keep it softer and stretchier.
What You Need
For the baking soda + saline method (recommended for beginners):
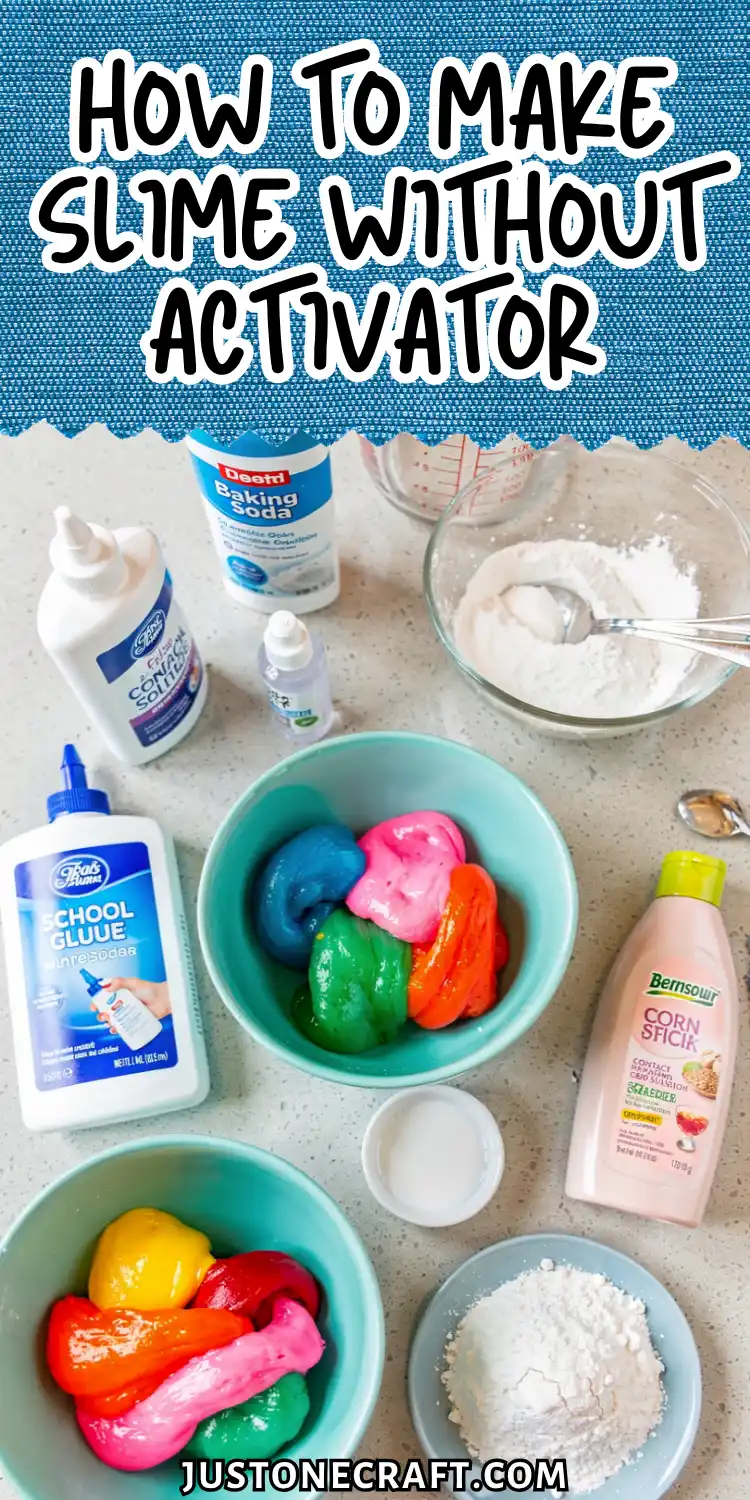
- 4 oz (118 ml) white PVA school glue — Elmer’s School Glue works best. Avoid glitter glues or “washable” formulas as these have lower PVA concentration and produce weak slime. Clear PVA glue also works and produces a transparent result.
- ½ tsp baking soda (sodium bicarbonate) — Standard kitchen baking soda. This primes the glue to react with the saline. Do not skip it; without it, saline alone will barely thicken the glue.
- 1–2 tbsp contact lens saline solution — Must contain sodium borate or boric acid in the ingredient list. Brands like Equate or Sensitive Eyes work. “Preservative-free” saline will not work — it lacks the borate compounds needed for cross-linking.
- Mixing bowl and silicone spatula — Metal and wood work too, but silicone releases slime cleanly without sticking.
- Optional: 1–2 drops of food coloring or 1 tsp of fine glitter — Add to the glue before mixing for even distribution.
Step-By-Step Instructions
Step 1: Pour the glue into your mixing bowl. Use the full 4 oz bottle. Scrape the sides to get everything out — the ratio of glue to activator matters, and leaving glue in the bottle throws it off.
Step 2: Add ½ tsp of baking soda and stir for 60 seconds. Mix until the baking soda is fully dissolved and the glue looks slightly thickened and matte rather than glossy. This step distributes the sodium ions that help boric acid bind effectively. Most beginners rush this step — don’t.
Step 3: Add coloring or glitter now, if using. Stir it into the glue-baking soda mixture before adding saline. Once the slime starts forming, pigment won’t distribute evenly.
Step 4: Add 1 tbsp of saline solution and stir immediately. Stir in one direction for 20–30 seconds until the slime begins to pull away from the bowl. If it remains too runny after 45 seconds, add ½ tbsp more saline solution and continue stirring.
Step 5: Knead with your hands for 2–3 minutes. Knead the slime for about 2 minutes until it becomes smooth and stretchy. If it stays very sticky, add ¼ tsp saline solution and knead again.
Step 6: Test the stretch. Pull a small piece slowly — it should stretch 12–18 inches before thinning and snapping.
If it snaps in under 4 inches, it’s over-activated; knead in a few drops of fresh glue. If it stays liquid and shapeless, add ¼ tsp more saline.
Storage and Aftercare
Store slime in an airtight container — a zipper bag works, but a lidded jar is better for long-term storage. Slime dries out when exposed to air, losing its stretch within hours.
If your slime gets stiff after storage, add 2–3 drops of water and knead it back to life. If it becomes stringy or overly sticky, add a tiny drop of saline (less than ¼ tsp) and knead it in.
Properly stored slime lasts 1–3 weeks at room temperature, or up to 6 weeks refrigerated.
Variations
Fluffy slime: Add ½ cup of white shaving foam (not gel) to the glue in step 1, before the baking soda. The foam introduces tiny air bubbles that create a lighter, cloud-like texture. Use the same activation steps — you may need a touch more saline since the foam dilutes the PVA concentration.
Butter slime: Mix in 2–3 tablespoons of soft air-dry clay (Daiso or Model Magic) after the slime has formed.
This makes the slime more opaque, matte, and spreadable — the clay particles interrupt the polymer network just enough to change the mouthfeel without breaking it.
Clear slime: Swap white glue for the same amount of Elmer’s Clear Glue and follow identical steps. It will look cloudy immediately but clears up after 48–72 hours of rest in a sealed container (air bubbles from mixing need time to escape).
Liquid starch method: Replace saline entirely with 2–3 tbsp of Sta-Flo liquid starch. Skip the baking soda — the starch already contains sodium tetraborate.
Add the starch in 1 tbsp increments, stirring between each. This method activates faster and produces a slightly firmer slime.
Troubleshooting
| Problem | Likely cause | Fix |
|---|---|---|
| Slime won’t form after full saline addition | Saline doesn’t contain borate compounds | Switch to a saline brand that lists sodium borate or boric acid in its ingredients |
| Slime is rubbery and snaps immediately | Over-activated (too much saline) | Knead in 1 tsp of fresh glue at a time until stretch improves |
| Slime is still liquid and shapeless | Under-activated or skipped baking soda | Add ¼ tsp saline increments and stir; if no change, dissolve ½ tsp baking soda in 1 tsp warm water and mix it in |
| Slime is sticky even after long kneading | Hands are too cold or glue has low PVA content | Warm hands under hot water first; check glue label for PVA content |
| Slime dried out and went stiff | Stored in open air | Add 3–4 drops of water and knead for 2 minutes |
| Slime smells bad after a week | Bacteria growth | Discard and start fresh; always store sealed and wash hands before use |
Final Thought
If your slime isn’t working, the answer is almost always in the ratio — not the technique. Once you understand that you’re building a molecular net, and that saline tightens it while glue loosens it, you can fix nearly any batch by feel.
Too stiff? More glue. Too liquid? More saline, in small increments. The kneading isn’t just satisfying — it’s how you distribute the cross-links evenly. Think like a chemist adjusting a formula, not a baker following a recipe, and you’ll nail it every time.






