
How to Make Resin Coasters: A Simple DIY Guide

Epoxy resin coasters are heat-resistant, waterproof drink coasters made by pouring liquid resin into a mold, embedding decorative elements, and letting chemistry do the rest.
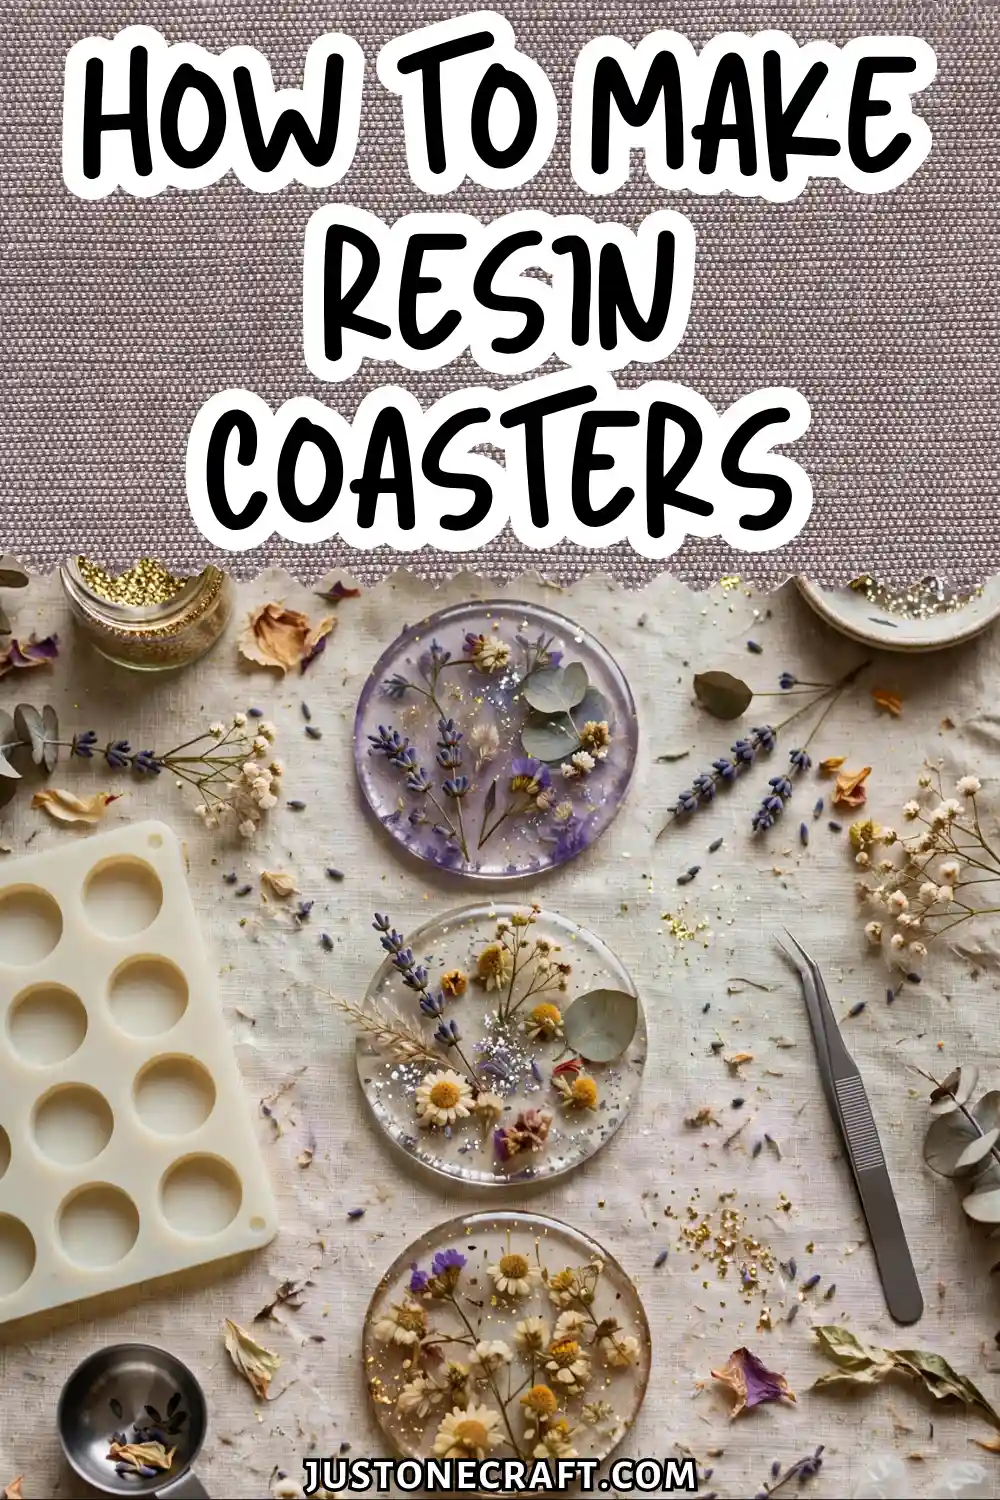
Master this once and you have a repeatable process for custom home décor, personalized gifts, and a potentially sellable craft — all from a $40 starter kit.
Why Epoxy Resin Actually Cures (The Science Behind It)
Epoxy resin is a two-part chemical system: Part A is resin, and Part B is hardener. Mixing them triggers polymerization, permanently turning the liquid into a solid.
The mixing ratio is crucial. Most casting resins use 1:1 or 2:1 ratios. Even small errors can leave the epoxy sticky or soft.
Temperature also matters. The ideal working range is 22–25°C (72–77°F). Cooler temperatures slow curing and can cause cloudiness.
22-25°C
Ideal working temp
1:1 or 2:1
Standard mix ratios
Bubbles form during mixing. Applying gentle heat with a heat gun or torch helps them rise and pop.
What You Need (And Why Each Item Matters)
- Casting epoxy resin — Use low-viscosity casting resin, not thick coating resin.
- Silicone coaster molds — 10 cm diameter, about 0.5 cm deep.
- Graduated mixing cups — 200 ml for accurate measuring.
- Two mixing sticks — For thorough double mixing.
- Heat gun or small torch — Removes bubbles without disturbing the resin.
- 91%+ isopropyl alcohol — For cleaning molds and tools.
- Nitrile gloves + organic-vapor respirator — For safer resin handling.
- Level work surface — Keeps coasters evenly thick while curing.
Step-By-Step Instructions
1. Prepare your workspace and molds Work in a room at 22–25°C with good ventilation. Wipe mold cavities with a lint-free cloth dampened with 91% isopropyl alcohol. Let them dry completely — 3 minutes minimum. Any dust or residue will embed in your coaster permanently.
2. Measure Part A (resin) into your first cup Pour 60ml of resin for a single standard coaster. Use the graduation marks — do not estimate. Scrape the inside of the cup with your stick to capture every drop.
3. Measure Part B (hardener) into the same cup For a 1:1 ratio resin, add 60ml of hardener directly into the resin cup. For 2:1 resin, add 30ml. Confirm your product’s ratio before this step — it’s printed on the bottle. The two liquids together will look slightly cloudy. That’s normal.
4. Mix slowly for 3 full minutes Stir in long, deliberate strokes — scraping the bottom and sides of the cup. Do not whip or stir in circles rapidly; this introduces air. Set a timer. Most beginners undermix; 3 minutes feels long but under-mixed resin causes soft spots and cloudiness. The mixture should look completely clear and uniform when done.
⏱️ Set a Real Timer: 3 minutes feels long, but under-mixed resin causes soft spots and cloudiness. Don’t shortcut it.
5. Transfer to a second clean cup and mix for 1 more minute Pour everything into your second graduated cup and mix again. This step eliminates unmixed resin that clings to the walls of the first cup. Skip this and your ratio is effectively off even if you measured perfectly.
6. Add colorants or inclusions if using For pigment powder or alcohol ink, add now: 1–3 drops of alcohol ink or a toothpick-tip of pigment powder per 120ml of resin. Stir gently for 30 seconds. For dried flowers or glitter, you’ll add these directly to the mold in the next step.
7. Pour resin into the mold Tilt the cup close to the mold surface (2–3cm above) and pour slowly in a circular motion to distribute evenly. Fill to the mold’s rim — the resin will self-level. If adding physical inclusions like dried flowers, pour half the resin, place your elements, then pour the remaining resin over the top.
8. Remove bubbles with your heat gun or torch Hold the heat source 10–15cm above the surface and sweep slowly across the pour for 2–3 seconds per pass. You’ll see bubbles visibly pop — the surface will go from pocked to glassy. Don’t hold heat in one spot for more than 3 seconds; you’ll scorch the surface.
9. Cover and cure undisturbed for 24 hours Place a cardboard box or plastic tub upside down over your molds to keep dust off. Do not move, touch, or check the resin for at least 12 hours — vibration causes uneven curing. Full hardness takes 72 hours, but you can demold at 24.
⏳ Cure Timeline
24 hrs: safe to demold • 72 hrs: full hardness
10. Demold and finish Flex the silicone mold gently from the edges inward. The coaster will release cleanly. If the bottom feels slightly rough, wet-sand with 400-grit sandpaper in circular motions, then follow with 800-grit, then buff with a polishing compound. Attach self-adhesive felt pads to the bottom to protect surfaces.
Aftercare and Maintenance
Resin coasters are waterproof but not infinitely heat-resistant. Casting resin typically handles temperatures up to 120°C (248°F) — safe for a cold glass, a mug of coffee, or a wine bottle, but not a hot cast-iron pan pulled from the oven.
Clean with a damp cloth and mild dish soap. Avoid abrasive scrubbers, which will scratch the surface.
Variations
Geode coasters: Pour three or four shades of pigmented resin in organic clusters rather than mixing them together. Use a toothpick to drag colors into each other at the edges. Sprinkle gold or silver mica powder along the “vein” lines before curing. The key is not over-blending — you want distinct color zones.
Dried flower coasters: Press and fully dry flowers for 2–3 weeks before use. Fresh flowers contain moisture that turns brown and creates bubbles inside cured resin. Arrange face-down in the mold, pour resin over, and cure normally.
Metallic swirl coasters: Add two metallic alcohol inks (gold and copper work well) separately to your poured resin, then use a toothpick to swirl once. Don’t over-stir — three or four figure-eight motions give you a marble effect; more gives you mud.
Glow-in-the-dark coasters: Mix 1 teaspoon of phosphorescent powder (green or blue glows brightest) per 120ml of resin. The powder is opaque, so layer it between a clear base pour and a clear top pour for the cleanest look.
Troubleshooting
| Problem | Likely Cause | Fix |
|---|---|---|
| Surface stays tacky after 24 hours | Wrong resin-to-hardener ratio | Cannot be fixed — sand off the tacky layer, apply a correctly mixed thin coat on top |
| Cloudy or milky finish | Cold room temperature or moisture in mold | Work at 22°C minimum; dry molds thoroughly before pouring |
| Lots of bubbles that won’t pop | Resin too cold or mixing too fast | Warm resin bottles in warm water for 5 minutes before mixing; mix slower |
| Resin cracked during cure | Too thick a pour or room too warm | Keep pours under 1cm depth; work at 25°C or below |
| Color bled or spread unexpectedly | Too much alcohol ink, added too late | Add colorants before final transfer step; use no more than 3 drops per 60ml |
| Coaster stuck in mold | Non-silicone mold used, or mold too rigid | Flex mold firmly; for plastic molds, apply mold release spray before every pour |
One Last Thing
Here’s the mental model that makes everything click: resin is a chemical process, not a craft technique.
🔍 Before Blaming Your Technique, Check:
⚖️ Ratio — measured exactly?
🌡️ Temperature — 22-25°C room?
⏱️ Time — mixed and cured long enough?
When something goes wrong, the cause is almost always ratio, temperature, or time — not your pouring style or artistic choices.
Before you change anything visual, check those three variables first. Get the chemistry right and the creativity takes care of itself.






