
How to Make Paper Roses Step by Step

A paper rose is a sculptural illusion — flat sheet turned into a layered, dimensional flower through nothing but cuts, curls, and assembly. Done right, it’s indistinguishable from the real thing in photos and holds its shape indefinitely.
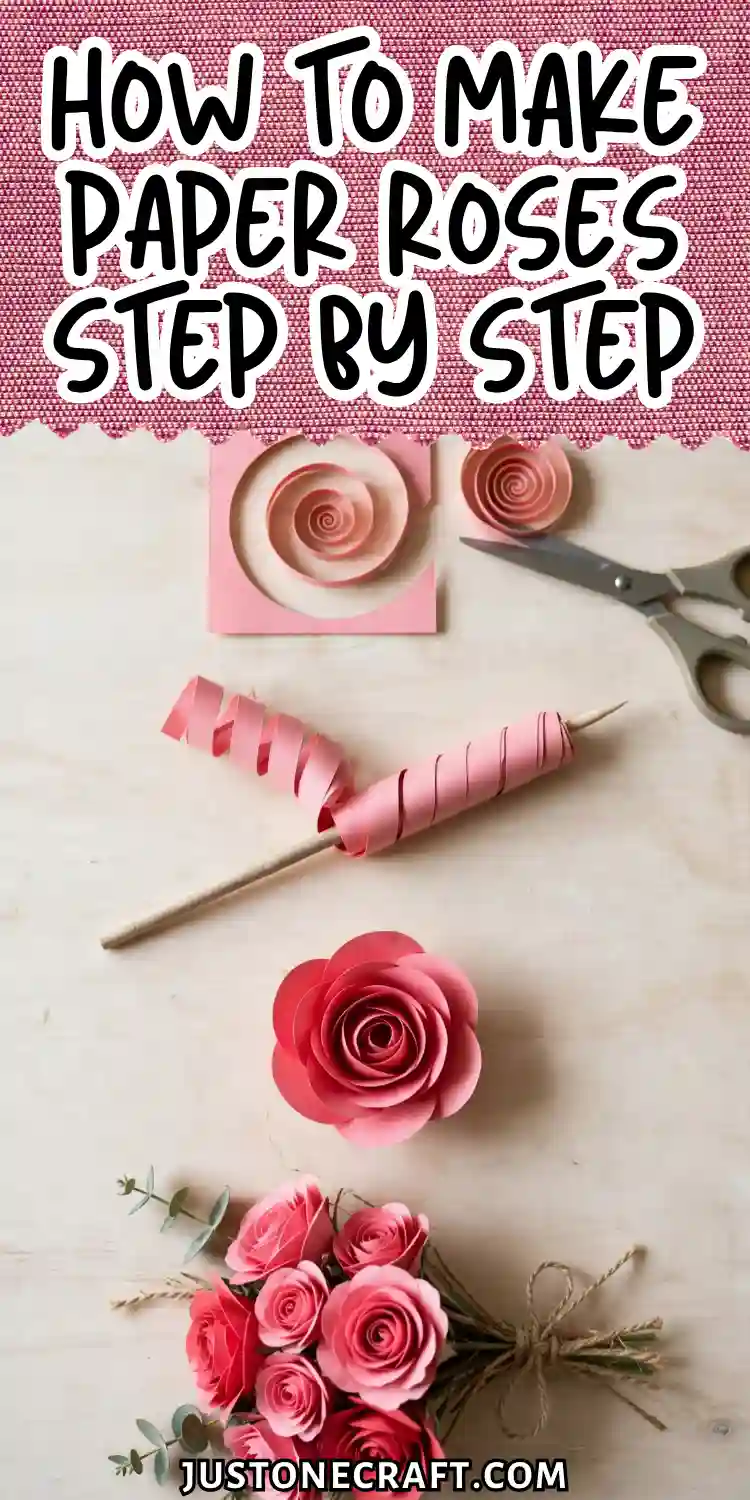
Why Paper Roses Work
Paper roses work because paper has shape memory. Curling each petal stretches and compresses the fibers, allowing the paper to hold its curved shape even after it’s released.
The flower also copies the natural structure of a real rose—a tight center surrounded by larger, more open outer petals. This layered design creates depth and gives the finished rose a realistic appearance.
What You Need
- 65 lb cardstock paper — Holds curls well without cracking. Colors like deep red, blush, cream, or burgundy look most realistic.
- Sharp scissors or craft knife — Creates clean, smooth petal edges.
- Pencil or wooden skewer — Used to curl petals into shape.
- Hot glue gun with clear glue sticks — Bonds petals quickly and securely.
- Green floral tape or green cardstock — Covers the stem and creates sepals.
- 18-gauge floral wire (12-inch) — Strong enough to support the flower head.
- Ruler and pencil — Marks accurate petal sizes for consistent cuts.
Step-by-Step Instructions
1. Draw and cut your petal templates
On a spare piece of cardstock, draw 3 petal sizes: small (1.5 inches tall × 1 inch wide), medium (2 inches tall × 1.5 inches wide), and large (2.5 inches tall × 2 inches wide).
Small
1.5″×1″ — Qty: 5
Medium
2″×1.5″ — Qty: 5
Large
2.5″×2″ — Qty: 6
Each petal shape is a simple teardrop — rounded at the top, slightly pointed at the base.
Cut these out; they become your reusable templates. You’ll need 5 small petals, 5 medium, and 6 large per rose.
2. Trace and cut all petals
Trace each template onto your colored cardstock and cut out all 16 petals. Keep your scissors moving in smooth, continuous curves — don’t chop.
The cut edge should feel clean to the touch, not fuzzy. If it’s fuzzy, your scissors need sharpening or replacing.
3. Curl every petal
Hold a petal face-down. Place a pencil near the rounded top edge and roll the petal up around the pencil, applying light downward pressure with your thumb as you roll.
Hold for 3 seconds, then release. The petal should now curve backward naturally. Small petals get the tightest curl (use a skewer); large petals get the loosest (use a marker or the pencil near its eraser end).
The most common mistake here is rushing — less than 3 seconds of hold time and the paper springs mostly flat again.
⏱️ Don’t Rush: Hold each curl for a full 3-5 seconds — less than that and the paper springs back flat.
4. Make the central spiral
Cut a circle 2 inches in diameter from your cardstock. Starting at the outer edge, cut a continuous spiral inward, leaving a 0.5-inch circle at the center uncut (this becomes the base). The spiral strip should be about 0.25 inches wide.
Starting from the outer end of the spiral, roll it tightly inward around itself. When you reach the center circle, apply a small dot of hot glue to the base and press the rolled spiral onto it.
Hold for 10 seconds. This coiled center becomes the rosebud core that all other petals surround.
5. Glue the small petals
Apply a pea-sized dot of hot glue to the base (the pointed end) of one small petal. Press it against the central spiral so the petal wraps slightly around the coil. Hold for 5 seconds.
Add the remaining 4 small petals the same way, spacing them evenly around the spiral. Each petal should slightly overlap the previous one. When you finish, the rose should look like a tight bud — no gaps visible from above.
6. Add medium petals
Repeat the same process with the 5 medium petals, positioning each one slightly lower than the small petals and angling it outward 5–10 degrees more.
This graduated outward angle is what creates the opening-bloom effect. If all petals sit at the same angle, the rose looks like a cylinder, not a flower.
7. Attach large petals
Glue the 6 large petals in a final outer ring, angled outward 15–20 degrees from vertical. These petals should look almost horizontal when viewed from the side.
📐 Petal Angle Guide
Space them so gaps between large petals fall behind the medium petals above — alternating the seams between layers gives the rose structural strength and a more natural look.
8. Attach the stem
Apply a generous blob of hot glue to the base of the rose. Press the tip of your 18-gauge floral wire into the glue and hold for 15 seconds.
Once set, wrap the base of the rose and the top 2 inches of wire with floral tape, stretching the tape as you wrap so it bonds to itself. Work downward in a tight spiral to the full length of the wire.
9. Add sepals (optional but recommended)
Cut 5 narrow leaf shapes, each about 1.5 inches long, from green cardstock. Curl them slightly backward. Glue them around the base of the flower where it meets the stem.
This hides the glue points and makes the rose look finished from every angle. Skipping this step is what makes paper roses look obviously handmade.
Storage and Aftercare
Keep paper roses away from humidity — bathrooms and outdoor use will cause the petals to uncurl and warp.
Display them indoors, out of direct sunlight (colors fade within 2–3 months in direct sun).
Dust them with a soft, dry brush rather than any wet cloth. If a petal unglues, re-attach with a fresh dot of hot glue; the bond point is always at the petal base, never mid-petal.
Variations
Rolled paper rose (single-strip method)
Cut one long strip of cardstock, 18 inches × 1.5 inches. Cut scallops along one long edge (these become the petal tops).
Roll the strip tightly from one end, fanning the scalloped edge slightly outward as you go. Glue the base. This produces a more stylized, modern-looking rose in under 5 minutes.
Crepe paper rose
Substitute Italian crepe paper (180 gsm weight) for cardstock. Crepe paper stretches when you press your thumbs into the center of each petal, creating a natural cupped shape that’s impossible to achieve with cardstock. The result is softer and more botanically accurate, but crepe is less durable.
Oversized statement rose
Scale every template up by 200%. Use 12-inch × 12-inch scrapbook cardstock sheets. The technique is identical, but the finished rose is 6–8 inches across — striking for backdrops, wedding décor, or wall installations.
Two-tone rose
Cut inner petals (small and medium) from one color and outer petals (large) from a slightly darker or lighter shade of the same color.
This mimics how real rose petals are deeper at the center and lighter at the edges, adding realism without any extra technique.
Troubleshooting
| Problem | Likely cause | Fix |
|---|---|---|
| Petals won’t hold their curl | Paper too heavy or curl held less than 3 seconds | Switch to 65 lb cardstock; hold each curl for a full 5 seconds |
| Rose looks flat, not dimensional | All petals glued at the same angle | Re-angle outer petals outward; use a toothpick to lift and re-glue while glue is still warm |
| Glue strings visible between petals | Glue gun too hot or glue applied too generously | Use a low-temp gun; apply glue in pea-sized dots only at the petal base |
| Center looks messy or uneven | Spiral cut was uneven in width | Practice the spiral cut on scrap paper first; aim for consistent 0.25-inch width |
| Petals falling off after assembly | Insufficient glue contact area | Press each petal firmly for a full 10 seconds; increase glue dot to marble-sized for large petals |
| Rose head drooping on the stem | Wire gauge too thin or glue bond insufficient | Use 18-gauge wire minimum; reinforce with a second layer of floral tape over the bond point |
One Final Thought
Every paper rose problem is a geometry problem in disguise. If something looks wrong, ask yourself: is this a curl issue (the petal shape), an angle issue (how the petal sits), or a spacing issue (where the petal is placed)?
🔍 If Something Looks Wrong, Check:
🌀 Curl — is the petal shape right?
📐 Angle — how does the petal sit?
📍 Spacing — where is the petal placed?
Those three variables control everything. Fix one at a time and the rose will tell you immediately whether you’ve found the cause.






