
How to Make a Paper Lantern DIY in Just Minutes

A paper lantern is a hollow, light-diffusing shell built from a single folded sheet — and once you understand its geometry, you can scale it, reshape it, and adapt it for any occasion without following a pattern.
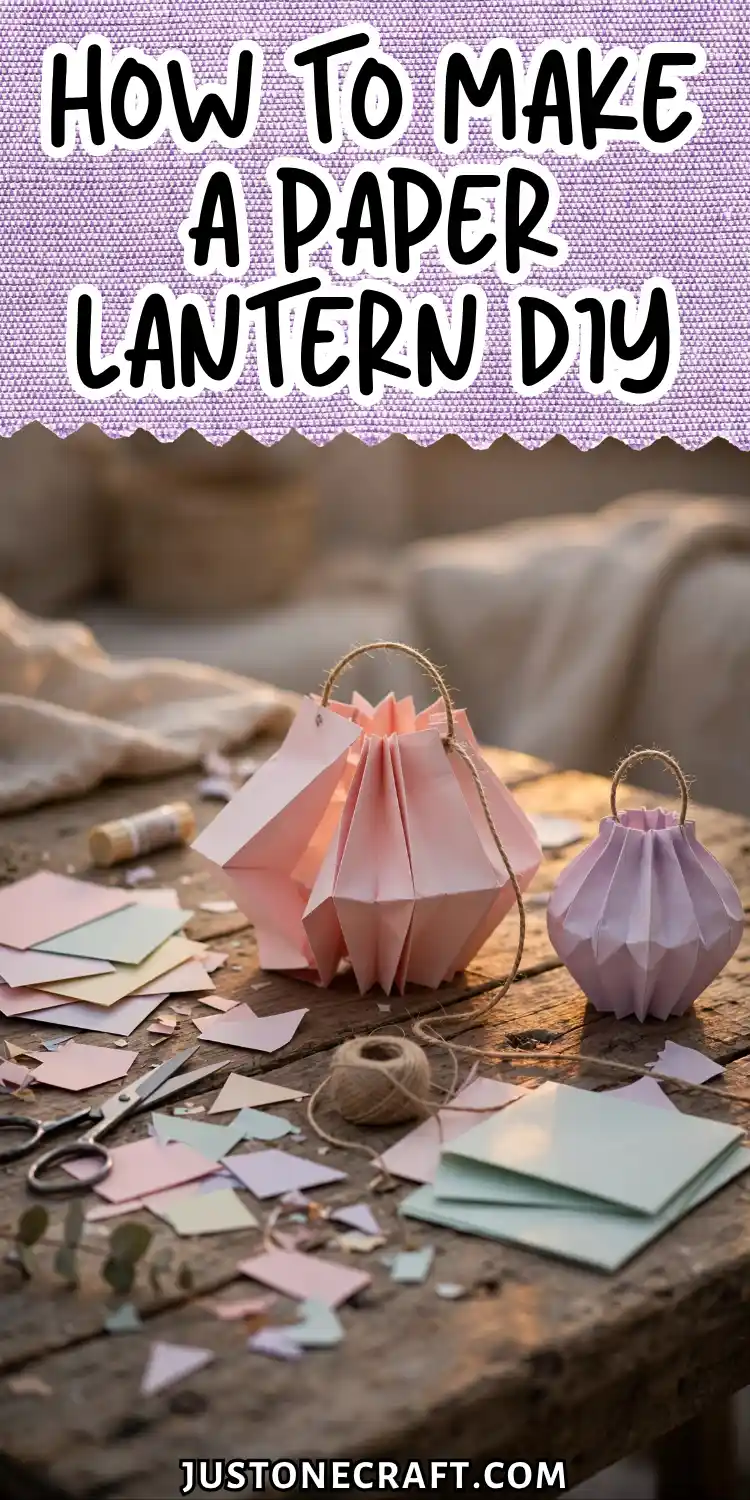
The classic slotted cylinder design takes under 20 minutes and requires nothing beyond paper, scissors, tape, and a light source.
Understanding the Lantern’s Structure
A paper lantern diffuses light through a semi-translucent paper shell, creating a soft, warm glow instead of a harsh beam. Thinner paper lets more light pass through, while thicker paper creates a dimmer effect.
The lantern’s rounded shape comes from evenly spaced slots that allow the paper to flex outward when rolled into a cylinder.
The uncut top and bottom borders act as strong rings, keeping the lantern stable and holding its curved shape.
What You Need
65 lb Cardstock
Sturdy lantern
20 lb Copy Paper
Softer glow
- Paper: One 12 × 18-inch sheet of 65 lb cardstock for a sturdy lantern or 20 lb copy paper for a softer glow. Avoid tissue paper and cardstock over 80 lb.
- Scissors or Craft Knife: Sharp scissors work well, or use a craft knife with a cutting mat for cleaner, faster cuts.
- Ruler: A 12-inch metal ruler for straight, evenly spaced cuts.
- Tape or Stapler: Clear tape for a neat finish or a stapler for a stronger seam. Avoid glue.
- Paper Handle: Cut a 1 × 11-inch strip from the same paper for hanging.
- LED Tea Light: Use a battery-operated warm-white (2700K) LED tea light. Never use a real candle.
Step-By-Step Instructions
1. Mark your borders along the long edges
Lay the 12 × 18-inch sheet landscape (horizontal). Along both long edges (the 18-inch sides), draw a pencil line 1 inch from the edge, running the full length of the sheet.
These 1-inch borders are your structural rings — the uncut sections that hold the lantern’s shape.
Most beginners make these borders too narrow (under 0.75 inches), which causes the lantern to collapse when spread.
⚠️ Critical Measurement: Keep borders at a full 1 inch. Anything under 0.75 inches and your lantern will collapse when spread.
2. Mark the slot lines
Between the two pencil border lines, draw vertical cut lines every 1 inch across the width of the sheet. You should have approximately 17 evenly spaced lines.
~17
✂️ Evenly spaced vertical slots, 1 inch apart
These lines run from the top border pencil mark to the bottom border pencil mark — they do not extend into the 1-inch border zones.
Use your ruler for every line. If the lines are uneven, the slots will bow at different angles and the lantern will look twisted.
3. Cut along all slot lines
Cut along each of your 17 marked lines with scissors or a craft knife, stopping exactly at the pencil border line at each end.
You should feel a slight resistance as the paper wants to fan open — hold it flat against the table while cutting. After all cuts are complete, the sheet should look like a paper comb.
If any cut accidentally extends into the border zone, reinforce that spot with a small piece of clear tape on the back before proceeding.
4. Roll the sheet into a cylinder
Flip the sheet so the pencil lines face inward. Roll it along its length (so the 12-inch dimension becomes the height of the cylinder, and the 18-inch dimension wraps around).
Overlap the two short edges by 0.5 inches. The lantern should feel like it wants to spring open — hold it firmly while you secure it.
Tape or staple the overlapping seam at the top, middle, and bottom. The cylinder at this stage should look like a striped tube, not yet a lantern shape.
5. Spread the lantern open
Hold the top and bottom borders and gently push them toward each other — the slots will bow outward into the classic lantern curve. Push until the top and bottom borders are approximately 7 inches apart (for a 12-inch tall lantern).
The bowed walls should be evenly rounded all the way around. If one section bows more than others, it usually means a cut extended too far into the border — check that section and reinforce if needed.
6. Attach the handle
Take your 1 × 11-inch strip and fold each end over by 0.5 inches. Staple or tape one folded end to the inside of the top ring on one side, and the other end to the opposite inside of the top ring.
The handle should arch across the opening with approximately 4 inches of clearance. Place the LED tea light inside the lantern before securing the second end of the handle — it’s much harder to insert after.
7. Place the light source
Set the LED tea light on the bottom ring, centered. Turn it on and check the glow through the walls — you should see soft, diffused light passing evenly through the paper.
If one side looks darker, the light has shifted off-center. Adjust it through the top opening before hanging.
Storage and aftercare
Flat-pack lanterns for storage by gently reversing the spreading action — push the top and bottom rings back together until the slots lie flat again. Store flat in a folder or between two pieces of cardboard.
Never store in a compressed stack; the creases at the slot folds become permanent and the paper won’t bow smoothly on reuse.
Avoid humidity — paper lanterns absorb moisture and the structure weakens. If a lantern gets damp, let it air dry completely before reshaping.
Variations
Accordion lantern
Instead of straight vertical cuts, alternate the cut direction — cut from the top border to 1 inch from the bottom, then cut from the bottom border to 1 inch from the top, alternating across the sheet.
This creates an accordion fold pattern that expands horizontally instead of bowing outward, producing a wider, squatter lantern shape.
Patterned lantern
Before cutting, stamp, paint, or hole-punch a pattern into the paper while it’s still flat. Stars, dots, or geometric cutouts will backlight beautifully once the LED is placed inside.
Use a hole punch (0.25-inch or 0.5-inch circle) for clean edges. Do all decoration before rolling — it’s nearly impossible to add detail cleanly after the cylinder is formed.
Honeycomb tissue lantern
Use two sheets of tissue paper (20 × 24 inches each) glued together at 1-inch intervals in a staggered grid pattern.
When pulled apart, the glued sections create a three-dimensional honeycomb structure.
This is a more advanced version of the same bowing principle — instead of cut slots, the glued sections create flex points.
Oversized outdoor lantern
Scale up to a 24 × 36-inch sheet of kraft paper (90 lb). Increase border width to 2 inches and slot spacing to 1.5 inches.
Use a battery-powered LED string light coiled inside instead of a single tea light for even illumination.
The larger format requires stapling rather than tape to hold the seam under the added weight.
Troubleshooting
| Problem | Likely cause | Fix |
|---|---|---|
| Lantern collapses inward when spread | Borders are too narrow (under 0.75 inch) | Reinforce borders with a strip of tape along the inside edge before re-spreading |
| Slots bow unevenly or twist | Cut lines weren’t straight or evenly spaced | Mark lines with a ruler before cutting; don’t freehand |
| Seam splits when spreading | Only taped at one point, or overlap was under 0.5 inch | Re-tape with three strips — top, middle, bottom — or staple the full seam |
| Light looks harsh or spotty | LED is off-center or too bright | Center the light on the bottom ring; use a warm-white (2700K) LED for diffused glow |
| Paper tears at slot ends | Cuts went into the border zone, weakening the ring | Reinforce torn spots with clear tape on the back before spreading |
| Handle looks lopsided | Handle attached after lantern was fully spread | Attach handle before final spreading; use the top ring as the anchor point, not the walls |
One Final Thought
Every paper lantern problem is a geometry problem — too narrow, too wide, unevenly spaced, or cut past the boundary.
📐 Quick Diagnosis
🔻 Collapsing? Something is too narrow.
🔺 Won’t bow? Something is too wide.
Before you start over, look at where the structure is failing and ask whether the proportions are off at that specific point.
The paper doesn’t lie: if it’s collapsing, something is too narrow; if it won’t bow, something is too wide. Measure first, cut once, and the geometry does the rest.






