
How to Condition Polymer Clay Properly

Conditioning polymer clay is the process of working it with your hands until the plasticizer molecules redistribute evenly throughout the material — and skipping it is the single most common reason finished pieces crack, crumble, or break after baking.
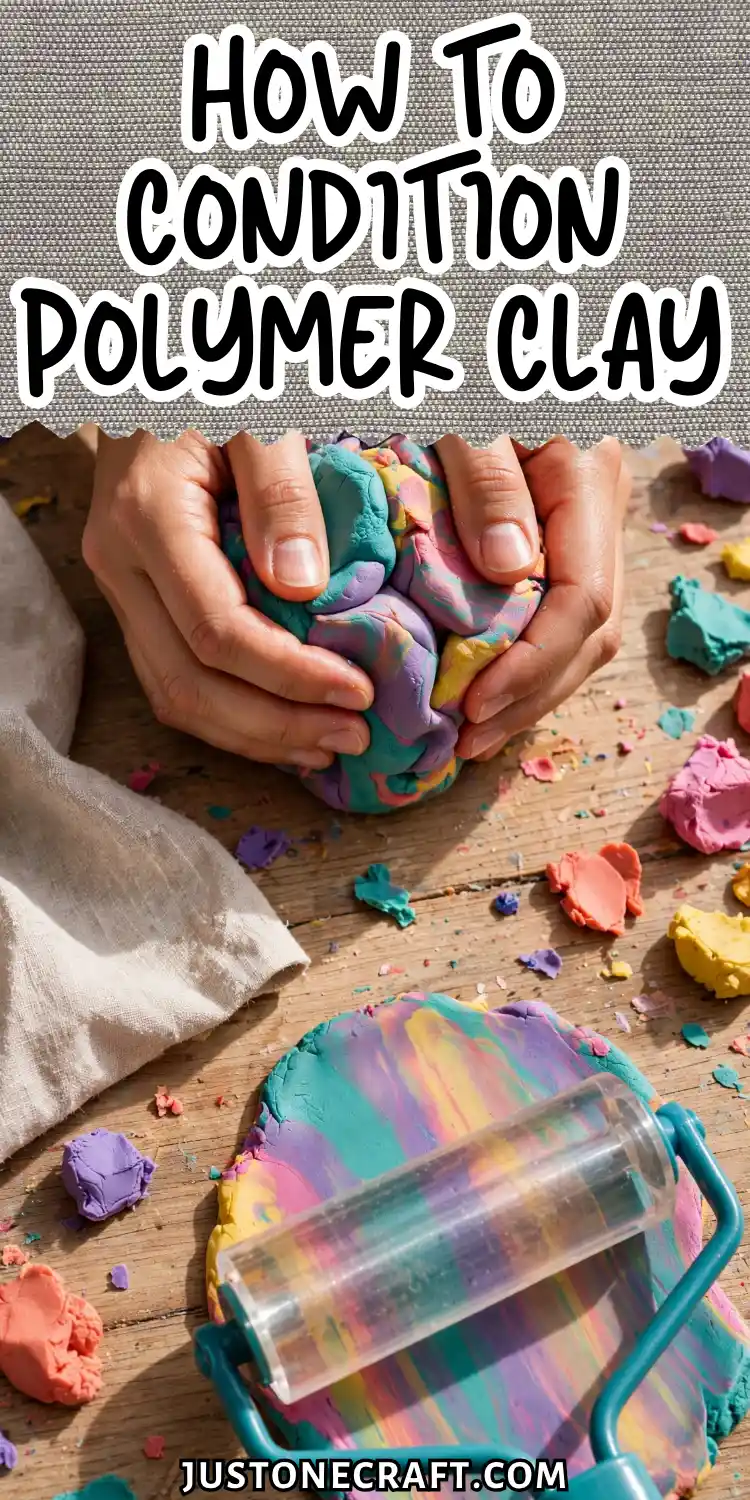
Why It Works
Polymer clay is made from PVC particles mixed with a plasticizer that keeps it soft and workable.
Conditioning evenly distributes the plasticizer, making the clay smooth, flexible, and easier to shape.
It also removes trapped air, reducing the risk of bubbles, cracks, or weak spots during baking.
What You Need
- Polymer clay — Use Premo Sculpey, Fimo Professional, or Kato Polyclay. Avoid Sculpey III for durable projects.
- Pasta machine — Best for conditioning clay evenly. Use only for clay, never for food.
- Acrylic roller — Smooth acrylic or glass roller for hand-conditioning if no pasta machine is available.
- Ceramic tile or glass surface — Provides a smooth, non-stick workspace.
- Clay softener — Use Sculpey Clay Softener or Fimo Mix Quick for stiff or crumbly clay.
- Nitrile gloves (optional) — Help prevent fingerprints and keep hands clean.
Step-by-Step Instructions
1. Warm the clay in your hands before doing anything else
Cut or tear off a piece no larger than 2 ounces (roughly the size of a golf ball). Hold it in both palms and press firmly for 30–60 seconds without rolling or folding yet.
You should feel the clay shift from rigid to slightly yielding — not soft, just less resistant. Cold clay rolled immediately will crack along the edges.
2. Roll the clay into a snake
Press the warmed piece against your work surface and roll it into a log approximately 6 inches long. Roll with even, light pressure — your palms flat, not your fingertips.
The log should look smooth and consistent in diameter. If it cracks along the surface at this stage, the clay needs more warming or a drop of clay softener.
3. Fold and press
Fold the log in half and press the two halves together firmly. The most common beginner mistake here is folding loosely and then re-rolling without pressing — that traps air instead of removing it. Press the fold closed completely before rolling again.
4. Repeat the roll-and-fold cycle 15 to 20 times
Each cycle takes about 10 seconds. After 15 cycles, the clay surface should be smooth and slightly glossy, with no visible cracks or rough patches.
🔁 Cycle Checkpoint
15 cycles minimum — add 5 more if surface still feels inconsistent
It should feel pliable and uniform — no stiff spots when you press different areas. If it still feels inconsistent, do 5 more cycles.
5. Run through a pasta machine (if using one)
Set the machine to setting #1 (thickest). Feed the folded clay through and collect it from the bottom. Fold it in half, feed again.
Repeat 10 to 15 passes, folding the clay so the fold enters the rollers first each time — this prevents air from being trapped at the fold.
After 10 passes, the clay should come through as a smooth, even sheet with no tearing at the edges.
6. Test for readiness
Take the conditioned clay and fold it sharply in half. Press firmly. The fold line should be smooth and crack-free.
If you see any white stress marks or surface cracks at the fold, condition for 5 more cycles. Conditioned clay folds cleanly the same way a piece of good leather does — no resistance, no tearing.
🖐️ The Leather Test: Conditioned clay folds cleanly like good leather — no resistance, no tearing, no white stress marks.
Storage and Aftercare
Wrap conditioned clay in plastic wrap (not wax paper — it sticks) or store it in a zip-lock bag with the air pressed out.
Keep it away from heat sources and direct sunlight. Properly stored conditioned clay stays workable for 6 to 12 months.
If it firms up slightly in storage, 5 minutes of hand warming and a few roll-and-fold cycles brings it back.
Never store polymer clay touching styrene foam or certain soft plastics — the plasticizer migrates into them and both materials are damaged.
Variations
Conditioning old or crumbly clay
Add 1 to 3 drops of Sculpey Clay Softener directly to the crumbled clay before starting. Let it sit for 5 minutes, then begin the roll-and-fold cycle.
⚠️ Dosage Limit: Stick to 1-3 drops of clay softener. More than 5 drops makes the clay sticky and unusable.
The softener restores plasticizer that has partially off-gassed over time. More than 5 drops makes the clay sticky and unusable.
Conditioning for translucent clay
Translucent clay (like Premo Translucent) is more temperature-sensitive than opaque colors.
Condition it quickly — no more than 10 minutes of hand contact — because body heat starts to activate the clay prematurely, causing it to bake cloudy. Use the pasta machine rather than hands wherever possible.
Blending two colors while conditioning
Condition each color separately first, then layer them and run through the pasta machine together 8 to 10 times for a full blend, or 3 to 4 times for a marble effect.
Never try to blend unconditioned colors — the uneven plasticizer distribution creates streaky, inconsistent results.
Troubleshooting
| Problem | Likely cause | Fix |
|---|---|---|
| Clay cracks when rolling into a snake | Clay is too cold or too old | Warm in hands for 2 minutes; add 1–2 drops clay softener if still cracking |
| Clay is sticky and won’t hold shape | Over-softened or overworked with warm hands | Rest clay on tile for 10 minutes to cool; add a small amount of fresh firm clay and re-condition |
| Surface looks rough after 20 cycles | Air pockets still present, or folds not pressed closed | Press fold completely shut before every re-roll; increase cycles to 30 |
| Clay leaves oily residue on hands | Normal plasticizer transfer | Use nitrile gloves; wipe work surface with rubbing alcohol between sessions |
| Finished piece cracks after baking | Insufficient conditioning before sculpting | There’s no fix after baking — condition new clay for a full 20 cycles minimum before starting |
| Two colors won’t blend smoothly | One or both colors were not conditioned first | Always condition each color individually before attempting any blend |
One Final Thought
Conditioning isn’t preparation for the real work — it is the real work. Every hour you spend sculpting rests entirely on the 10 minutes you spend conditioning.
🔑 Reframe It: Conditioning isn’t prep — it’s the real work. Every hour of sculpting rests on those 10 minutes.
When a piece cracks or a surface looks rough, the cause is almost always traced back to this step.
Treat conditioning as non-negotiable, not optional, and every problem downstream becomes dramatically less common.






