
How to Bake Polymer Clay Without Cracking

Cracking in polymer clay happens when the material heats unevenly or too fast — and fixing it is entirely about controlling your oven environment, not your sculpting technique. Get the bake right once, and you’ll never lose a finished piece to a split seam again.
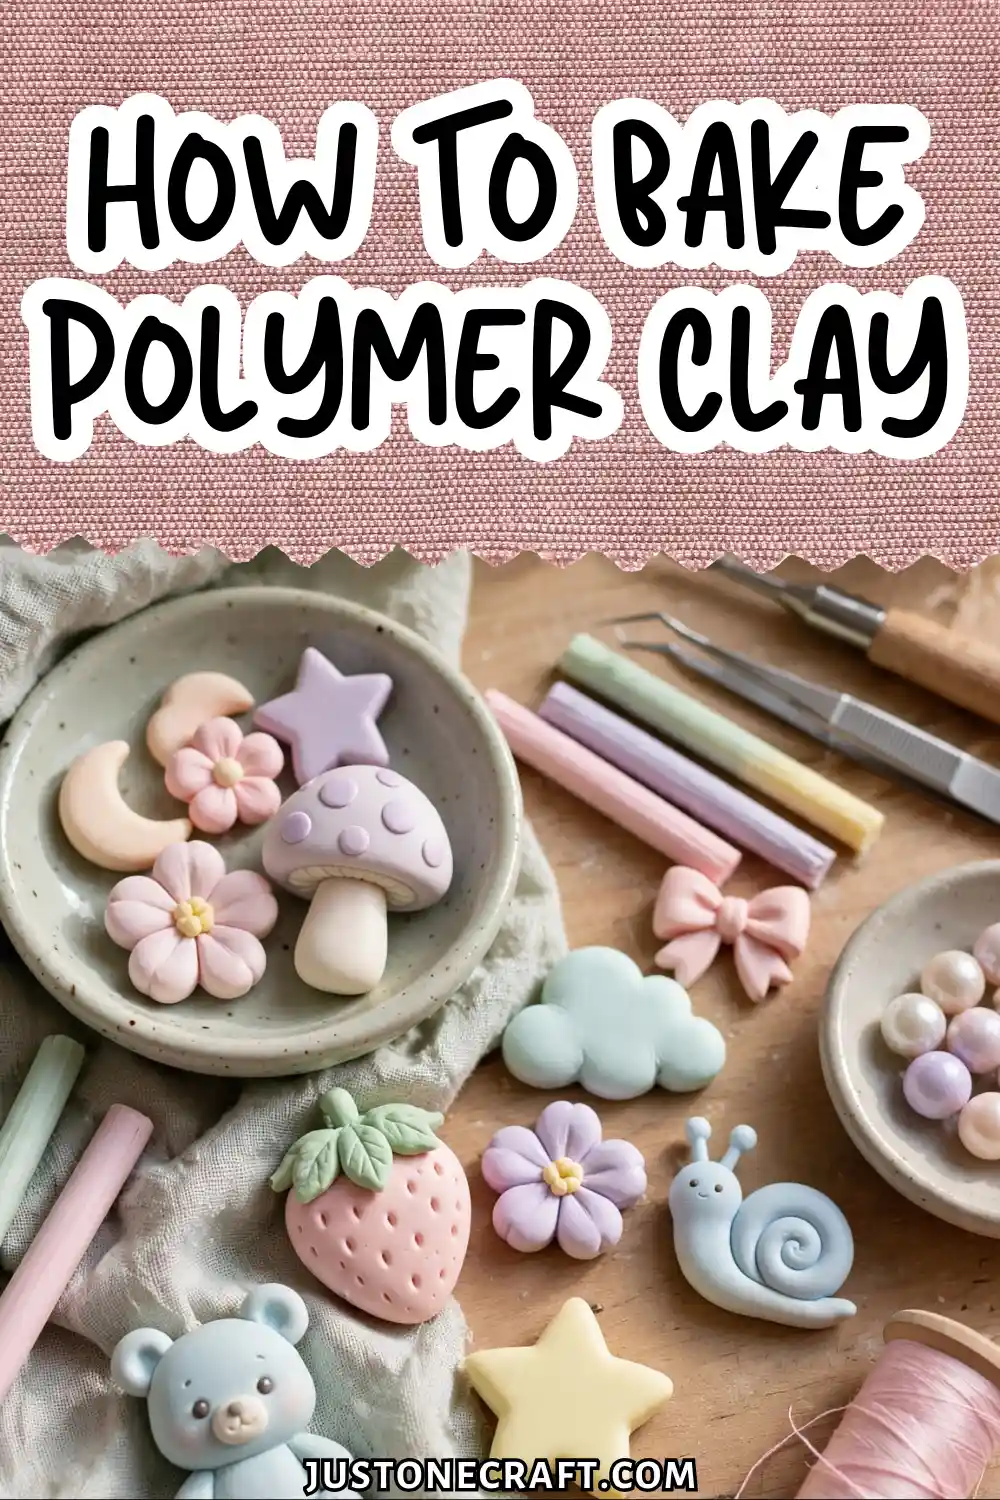
Why Clay Cracks (And Why It Doesn’t Have To)
Polymer clay is made from PVC (polyvinyl chloride) mixed with a plasticizer. During baking, the PVC particles fuse together through a process called sintering, creating a hard, durable piece.
This only works within the correct baking range, typically 215–275°F (102–135°C) depending on the brand.
Cracking is usually caused by thermal stress, where the outside heats faster than the inside, creating tension that splits the clay.
🌡️ Thermal Stress
Outside heats faster than inside
📈 Temp Spikes
Ovens run 25-50°F hotter than set
Another common cause is oven temperature spikes—many home ovens briefly run 25–50°F hotter than the set temperature, which can overheat the clay and lead to cracks.
What You Need
- Polymer clay — Sculpey Premo, Fimo Professional, or Cernit. These brands have consistent plasticizer ratios and published bake temperatures. Avoid off-brand or dollar-store clay; the plasticizer content is unpredictable and cracks at normal temperatures.
- Dedicated oven thermometer — A bi-metal dial thermometer (like the CDN ProAccurate) that stays inside the oven during baking. This is the single most skipped item and the single biggest source of cracking. Your oven’s built-in thermostat is rarely accurate.
- Baking surface — A ceramic tile, glass baking dish, or sheet of cardstock over a baking tray. Ceramic and glass distribute heat slowly and evenly. Never bake directly on a metal tray — metal conducts heat too fast and scorches the bottom of your piece.
- Aluminum foil or a tent — A loose foil tent placed over (not touching) your piece during the first half of baking buffers heat spikes and slows surface heating. Commonly skipped; rarely regretted.
- Liquid polymer clay (optional but recommended for thin pieces) — Brands like Fimo Liquid or Sculpey Bake & Bond. Brushed onto fragile joints or thin sections before baking, it acts as an adhesive buffer that flexes slightly during sintering.
- Timer — A dedicated kitchen timer, not your phone. You need to be able to hear it from another room without getting distracted and overbaking.
🌡️ #1 Most Skipped Item: Your oven’s built-in thermostat is rarely accurate — this single tool prevents the most cracking.
Step-by-Step Instructions
1. Preheat your oven with the thermometer inside for 20 minutes
Preheat your oven to the clay manufacturer’s recommended temperature (typically 265°F/130°C for Premo or 230°F/110°C for Fimo).
Place an oven thermometer on the center rack and let the oven preheat for about 20 minutes until the temperature stabilizes. Avoid putting clay into a cold oven, as uneven heating can affect the final result.
2. Check the actual temperature and adjust if needed
After 20 minutes, read your thermometer. If it reads 290°F when you set 265°F, turn your dial down by 25°F. If it reads 240°F, turn it up.
📝 Write Down Your Offset
Once you know how much your oven runs hot or cold, you’ll use that adjustment every single bake.
You want the thermometer’s average — not the peak — to match your target. Write down your oven’s offset. You’ll use this every time.
3. Prepare your baking surface
Place your piece on a ceramic tile or glass dish. Use cardstock under flat pieces to prevent shiny spots, or support round pieces with polyester fiberfill inside a glass dish to help them keep their shape.
4. Apply liquid clay to any thin joints or fragile areas
If your piece has thin extensions (fingers, petals, wire armatures covered in clay under 3mm thick), brush a thin layer of liquid polymer clay over those sections.
It should look slightly glossy. Let it sit for 2 minutes before putting the piece in the oven — rushing this step traps air bubbles.
5. Tent the piece with foil
Cover the piece loosely with aluminum foil, crimping the edges around the tile or dish. This creates a heat buffer that slows surface heating. Remove the foil halfway through baking.
6. Bake at the correct time for your piece’s thickest point
Bake for 15–30 minutes per 6mm (¼ inch) of thickness at the recommended temperature. Start timing only after the oven reaches the correct temperature, and remove the foil tent halfway through baking.
7. Cool slowly at room temperature
When the timer goes off, turn off the oven, crack the door open slightly, and let the piece cool inside for 10 minutes.
Then transfer it to a room-temperature surface and let it cool completely for 20–30 minutes. Avoid rapid cooling, as it can cause cracks or warping.
Aftercare
Once fully cooled, polymer clay is food-safe only if glazed with a food-safe sealant (most pieces aren’t).
Store finished pieces away from direct sunlight — UV exposure yellows lighter clays over 6–12 months.
If you’re sanding or buffing for a polished finish, wet-sand starting at 400 grit and work up to 1000 or 2000 grit. Dry sanding creates dust that scratches the surface.
Variations
Double baking for complex builds Bake structural base pieces first (full bake, full time), let them cool completely, add detail layers of raw clay on top, then bake again. The base won’t crack on the second bake because it’s already cured. This is how professional miniature sculptors build without distortion.
Oven bag baking Place your piece inside a turkey-size oven roasting bag before baking. The bag traps plasticizer vapors close to the clay surface, which slows surface sintering and dramatically reduces cracking in very thin pieces. Tie the bag loosely — don’t seal it airtight.
Low and slow for large pieces For pieces thicker than 25mm, bake at 200°F (93°C) for 60 minutes before raising the temperature to your standard target for the remaining time. The initial low-temperature phase warms the core gradually before full sintering begins.
Troubleshooting
| Problem | Likely cause | Fix |
|---|---|---|
| Cracks appear on the surface during baking | Temperature spike or too-fast heating | Add foil tent; verify oven temp with thermometer; lower dial 15°F |
| Piece is still flexible after cooling | Underbaked — insufficient time or temperature | Return to oven for additional 15-minute increments at correct temp |
| Bottom of piece is shiny or scorched | Direct contact with metal tray | Always use ceramic tile with cardstock layer between clay and surface |
| Cracks appear at thin joints only | Thin sections heat and cool faster than the body | Apply liquid clay to joints before baking; remove foil tent later in bake |
| Piece turns brown or smells burnt | Oven temperature too high | Check thermometer; your oven runs hot — reduce dial setting by 25–30°F |
| Piece cracked only after cooling | Thermal shock from rapid cool-down | Leave in oven with door cracked for 10 minutes before removing |
One Final Thought
Every crack is a temperature story. If you can tell whether the crack appeared during baking or after cooling — during means heat came too fast; after means cooling happened too fast — you can fix the exact variable that caused it.
🔍 When Did It Crack?
🔥 During baking → heat came too fast
❄️ After cooling → cooling happened too fast
An oven thermometer doesn’t just prevent cracking; it teaches you how your specific oven behaves, and that knowledge transfers to every piece you’ll ever bake.






