
DIY Paper Bouquet: 6 Ideas for Stunning Gifts

Fresh flowers fade, but a DIY Paper Bouquet stays beautiful all year round. If you want a thoughtful and handmade touch for gifts or decor, these easy paper bouquet ideas will inspire you to create something truly special.
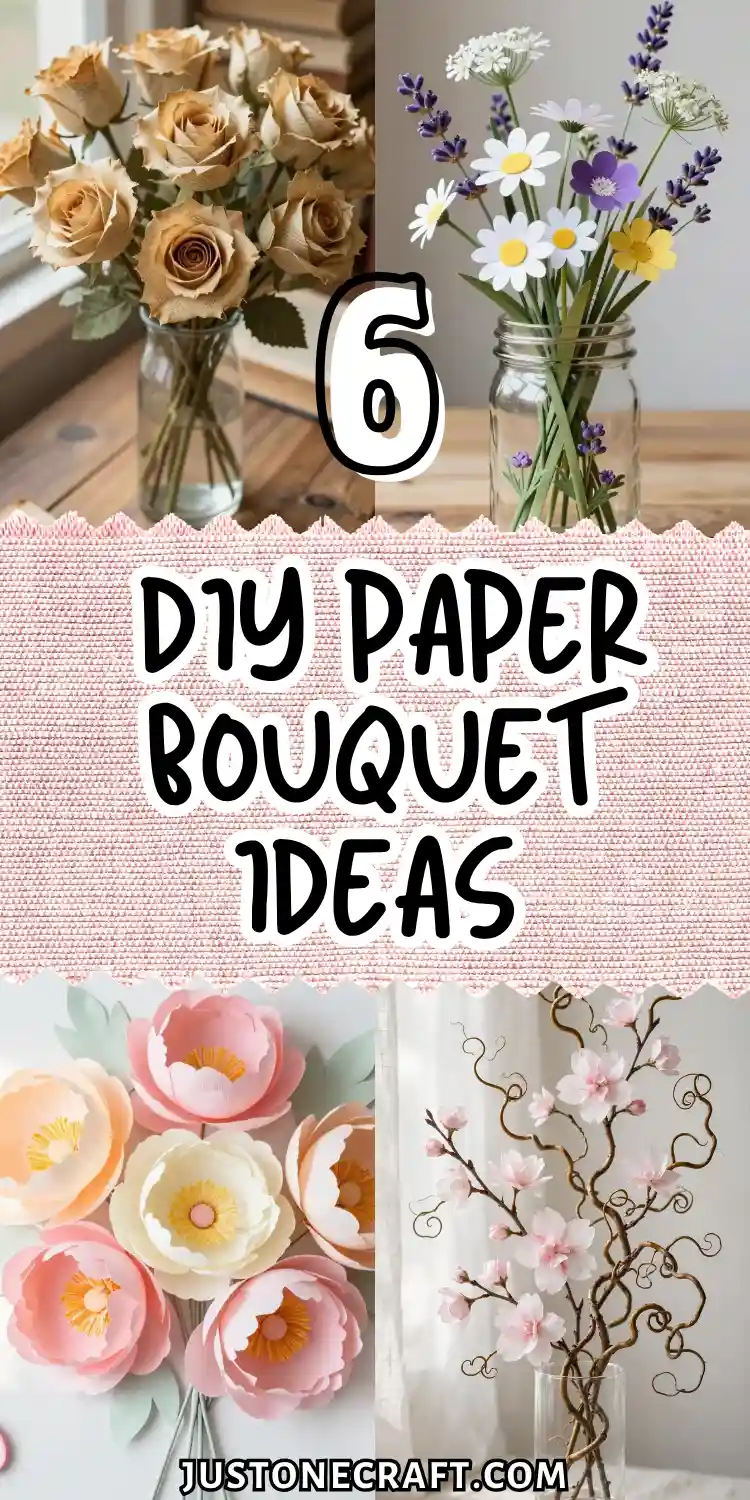
I didn’t think much about paper flowers until I needed a last-minute gift and had no time to shop.
Fresh flowers weren’t an option, and I wanted something more personal. That’s when I discovered the idea of a DIY Paper Bouquet.
At first, I thought it might look too simple. But once I started folding and shaping the petals, the bouquet came to life—colorful, soft, and unique in its own way.
Many people think they need expensive supplies or special skills to create something meaningful. In reality, all it takes is paper, patience, and creativity. No watering, no wilting, no stress.
A DIY Paper Bouquet isn’t just a craft. It’s a lasting, thoughtful piece that turns simple materials into something truly special.
6 DIY Paper Bouquet Ideas
Crepe Paper Peonies in Pastel Ombre Shades
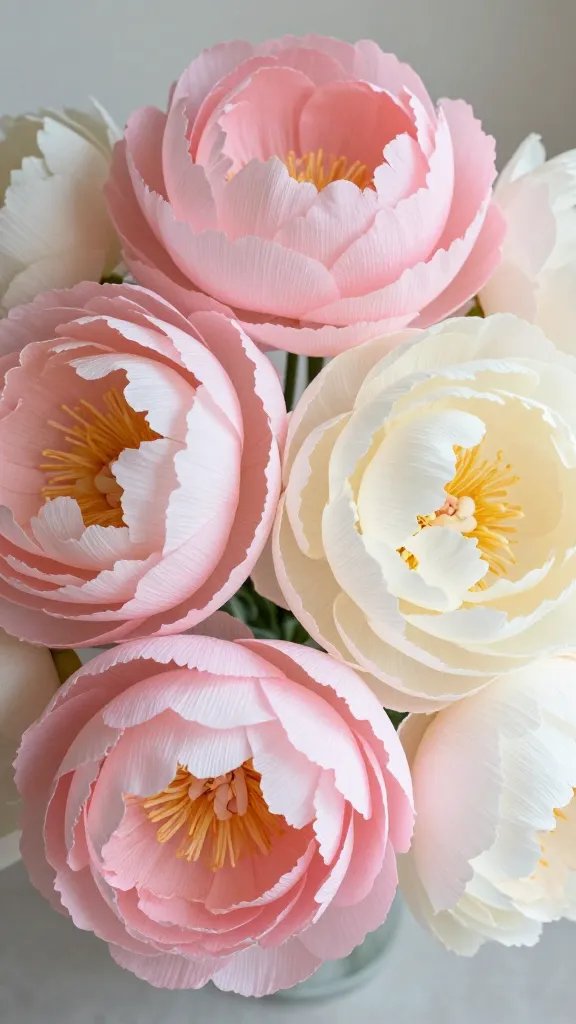
Picture this: giant, fluffy peonies in soft blush pink fading into cream, made entirely from crepe paper.
These beauties have all the ruffly, romantic layers of real peonies but won’t drop petals all over your table.
They’re perfect for bridal bouquets or as a stunning centerpiece that guests will swear is real.
Materials Needed
- Italian crepe paper in gradient colors
- Floral wire and green floral tape
- Hot glue gun
- Scissors
- Wooden dowels or branch sticks
How to Make It
Cut petal shapes in varying sizes, starting small for the center and gradually getting larger.
The secret is stretching the crepe paper gently in the middle of each petal to create that characteristic cupped shape peonies are famous for.
Layer them around your wire base, securing each layer with floral tape as you build outward.
Start with darker shades in the center and transition to lighter ones on the outer petals for that dreamy ombre effect. Seriously, the color fade makes these look like they cost a fortune at a fancy florist.
Pro Tips
Add a few partially opened buds to your bouquet for extra realism. Mix in some eucalyptus leaves cut from green crepe paper, and you’ve got yourself an Instagram-worthy arrangement.
These peonies are show-stoppers for spring weddings or as bedroom decor that brings all the romance.
Book Page Roses for the Literature Lover
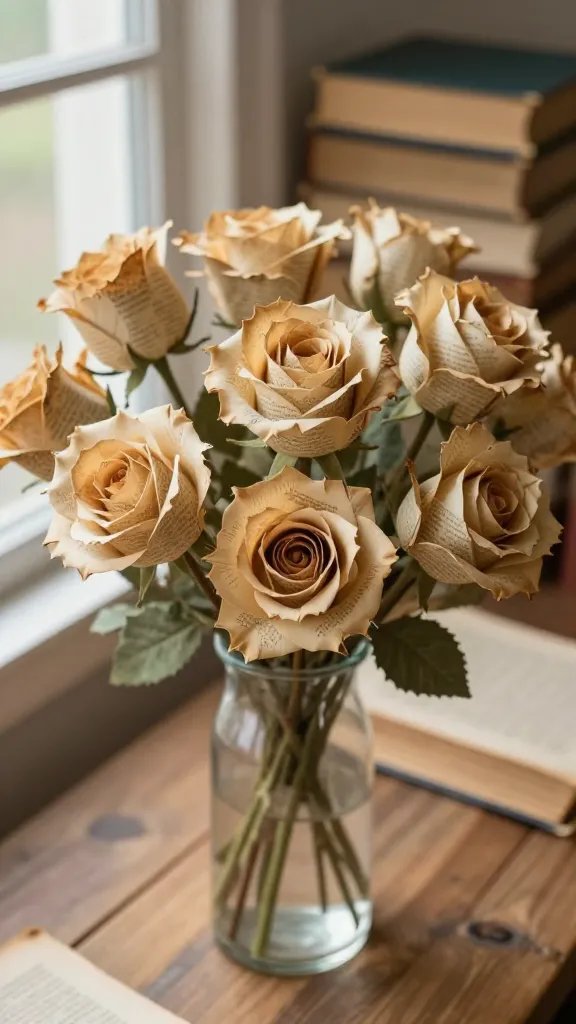
Got an old book that’s falling apart or a beat-up thrift store novel? Turn those yellowed pages into vintage-inspired roses that any book nerd would absolutely adore.
These literary blooms have a shabby-chic vibe that’s perfect for rustic weddings, library decor, or gifting your favorite English teacher.
The aged paper creates natural color variation in each flower, giving them character that craft paper just can’t match. You can leave them natural or lightly tea-stain them for even more vintage appeal.
Materials Needed
- Old book pages or sheet music
- Hot glue gun
- Wooden skewers or wire stems
- Brown floral tape
- Button or bead for flower center
How to Make It
Cut circles in three different sizes from your book pages. Layer them together with the largest on bottom, fold in half, then in half again to create a cone shape. Glue the point to your stem and fan out the petals.
For a fuller look, add multiple layers and curl the edges backward with a pencil. Glue a vintage button in the center for extra charm.
These come together so quickly you can make a whole bouquet during one Netflix binge session.
Styling Ideas
Bundle them in kraft paper tied with twine for a farmhouse feel, or display in an antique teacup for cottagecore perfection.
FYI, these also make incredible gifts for Jane Austen fans and anyone who appreciates upcycled crafts with a story to tell.
Giant Tropical Monstera Leaf and Hibiscus Display
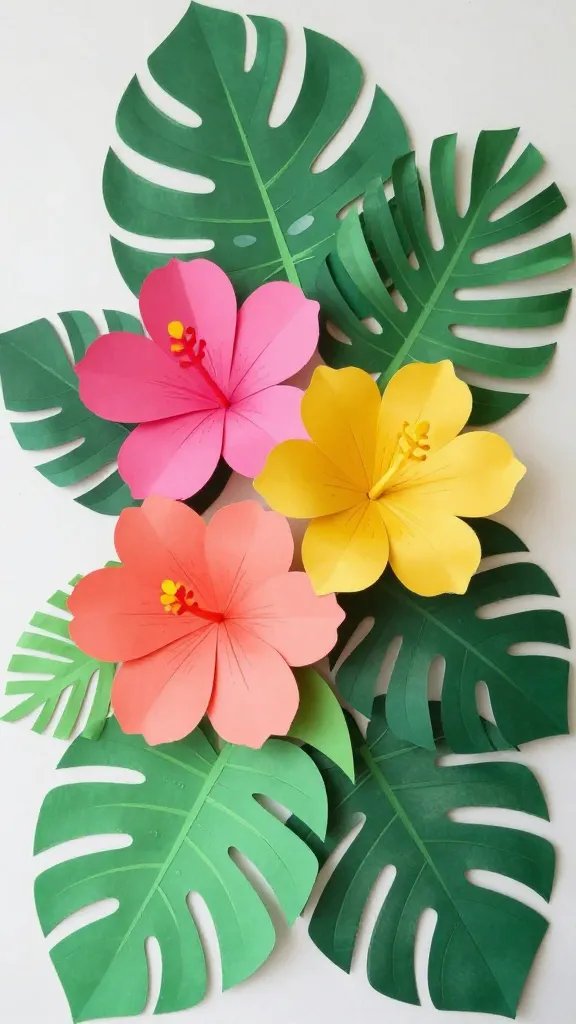
Why settle for delicate flowers when you can go bold with oversized tropical vibes? This statement piece features huge monstera leaves paired with vibrant hibiscus blooms in hot pink, coral, or sunny yellow.
It’s like bringing a Hawaiian vacation right into your living room.
These dramatic paper plants instantly transform any space into an exotic paradise. They’re perfect for summer parties, tiki-themed events, or adding permanent vacation energy to your home office.
Materials Needed
- Heavyweight cardstock in green and bright tropical colors
- Monstera and hibiscus templates (trace from images or buy patterns)
- Craft knife and cutting mat
- Bamboo skewers or thick wire
- Green floral tape
- Yellow paper or beads for hibiscus centers
How to Make It
Cut out your monstera leaves, making sure to include those iconic splits and holes. Score along the center vein and gently fold to create dimension. For hibiscus flowers, cut five large petals and curl the edges outward using the skewer.
Attach petals around a cluster of yellow stamens made from fringed paper or beads. The combination of bold leaves and bright blooms creates amazing visual contrast that photographs beautifully.
Display Suggestions
Arrange these in a tall floor vase for maximum impact, or create a tropical backdrop for your next party.
Trust me, guests will be asking where you bought them, and you’ll get to casually mention you made them yourself.
Delicate Cherry Blossom Branch With Watercolor Paper
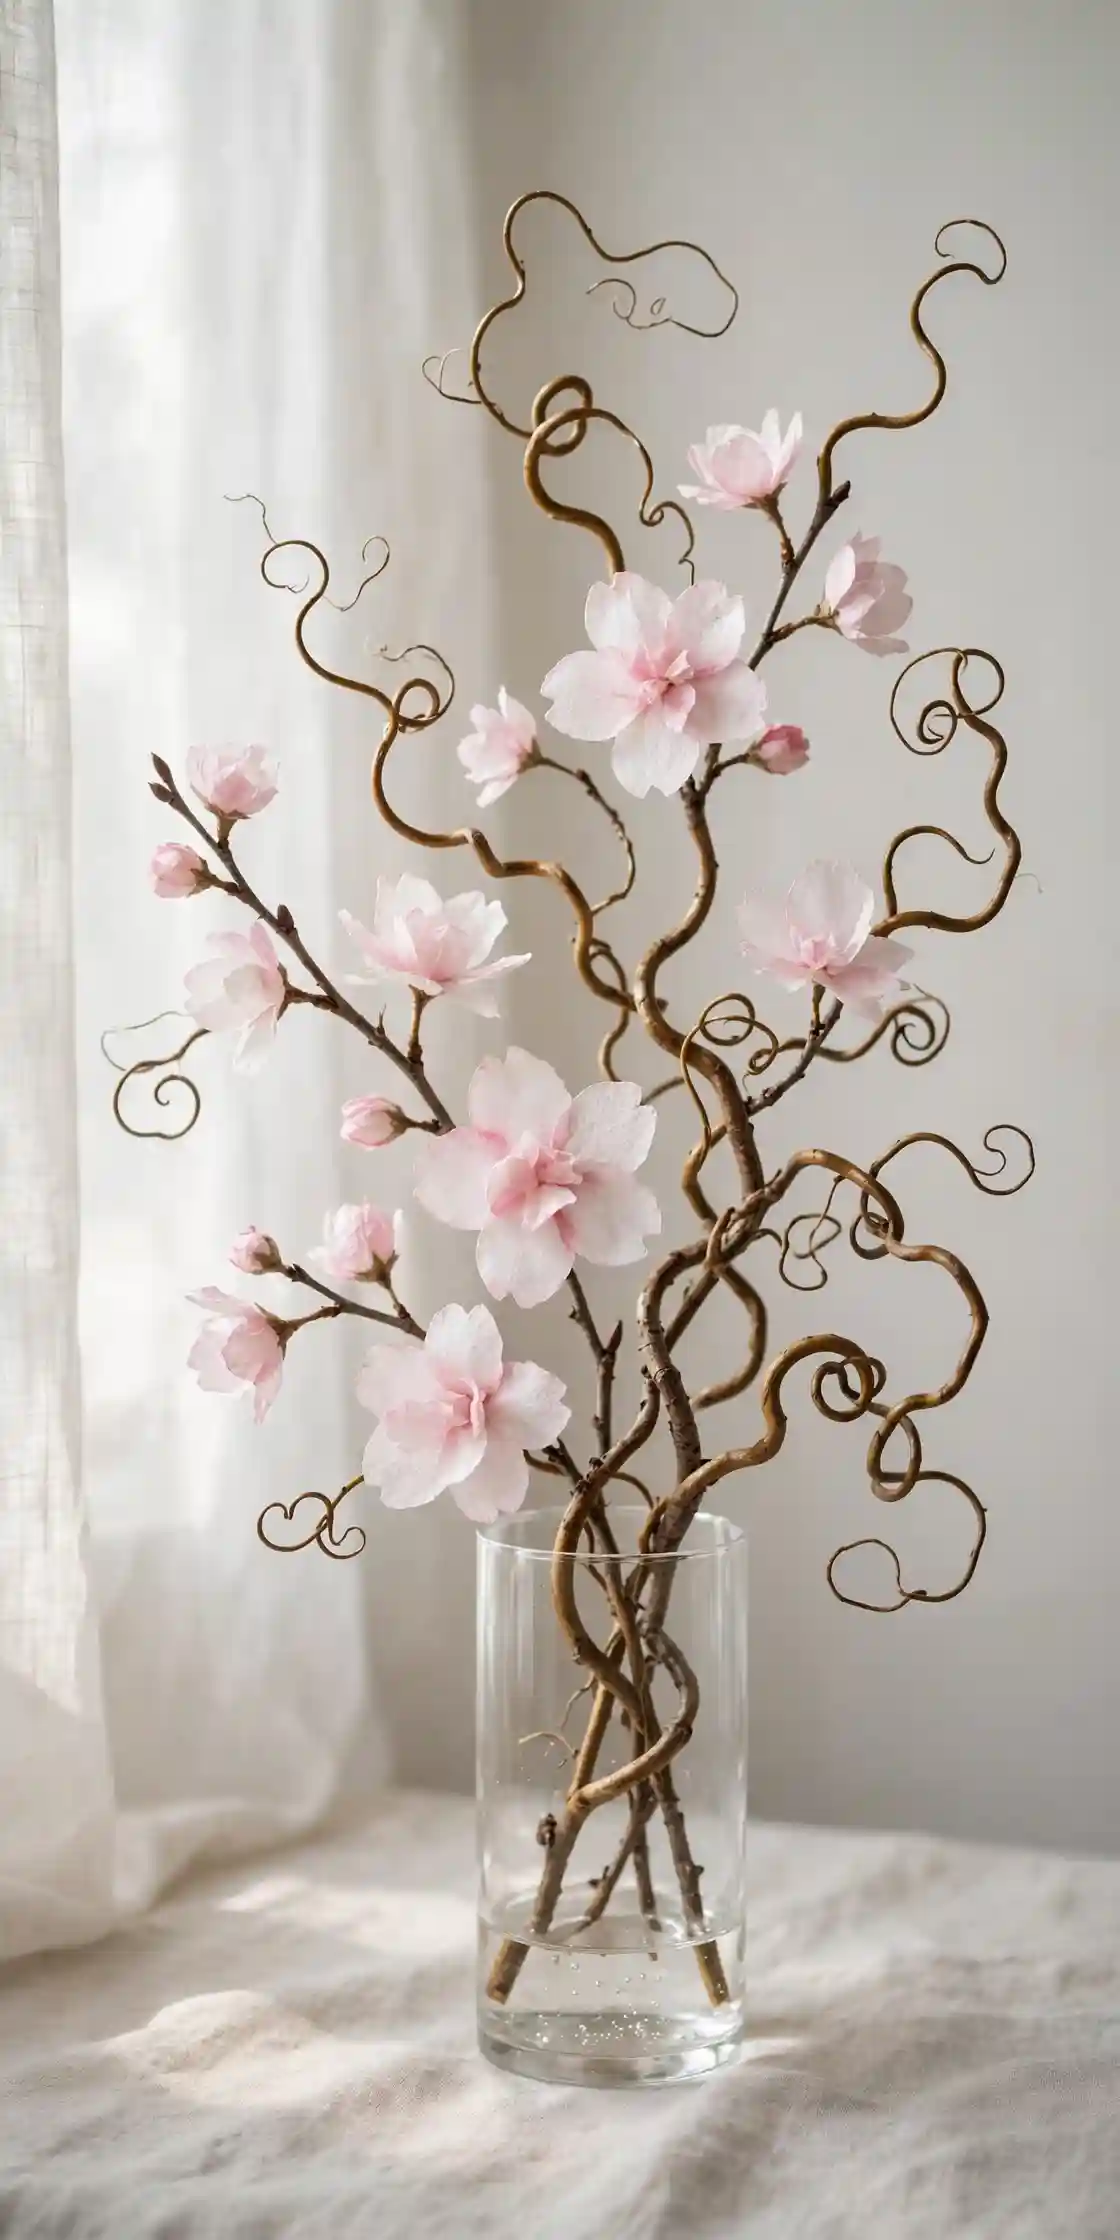
This ethereal arrangement captures the dreamy essence of springtime with soft watercolor paper blooms attached to real branches.
The translucent quality of watercolor paper gives these cherry blossoms an almost magical, light-catching quality that regular craft paper can’t achieve.
They’re minimalist, elegant, and bring that peaceful Zen garden aesthetic into any room. Plus, they’re way less messy than actual cherry blossoms that drop everywhere.
Materials Needed
- Watercolor paper in white or pale pink
- Watercolor paints (soft pinks and whites)
- Small flower punch or template
- Real branches (manzanita or curly willow work great)
- Hot glue gun
- Yellow and pink embroidery thread for stamens
How to Make It
Paint your watercolor paper with soft washes of pink, letting colors blend naturally. Once dry, punch out small five-petaled flowers or cut them by hand.
Add tiny dots of darker pink in the center of each bloom.
Create stamens by knotting short pieces of embroidery thread and gluing them in the flower centers.
Attach flowers along your branches in clusters, leaving some branches bare for an authentic look.
Perfect For
Display these in a simple glass vase for minimalist home decor that feels sophisticated and calming.
They’re absolutely perfect for meditation spaces, modern bedrooms, or anyone who loves Japanese-inspired aesthetics.
Rainbow Dahlia Bouquet With Metallic Accents
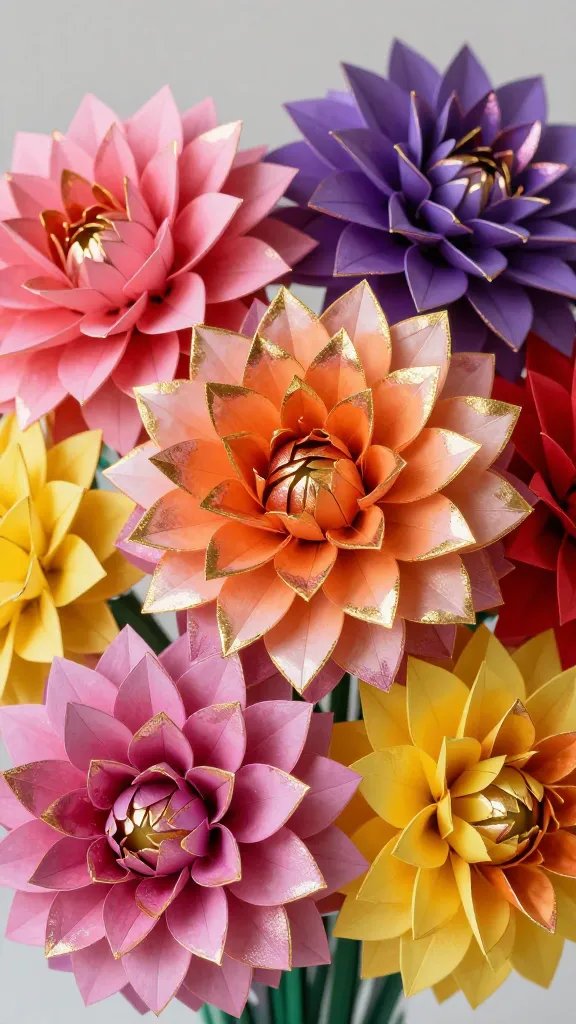
If you love color and drama, these geometric dahlias are your new obsession. Made from cone-shaped petals arranged in mesmerizing patterns, they look incredibly complex but follow a simple repetitive technique.
Add metallic gold or rose gold edges, and you’ve got flowers fancy enough for a gallery.
The structured, almost architectural quality of dahlias makes them stand out from softer flower types. You’ll love how satisfying they are to assemble as the pattern comes together.
Materials Needed
- Cardstock in rainbow colors
- Metallic marker or gold leaf pen
- Hot glue gun
- Styrofoam balls (various sizes)
- Wooden dowels
- Circle punch or template
How to Make It
Punch out dozens of circles and roll each into a tight cone, securing with glue. Edge each cone with metallic marker before assembly for extra glam.
Start gluing cones around the bottom of your styrofoam ball, working in concentric circles toward the top.
Each row should nestle between the cones below it, creating that signature dahlia pattern. The repetitive process is actually super relaxing once you get your rhythm going.
Color Combinations
Go full rainbow for a playful vibe, or stick to ombre shades of a single color for sophisticated elegance.
Jewel tones with gold accents look incredible for fall, while pastels with rose gold scream spring wedding.
These bold beauties work amazing as standalone statement pieces or grouped in threes for major impact.
Whimsical Wildflower Meadow in a Mason Jar
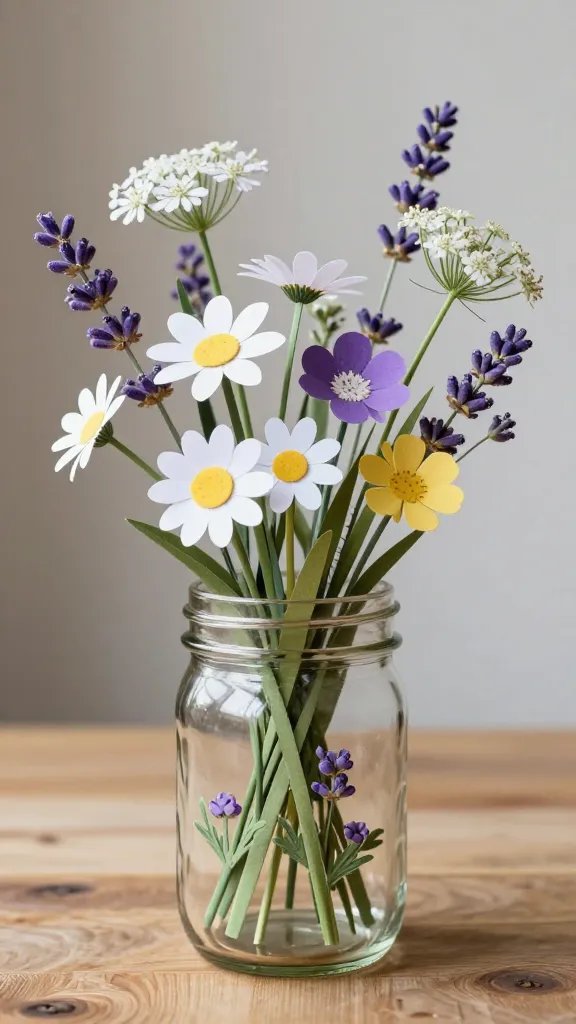
This casual, just-picked-from-a-field arrangement features a mix of simple paper wildflowers like daisies, lavender, and Queen Anne’s lace.
It’s the complete opposite of fussy formal bouquets, with an effortless, countryside charm that feels fresh and happy.
The beauty here is in the imperfection and variety. Different heights, mixed flower types, and a loosely gathered look make it feel organic and natural rather than crafted.
Materials Needed
- White, yellow, and purple cardstock
- Green tissue paper or crepe paper for stems and leaves
- Floral wire
- Small pom-poms or buttons for daisy centers
- Mason jar
- Decorative ribbon or twine
How to Make It
Create simple daisies with white petals and yellow centers. Make lavender by cutting small purple rectangles and attaching them along wire stems. For Queen Anne’s lace, use white doilies or create clusters of tiny white paper dots.
Add wispy green paper strips as grass and filler. The key is variety in heights and textures, so don’t make everything uniform. Let some flowers stand taller while others tuck lower in the arrangement.
Finishing Touches
Arrange your wildflowers loosely in a mason jar, letting them lean and spread naturally like they would in a real meadow bouquet. Tie raffia or gingham ribbon around the jar for country-cottage charm.
This arrangement is perfect for kitchen windowsills, farmhouse decor, or as a cheerful gift that says “thinking of you” without being overly formal.
Craft Now
There you have it—six completely different ways to create stunning paper bouquets that’ll outlast any grocery store flowers.
Whether you’re drawn to romantic peonies, bold tropical vibes, or whimsical wildflowers, there’s a project here calling your name.
Pick your favorite, grab some paper and glue, and get ready to craft something beautiful that’ll brighten your space for years to come.






