
DIY Clay Tray: 11 Ideas You’ll Actually Want to Make

A block of air-dry clay costs less than a coffee, and somehow it still sits in a drawer half used, waiting for a project worth the mess.
That’s exactly what these DIY clay tray ideas are for. Some take twenty minutes and a cookie cutter, others ask for a full afternoon and a little patience while the clay dries.
Either way, you end up with something worth keeping on your dresser or kitchen counter.
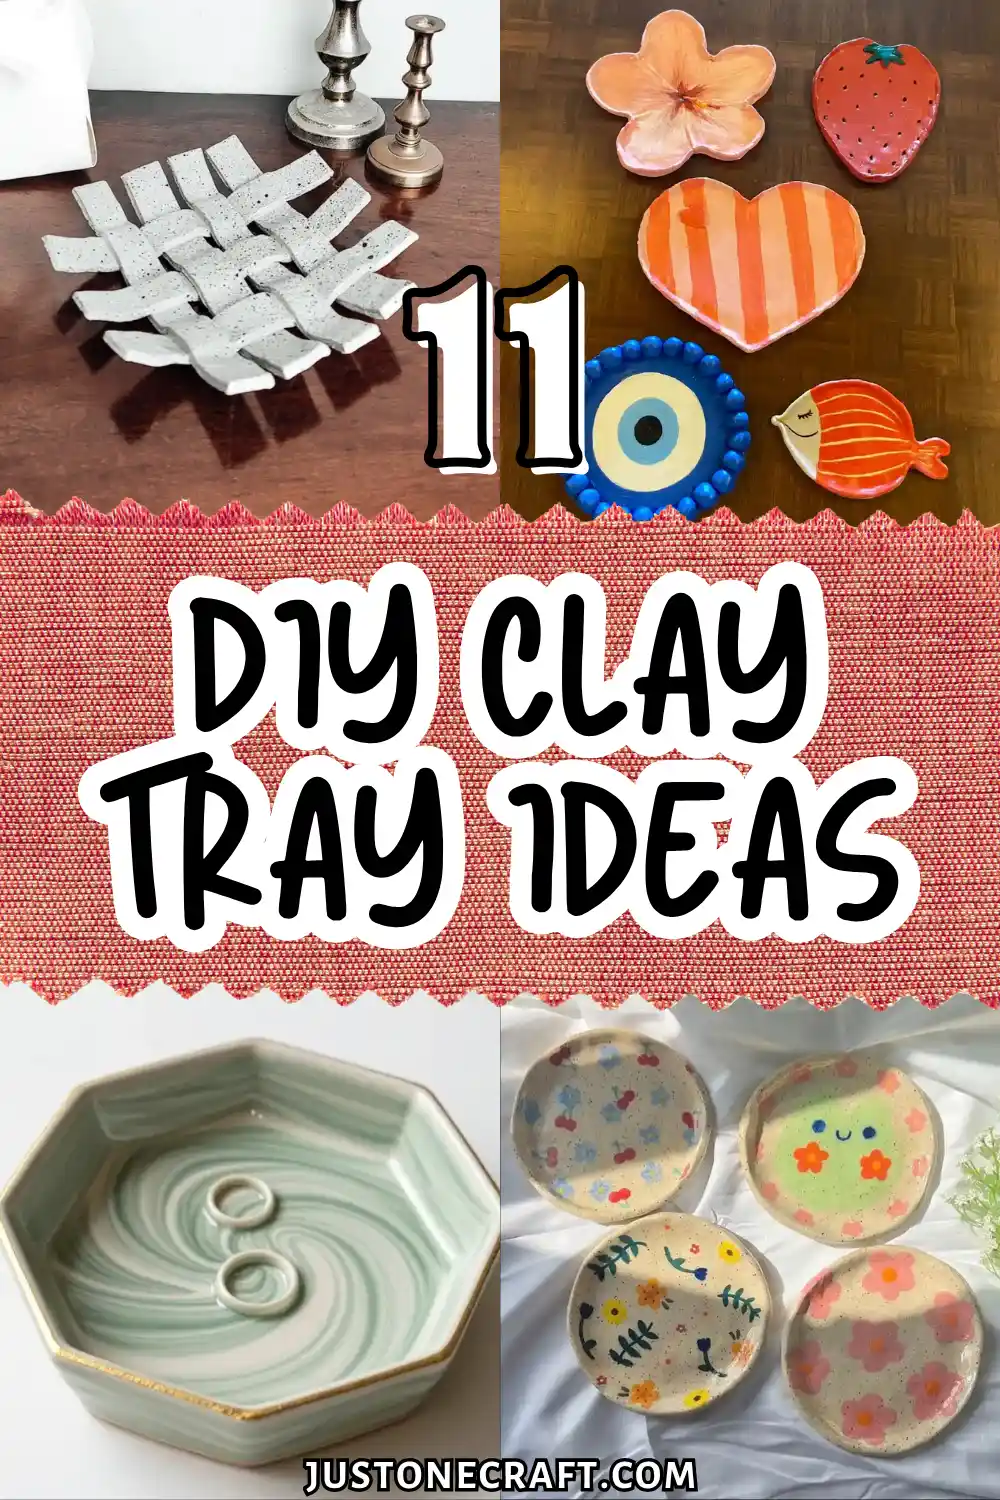
This list moves through a wide range of styles: kawaii fruit shapes with painted faces, a woven lattice tray, terrazzo speckles, marbled hexagons dipped in gold, even a stamped quote tray for your desk.
Some ideas lean playful, some lean quiet and minimal, so there’s a version here for whatever mood you’re making in.
1. Turn a Fruit Bowl Into a Set of Kawaii Clay Trays
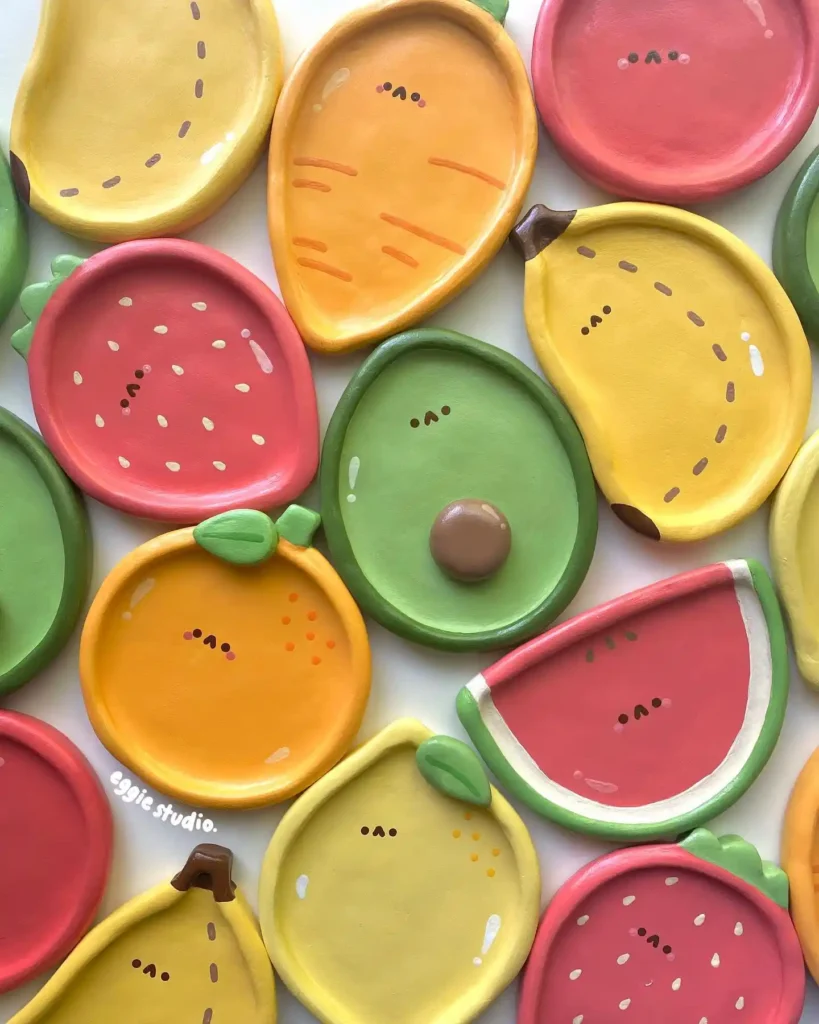
Nine different fruits, nine different trinket trays, and every single one gets a tiny cartoon face. That’s the trick that makes this idea pop.
The shapes stay simple, an oval for mango, a wedge for watermelon, a round for orange, but the painted details do the heavy lifting: watermelon seeds, mango freckles, a little brown pit stuck onto the avocado tray like a 3D button.
If you’re new to clay, start with two or three fruits instead of a whole fruit stand. Roll a flat base, cut the shape with a butter knife or a printed template, then pinch up a slight rim so the tray actually holds rings and coins.
The faces are optional but they’re what make people stop scrolling.
2. Mix and Match Shapes for a Trinket Dish Family
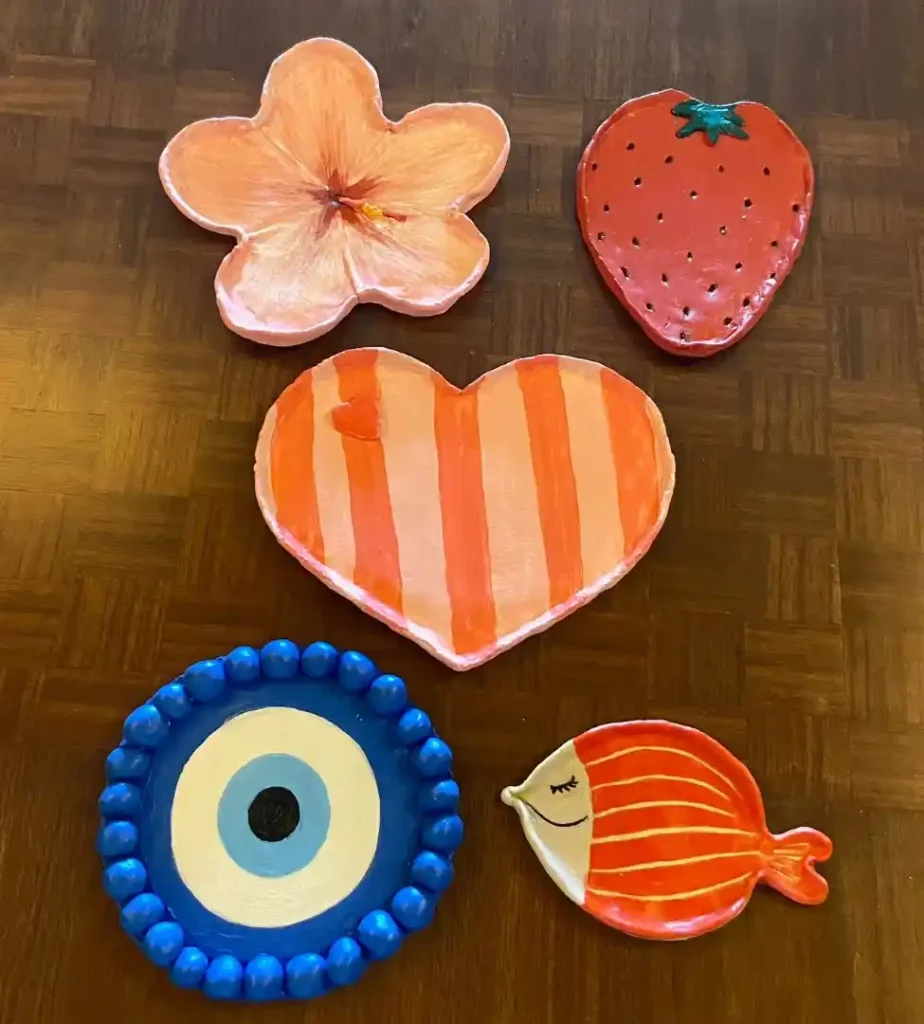
Not every tray in a set needs to match. This grouping proves it. A soft pink hibiscus flower sits next to a strawberry poked with little seed holes, a candy-striped heart, a blue evil eye ringed with painted beads, and a striped fish with closed eyes and a sleepy little smile.
What holds it together is the color story: warm coral and orange tones repeat across four of the five pieces, so even though the shapes are all over the place, the set still reads as one collection sitting on a table.
Recreate this look
3. Make a Cloud-Shaped Set With Little Clay Toppers
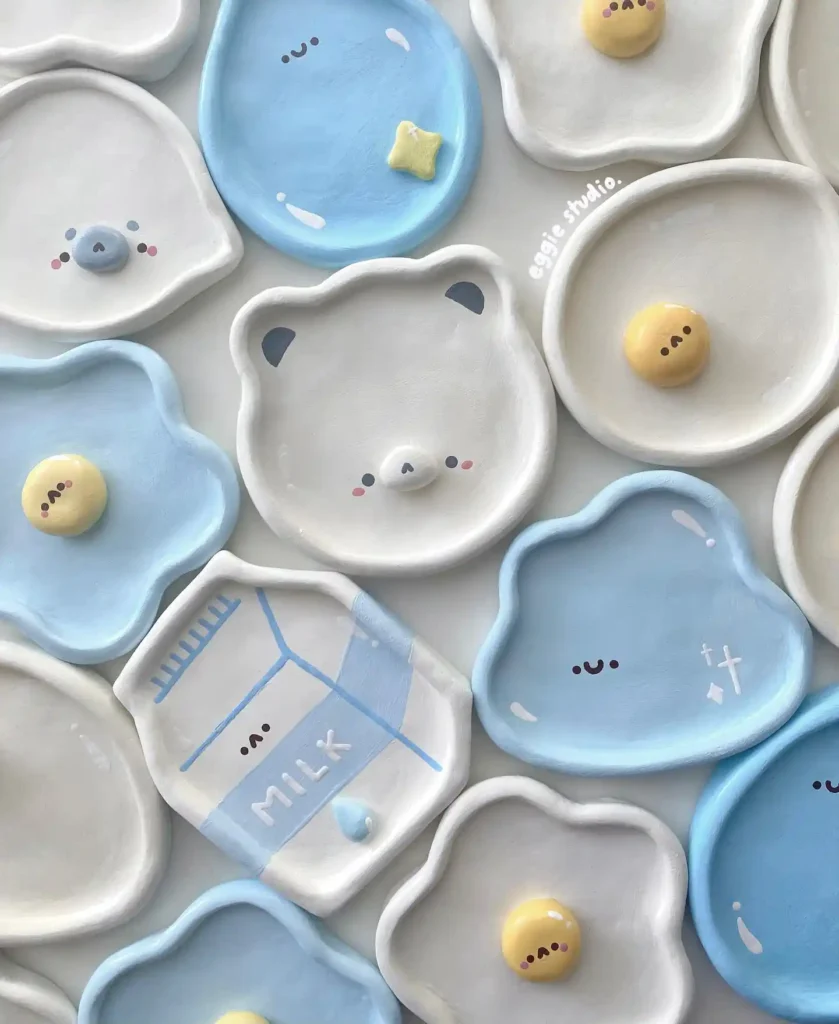
This one leans soft and sleepy instead of bold and graphic. The trays are shaped like puffy clouds, a bear face, and even a tiny milk carton, all in a pale blue and white palette.
Several of them have a small separate clay piece resting on top, like a yolk-yellow blob or a star, which gives the flat tray some real dimension.
Shape and dry the flat base tray first.
Roll a small separate ball or blob for the topper.
Glue it into place once both pieces are fully dry and painted.
Skip the glue step and press the topper straight onto wet clay instead if you want it permanently fused.
4. Weave a Lattice Tray for a Minimalist Catch-All
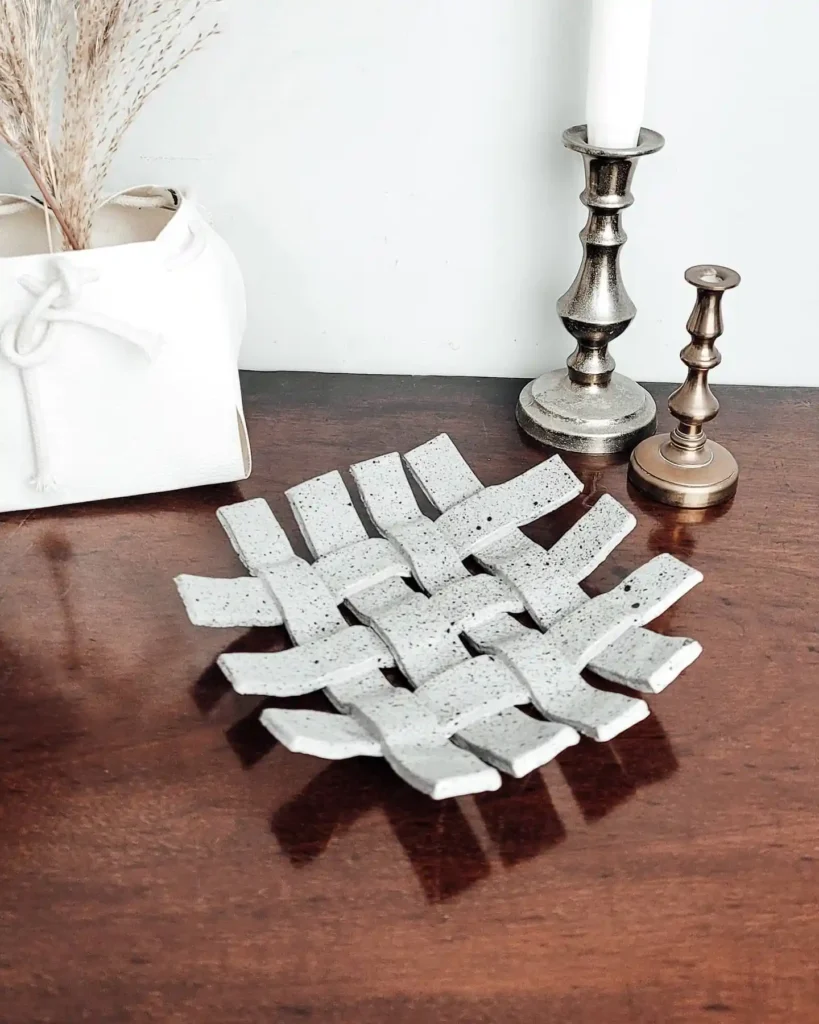
This is the most advanced idea in the bunch, and the most striking. Instead of a solid base, the tray is built from thin clay strips woven over and under each other like a basket, then fired with a light speckled glaze that leaves tiny dark flecks across the surface.
It sits well in a moody, editorial setup: dark wood, brass candlesticks, dried pampas grass. This is a tray that photographs like a still life, not a craft project.
5. Paint a Full Botanical Set on Speckled Stoneware Rounds
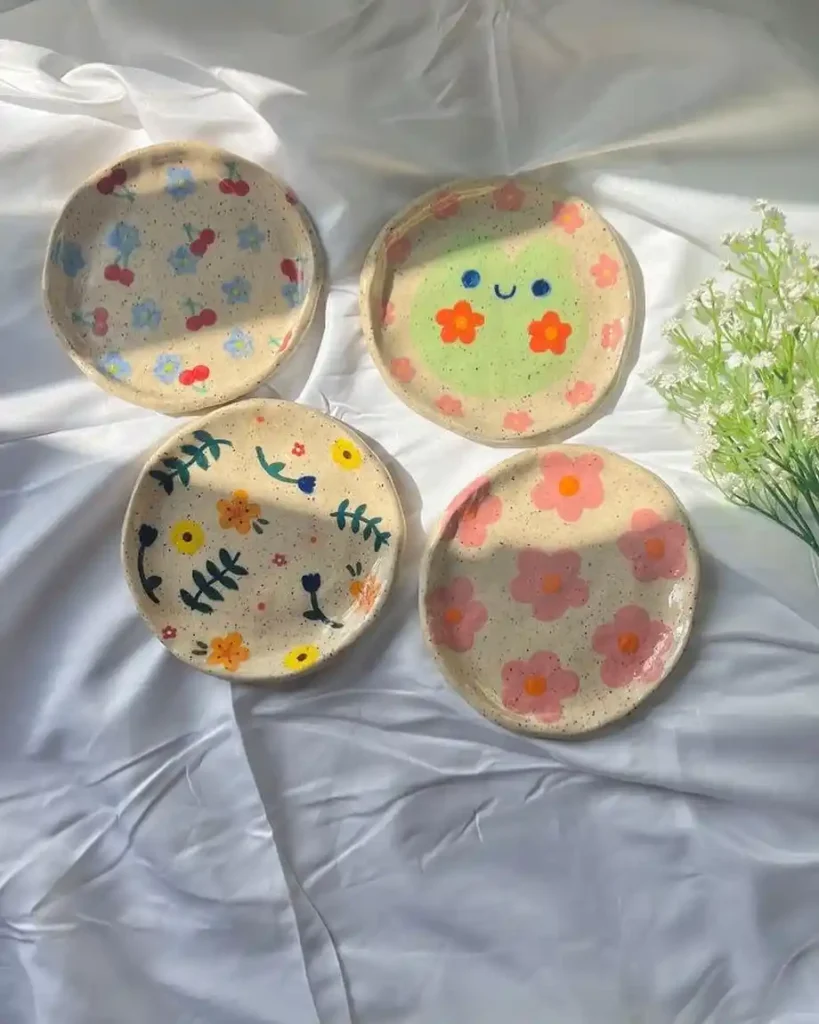
Four plain round trays become a set the moment you commit to one paint style across all of them.
Here it’s freehand florals: cherries with forget-me-nots, a green smiley face ringed in flowers, a leafy wildflower sprig, and an all-over daisy print.
The speckled clay body peeks through under the glaze, giving every piece a handmade texture instead of a flat printed look.
A slow reader will notice the trays aren’t perfectly round, and that’s the point. The slight wobble in the rim is what separates these from anything store bought.
One consistent painting style ties four different designs into a cohesive set.
6. Marbled Geometric Ring Dish With Gold Edges
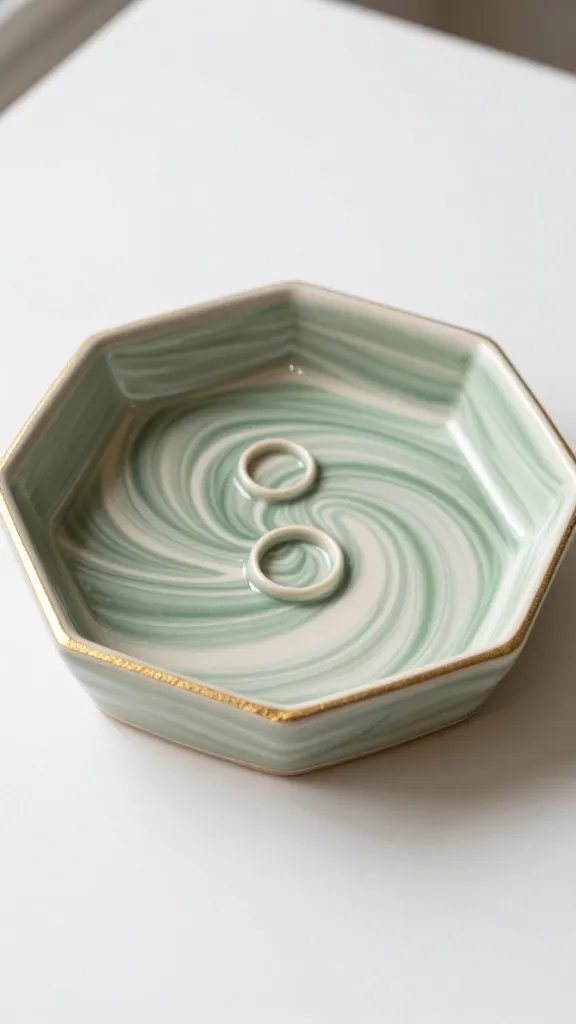
This little beauty is perfect for your nightstand or bathroom counter, keeping your rings safe while you wash your hands or sleep.
The marbled effect creates a one-of-a-kind pattern every single time, so no two dishes will ever look identical.
Materials Needed
- White air-dry clay
- Green or colored air-dry clay
- Rolling pin
- Hexagon cookie cutter (or shape of choice)
- Gold leaf sheets or gold paint pen
- Mod Podge or clear sealer
How to Make It
Start by breaking off chunks of both clay colors and twisting them together like a rope—don’t overmix or you’ll lose that gorgeous marbled look.
Roll out your marbled clay to about a quarter-inch thickness, then cut out your hexagon shape.
Gently press the center down slightly to create a shallow dish, then let it dry completely for 24-48 hours.
Once dry, carefully apply gold leaf or paint around the edges for that luxe finishing touch.
Seal everything with Mod Podge to protect your masterpiece. This makes an adorable gift for your friends who are always losing their earrings, trust me.
7. Textured Monstera Leaf Catchall Tray
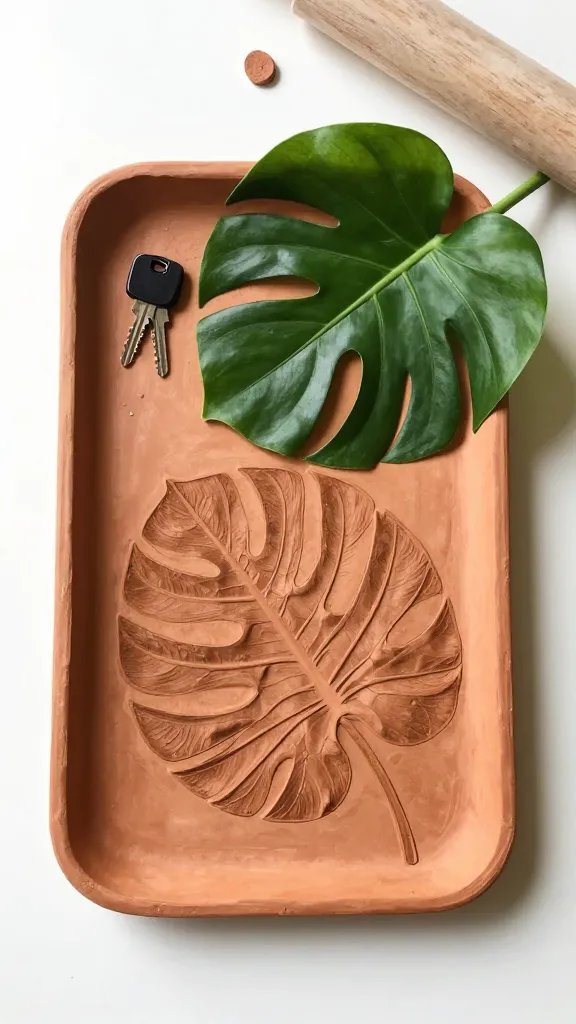
Bring the tropical vibes indoors with this botanical-inspired tray that literally uses a real monstera leaf as a stamp.
The natural veining creates an organic texture that’s absolutely Instagram-worthy.
Use it as an entryway catchall for keys and sunglasses, or style it on your desk for paperclips and USB drives.
Materials Needed
- Air-dry clay in terracotta or white
- Fresh monstera leaf (or any large leaf with pronounced veins)
- Rolling pin
- Knife or clay cutting tool
- Acrylic paint (optional)
Pro Tips
Roll your clay out nice and thick—about half an inch works perfectly. Press your leaf firmly into the clay, making sure those beautiful veins transfer onto the surface.
Carefully peel away the leaf, then trim around the leaf shape or keep it rectangular for a more modern look.
Create slightly upturned edges by draping your clay over a small bowl while it dries.
If you went with white clay, consider painting the textured areas with a contrasting color and wiping away the excess to make those veins really pop. This project seriously looks like it came from an expensive boutique.
8. Minimalist Terrazzo-Style Jewelry Tray
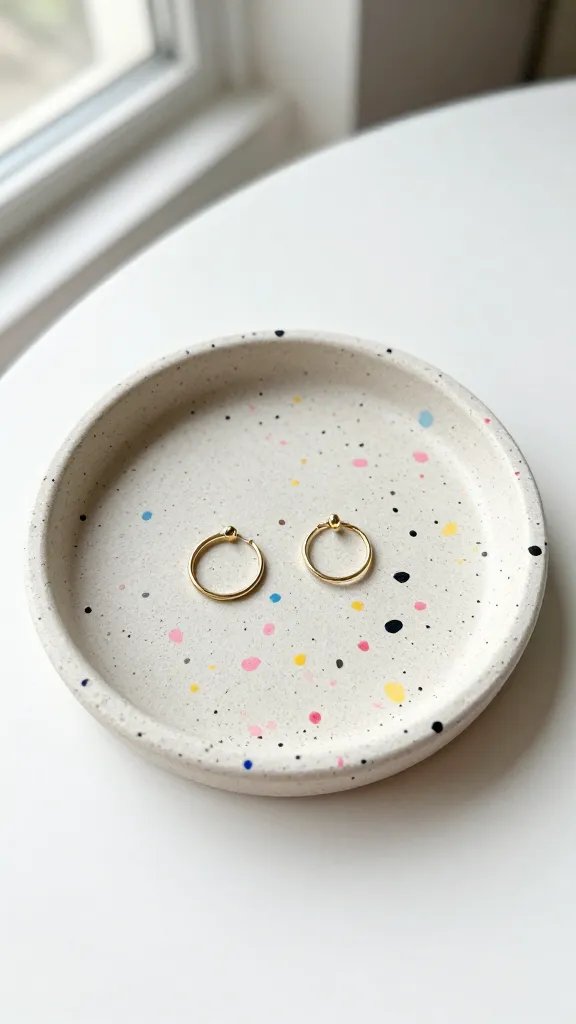
The terrazzo trend isn’t going anywhere, and now you can recreate that speckled, confetti-like look right at home.
This technique involves embedding tiny clay pieces into a base color, creating that signature terrazzo aesthetic that’s both playful and sophisticated.
It’s perfect for holding your everyday jewelry or displaying on your vanity as functional art.
Materials Needed
- White or light gray air-dry clay (base)
- Small pieces of colored clay in pink, black, yellow, and blue
- Rolling pin
- Round or oval cookie cutter
- Sandpaper
- Clear acrylic sealer
How to Make It
Roll out tiny snakes of each colored clay, then chop them into confetti-sized bits.
Sprinkle these pieces randomly onto your rolled-out base clay, then roll over everything again to embed the colors into the surface. Cut your desired shape and form shallow edges to create the tray.
Here’s where the magic happens: once dry, lightly sand the surface to reveal those colorful speckles more clearly, giving it that authentic terrazzo look.
Seal it up and you’ve got yourself a conversation starter. FYI, this technique is also amazing for coasters if you’re feeling ambitious!
9. Rustic Pinch Pot Trinket Dish With Speckled Glaze
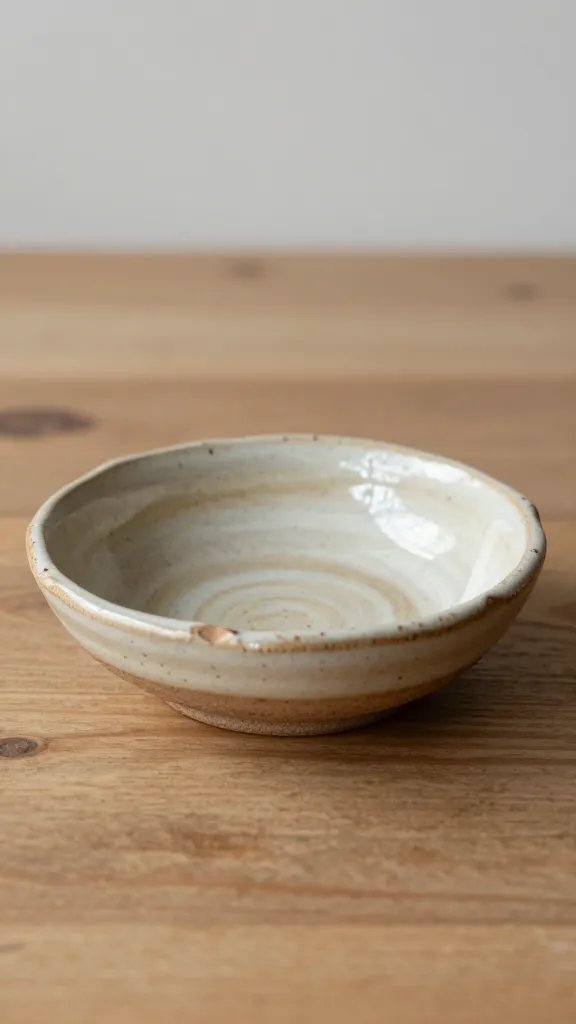
Let’s go back to basics with the ancient pinch pot technique—it’s meditative, requires zero fancy tools, and results in charming, organic-shaped dishes.
This project embraces imperfection, so if you’re worried about making something “perfect,” this one’s definitely for you. The hand-formed edges give each dish its own personality.
Materials Needed
- Air-dry clay or oven-bake clay
- Your hands (seriously, that’s the main tool)
- Small sponge
- Acrylic paint in speckled colors
- Small paintbrush or toothbrush for spattering
Styling Ideas
Start with a ball of clay about the size of a clementine. Push your thumb into the center and begin pinching the walls outward, rotating as you go to create an even bowl shape. Keep the walls thick enough to hold small items without being fragile.
Once dried, paint the interior with a solid color—cream, sage, or blush work beautifully.
Then load a toothbrush with a contrasting paint color and run your thumb across the bristles to create those trendy speckles all over the dish. Cluster a few of these in different sizes on a shelf for maximum cuteness.
10. Stamped Inspirational Quote Tray With Rolled Edges
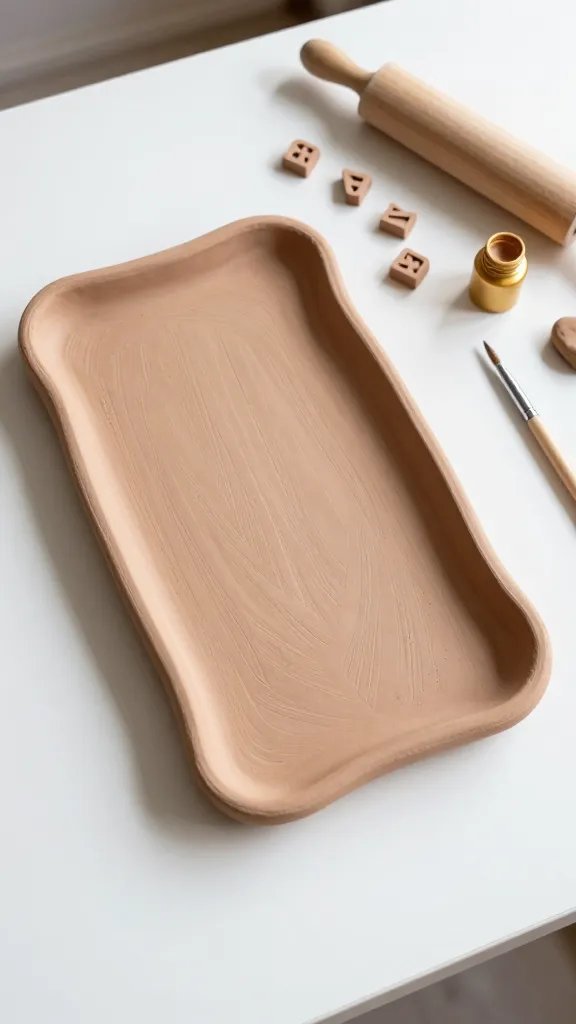
Words matter, and having a little daily reminder on your desk or dresser can genuinely brighten your mood.
This project uses letter stamps to press motivational quotes or single words like “breathe,” “dream,” or “create” directly into the clay.
The rolled edges give it a polished, gallery-worthy finish that makes it look professionally made.
Materials Needed
- Air-dry clay in your choice of color
- Alphabet stamps or carved tools
- Rolling pin
- Small bowl or curved surface for shaping
- Gold or black acrylic paint
- Soft cloth
How to Make It
Roll your clay into a rectangle or oval, then carefully stamp your chosen words into the surface before it dries. Press firmly and evenly for clear impressions.
Roll the edges inward slightly for that signature rolled-edge look, which also helps contain items better.
Drape your stamped clay over an inverted bowl to create a gentle curve as it dries.
Once hardened, rub paint into the stamped letters, then quickly wipe the surface clean with a damp cloth—the paint stays in the crevices, making your words stand out beautifully. You’ll love this on your desk during busy workdays.
11. Ombre Sunset Clay Tray With Wave Edge Detail
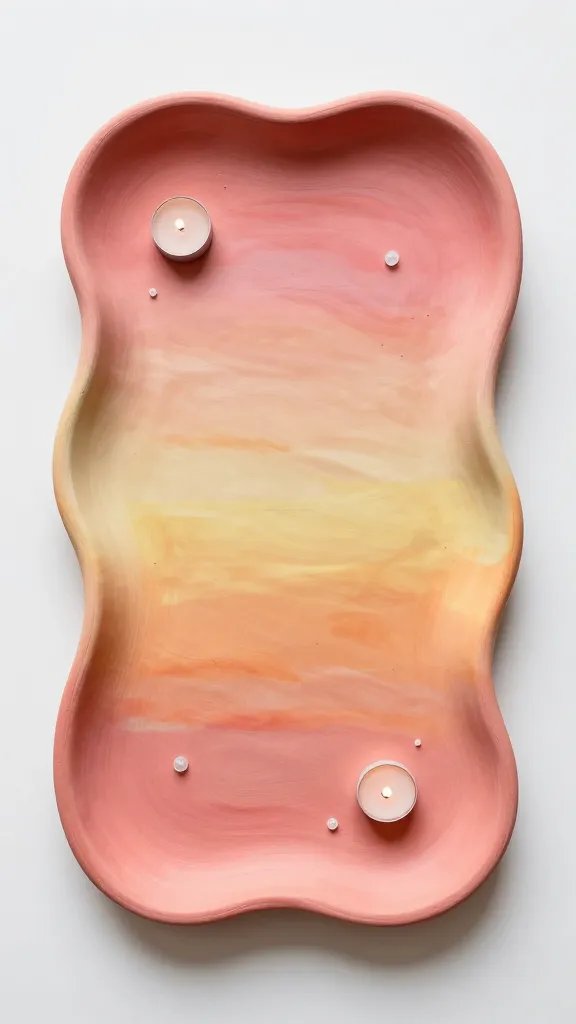
Save the best for last with this absolute showstopper that blends warm sunset colors into a dreamy gradient effect.
The wavy edge detail adds movement and whimsy, making this tray look like a piece of modern art. Use it to hold crystals, candles, or anything that deserves a special display spot.
Materials Needed
- Air-dry clay in coral, pink, yellow, and orange (or colors of your choice)
- Rolling pin
- Clay cutting tool or butter knife
- Circular template or plate
- Acrylic roller or smoothing tool
Pro Tips
Create logs of each color and arrange them side by side in sunset order—yellow to orange to coral to pink.
Gently blend where the colors meet using your fingers, creating smooth transitions. Roll out this gradient clay carefully to maintain the ombre effect.
Cut a large circle, then use a wavy cutter or freehand a scalloped edge around the perimeter. Form gentle upturned edges and let it dry on a flat surface.
The gradient will shift slightly as you shape it, creating even more dimension and visual interest. This one’s definitely going straight to your Instagram feed.
Conclusion
Whether you’re a complete beginner or a seasoned crafter, these clay tray projects offer something for everyone.
The best part? Each one can be customized with your favorite colors, shapes, and personal touches.
So pick your favorite (or challenge yourself to make all six!) and get ready to create something beautiful with your own two hands—your home and your friends will thank you!






