
How to Knit for Beginners: Cast On

Casting on is the process of creating the first row of loops on your knitting needle — and without it, you literally cannot knit a single stitch.
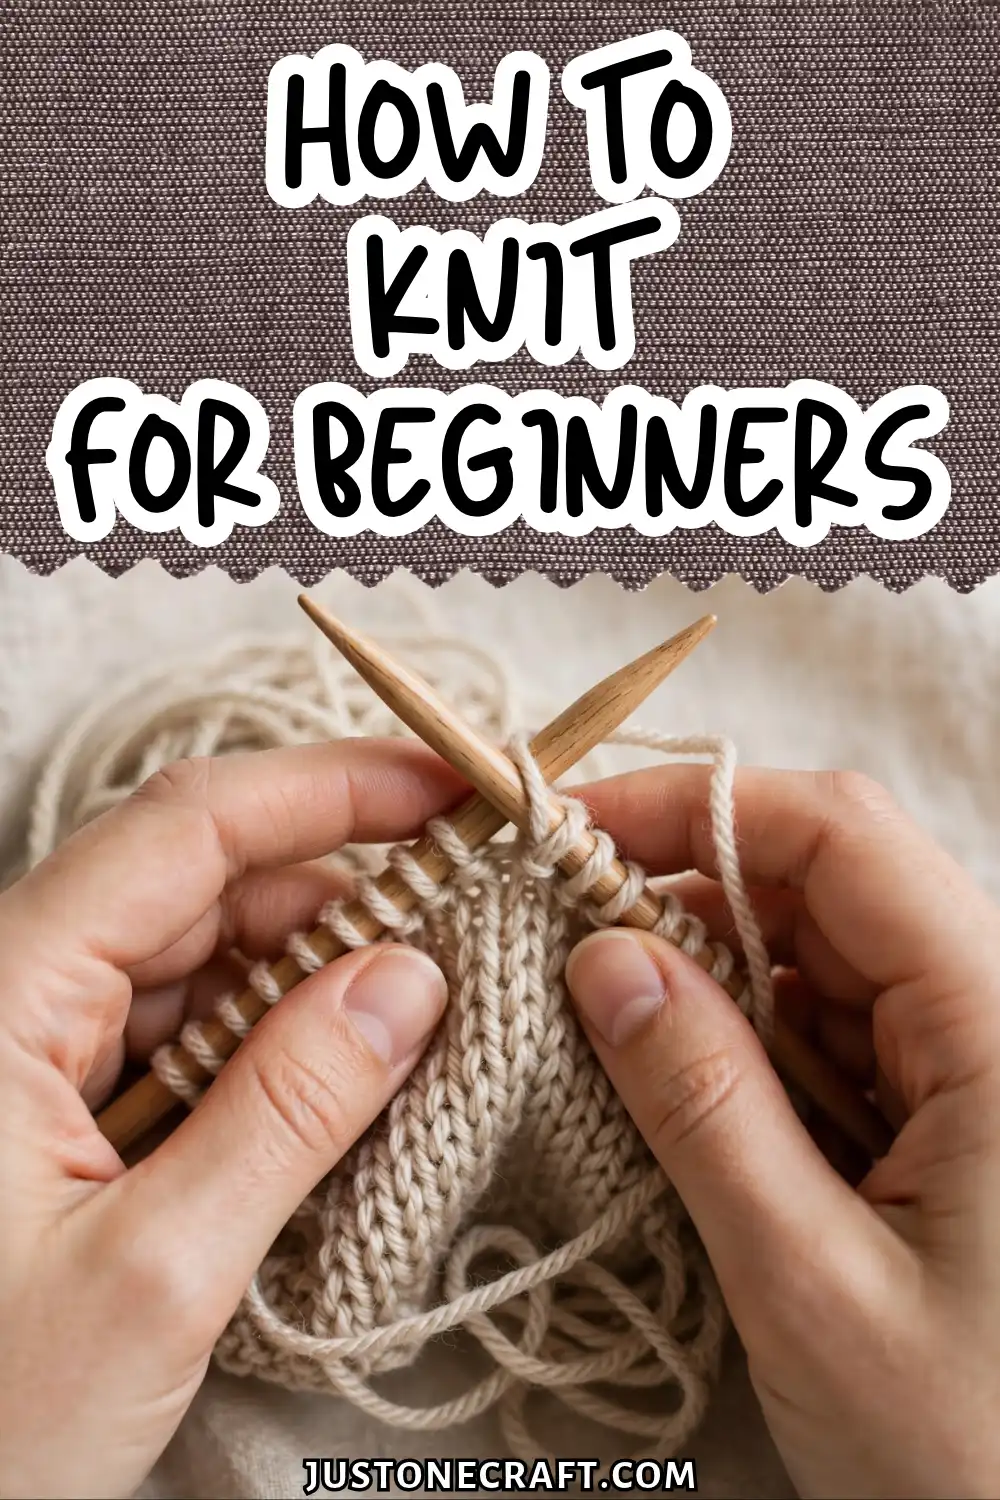
Get it right and every project starts with a stable, even foundation; get it wrong and you’ll fight tension problems, dropped stitches, and uneven edges for the entire piece.
Why the Cast On Actually Works (The Mechanics Behind It)
A cast on anchors yarn to your needle with a series of loops that form the foundation of your project.
The beginner-friendly long-tail cast on uses the working yarn and tail to create a neat, slightly stretchy edge.
What You Need Before You Start
Worsted-weight yarn (Size 4): Choose smooth, light-colored yarn for clear stitches.
US 7 (4.5mm) straight needles: Bamboo or wood needles offer better grip for beginners.
Scissors: For cutting the yarn.
Tape measure or ruler: To measure your yarn tail before starting.
Stitch marker: Use a marker or contrasting yarn to help track your rows.
Step-by-Step: Long-Tail Cast On
1. Measure and pull out your tail
Pull out approximately 1 inch of tail for every stitch you plan to cast on, plus an extra 6 inches for weaving in later. For 20 stitches, pull out roughly 26 inches.
📏 Tail Length Formula
1 inch × number of stitches + 6 inches extra
20 stitches = ~26 inches of tail
Make a slip knot at that point: form a loop, reach through it, pull up a new loop of yarn, and tighten it onto your needle.
This slip knot counts as your first stitch. Beginner mistake: pulling out too little tail and running out halfway through — you’ll have to start over.
2. Hold the needle in your right hand, drape both strands over your left
Hold the needle in your right hand like a pencil. With your left hand, spread your thumb and index finger apart, drape the tail over your thumb and the working yarn over your index finger.
🤙 The “Slingshot”: Thumb on the tail, index finger on the working yarn, three fingers curled in to hold both against your palm.
Curl your remaining three fingers inward to hold both strands against your palm. Your left hand should form a slingshot shape. The yarn should feel snug but not cutting into your skin.
3. Scoop under the thumb loop
Point the needle tip downward and scoop it under the loop of yarn sitting on your thumb — going from the outside in, toward your palm.
You should feel a slight resistance as the needle seats inside the loop. The needle tip is now inside a loop of yarn. This is the base of your stitch.
4. Catch the index finger yarn
Keeping the needle inside the thumb loop, swing the needle tip upward and catch the strand running over your index finger by passing the needle tip over it and pulling it back through the thumb loop.
You’re essentially using the needle to thread the working yarn through the base loop. You should see a new loop forming on the needle.
5. Slip the thumb loop off and tighten
Drop the thumb loop off your thumb by releasing your thumb and letting the loop fall. Immediately re-hook your thumb under the tail to re-form the slingshot.
Give both strands a gentle downward tug — about 1–2 inches of movement — to snug the new stitch up against the previous one on the needle.
It should feel firm but not immovable. You’ve completed one stitch. Beginner mistake: tugging too hard and pulling the stitch into a tight knot that won’t open for the next row.
6. Repeat Steps 3–5 for each remaining stitch
Find a rhythm: scoop, catch, drop, snug. Each loop should look identical to the last — even spacing, consistent tightness.
After 5–6 stitches, you’ll feel a small tension in the tail and working yarn that makes the motion easier to control.
If one stitch looks obviously tighter or looser than its neighbors, pause and adjust before moving on.
7. Count your stitches before knitting
Before starting your first row, count every loop on the needle including the original slip knot.
Hold the needle horizontally and count left to right. If your number is off, it’s much faster to fix now than after several rows.
Aftercare for Your Cast-On Edge
Once you’ve finished a project, the cast-on edge needs one small piece of maintenance: weave in the tail.
Thread the 6-inch tail onto a blunt tapestry needle and weave it through the back of 4–5 stitches in a zigzag pattern, then trim flush.
Don’t knot it — knots create a bump that shows through the finished fabric. A properly woven tail won’t unravel even after washing.
Variations to Try Next
Knitted cast on: Uses two needles instead of your thumb and finger. Slower, but produces a very sturdy, firm edge — good for projects that need structure, like button bands. Each stitch is actually knitted onto the needle.
Cable cast on: A variation of the knitted cast on where you insert the needle between the last two stitches rather than through the last stitch. Creates a slightly thicker, rope-like edge with excellent stitch definition.
Backward loop cast on (e-wrap): The simplest method — just flipping a loop of yarn onto the needle with your thumb.
Useful for adding stitches mid-project but produces an unstable edge that collapses on the first row. Not recommended as a starting method.
German twisted cast on: A long-tail variation where you twist the thumb loop before scooping.
Produces a more elastic edge — ideal for sock cuffs or anything that needs to stretch significantly to fit over a body part.
Troubleshooting
| Problem | Likely cause | Fix |
|---|---|---|
| Ran out of tail before finishing stitches | Tail measured too short | Restart with 1.5 inches per stitch to give more margin |
| Stitches won’t budge when knitting first row | Cast on too tight | Re-cast on a needle one size larger, then switch down for knitting |
| Edge looks loopy and uneven | Inconsistent tension on the tug-down in Step 5 | Practice on 10 stitches only, focusing on uniform tugs |
| Stitches keep sliding off needle | Yarn too slippery on metal needles | Switch to bamboo or wood needles |
| Lost count mid-cast-on | No stitch markers used | Place a marker every 10 stitches as you go |
| Slip knot keeps loosening | Knot not seated correctly | Pull both strands simultaneously when tightening the slip knot |
One Last Thing
Here’s the mental shift that makes cast-on click: your needle is a spacer, not a holder. Its job is to keep every loop the same size while you form it — the moment you remove it, the loops need to be just right.
🔑 Key Insight: Your needle is a spacer, not a holder. Too small = strangled edge. Too large = floppy edge.
That’s why casting onto a needle one size too small produces a strangled edge, and one size too large produces a floppy one.
Any time your cast on feels “off,” ask yourself whether the needle is controlling the loop size or the loop is controlling itself. That single question will tell you exactly what to fix.






