
How to Make Resin Jewelry Molds at Home

Making your own resin jewelry molds means casting any shape you can imagine directly from an original object — a vintage button, a pressed flower, a custom-carved clay form — into a reusable silicone negative that produces identical pieces every time.
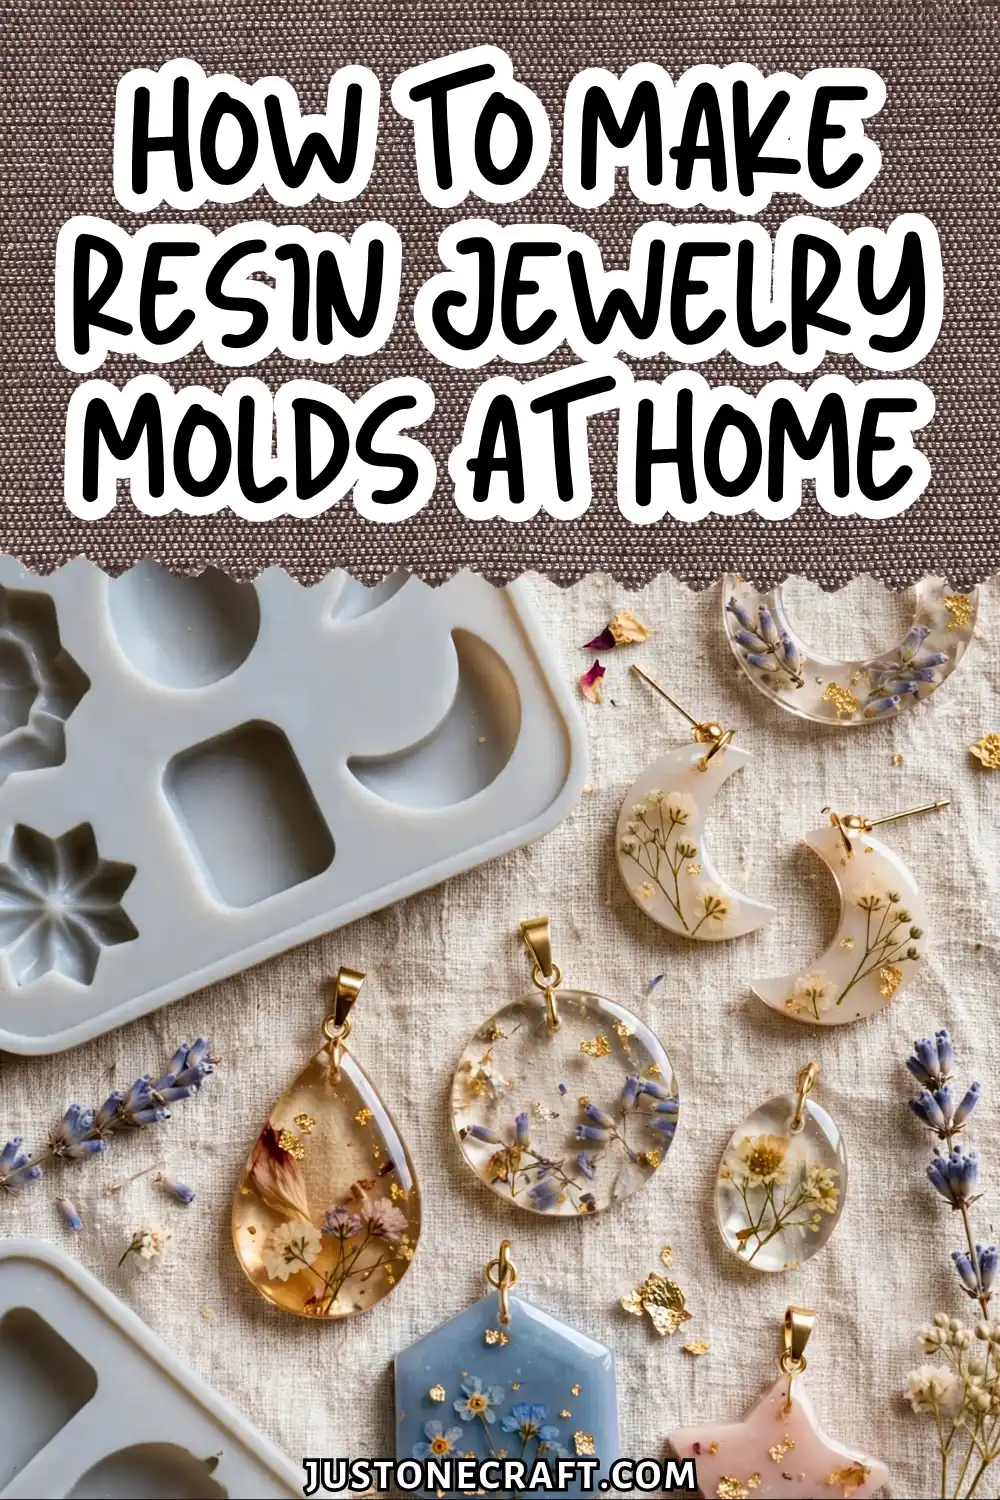
It costs a fraction of buying commercial molds and gives you complete control over size, depth, and detail.
Why the Process Actually Works
Platinum-cure silicone works by triggering a cross-linking reaction that turns liquid into flexible rubber — detailed enough to capture fine texture, firm enough to hold resin pressure.
Its ultra-low surface energy means cured resin physically cannot bond to it, so parts release cleanly every time.
Avoid sulfur-based clays and tin-cure silicone — both contaminate the platinum catalyst and cause cure inhibition, leaving your mold permanently tacky.
What You Need (And Why Each Item Matters)
Platinum-cure silicone, Shore 20A (Smooth-On OOMOO 30 or Mold Star 15 SLOW) — flexible enough to demold undercuts, firm enough to hold cavity shape. Avoid tin-cure; it degrades faster and fights most resins.
Graduated mixing cups (150ml and 500ml) — off-ratio pours cause sticky or brittle silicone. No unmarked party cups.
Two separate mixing sticks — one per part before combining. Cross-contaminating the bottles ruins them entirely.
The master object — must be non-porous and sulfur-free. Metal, glass, hard plastic, cured resin, and sealed wood all work. Unbaked polymer clay and natural rubber will prevent cure.
Hot glue gun — anchors the master to the box floor. Without it, the master floats during the pour.
Containment box (foam board or LEGO bricks) — must leave 1.5cm clearance on all sides and above the master. Seal every corner; any gap leaks silicone.
Platinum-cure silicone triggers a cross-linking reaction that turns liquid into flexible rubber. Its ultra-low surface energy means resin physically cannot bond to it — parts release cleanly every time. Avoid sulfur-based clays and tin-cure silicone — both cause cure inhibition, leaving your mold permanently tacky.
Mold release spray (Mann Ease Release 200) — ⚠️ don’t skip. Prevents silicone from bonding to box walls. Light mist only.
Digital kitchen scale, 0.1g precision — some silicones mix by weight, not volume. A postal scale isn’t precise enough for small batches.
Step-by-Step Instructions
Storage and Aftercare
Store finished silicone molds flat or hanging, never folded or compressed — compressed storage creates permanent creases that warp future castings. Keep them away from UV light and dust.
Silicone molds last 50–100 pours before detail softens. Clean after each use with warm (not hot) soapy water, rinse fully, and let air dry before resin contact.
Variations
Space masters 2cm apart in one larger box. Same process — just scale silicone volume to total cavity space.
Line the box floor with lace fabric before anchoring the master. Silicone captures both textures at once.
Anchor a hemisphere face-up. Produces domed cabochons without extra carving.
Pour two half-molds, align with clay registration dots, band together before pouring resin. Best for spheres.
Troubleshooting
| Problem | Likely cause | Fix |
|---|---|---|
| Silicone stays sticky/soft | Inhibited cure (sulfur contamination or wrong ratio) | Discard mold; identify contamination source; clean tools with alcohol; recast |
| Master floated during pour | Not anchored with hot glue | Always glue master down; add weight on top before pouring |
| Bubbles pocked the mold surface | Poured too fast, too close | Pour from 30cm height in thin stream; stir slower next time |
| Mold tears when demolding | Silicone too thin at edges | Ensure 1.5cm clearance on all sides when building containment box |
| Resin leaks under the mold | Mold base too thin | Pour enough silicone to create at least 1cm floor thickness |
| Detail looks blurry or soft | Master surface was porous or dirty | Seal porous masters with acrylic spray; clean with IPA before casting |
One Last Thing
The mindset that fixes most mold problems: silicone is recording, not interpreting.
Every flaw in the mold — a bubble, a soft spot, a leak line — is a direct record of something that happened during the pour.
When a casting comes out wrong, work backward: was the surface clean? Was the mix ratio exact?
Was the pour height right? The mold tells you exactly what went wrong if you read it as evidence, not failure.






