How to Make Newspaper Crafts: Easy DIY Ideas for Beginners

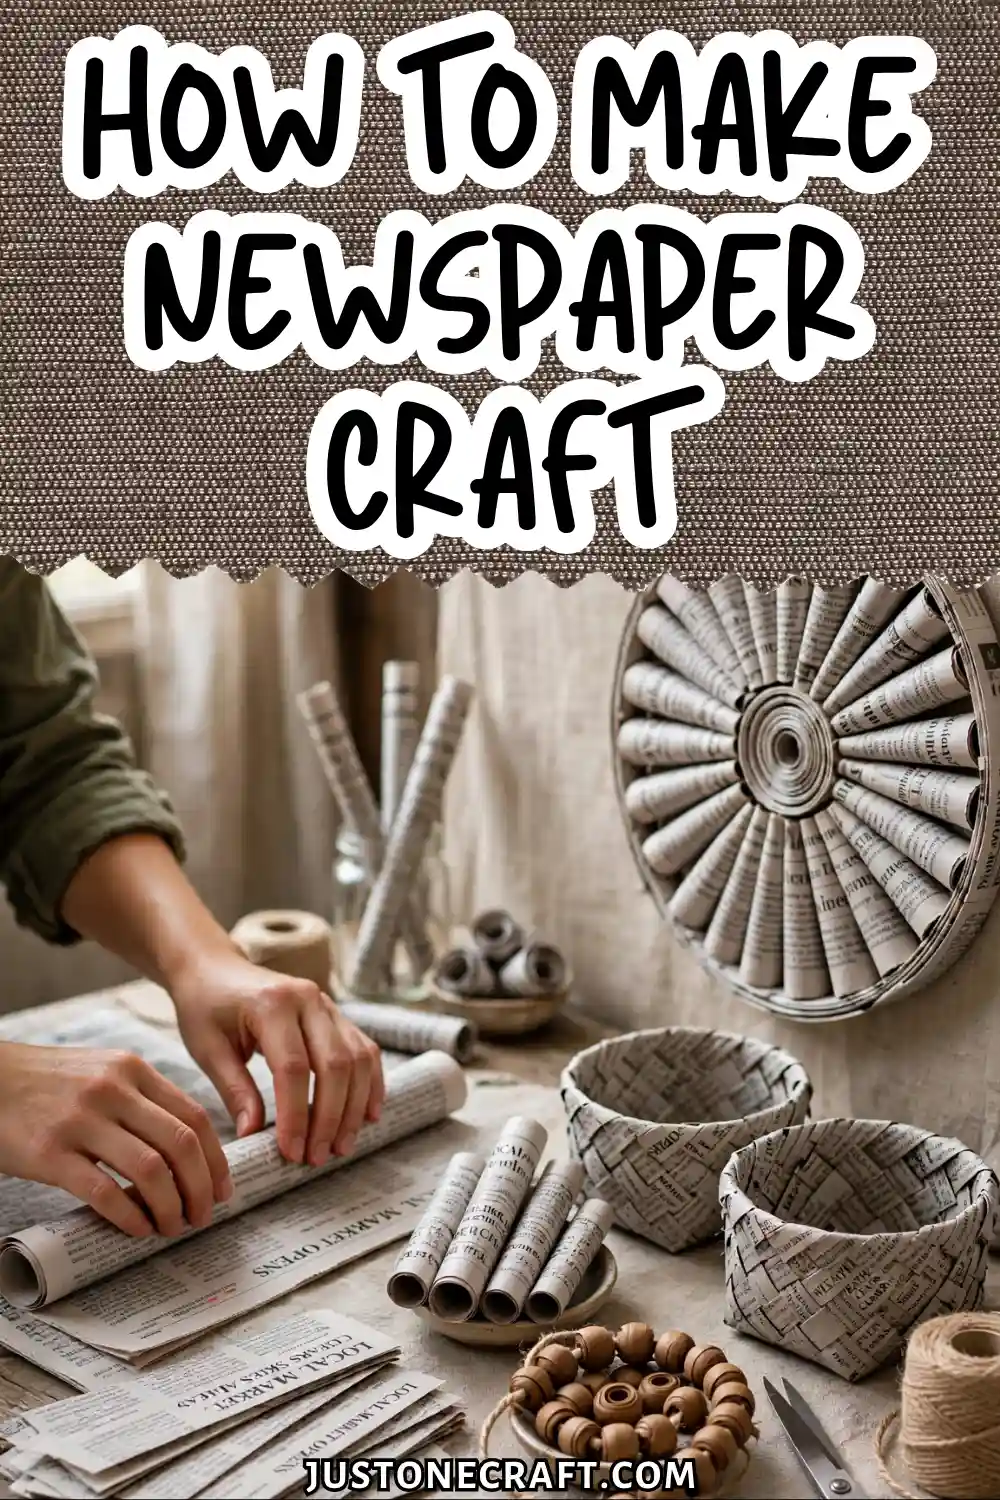
Newspaper craft is the art of turning printed newsprint into functional or decorative objects — baskets, bowls, coiled trays, wall art — using nothing more than rolling, weaving, or layering techniques.
It matters because newspaper is free, infinitely available, and structurally more capable than most people realize.
Why Rolled Newspaper Becomes Strong
Newspaper may seem flimsy, but rolling it tightly under tension turns it into a surprisingly rigid tube. The layered spiral resists bending and supports more weight than a flat sheet.
When the tubes are woven over and under each other, their interlocking structure adds stability. Tension keeps the pieces in place even before glue is added.
Finally, a paste or sealant hardens the surface, bonds loose ends, and fills tiny gaps. This creates a stronger finish, much like papier-mâché.
What You Need (and Why Each Item Matters)
- Broadsheet newspaper pages: About 56 × 43 cm for long, workable tubes.
- 3 mm bamboo skewer: Creates flexible 4–5 mm tubes.
- Undiluted PVA glue: For strong structural joins.
- 2 cm flat brush: For controlled glue application.
- Acrylic paint: Choose 2–3 colors for finishing.
- Matte or satin varnish: Protects and seals the finished piece.
- Ruler and bone folder: Helps create straight, even strips and folds.
Step-By-Step Instructions
1. Cut Newspaper into Strips
Cut each broadsheet page into 5 vertical strips, each 8–9cm wide. Use a ruler and craft knife against a cutting mat, not scissors — scissors push fibers sideways and create ragged edges that bunch when rolled.
You should have 5 clean-edged strips per page. For a small basket (12cm diameter), prepare 60–70 strips.
60-70
📰 Strips needed for a 12cm diameter basket
2. Roll Each Strip into a Tube
Lay a strip diagonally on your work surface at roughly 30 degrees to the skewer. Place the skewer at the bottom corner and roll upward under firm, consistent thumb pressure.
The key is maintaining tension — if you roll loosely, the tube will be spongy and crush under weaving pressure.
🖐️ Tube Test: A properly rolled tube feels firm and springs back slightly when compressed. Spongy means too loose.
When 3cm of strip remains, dab PVA on the loose end and press it flat. Slide the tube off the skewer — it should feel firm and spring back slightly if compressed.
3. Build Your Base
Lay 6 tubes parallel, then weave 6 more tubes perpendicularly over and under them, spacing them 1.5cm apart.
This creates a flat grid — your basket base. Dab PVA at every intersection and let it dry for 10 minutes.
The base should feel rigid, not floppy, before you continue. Beginner mistake: skipping the drying time and trying to shape the sides before the base has set.
4. Bend the Uprights
The outer tubes extending beyond the base grid become your uprights (the vertical ribs of the basket walls).
Fold each upright tube 90 degrees at the edge of the base using a bone folder or fingernail to create a crisp, clean bend.
You should have 12 uprights standing vertically. If a tube cracks at the bend, your rolling tension was too loose — roll a replacement tighter.
🧺 Build Progress
5. Weave the Walls
Take a new tube and begin weaving it horizontally around the uprights — over one, under the next, alternating all the way around.
When the tube runs out, overlap the new tube 4–5cm over the old end and continue weaving.
Push each row of weaving downward firmly so it sits flush against the previous row with no gaps. After 3–4 rows, the walls will start to hold their shape on their own.
6. Finish the Top Edge
When the walls reach your desired height, fold each upright tube over the top row of weaving and tuck it down inside the basket along the inner wall for 3–4cm.
Secure each with a dab of PVA. This creates a clean, reinforced rim. Let the entire structure dry for 30 minutes.
7. Seal the Basket
Brush a 50/50 mix of PVA and water over the entire surface — inside, outside, and base. This hardens the structure significantly.
It will look wet and slightly translucent while damp. Once dry (45–60 minutes), it should feel noticeably stiffer and slightly glossy.
8. Paint and Varnish
Apply 2 coats of acrylic paint with a 2cm brush, letting each coat dry fully (20 minutes) before adding the next.
Finish with 2 light passes of matte varnish spray from 30cm distance. The surface should feel smooth and uniform — not tacky.
Aftercare and Storage
Keep newspaper craft pieces away from prolonged moisture — the PVA seal is water-resistant, not waterproof.
Wipe with a barely damp cloth if dusty. Store stacked pieces with tissue paper between them to prevent paint transfer.
Avoid direct sunlight, which yellows unsealed newspaper edges over time.
Variations
Coiled bowl: Instead of weaving, coil a single continuous tube in a flat spiral, gluing each round to the last with undiluted PVA.
Build up the sides by angling each new coil slightly inward or outward. This produces a solid, chunky form with visible spiral texture.
Wall art panel: Glue tubes side by side onto a cardboard backing in geometric patterns — chevrons, waves, or concentric rectangles.
Seal and paint as normal. The dimensional texture catches light differently from every angle.
Newspaper bead jewelry: Cut strips much narrower (1.5cm wide) and roll them into tight, short tubes.
Seal with varnish only. String on elastic cord for bracelets or layer as pendants.
Woven tray with handles: Build the base wider (20 tubes × 20 tubes) and leave 4 upright pairs unwoven at opposing sides. Twist those pairs together to form loop handles before tucking and gluing.
Troubleshooting
| Problem | Likely Cause | Fix |
|---|---|---|
| Tubes are spongy and collapse when woven | Rolling tension too loose | Re-roll replacement tubes tighter; use thumb pressure throughout |
| Tubes crack at the bend | Paper too dry or rolled too tight | Lightly mist tubes with water 5 minutes before bending |
| Basket walls lean or warp | Uprights uneven in height or spacing | Measure and adjust uprights before weaving begins |
| PVA seal stays tacky | Coat applied too thickly | Apply thinner coats; increase dilution to 60% water, 40% PVA |
| Paint peeps through cracks after drying | Gaps in weaving | Fill with a small folded paper strip and re-seal before painting |
| Finished piece smells musty | Dried before fully sealed | Apply a second PVA coat and allow 24 hours in a well-ventilated space |
One Last Thing
The whole process becomes intuitive once you realize you’re not working with paper — you’re working with a building material that happens to start as paper.
🔍 If Something’s Wrong, Check:
🌀 Rolling tension — tight enough?
⏱️ Drying time — fully set?
💧 Glue concentration — right ratio?
Every problem (weak tubes, warping walls, cracking bends) traces back to one of three variables: rolling tension, drying time, or glue concentration. Adjust one at a time and you can fix anything without starting over.






