
How to Make Flowers: A Complete Guide to Paper Flower Crafting

Paper flowers are handcrafted, three-dimensional blooms built by cutting, shaping, and layering paper — and unlike real flowers, they never wilt.
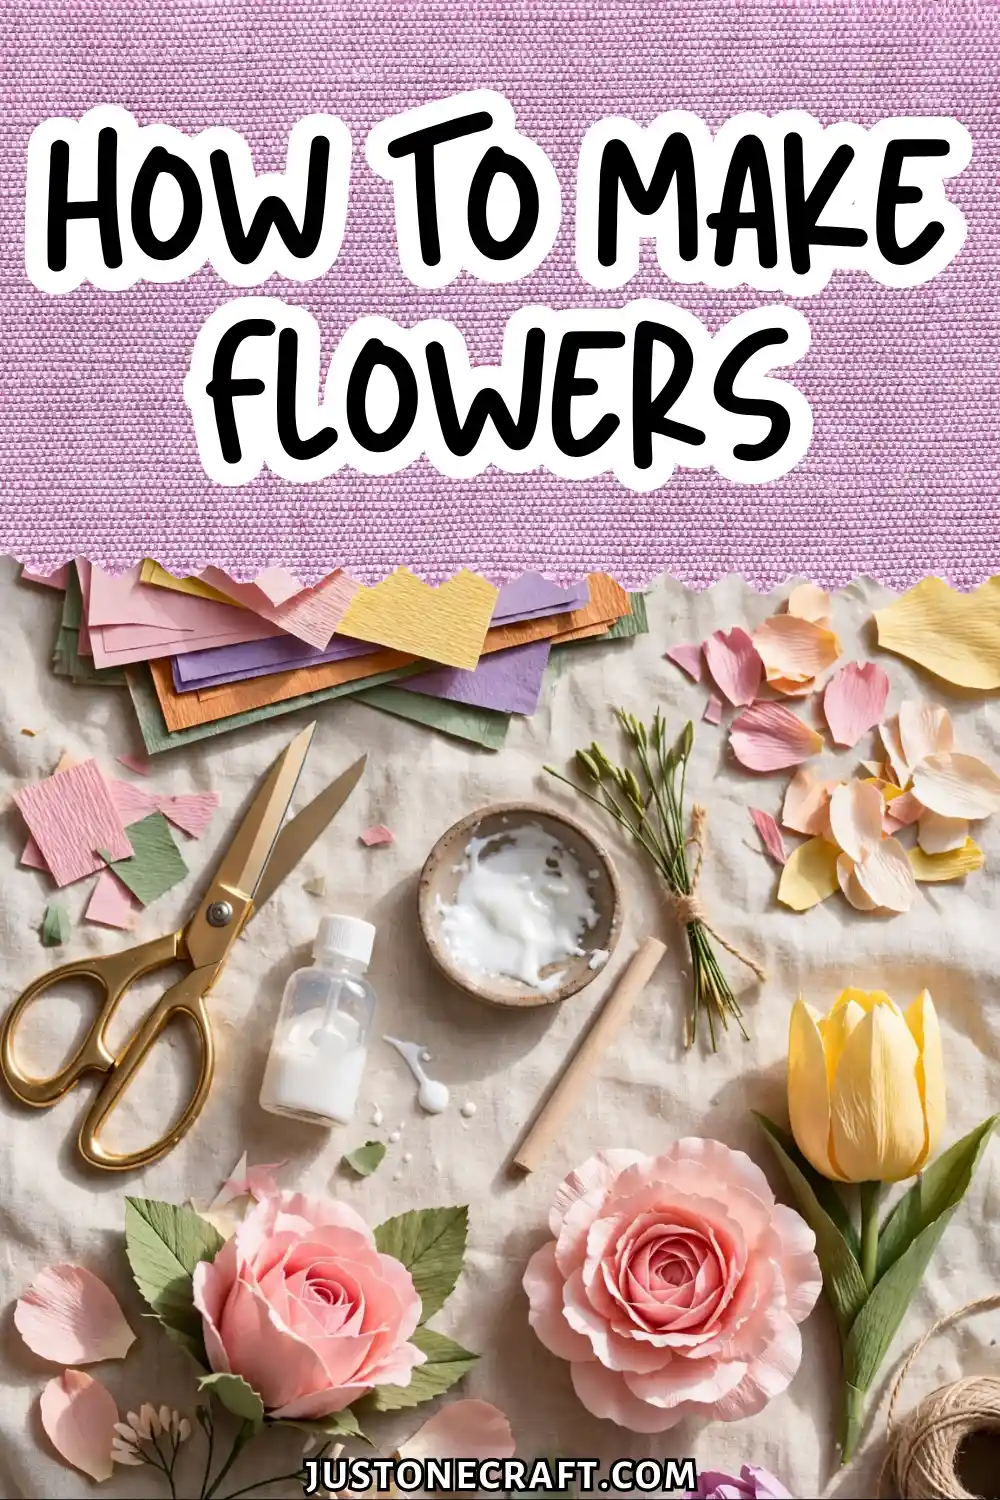
If you want full control over color, scale, and style for a wedding, event, or home décor project, knowing how to make them from scratch is the skill that unlocks all of it.
Why Paper Flowers Actually Work: The Science Behind the Shape
Real flower petals keep their shape because their fibers vary in density. Paper flowers recreate this effect through scoring (compressing paper fibers for controlled curves) and cupping (shaping petals into a natural dome).
Italian crepe paper works best because its directional grain stretches up to 50% without tearing, creating lifelike curved petals that regular printer paper can’t achieve.
Finally, layer petals from small, tightly closed centers to larger, more open outer petals. This gradual progression is what makes a paper flower look realistic.
What You Need: Materials, Tools, and Why Each One Matters
Crepe paper, 180g Italian grade — Standard party-store crepe paper runs 40–60g and tears the moment you try to stretch it.
Italian 180g crepe (look for Cartotecnica Rossi or Tiffanie Turner brand) has the dense fiber structure that holds a curl under tension. This is the single most consequential material decision you’ll make.
Floral wire — 20-gauge for stems, 26-gauge for stamens — 20-gauge is stiff enough to hold a full bloom upright without drooping. 26-gauge is thin and flexible enough to wrap into delicate stamen details.
Don’t substitute jewelry wire — it’s typically too soft and will buckle under the weight of layered petals.
Floral tape, half-width (12mm) — This tape only adheres when stretched. It wraps wire joins cleanly and gives stems a natural, slightly textured finish.
Full-width tape works but is harder to control on thin wire; if that’s all you have, cut it lengthwise before you start.
Fine-tip scissors — Clean cuts matter because a crushed paper edge at the cut line will resist curling evenly. Craft scissors work; dull kitchen scissors don’t.
Wooden skewer or 6mm dowel — For cupping petals. The rounded tip distributes pressure evenly. A pen cap is a passable substitute for small petals, but it tends to puncture thinner paper.
White craft glue or a low-temp glue gun — Craft glue gives you a ~60-second repositioning window. A glue gun sets in 10 seconds, which is faster but unforgiving. Pick based on your patience level.
Bone folder or butter knife (don’t skip this) — Most beginners omit this tool entirely and then wonder why their petals curve unevenly.
Scoring the petal base with a bone folder creates a crisp, controlled bend that makes petal attachment clean. A butter knife works fine.
⚠️ Most Important Choice: Standard party-store crepe (40-60g) tears when stretched. Use 180g Italian grade only.
Step-by-Step Instructions: How to Make a Paper Rose
1. Cut three petal template sizes from cardstock.
Make small petals 4cm tall, medium petals 6cm tall, and large petals 8cm tall. You’ll trace these repeatedly, so cut them cleanly.
Per flower, you need 3 small, 5 medium, and 5 large — 13 petals total. Freehand cutting each petal individually is the most common beginner mistake; inconsistent shapes won’t layer evenly.
Small
4cm — Qty: 3
Medium
6cm — Qty: 5
Large
8cm — Qty: 5
2. Trace and cut all 13 petals from crepe paper.
Position each template so the grain runs vertically — top to bottom on the petal. You’ll feel slight resistance as scissors cross the grain; that’s correct. Shifting the paper mid-cut produces jagged edges, so hold it firmly.
3. Stretch the top edge of every petal.
Hold the petal base with both thumbs facing you and place your index fingers behind the upper third.
Pull gently outward in opposite directions until the tip stretches 30–40% wider. The paper should ruffle slightly. If it tears, you pulled too fast — slow, even tension is the key.
4. Cup the center of each petal.
Place the petal face-down in your palm. Press the rounded tip of your skewer into the middle with firm, even pressure and rotate in small circles for about 3 seconds.
Flip it — you should see a shallow concave bowl. No bowl means you need more pressure. This step is what creates depth in the assembled flower.
5. Score each petal base.
Run your bone folder firmly along the bottom 1.5cm of each petal in a straight line. This fold line is what allows you to angle petals outward rather than gluing them flat against the stem.
6. Build the stamen center.
Cut a 10cm × 3cm strip of crepe paper. Fringe one long edge with cuts 2cm deep and 3mm apart.
Wrap the strip tightly around the tip of your 20-gauge wire and secure with a dab of glue. Let it sit for 2 minutes before touching it again.
7. Attach the 3 small petals.
Apply a thin bead of glue along each scored base and press the petal against the stamen cluster at about a 10-degree outward angle.
Overlap each petal by one-third the previous one and wrap the base once with floral tape as you work.
After all three are on, you should have a tight, compact rosebud shape. Hold each petal for 5 seconds before releasing — releasing too early is where beginners lose petals.
8. Add the medium, then large petals.
Angle medium petals at 20 degrees outward, large petals at 35 degrees. Space each ring evenly around the stem, overlapping by one-third.
Wrap with floral tape after completing each ring before starting the next. The flower should feel progressively more open with each tier.
📐 Petal Angle Guide
9. Wrap the full stem.
Start directly below the petal base and stretch the floral tape at 45 degrees as you spiral downward.
Tension is what activates the adhesive — wrapping without stretching means it won’t stick. Cover the full length of wire and trim clean.
10. Open and shape the final bloom.
Use your fingers to gently bend large petals further outward. Roll petal tips backward over a pencil for a relaxed, natural curl. This is where the flower shifts from looking handmade to looking considered.
Aftercare and Storage
Keep paper flowers away from humidity — kitchens and bathrooms will cause crepe paper to soften and lose its texture.
Store in a rigid box with tissue paper between blooms, never in plastic bags, which trap moisture.
Dust with a soft paintbrush or low-pressure canned air. Stored properly, paper flowers hold their shape for years.
Variations: What You Can Build on This Foundation
Ranunculus — Use 20–25 petals all the same medium size. Layer in tight concentric rings with almost no outward angle. The result is a dense, spherical bloom that looks completely different from a rose despite using the same basic technique.
Peony — Before stretching, cut small irregular snips along the top edge of each petal to create a ruffled silhouette. Increase total petal count to 15–18 and cup more aggressively. The fuller petal edge combined with deeper cupping produces the characteristic peony volume.
Poppy — Use 5–6 oversized petals (10cm tall) in a single layer with a dark crepe paper stamen (black or deep burgundy). Stretch petals to near-maximum to create a thin, slightly translucent look. Fewer petals, more drama.
Leaves — Cut elongated pointed shapes, score a firm center vein, and attach to 26-gauge wire wrapped in green floral tape. Add these at the base of any bloom to finish the stem naturally.
Troubleshooting
| Problem | Likely Cause | Fix |
|---|---|---|
| Petals tear during stretching | Pulling too fast or against the grain | Slow down; confirm grain runs top-to-bottom on petal |
| Flower looks flat, not three-dimensional | Cupping step skipped or too shallow | Cup each petal before assembly — this can’t be corrected after gluing |
| Petals fall off or shift out of position | Glue released before it set | Hold each petal for a full 5 seconds; switch to glue gun for faster bond |
| Stem droops under the bloom | Wire gauge too thin | Use 20-gauge minimum; for large blooms, twist two wires together |
| Floral tape won’t adhere | Applied without stretching | Always stretch the tape under tension as you wrap — no tension, no adhesion |
| Crepe paper looks wrinkled and unworkable | Low-grade paper | Replace with 180g Italian crepe; low-grade paper has no consistent stretch |
One Last Thing
The mindset shift that makes everything click: stop thinking about paper flowers as a series of steps and start thinking about them as a layering problem.
🔍 Quick Fixes
📏 Too flat? Open your petal angles.
🧻 Too stiff? Stretch petals more before assembly.
🌀 Too messy? Tighten your overlaps.
Every issue — too flat, too stiff, too messy — traces back to layering logic. Flat? Open your petal angles. Stiff? Stretch the petals more before assembly.
Messy? Tighten your overlaps. Once you see the flower that way, you can diagnose problems mid-build without stopping to look anything up.






