
How to Make Polymer Clay Cane Designs

Polymer clay canes are log-shaped bundles of raw clay that reveal a repeating cross-section pattern when sliced — the same design appearing in every thin cut, like a stick of rock candy.
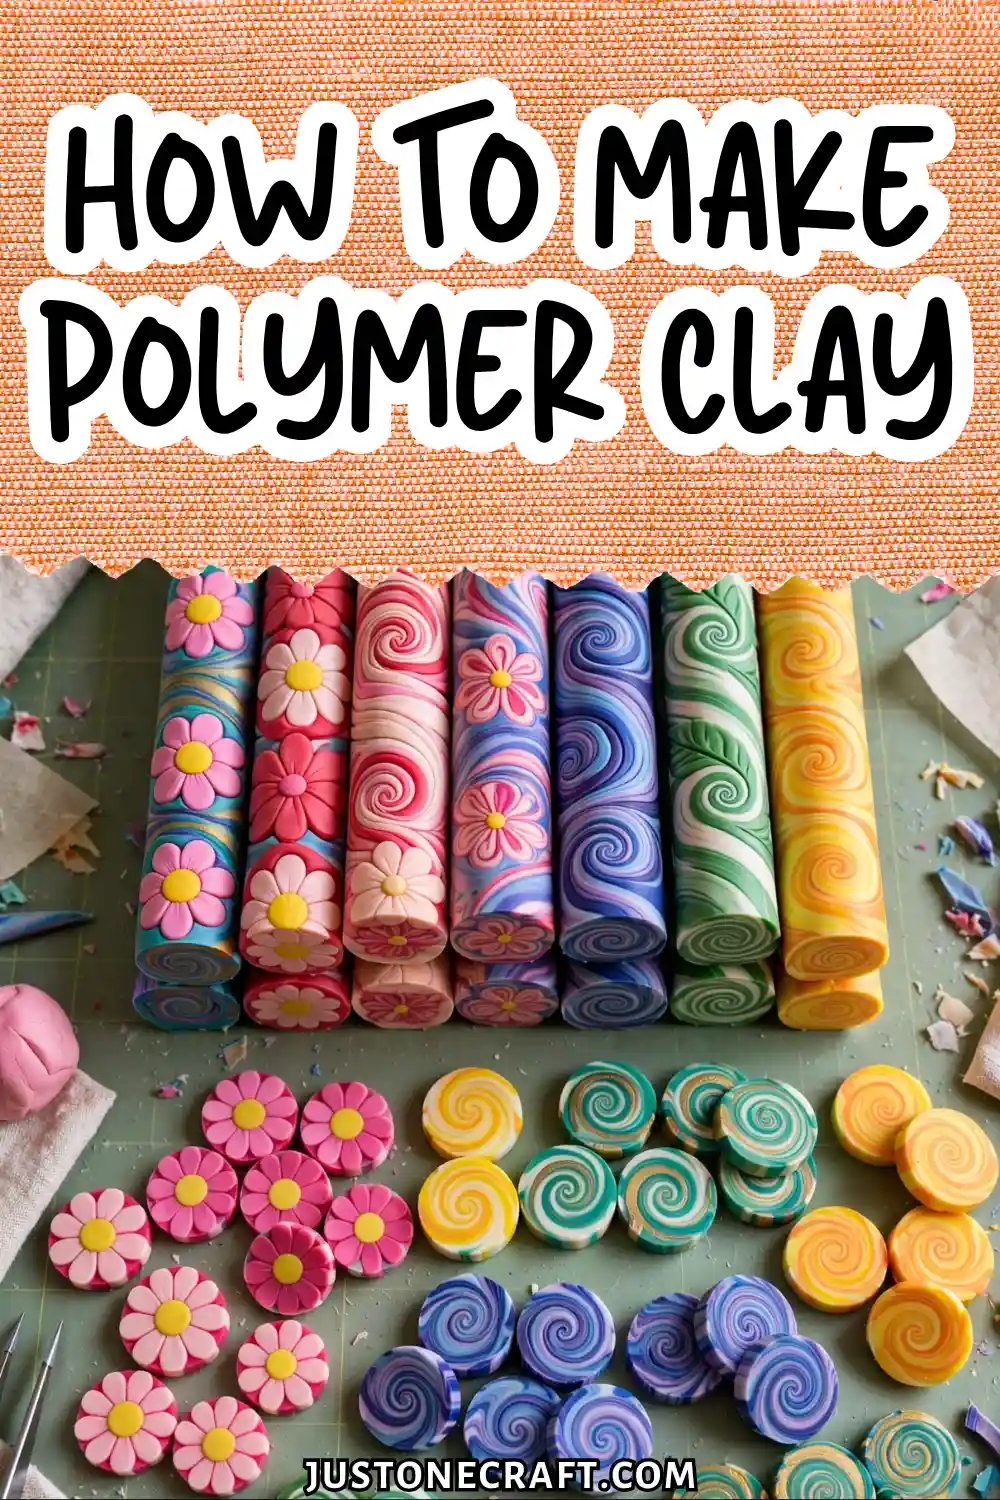
Mastering canes unlocks an entire vocabulary of miniature pattern-making: florals, geometric grids, faces, and abstract gradients, all from a single constructed log you can reduce to almost any size.
Why Canes Work the Way They Do
Polymer clay canes work because the clay is plastic and cohesive, allowing you to compress and stretch them while keeping the internal pattern perfectly proportional.
This technique, called reduction, was inspired by traditional millefiori glassmaking. Since the clay colors don’t permanently bond until baked at 130–135°C (265–275°F), each layer stays separate during shaping.
For the cleanest results, keep the clay cool—warm clay softens, causing layers to smear during reduction.
🌡️ Keep It Cool: Warm clay softens and smears layers during reduction. Chill your hands and clay if a session runs long.
What You Need
Polymer clay
Use a firm-body brand: Premo Sculpey or Kato Polyclay are the industry standards for cane work.
Avoid Fimo Soft or generic store-brand clays — they’re too sticky and drag during reduction. You’ll need at minimum 56g (2 oz) of your background color and 28g (1 oz) of each accent color for a beginner-sized cane.
Acrylic roller or pasta machine (do not skip)
A pasta machine (Atlas 150 or Marcato brand) set to the thickest setting (setting 1) conditions clay evenly and produces uniform slabs without air pockets.
A smooth acrylic roller works, but requires more effort and produces slightly inconsistent thickness. Never use a wooden rolling pin — it drags the surface.
Tissue blade
A flexible tissue blade (the kind sold specifically for polymer clay) is non-negotiable for clean cane slices. A craft knife or kitchen knife will drag and distort the pattern.
🔪 Non-Negotiable: A flex tissue blade is required — craft knives and kitchen knives drag and distort the pattern.
The blade needs to be long enough to cut through the cane’s full diameter in a single pass — 15 cm (6 inches) minimum.
Ceramic tile or glass work surface
Clay sticks to porous surfaces. A ceramic bathroom tile or a piece of tempered glass gives you a non-stick, easy-to-clean work area and can go directly into the oven.
Ruler and cutting mat Precision matters in cane building. Measure log diameters to ensure symmetry.
Cornstarch (optional but recommended)
Dusted on your hands, it reduces surface tack without affecting the clay structure. Do not use water — it doesn’t mix with polymer clay and can create surface bubbles.
Step-By-Step Instructions
1. Condition your clay
Knead each clay color separately until it’s smooth, pliable, and free of cracks — roughly 2–3 minutes of hand kneading, or 20 passes through a pasta machine folded in half each time.
Properly conditioned clay bends 90° without cracking at the fold. Unconditioned clay produces canes that crumble when sliced.
2. Create your component shapes
For a basic bullseye cane, roll your accent clay into a 2 cm × 5 cm log. Wrap it with a 2 mm sheet of background clay, trim the seam so it meets cleanly without overlapping, then roll gently to seal.
Common mistake: Making the outer layer thicker than 2 mm, which causes the design to distort during reduction.
3. Reduce the cane
Reduce the cane by holding it at the center and gently squeezing along its length, rotating it 90° after each pass. Always work from the center outward to keep the pattern even.
Continue until it reaches your desired diameter (about 1–2 cm). If the clay starts feeling soft or mushy, let it rest for 5 minutes before continuing.
4. Cut off and discard the ends
The outer 1–1.5 cm of each end distorts during reduction — the pattern “fans out” and loses definition. Slice them off cleanly with your tissue blade before slicing usable pieces.
✂️ Don’t Skip This
Slice off 1–1.5cm from each end — the “fanned out” pattern there is normal, not a failure.
This is a step almost every tutorial glosses over, and it’s why beginners think their canes failed when they didn’t.
5. Slice the cane
Press the tissue blade straight down through the cane in a single, firm stroke — no sawing. Aim for slices between 2–4 mm thick. Thinner slices are more translucent and flexible; thicker slices hold more structural definition.
6. Apply slices and bake
Press slices onto your base piece (a pendant, bead, or flat tile) and roll gently with your acrylic roller to blend the seams.
Bake at 130°C (265°F) for 30 minutes per 6 mm of thickness on a ceramic tile. Do not underbake — underbaked cane slices remain brittle and chip off.
Storage and aftercare
Unbaked canes keep for months to years if wrapped in wax paper (not plastic wrap — some plastics leach plasticizers into the clay and make it sticky) and stored away from heat and direct light.
Baked pieces need no special care beyond avoiding prolonged UV exposure, which causes some colors to shift over years.
Variations to Build on This Foundation
Jellyroll cane: Roll two conditioned clay sheets — one light, one dark — stacked together, then roll them up like a Swiss roll before reducing. Produces a spiral cross-section.
Flower cane: Build five identical bullseye canes and arrange them in a cluster around a central log. Reduce as a unit. Each slice reveals a five-petal flower.
Skinner blend cane: Use a gradient sheet (made by the Skinner blend technique — two triangles of different colors rolled through the pasta machine repeatedly) as the outer wrap of a bullseye cane. Produces a sunset-gradient halo effect.
Checkerboard cane: Stack alternating light and dark slabs, then cut and reassemble 90° rotated to create a true repeating grid.
Troubleshooting
| Problem | Likely cause | Fix |
|---|---|---|
| Pattern distorts during reduction | Hands too warm, clay too soft | Rest cane in fridge for 10 minutes; reduce more slowly |
| Seam visible in bullseye cane | Sheet overlap instead of butt join | Trim sheet to exact circumference before wrapping |
| Slices crack when cut | Clay underconditioned or blade dragging | Re-condition clay; use a fresh, flex tissue blade |
| End pattern fans outward | Normal distortion during reduction | Discard 1–1.5 cm from each end before slicing |
| Colors bleed into each other | Clay overworked or too warm | Reduce in shorter sessions; chill between sessions |
| Baked slices chip off base | Underbaked or applied too thin | Extend bake time; apply slices at 2–4 mm thickness |
One Final Thing to Understand
Think of cane-making less like following a recipe and more like predicting how a soft material moves under pressure.
🔑 Key Insight: Every squeeze travels through the entire cane, not just where you touch. The pattern shows you exactly where pressure went wrong.
Once you internalize that every squeeze you make travels through the entire cane — not just the spot you’re touching — you’ll be able to troubleshoot any distortion on your own.
The pattern tells you where the pressure went wrong. That feedback loop is the real skill, and it develops faster than most beginners expect.






