
How to Make Polymer Clay Earrings for Beginners

Polymer clay earrings are wearable jewelry pieces you shape by hand, then permanently harden in a home oven — no kiln, no special studio, no prior art experience required.
The entry cost is under $30, and a finished pair takes less than an hour from raw clay to ready-to-wear.
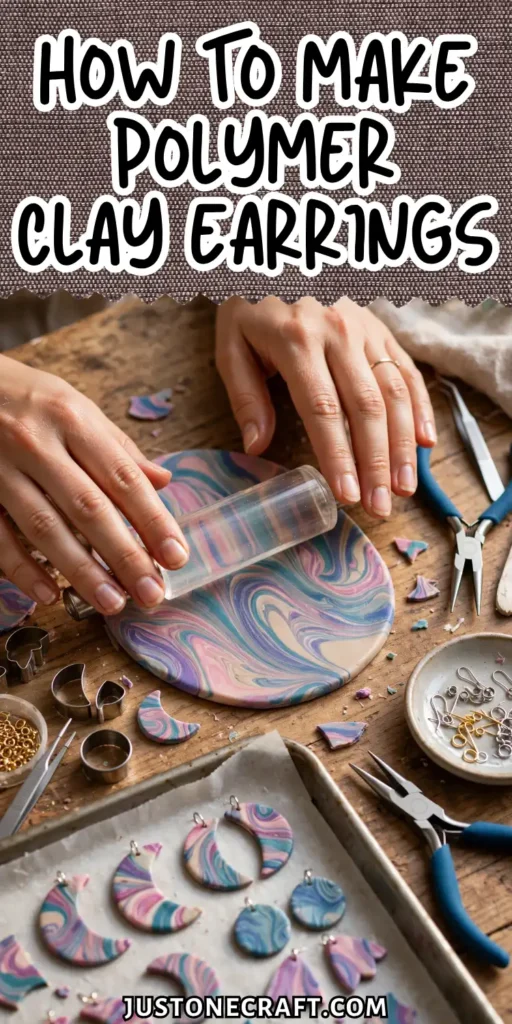
Why Polymer Clay Works
Polymer clay is made from PVC (polyvinyl chloride) mixed with a plasticizer, which keeps it soft and workable.
It only hardens when baked at the correct temperature (usually 275°F / 135°C), causing the PVC particles to fuse into a durable solid.
275°F
🔥 The one number that determines whether your clay hardens or stays brittle
This is why polymer clay won’t air-dry, and underbaking often leads to weak, brittle pieces.
Because the pigment runs throughout the clay, cut edges and sanded surfaces stay evenly coloured without extra finishing.
What You Need
- Polymer clay (Premo Sculpey or Fimo Professional, 2 oz) – Durable, flexible, and ideal for earrings. Avoid Sculpey Original and Model Magic.
- Pasta machine or acrylic roller – Creates even clay sheets for smooth, warp-free results.
- Polymer clay blade or craft knife – Makes clean, precise cuts without distorting shapes.
- Shape cutters (1–2 inch) – Best size for lightweight, comfortable earrings.
- Surgical steel or sterling silver ear wires – Hypoallergenic and long-lasting; use matching jump rings.
- 21-gauge eye pins or head pins – Securely connect earrings to hooks after baking.
- Ceramic tile – Provides a flat baking surface and prevents shiny marks.
- Oven thermometer – Ensures accurate baking temperature for reliable results.
- 400 & 800 grit wet/dry sandpaper – Smooths edges and gives a polished finish after baking.
Step-by-Step Instructions
1. Condition the clay
Warm a 1 oz piece of clay in your hands for 2–3 minutes, then roll it into a log and fold it back on itself 15–20 times until it feels uniformly smooth and pliable.
🔁 15-20 Folds
Clay is ready when it bends without cracking at the fold
Properly conditioned clay bends without cracking at the fold. If it cracks, keep going — cold or old clay skips this step and breaks after baking. Most beginners under-condition.
2. Roll the clay into a sheet
Use your pasta machine on the thickest setting, or roll the clay with your acrylic roller to approximately 3mm thick.
The sheet should be even — hold it up to a light source and look for thin spots (they’ll appear slightly translucent). Uneven sheets warp when baked.
3. Cut your shapes
Press your cutter straight down with firm, even pressure and lift it cleanly upward without rocking it. You should hear a clean separation.
Wiggle the cutter slightly if the shape sticks. Cut pairs at the same time from the same sheet so both earrings match in thickness and color.
4. Insert the eye pin
Push a 1-inch 21-gauge eye pin through the top of the shape, approximately 3mm from the edge.
The loop of the pin should sit flush against the clay surface — not sticking up, not buried. If it sits too high, the ear wire will dangle at an angle. Press the clay gently around the pin to close any gap.
5. Smooth and refine
Use a fingertip dampened with a tiny drop of liquid clay (or just a clean dry fingertip) to smooth any fingerprints or rough edges.
You’re looking for a surface that reflects light evenly. Any mark you leave now is permanent after baking.
6. Preheat the oven and verify the temperature
Set your oven to 275°F (135°C) for Sculpey Premo or Fimo Professional. Place your oven thermometer inside and wait 15 minutes until it stabilizes.
Adjust the dial until the thermometer reads exactly 275°F. Do not skip the thermometer check — oven dials are almost never accurate.
⚠️ Never Skip This: Oven dials are almost never accurate. Always verify with a separate oven thermometer.
7. Bake the clay
Place your shapes on the ceramic tile and bake for 30 minutes for pieces up to 3mm thick. Add 5 minutes per additional millimeter of thickness. The clay should look matte and feel firm (not soft) immediately out of the oven.
Let the pieces cool completely on the tile — at least 15 minutes — before touching them. Hot clay is temporarily soft and will deform if you handle it.
8. Sand and finish (optional but recommended)
Wet-sand with 400-grit sandpaper using a small dish of water, then follow with 800 grit. Work in small circular motions for 60 seconds per piece.
The surface will look cloudy — that’s normal. Buff with a soft cloth or piece of denim to restore a soft sheen.
9. Attach the ear wires
Open a jump ring by twisting it sideways (not pulling it apart), thread it through the eye pin loop and the loop on the ear wire, then twist it closed. The join should feel snug — no gap.
Storage and Aftercare
Store finished earrings in a small fabric pouch or separated compartments in a jewelry box. Polymer clay is durable but not indestructible — a hard drop onto tile can chip a thin edge.
Avoid prolonged direct sun; pigments in lower-quality clays can fade over months of UV exposure. Clean with a damp cloth only — no alcohol wipes, which can dull the surface finish.
Unbaked scrap clay stores well wrapped in plastic wrap inside a zip-lock bag, away from heat and sunlight. It will keep for 12–18 months.
Variations
Marbled earrings
Twist two or three colors of conditioned clay together and fold them 4–5 times (not more, or the colors blend into one muddy tone).
Roll into a sheet and cut as normal. The marbled pattern runs through the entire piece and looks different on every pair.
Terrazzo style
Chop scrap clay into tiny 1–3mm pieces, press them onto a base sheet of white clay, then run the whole thing through the pasta machine once to embed the pieces flush. Cut your shapes from this sheet — the result mimics terrazzo stone.
Textured earrings
Press a piece of lace, a rubber stamp, or a crumpled piece of aluminum foil into the clay sheet before cutting. The impression bakes in permanently. This works especially well with metallic clay colors.
Troubleshooting
| Problem | Likely cause | Fix |
|---|---|---|
| Earring snapped after baking | Underbaked — clay didn’t fully sinter | Rebake at 275°F for 15 more minutes; prevent by using an oven thermometer |
| Surface has fingerprints after baking | Not smoothed before baking | Sand with 400-grit wet/dry sandpaper after baking |
| Shape warped or domed in the oven | Baked on a metal sheet, not a tile | Switch to a ceramic tile; tent with foil to prevent hot spots |
| Eye pin pulled out after baking | Pin not inserted deep enough | Pin should pass at least halfway through the shape; use liquid clay to seal |
| Clay cracked while conditioning | Clay too cold or past its shelf life | Knead longer; add 1 drop of Sculpey clay softener to revive stiff clay |
| Colors look muddy when mixed | Over-mixed — too many folds | Stop folding when you see distinct streaks; marbling is about restraint |
One Final Thought
Polymer clay doesn’t punish mistakes the way other crafts do — unbaked clay can always be reworked, reshaped, and started over.
⏸️ The 10-Second Rule: Hold your piece at arm’s length before baking — it’s the only step that’s permanent.
The only irreversible step is the oven. Before you bake anything, hold your piece at arm’s length and look at it fresh.
Everything you see at that moment is what you’ll live with permanently. That 10-second pause before baking will save you more frustration than any technique tip in this article.






