
How to Use Cricut for Paper Crafts Beginners

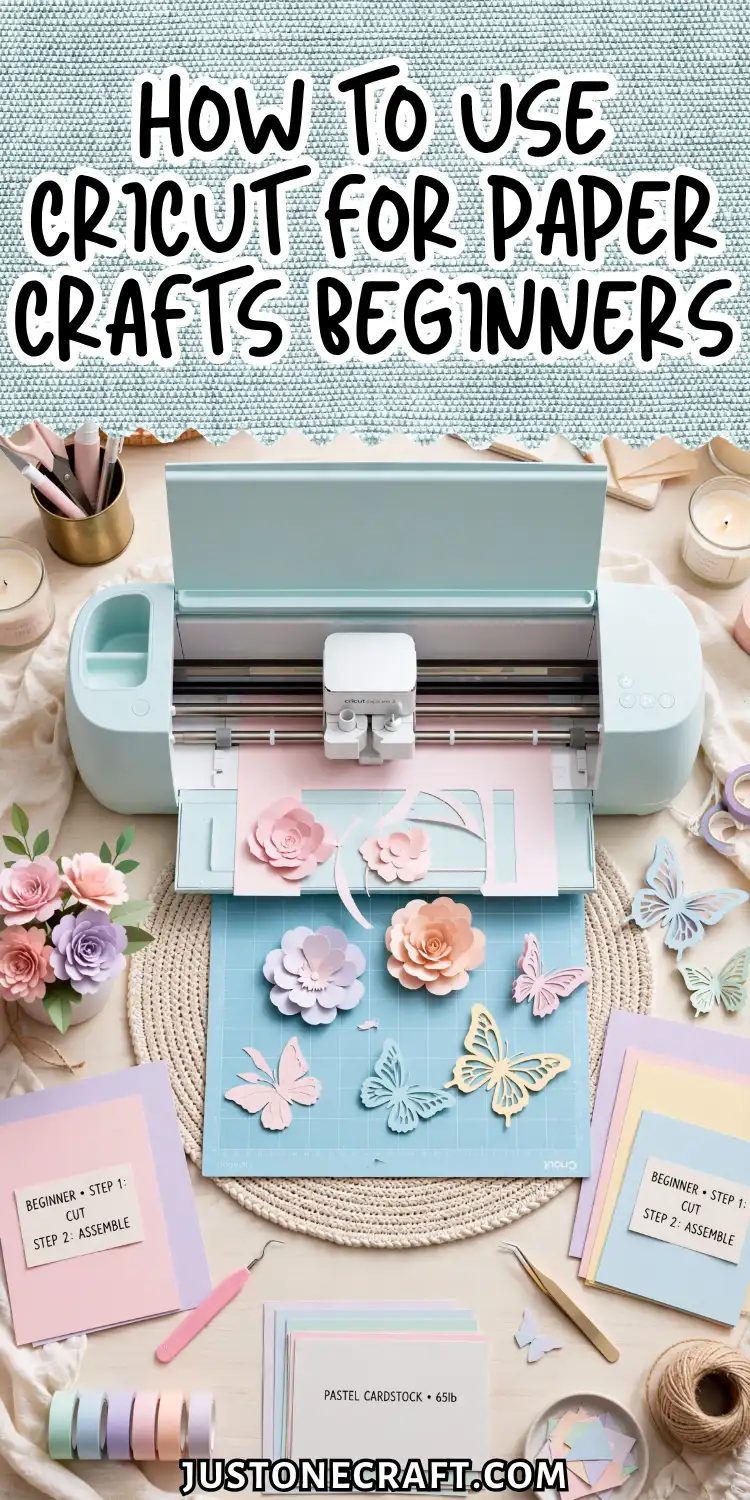
A Cricut is a home cutting machine that follows a digital design to cut paper (and dozens of other materials) with blade precision no pair of scissors can match. For paper crafters, it replaces hours of hand-cutting with repeatable, clean results in minutes.
Why Cricut Cuts Work
A Cricut cuts by dragging a tiny angled blade along your design path with high precision, rather than punching through material like a traditional die-cut machine.
The sticky cutting mat keeps the paper flat and secure so it doesn’t shift while cutting.
For clean results, the blade depth and material settings must match the material’s thickness.
Selecting the correct material in Cricut Design Space automatically adjusts these settings, helping you get accurate cuts while protecting both the blade and the mat.
What You Need
- Cricut Explore 3 (or Cricut Joy) — Explore 3 is best for 12×12-inch paper crafts. Joy is smaller but limited to 4.5-inch wide cuts. Skip the Explore Air 2 if buying new.
Explore 3
12×12″ — best for full paper crafts
Cricut Joy
4.5″ wide — compact & portable
- StandardGrip Mat (12×12, Green) — Ideal for cardstock. Avoid the purple StrongGrip mat for paper.
- 65 lb (176 gsm) Cardstock — Easy to cut and sturdy enough for most paper craft projects.
- Fine-Point Blade — Included with Cricut machines and perfect for paper and cardstock.
- Weeding Tool — Helps remove small cut pieces without damaging delicate designs.
- Bone Folder or Scoring Stylus — Creates crisp folds for cards, boxes, and other folded projects.
- Cricut Design Space (Free) — Required software for creating and cutting designs; a free account is all you need.
Step-by-Step Instructions
1. Set up Design Space and connect your machine
Download the Cricut Design Space app at design.cricut.com and create a free account. Plug your Cricut in via USB or connect via Bluetooth.
The app will prompt you through a setup sequence and do a test cut automatically. You should see a small shape cut cleanly from the test paper — if it tears or doesn’t cut through, run the calibration again before starting your real project.
2. Create or upload your design
Click “New Project” in Design Space. For your first cut, use a built-in basic shape — click the shapes icon on the left panel, select a square or star, and resize it to 4×4 inches.
⚠️ Don’t Skip This: Always resize your shape before cutting — the default size is often much smaller than expected.
Beginners most often make the mistake here of skipping the resize step and cutting at the default size, which is often much smaller than expected.
3. Select your material setting
Click “Make It” (top right), then “Continue.” The next screen asks what material you’re cutting.
Select “Cardstock (for intricate cuts)” if your design has fine detail, or plain “Cardstock” for simple shapes. This setting controls blade pressure — the wrong choice is the single most common cause of bad cuts.
4. Place your cardstock on the mat
Lay your cardstock in the top-left corner of the green mat, aligned to the grid lines. Press it down firmly with your palm across the entire sheet — you should feel it stick evenly with no bubbles or lifted corners.
A sheet that’s even slightly raised on one edge will shift during cutting and ruin your design.
5. Load the mat into the machine
Line up the mat with the left guide rail and press the flashing arrow button on the machine. The mat will feed in automatically.
You’ll feel a slight resistance as the rollers grip — that’s correct. If the mat feeds crookedly, press the unload button (same arrow, flashing again), reposition, and retry.
6. Press “Go” and let the machine cut
Press the Cricut (C) button on the machine. The blade will move across the mat — you’ll hear a soft dragging sound, consistent in tone.
✅ Normal
Quiet, smooth scratch
🛑 Stop!
Scraping or grinding sound
If you hear a scraping or grinding sound, pause immediately; the blade pressure may be too high for your material. A clean cut sounds like a quiet, smooth scratch.
7. Unload and remove your cut
Press the arrow button again to unload the mat. To remove the paper, flip the mat face-down and peel the mat away from the paper — not the paper away from the mat.
This prevents the paper from curling or tearing. Use your weeding tool to remove any small cut-out pieces from inside the design.
Machine and Mat Care
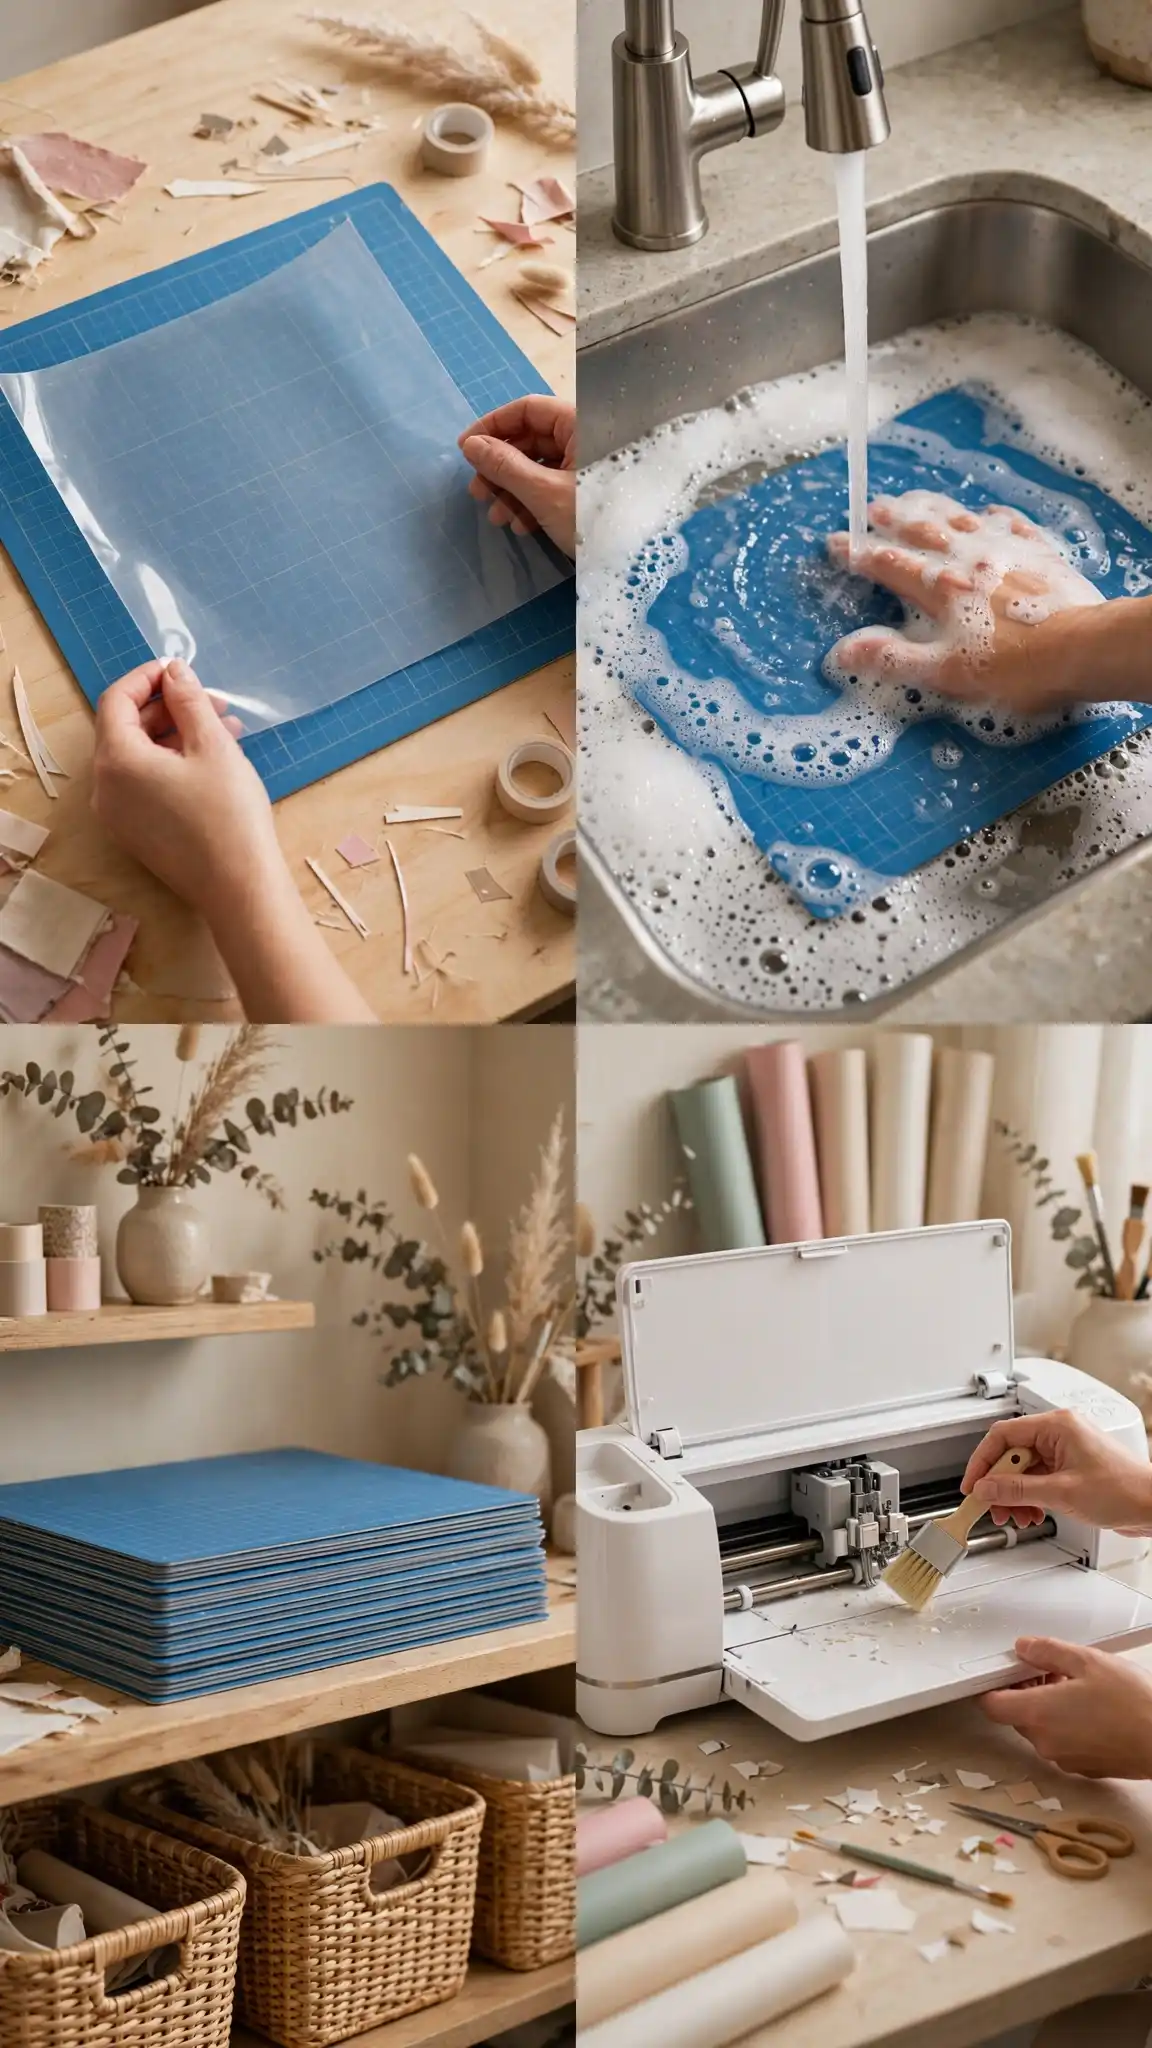
After each session, cover your mat with its clear plastic liner to preserve the adhesive. When the mat loses stickiness, wash it gently with dish soap and lukewarm water, let it air-dry completely, and it will regain most of its tack.
Replace the mat when it no longer holds paper flat even after washing. Store mats flat — never rolled or folded.
Clean the blade housing with a dry brush every 10 sessions to remove paper dust, which builds up inside the housing and affects cut pressure over time.
Variations to Try Next
Layered paper cards
Cut the same card design in 3 different cardstock colors, then stack the layers with foam adhesive squares between them.
The 3D depth comes from the foam lifting each layer 1–2mm — no extra skill needed, just the layered SVG file.
Paper gift boxes
Design Space has pre-built box templates with score lines already built in. Use the Scoring Stylus in Clamp A (the top clamp) to score all fold lines first, then swap to the blade for cutting. The machine does both passes automatically.
Intricate paper wall art
Switch to “Cardstock – intricate cuts” as your material setting and use a fresh Fine-Point Blade.
This reduces blade pressure slightly and produces cleaner edges on designs with very small negative spaces — lace patterns, florals, silhouettes.
Personalized gift tags
Cricut Joy is actually ideal here — tags are small enough to fit within its 4.5-inch cut width, and the Joy’s portability means you can set it up anywhere.
Use a single sheet of 8.5×11-inch cardstock and nest 8 to 10 tags per sheet in Design Space to minimize waste.
Troubleshooting
| Problem | Likely cause | Fix |
|---|---|---|
| Paper tears instead of cutting cleanly | Blade is dull or pressure is too high | Replace Fine-Point Blade; check material setting matches actual cardstock weight |
| Design cuts in wrong position on mat | Mat wasn’t aligned to top-left corner | Re-home the mat; always start cardstock at the grid’s 0,0 corner |
| Mat won’t feed straight | Rollers are dirty or mat edge is bent | Wipe rollers with a dry cloth; trim any bent mat edges with scissors |
| Small pieces stay stuck to mat | Mat tack is too strong for thin paper | Switch to blue LightGrip mat, or lightly dab mat with a clean t-shirt to reduce tack |
| Cut doesn’t go all the way through | Pressure set too low for cardstock weight | Re-select material or manually increase pressure by 1 step in material settings |
| Design looks stretched or skewed | File was uploaded as PNG, not SVG | Re-upload design as an SVG; PNG files lose scale information when resized |
One Final Thought
Every Cricut problem is either a material setting problem or a mat problem. Before blaming the machine or the file, ask two questions: did I select the exact right material, and is my paper held perfectly flat?
🔍 Before You Blame the Machine, Ask:
1️⃣ Did I select the exact right material?
2️⃣ Is my paper held perfectly flat?
Those two things account for 90% of failed cuts. Get those right, and the machine will do exactly what you ask — every time.






