
How to Make Origami Animals for Beginners

Origami is the art of folding a single sheet of paper into a three-dimensional figure — no cuts, no glue, no tools.
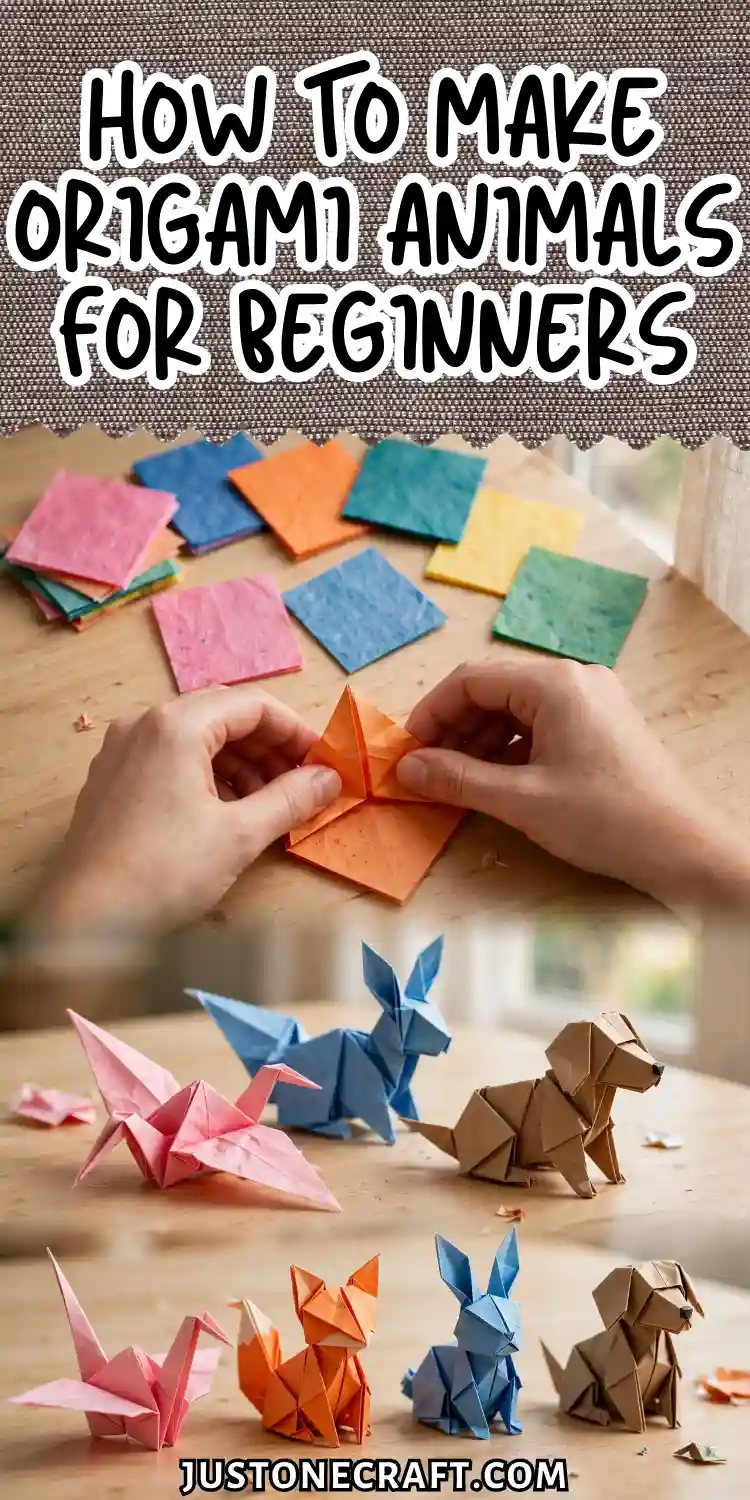
Get the folds right, and a flat square becomes a crane, a frog, or a fox in under five minutes.
Why Paper Folding Actually Works
Origami is built from a few basic folds—valley, mountain, and squash folds—that create creases acting like hinges. As these folds are combined, a flat sheet of paper gains structure and shape.
Using the right paper is important. It should be thin enough to fold sharply but strong enough to hold crisp creases without tearing.
The classic origami crane is the perfect beginner project because it introduces the fundamental folds used in many other origami models.
What You Need
- Origami paper (6×6 in / 15×15 cm) — Use 60–70 gsm Kami paper for crisp, easy folds.
- Flat, hard surface — Fold on a table or hardback book for sharp creases.
- Bone folder (optional) — Sharpens folds; a credit card or butter knife works too.
- Clean, dry hands — Prevents paper from stretching or tearing.
Step-by-Step Instructions
1. Place the paper colored-side down on your flat surface
Position the 6×6 inch square so one corner points toward you (like a diamond). The white or plain side faces up. You should see a perfect square with no wrinkles.
If your paper came folded in a packet, flatten it under a heavy book for 2 minutes before starting.
2. Fold the paper in half diagonally, then unfold
Bring the top corner down to meet the bottom corner exactly. Press the crease firmly from the center outward to each side. Unfold completely.
Repeat with the other diagonal. You now have a sheet with two diagonal crease lines forming an X.
The crease lines should be crisp — run your fingernail along them. Beginner mistake: not pressing the crease all the way to the corner points, leaving soft edges.
🖐️ Quick Test: Run your fingernail along the crease. If it feels soft or rounded, press it firmly again — sharp all the way to the corners.
3. Rotate the paper to a square orientation, fold in half horizontally, then unfold
Turn the paper so the edges are parallel to the table. Fold the bottom edge up to meet the top edge. Press flat. Unfold. Repeat vertically.
You now have 4 crease lines total — 2 diagonal, 2 straight — all intersecting at the center. This is called the preliminary crease pattern.
4. Collapse into the preliminary base
With the colored side down, push the two side corners inward toward the center while pressing the top corner down to meet the bottom corner.
The paper naturally wants to collapse along the existing creases — let it. You’ll end up with a small square made of 4 layers. The open end (with loose flaps) should face toward you.
This step feels uncertain the first time; if the paper isn’t collapsing evenly, check that all 4 creases are fully pressed.
5. Fold both front flaps to the center crease
Take the front-left edge and fold it to align with the vertical center crease. Repeat on the right side. You’ll see a kite shape form on the front. Press both folds flat.
Fold the top triangle downward over these folds and crease it. Then unfold all three of these folds — you’re creating guide creases for the next step.
6. Perform the petal fold
Lift the single top layer at the bottom point upward, opening the paper as it rises. The two side edges you just pre-creased will fold inward automatically, creating a long diamond shape.
Press completely flat. Flip the model over and repeat steps 5 and 6 on the other side. You now have the bird base — a long diamond with 4 points.
🐦 Bird Base Complete!
Long diamond, 4 points — you’re halfway to your crane
7. Fold the two front flaps to the center
Take the lower-left edge of the front layer and fold it to meet the center crease. Repeat on the right. Flip and repeat on the back. The model now looks like a narrow diamond with 4 thin points.
8. Shape the head and tail with inside reverse folds
Take the two bottom points (future neck and tail). Fold each one upward at approximately a 30-degree angle from the body crease, crease firmly, then unfold.
Now open each point slightly and push the crease inward — the tip reverses inside the body.
This is the inside reverse fold. For the head: pinch the tip of one reversed point and fold it downward at a slight angle to form the beak. Press and hold for 3 seconds.
9. Open the wings
Hold the model at the center body and gently pull the two wings apart horizontally. The body will puff outward from the bottom. Pull until the wings are flat and the body is rounded. Your crane is complete.
Storage and Aftercare
Store finished cranes in a dry, flat container away from humidity. Moisture causes the paper to soften and lose its shape within 24 hours.
If you want a permanent display piece, lightly spray the finished crane with matte acrylic sealant from 12 inches away — one coat is enough to stiffen the paper without changing its color.
Variations
Flapping crane Follow all steps above, but after pulling the wings apart, hold the body and pull one tail gently downward. The wings flap. This works because the inside reverse fold creates a lever connected to the wing panels.
Modular origami ball (kusudama) Fold 12 individual square units using the preliminary base, then connect them at the flap points without glue. The tension between units holds the sphere shape. Each unit is simpler than a full crane, making this a good second project.
Wet-folding for sculptural animals Use slightly dampened watercolor paper (140 gsm) instead of kami. Wet paper becomes temporarily pliable and holds curved, organic shapes — ears, rounded bodies, bent legs — that dry paper can’t achieve. Let the finished model dry for 2 hours before handling.
Troubleshooting
| Problem | Likely cause | Fix |
|---|---|---|
| Paper tears at fold points | Paper too thick, or folding against the grain | Switch to 60–70 gsm kami; always fold toward the same side consistently |
| Creases are soft and don’t hold | Folding on a soft surface, or not pressing firmly | Move to a hard flat table; use a bone folder or credit card to press each crease |
| Preliminary base won’t collapse evenly | Pre-creases aren’t sharp enough | Re-press all 4 crease lines before attempting the collapse |
| Petal fold tears the paper | Opening the flap too fast or at the wrong angle | Lift the center layer slowly; pre-crease guide lines must be crisp before this step |
| Wings are uneven lengths | Asymmetric folds in step 7 | Unfold back to the bird base, realign edges precisely to the center crease, refold |
| Crane body won’t puff out | Wings not pulled far enough apart | Pull the wings until you feel slight resistance, then ease the bottom open gently |
One Final Thought
Origami is not about finger dexterity — it’s about crease quality. A shaky hand can make a perfect crane; an inattentive crease cannot.
🔑 The Real Skill: It’s not dexterity, it’s crease quality. When something looks wrong, check the fold two or three steps back.
Every time something looks wrong, the problem is two or three steps earlier, at the last crease you didn’t press completely flat.
Train yourself to pause after every single fold and ask: is this crease sharp all the way to the edges? Fix it there, and the rest of the model folds itself.






