
How to Label Homemade Candles for Selling

A candle label is your legal shield and your first sales pitch — get it wrong and you risk liability, failed audits, and returns.
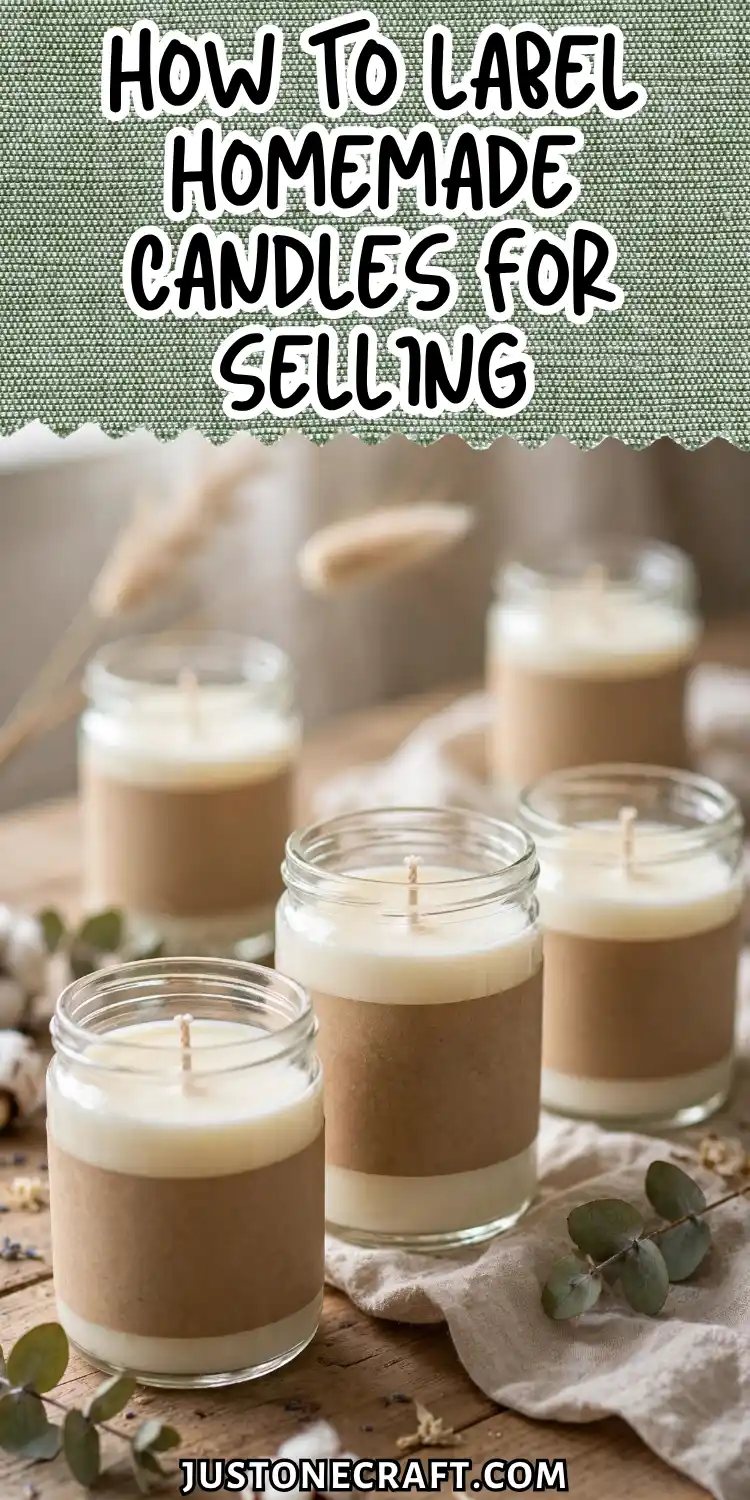
Get it right and it silently communicates professionalism before the customer ever lights the wick.
Why Labeling Rules Exist
Candle labels do more than showcase your brand—they also communicate essential safety information.
Regulations such as ASTM F2179 in the US require specific warning text to help inform buyers about safe candle use.
⚖️ Legal Requirement: ASTM F2179 warning text isn’t optional — it’s what protects both you and your customers.
A well-made label also builds trust. Waterproof materials, clear printing, and a clean design make your candle look professional while keeping important information readable throughout the product’s life.
What You Need
- Waterproof vinyl labels: Matte or glossy waterproof label sheets for durable, peel-resistant labels.
- Laser printer: Produces crisp, heat-resistant labels. Use laminate if printing with inkjet.
- Design software: Canva, Adobe Illustrator, or Microsoft Word for creating label layouts.
- ASTM F2179 warning text: Use the official candle safety warning exactly as published.
- Fragrance records: Keep the exact fragrance oil name and supplier for compliance.
- Ruler & alignment guide: Test label alignment before printing on label sheets.
- Batch tracking system: Record batch number, wax, fragrance, wick, and pour date for traceability.
Step-by-Step Instructions
1. Measure your container
Wrap a strip of paper around the widest flat part of the container, mark where it overlaps, and measure the length for the maximum label width.
Then measure the height of the flat area, avoiding curved edges. For most 8 oz mason jars, the label area is about 3.5 × 2 inches.
2. Choose and document your batch number
Assign a unique batch number to each production run (for example, YYYYMMDD-01) and record it with the wax type, fragrance oil, fragrance load, wick size, and pour temperature. This makes it easy to trace every candle back to its production details if needed.
3. Build the front label in your design software
Include the product name, net wax weight (in ounces and grams), business name, and city/state. The net weight should reflect only the wax, not the container, to ensure accurate and compliant labeling.
🏷️ Front Label
Product name, net wax weight, business name, location
⚠️ Warning Label
Full ASTM safety text, contact info, batch number
4. Build the warning label
The bottom label should include the full ASTM F2179 safety warning, your business name and contact details, the batch number, and the country of origin. Keep the font at least 6-point and ensure all text is clear and easy to read.
5. Print a test sheet on plain paper
Load the Avery template into your software and print the full sheet on regular copy paper.
Hold it up against your label sheet to confirm alignment, then wrap it around your actual container to check sizing.
Look for text that gets cut off at the edges and any lines that print outside the label boundary. Fix these before touching label stock.
6. Print the final sheet on label stock
Load label sheets one at a time, face-up for laser printers (check your printer’s paper path — some laser printers feed face-down). Print at the highest quality setting.
The finished labels should have sharp, clean edges on every letter — if text looks slightly blurred or pixelated, the print resolution is too low (set to 600 dpi minimum).
🖨️ Print Quality Check
✅ 600 dpi minimum resolution
✅ Sharp, clean letter edges
✅ Face-up loading for laser printers
7. Apply the label to the container
Clean the container to remove dust, wax, and fingerprints before applying the label. Peel the label slowly from one corner, align it carefully, then press the center first. Smooth outward to remove air bubbles and press the edges firmly for a secure, professional finish.
Storage and Aftercare
Store unused label sheets flat in a sealed plastic sleeve inside a cool, dry drawer. Heat and humidity cause the adhesive to activate prematurely, making sheets stick together or to the backing.
Printed labels have a shelf life of roughly 12 months before UV exposure from room light begins to fade the ink — don’t pre-print more than a 3-month supply.
Variations
Kraft paper label for rustic branding
Use brown kraft paper label stock (Avery 22838) for a farmhouse or artisan aesthetic. Kraft paper is not waterproof, so seal it with a clear matte spray (Krylon Crystal Clear) immediately after printing. Spray from 10 inches away in two thin coats, letting each dry for 5 minutes.
Wrap-around single label
Design one label that wraps the full circumference of a jar, placing the brand name on the front panel and all regulatory text on the back panel.
This works on containers 3 inches or wider in diameter. It eliminates the need for a separate bottom warning label and looks more polished on retail shelves.
Digital product labels for Etsy
Some sellers list candles on Etsy with digital mockup images rather than physical label photos.
Use Smartmockups or Placeit to drop your label design onto a professional candle photo. The mockup should match your actual label exactly — regulators can pull Etsy listings as evidence of what was represented to buyers.
QR code label add-on
Add a small QR code (minimum 0.8 inches x 0.8 inches to scan reliably) that links to a product page with full ingredient disclosure, scent notes, and care instructions.
This satisfies customers who want more detail without crowding the label, and it positions the brand as transparent and professional.
Troubleshooting
| Problem | Likely cause | Fix |
|---|---|---|
| Label bubbles or peels after a few days | Container surface had oil or wax residue | Clean with isopropyl alcohol before applying; switch to stronger adhesive vinyl stock |
| Text looks blurry on the printed label | Print resolution set below 600 dpi | Change printer settings to “best quality” or 600 dpi minimum |
| Label doesn’t fit the jar correctly | Measurements taken from the design template, not the actual jar | Re-measure the jar physically and rebuild the label around those dimensions |
| Warning text is technically present but fails inspection | Font size under 6pt or low-contrast color on colored background | Set warning text to 6pt minimum in black on white background |
| Net weight on label is incorrect | Container weight not subtracted from filled candle weight | Tare your scale with the empty jar, then weigh filled candle to get wax-only weight |
| Label ink smears when touched | Inkjet ink without lamination | Add a clear laminate layer over printed inkjet labels, or switch to laser printing |
One Final Thought
Every label problem — wrong size, missing warning, peeling adhesive — comes from designing for how you want the candle to look rather than starting with what the label must legally contain.
🔑 Flip the Process: Write your compliance requirements first, then design around them — the creative work gets easier, not harder.
Flip the process: write your compliance requirements first, then design around them. When the regulatory boxes are filled, the creative work becomes easier, not harder, because the constraints are already set.






