
How to Make Layered Candles with Beautiful, Even Color Bands

Layered candles are poured in stages — each scent, color, or wax type added only after the previous layer has partially cooled and set.
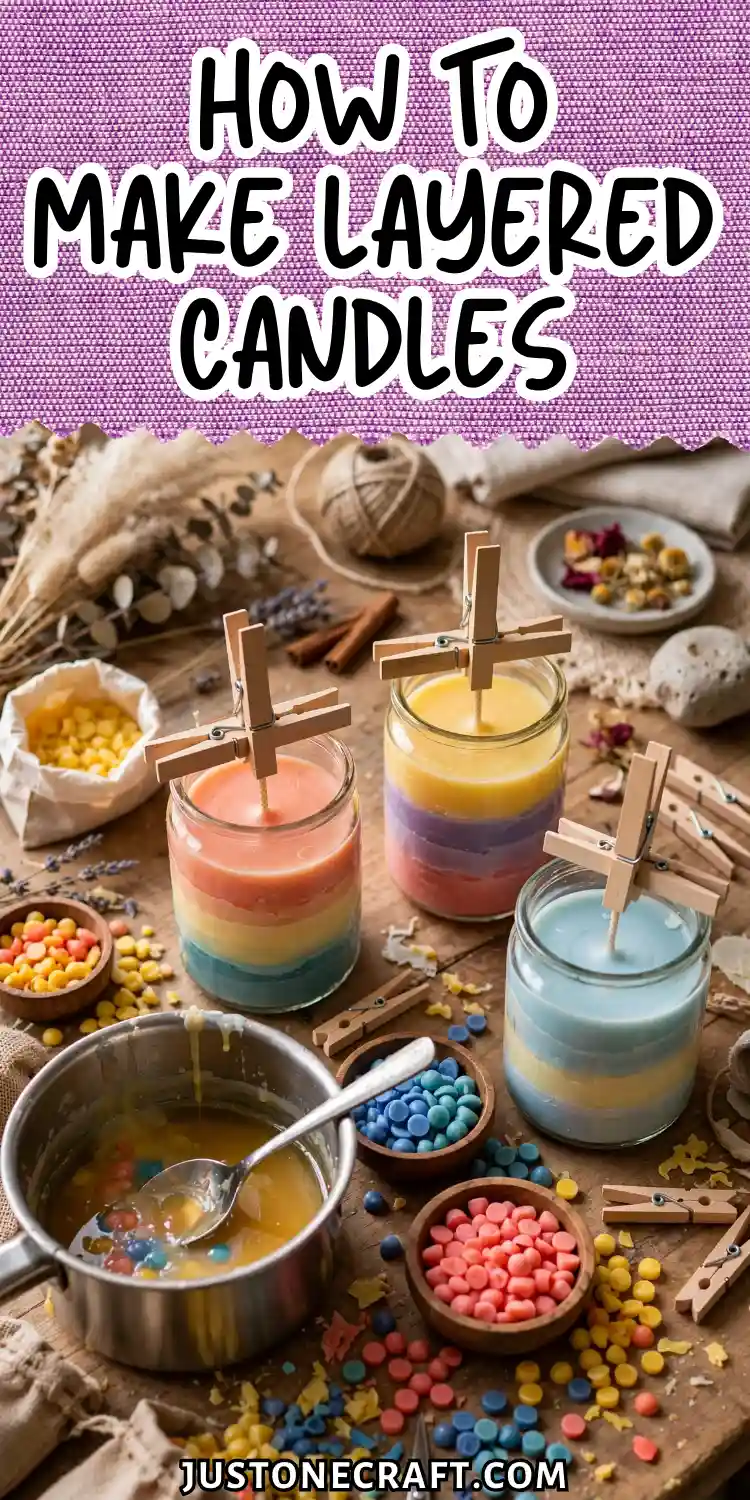
Get the timing right and you get crisp, defined bands. Rush it or wait too long, and layers bleed together or crack apart.
Why Candle Layers Bond Together
Wax shrinks as it cools, so pour each new layer when the previous one is firm but still slightly tacky. This helps the layers bond smoothly and prevents cracks, gaps, or visible seams.
If you pour too soon, the colors can mix; if you wait too long, the layers may separate. Fragrance oils can slightly soften the wax and change color depth, giving layered candles a richer appearance.
What You Need
- Soy Wax: Container soy wax (52°C/125°F melt point), such as Golden Brands 464.
- Fragrance Oil: Cosmetic-grade candle fragrance oil (6–10% of wax weight).
- Candle Dye: Dye chips or liquid candle dye (avoid crayons).
- Wick: Pre-tabbed cotton wick sized for your container.
- Container: Glass mason jar or straight-sided tumbler.
- Thermometer: Digital probe thermometer.
- Double Boiler: Wax melting pitcher or double boiler setup.
- Wick Centering Tool: Wick holder or two pencils with a rubber band.
Step-By-Step Instructions
1. Set up your workspace
Lay down newspaper or a silicone mat. Melt wax is nearly impossible to remove from fabric or wood.
Have all dyes, fragrance oils, and tools within arm’s reach before you start — you won’t have time to search once wax is ready.
2. Melt the wax for your first layer
Add wax to your double boiler and heat to 75–80°C (167–176°F). Stir occasionally. You should see a clear, fully liquid pool with no white lumps. Any cloudiness means unmelted wax — keep heating.
3. Add dye and fragrance
Remove from heat. Add your dye chip first and stir until fully dissolved (about 60 seconds). Then add fragrance oil at 6% by weight (e.g., 15 g of fragrance per 250 g of wax).
Stir slowly for 2 minutes — fast stirring introduces air bubbles. The mix should look uniform in color with no oil separation.
4. Pour the first layer
Let the wax cool to 60–65°C (140–149°F) — it will appear slightly opaque or “creamy” at the edges of the pitcher. This is the ideal pour temperature for soy wax.
Pour slowly down the side of the jar to minimize bubbles. Fill to your first layer mark (roughly one-third of the jar).
Beginner mistake: pouring too hot, which causes the surface to sink dramatically in the center as it cools.
5. Wait for the tacky stage
👆 The Fingertip Test
Press gently — it should feel like cold butter: firm, but leaving a faint fingerprint.
Leave the layer at room temperature. After 45–90 minutes (depending on room temperature), press the surface very gently with a fingertip.
It should feel like cold butter — firm but leaving a slight fingerprint. If it’s liquid, wait longer.
If it’s completely rigid and doesn’t move, you’ve waited too long and should lightly score the surface with a toothpick before the next pour.
6. Prepare and pour the second layer
Repeat steps 2–3 with a new color and/or fragrance. Pour this layer at a slightly lower temperature — 55–60°C (131–140°F) — to avoid melting through the layer below. Pour gently and slowly. You’ll see the colors begin to define themselves immediately.
🌡️ Layer Pour Temps
Cooler pours prevent melting into the layer below
7. Repeat for additional layers
Each subsequent layer follows the same tacky-stage rule. You can do 2–6 layers in a standard jar — more than that and the bottom layers may crack from cumulative weight and contraction.
⚠️ Layer Limit: Stick to 2–6 layers per jar — more can cause bottom layers to crack under cumulative weight.
8. Allow a full cure
Let the finished candle cure undisturbed for 48 hours before burning. Soy wax continues to crystallize after it sets, and burning too early produces uneven melt pools and poor scent throw.
Storage and aftercare
Store finished candles away from direct sunlight — UV light fades dye color within days. Keep lids on when not burning to preserve fragrance.
Trim the wick to 6 mm (¼ inch) before every burn; a long wick burns hotter and can disrupt the visual definition of upper layers.
Variations
Angled layers — Prop the jar at a 30-degree angle during each pour using a folded towel. The wax sets at a diagonal, creating a chevron or stripe effect when viewed from the side.
Gradient effect — Mix the same color in increasing concentrations across three or four layers (quarter chip, half chip, full chip, one and a half chips). The progression reads as an ombre when viewed through glass.
Scent-matched layers — Assign each layer a different fragrance in the same scent family (e.g., base: sandalwood / middle: cedarwood / top: vanilla). As the candle burns down through layers, the scent profile shifts.
Troubleshooting
| Problem | Likely cause | Fix |
|---|---|---|
| Layers have visible cracks between them | Poured when surface was too cold and rigid | Score the set surface lightly before the next pour; reduce waiting time next batch |
| Layers blend and bleed together | Poured second layer too hot or surface was still liquid | Lower pour temperature to 55°C; wait until fingertip test confirms tackiness |
| Sinkholes in the center of a layer | Poured at too high a temperature; wax contracted sharply | Pour at 60–65°C and do a small “top-up” pour after 1 hour |
| Color looks much darker or lighter than expected | Dye amount or fragrance load varies between layers | Weigh dye and fragrance precisely; use a digital scale, not volume measurements |
| Wick leans to one side | Not centered during the pour or wax moved it | Use a wick centering bar; check alignment after each pour while wax is still liquid |
| Frosting or white film on surface | Soy wax recrystallizing — normal but can look like defects | Use a heat gun on low to gently smooth the surface after the candle sets |
One Last Thing
Every problem with a layered candle comes down to temperature — either the wax going in or the surface receiving it.
🔥 Too Hot
Blending & sinkage
❄️ Too Cold
Cracking & separation
Once you internalize that principle, you can diagnose almost any issue on your own: too hot causes blending and sinkage, too cold causes cracking and separation.
Keep a small notebook and log the room temperature, pour temperatures, and wait times for each batch. Two or three candles in, you’ll have a personal reference that beats any generic guide.






