
How to Make Soy Candles at Home: A Step-by-Step Beginner’s Guide

Soy candles are container candles made from hydrogenated soybean oil instead of petroleum-based paraffin — and once you understand the four variables that control them (wax, wick, fragrance, and temperature), you can produce professional-quality candles at home for roughly $3–5 each.
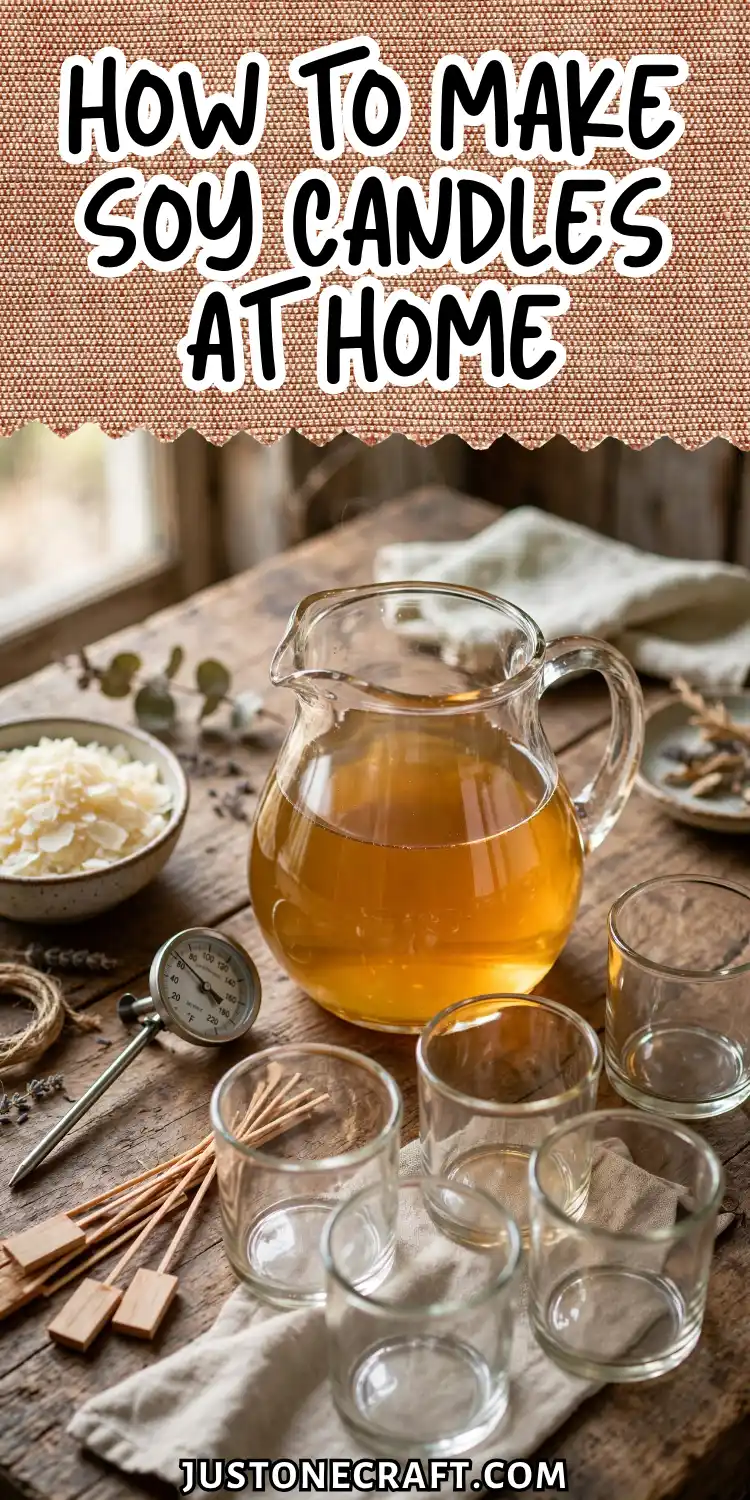
The Science Behind a Good Soy Candle
A candle works by pulling melted wax up the wick through capillary action. The flame vaporizes this wax, and it’s the wax vapor—not the solid wax—that burns. Using the right wick size is essential for a clean, even burn without tunneling or excess soot.
A candle’s scent depends on how well the wax holds and releases fragrance oil. Soy wax typically holds 6–10% fragrance oil, but adding it at the correct temperature ensures the scent bonds properly and remains strong.
Temperature also affects every stage of candle making, from adding fragrance to pouring and cooling.
Managing these temperature changes helps create a smooth finish, an even burn, and a better fragrance throw.
🌡️ Key Temperature Stages
What You Need
- Soy wax flakes (Golden Brands 464): Container soy wax with excellent glass adhesion. Use about 1 lb for every 20 oz of container volume.
- Fragrance oil: Use 1 oz per pound of wax (6.25%). Choose candle-safe fragrance oils made for soy wax.
- Pre-tabbed cotton wick: For a 3-inch diameter jar, start with a CD-18 or ECO-6 wick.
- Glass container: An 8 oz straight-sided glass jar works best for beginners.
- Stainless steel pour pot: A 32 oz pouring pot with a spout makes melting and pouring easier.
- Digital probe thermometer: Measures wax temperature accurately for consistent results.
- Wick centering tool: Keeps the wick upright while the wax cools and hardens.
🧵 Wick Tip: For a 3-inch diameter jar, start with a CD-18 or ECO-6 wick — the wrong size causes tunneling or excess soot.
Step-By-Step Instructions
1. Prepare your jars before melting anything
Stick a wick sticker or small dab of hot glue to the center base of each clean, dry jar. Press the wick tab firmly onto it and hold for 10 seconds.
Thread the wick through your centering tool and rest it on the rim. Doing this cold, before wax is involved, is exponentially easier than placing a wick into hot wax where it floats and drifts. The wick should stand perfectly vertical with no slack.
2. Melt the wax using a double boiler
Add wax flakes to your pour pot and set it over a saucepan with 2 inches of simmering water. Heat until the wax reaches 185°F, stirring gently every 2–3 minutes.
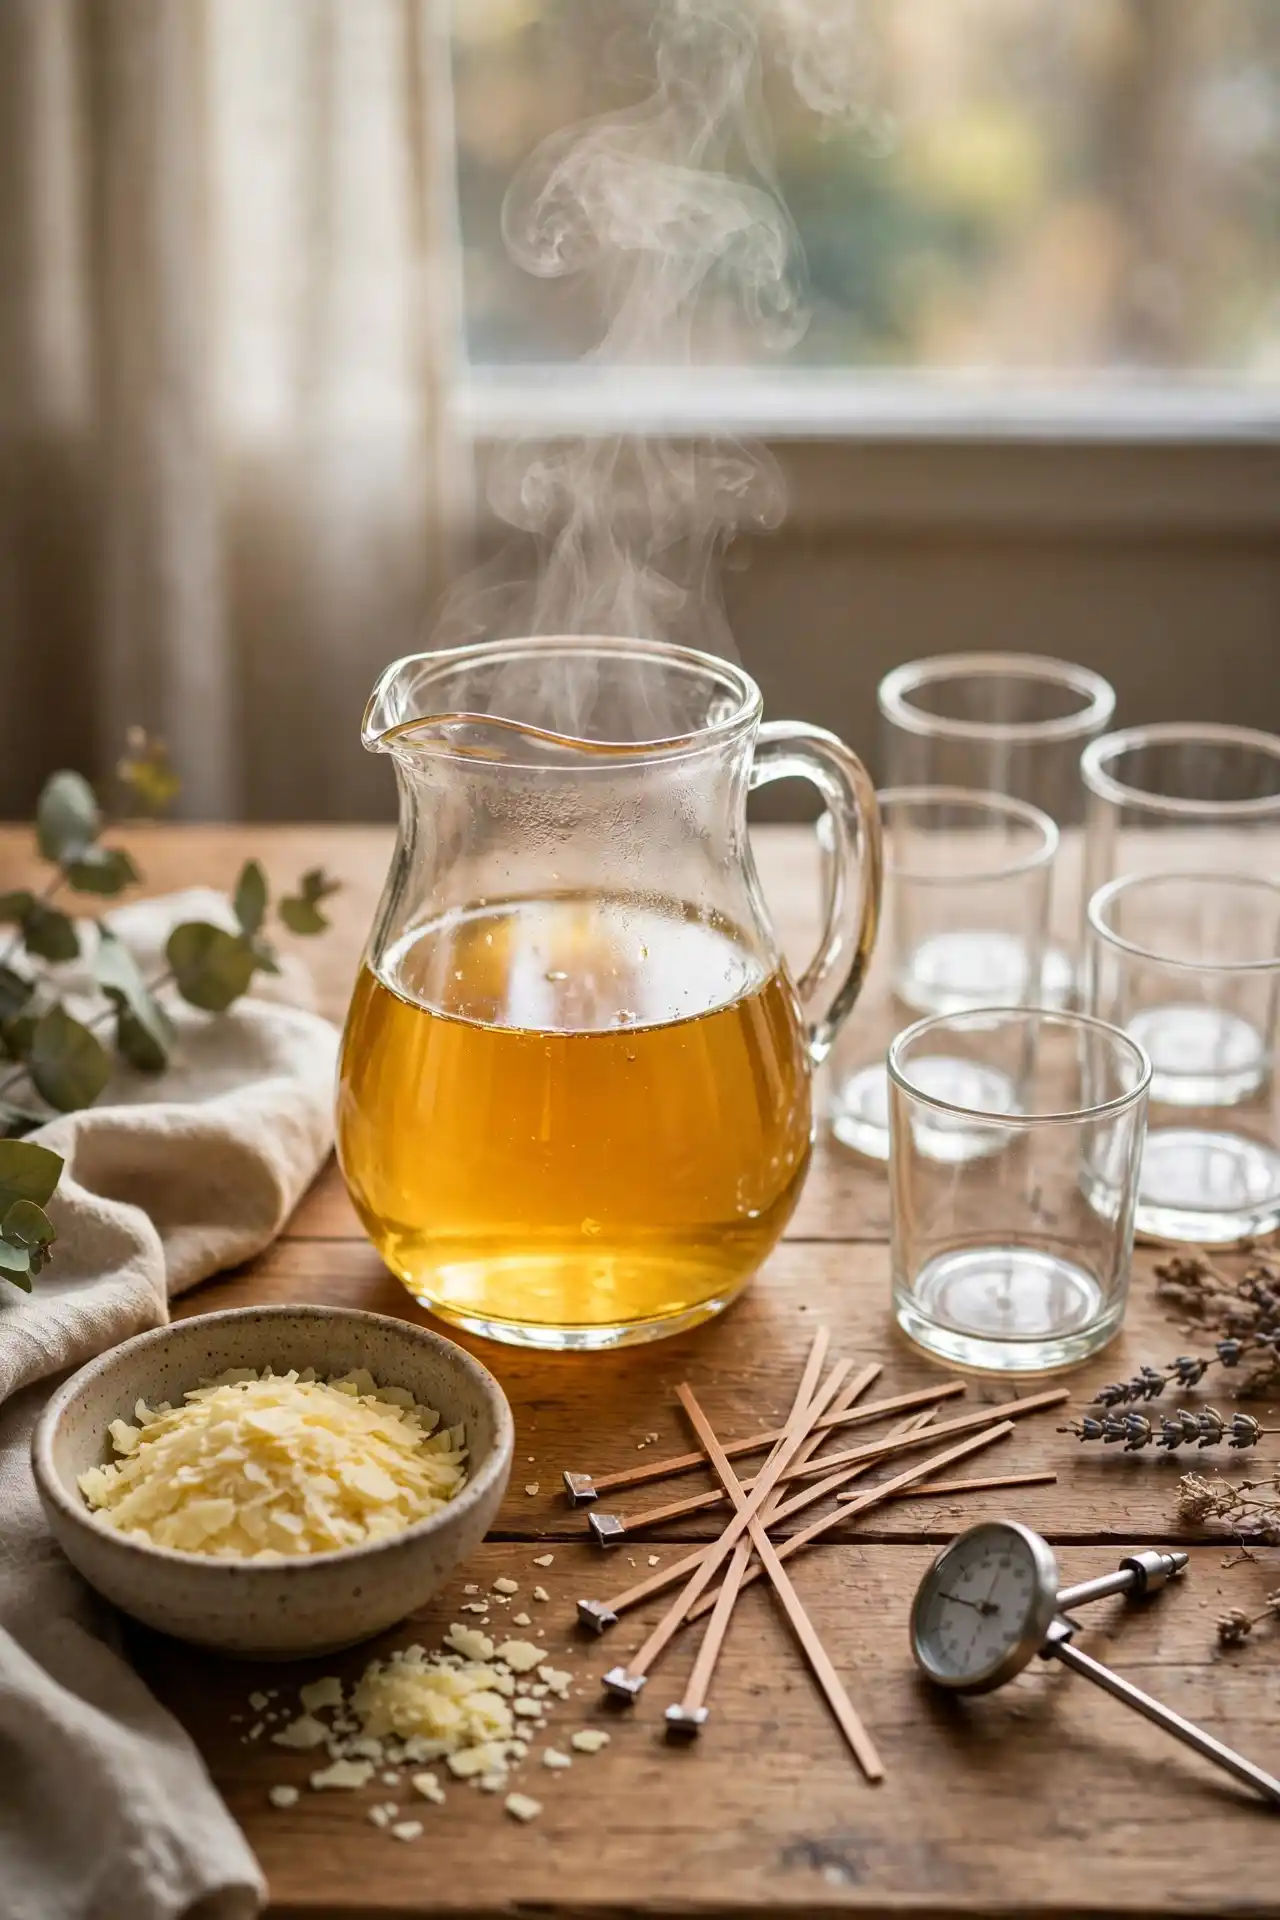
The wax will look like pale yellow cooking oil when fully melted — clear, smooth, and completely liquid with no white flecks.
Never use direct heat; uneven temperature scorches the wax, which creates a faint burnt undertone that fragrance won’t cover.
3. Remove from heat and cool to 165°F
Pull the pot off the double boiler and set it on a heatproof surface. Monitor the temperature as it drops. At 165°F the wax still looks fully liquid but has lost the shimmer of extreme heat.
This is your fragrance window — hot enough to fully disperse the oil, cool enough that it won’t flash off immediately.
4. Add fragrance oil and stir for 2 minutes
Pour in your pre-measured fragrance oil (1 oz per pound of wax) in a slow, steady stream while stirring in consistent circles. Stir for a full 2 minutes — not until it “looks mixed,” but a full 120 seconds.
⏱️ Full 120 Seconds — not “until it looks mixed.” Under-stirring is the top cause of weak scent throw.
The wax may cloud slightly; that clears as it continues cooling. If you can smell a strong burst of fragrance in the air the moment you add the oil, your wax is still too hot and you’re losing scent to evaporation.
5. Pour at 135°F into prepared jars
Watch the thermometer and pour when the wax hits 135°F. At this temperature it moves like warm olive oil — fluid but with a slight viscosity.
Pour steadily into the center of each jar, leaving 0.5 inches of headspace at the rim. Check that each wick is still centered after the pour. Do not tap, shake, or move the jars.
6. Cure at room temperature for 48 hours
Leave candles completely undisturbed on a flat surface at room temperature.
⏳ Curing Timeline
24 hrs: check for sinkholes • 48 hrs: smooth & matte • 72 hrs: first burn
Resist refrigerating them — the rapid cool causes the wax to contract unevenly, pulling from the glass and creating sinkholes.
If a small depression forms around the wick after the first 24 hours, top it off with a small pour of fresh wax at 135°F. By 48 hours the surface should be smooth and matte.
7. Trim the wick and wait before burning
Trim the wick to 0.25 inches above the wax surface with sharp scissors or a wick trimmer. A longer wick produces a larger, hotter flame that mushrooms (builds up a carbon ball at the tip) and burns through the candle too quickly.
Wait a minimum of 72 hours total from pour before the first burn — the fragrance continues binding with the wax during this curing period, and hot throw improves noticeably between day two and day three.
Storage and Aftercare
Store finished candles with lids on, away from direct sunlight. UV exposure yellows soy wax and degrades fragrance molecules over time.
Temperature swings cause frosting — a white, powdery bloom on the surface — which doesn’t affect burn quality but does affect appearance. A consistent room temperature between 65°F and 75°F keeps surfaces smooth.
Trim the wick to 0.25 inches before every single burn, not just the first. Always burn long enough for the full surface to become liquid — typically 2 to 3 hours for an 8 oz jar — to prevent tunneling. Never exceed a 4-hour burn session.
Variations
Coconut-soy blend
Replace 20% of your 464 soy wax with refined coconut wax by weight. The blend produces a creamier, whiter finish, holds up to 10% fragrance load, and resists frosting better than soy alone. It’s more expensive per pound but produces a noticeably more polished final candle.
Wooden wick candles
Swap cotton wicks for 0.5-inch wooden wicks (sized for a 3-inch container). Wooden wicks produce a soft crackling sound and a wider, lower flame.
They need to be dipped in melted wax before use to prime them, and the pour temperature rises slightly to 145°F for better adhesion.
Layered two-scent candles
Pour the first layer at 135°F and let it set for 90 minutes until firm but still faintly warm to the touch. Pour the second fragrance layer on top.
Layers poured onto a fully cold base can separate; a slightly warm surface bonds the layers together cleanly.
Travel tins
Use 4 oz metal tins instead of glass. Tins conduct heat faster than glass, so reduce your pour temperature to 125°F to prevent the wax from shrinking away from the walls. Tins are lighter, unbreakable, and ideal for gifting.
Troubleshooting
| Problem | Likely cause | Fix |
|---|---|---|
| Sinkhole or depression around wick | Wax cooled too quickly or poured too hot | Do a small top-off pour with wax at 135°F after 24 hours |
| Weak or no scent when burning | Fragrance added above 170°F, or load too low | Add fragrance at 165°F; increase load to 8% on next batch |
| Candle tunnels straight down | Wick too small for container diameter | Retest with next wick size up; always burn until full melt pool forms |
| White frosting on surface | Temperature fluctuation during curing | Cure in a stable-temperature room; frosting is cosmetic and doesn’t affect burn |
| Wick produces large carbon mushroom | Wick too large, or fragrance load too high | Try one wick size smaller; cap fragrance at 8% |
| Wax pulling away from glass walls | Poured too hot or cooled too rapidly | Pour at exactly 135°F; avoid cold drafts during the first 24 hours |
One Final Thought
Every soy candle failure is a temperature event that happened at a specific step — not a wax problem, not a fragrance problem, not a bad wick.
Before you change any ingredient on a failed batch, write down what temperature you added the fragrance, what temperature you poured, and how fast the candle cooled. The answer to what went wrong is almost always in those three numbers.






