
How to Create a Gallery Wall That Stands Out

A gallery wall is a curated arrangement of frames, art, and objects hung together on a single wall to function as one unified visual statement.
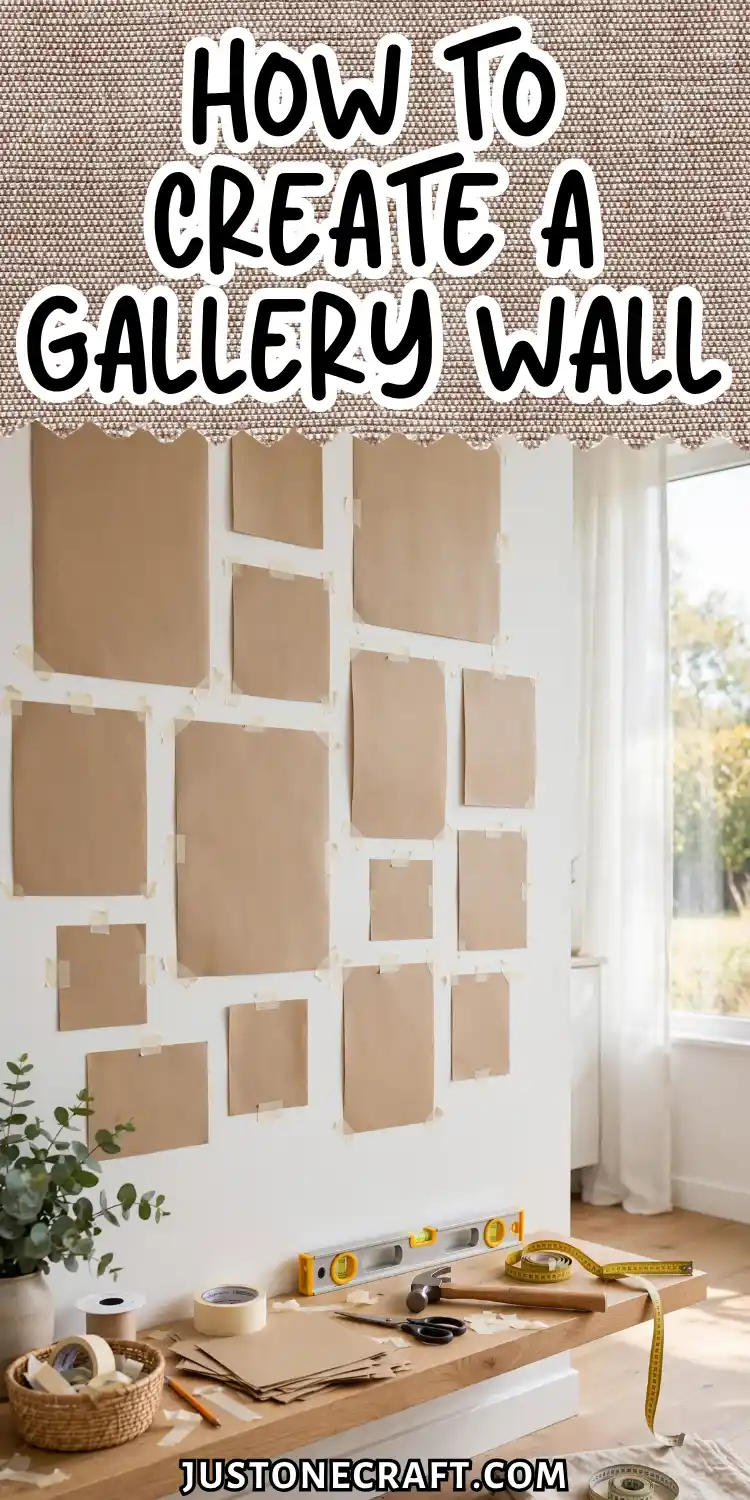
Done right, it transforms a blank wall into the most personal and intentional room in your home — done wrong, it looks like a yard sale.
Why Gallery Walls Work
A gallery wall works because of balanced visual weight. Larger, darker, or bolder pieces feel heavier, while smaller or lighter pieces feel lighter. When these are evenly distributed, the arrangement looks balanced instead of chaotic.
Keep 2–3 inches between frames so they feel connected without looking crowded. Finally, hang the collection around a consistent center line—typically 57 inches from the floor—to create a polished, cohesive look.
What You Need
- Frames: Mix 1–2 large, 3–4 medium, and 3–5 small frames. Keep the finish consistent for a cohesive look.
- Hammer & Picture Nails: Use nails or hooks rated for your frame weights.
- Painter’s Tape: Mock up the layout before hanging.
- Kraft Paper or Newspaper: Trace frames to create hanging templates.
- Level: Keeps frames straight.
- Pencil: Mark nail positions without damaging the wall.
- Tape Measure: Maintain even 2–3 inch spacing.
- Optional: Picture-hanging strips or center-mark tape for easier placement.
Step-By-Step Instructions
1. Gather every piece before touching the wall
Lay all frames face-down on the floor in front of the wall you’re using. Confirm you have your range of sizes.
If everything is the same size, the arrangement will look like a grid — which is a specific style choice, not a mistake, but make it consciously.
2. Arrange the layout on the floor
Slide the frames around on the floor to build your arrangement. Place the largest piece roughly in the center or slightly left of center first — this is your anchor.
Distribute darker or larger frames so no single corner feels heavier than the opposite corner.
Aim for an overall shape that’s roughly rectangular, and leave 2 to 3 inches of space between each frame. Step back 6 feet and look.
If your eye travels smoothly across the arrangement, it’s working. If it keeps snapping to one corner, move a heavy piece away from that corner.
3. Trace each frame onto kraft paper
Lay a piece of kraft paper over each frame and trace the outline. Flip the frame over, find where the hanging wire or D-ring sits at its highest point when taut, and mark that spot on the paper.
Label each template with the frame it belongs to. This mark tells you exactly where the nail goes — not where the top of the frame is.
4. Mock up the layout on the wall with painter’s tape
Transfer your floor arrangement to the wall using painter’s tape to outline each frame’s paper template.
Start by marking 57 inches from the floor at the horizontal center of your intended arrangement — this is your eye-level anchor line.
Position the central frame’s template so its visual center sits near this line. Tape every template to the wall. Step back and look.
Adjust spacing now, with tape, not nails. This step takes 20 minutes and saves hours of spackle work later.
5. Mark the nail positions
Once the arrangement looks right with the templates, use a pencil to mark the nail hole through each hanging-point mark on the paper.
Do not remove the tape yet. Double-check that your marks are level using the torpedo level across any two adjacent frames before you touch a hammer.
6. Remove the templates and drive the nails
Peel the tape and paper away carefully so the pencil marks stay on the wall. Drive each nail at a slight downward angle — about 45 degrees into the wall — so the head catches the wire securely.
For drywall without a stud, this angle creates enough friction to hold frames up to 8 lbs without an anchor.
For anything heavier, locate the stud or use a drywall anchor rated to at least twice the frame’s weight.
7. Hang each frame and level immediately
Hang one frame, place the torpedo level on top, adjust, then move to the next. Do not hang all frames and level at the end — small adjustments become compounding errors across a large arrangement.
8. Step back and do a final check
Walk to the opposite side of the room and look at the full wall for 60 seconds. Your eye will catch any spacing inconsistency or tilt that close-up work misses. Adjust any frame that pulls your attention for the wrong reason.
Aftercare and maintenance
Dust frames with a dry microfiber cloth every 4 to 6 weeks — buildup on top of frames is visible from below and dulls the arrangement.
Check that nails are still seated firmly twice a year, especially in climates with seasonal humidity shifts, which cause walls to expand and contract slightly.
If a nail starts to pull out, replace it with a 2-inch screw-in picture hook in the same hole.
Variations
The grid wall
All frames are identical in size and finish, hung in evenly spaced rows and columns with exactly 2 inches between each.
This works because uniformity replaces visual-weight balancing — every piece carries the same weight by definition. It reads as architectural rather than personal.
The salon-style wall
Frames cover the entire wall from baseboard to ceiling with no more than 1 inch of space between them.
The density is intentional and creates a maximalist effect. Requires significantly more planning — start from the center and work outward in all directions.
Mixed media arrangement
Include non-frame objects: a small mirror, a wall-mounted plant, a sculptural letter, a clock.
These items function as “frames” in terms of visual weight, but add texture and dimension.
The same layout and spacing rules apply; just trace the object’s hanging footprint on the kraft paper template as you would a frame.
The ledge wall
Swap hanging frames for two or three picture ledges (floating shelves, 1.5 to 2 inches deep) mounted horizontally and layered with frames that lean rather than hang. This lets you swap pieces without touching a nail.
Troubleshooting
| Problem | Likely cause | Fix |
|---|---|---|
| Arrangement looks cluttered | Too many same-size frames, or spacing under 2 inches | Remove 2 to 3 smallest pieces; increase gap to 2.5 inches minimum |
| One corner looks heavier than the rest | Large or dark frame isolated in one area | Move the heaviest frame closer to center; add a lighter piece to the heavy corner |
| Frames keep tilting | Wire too long relative to hook position | Add a second hook 2 inches to the side of the first to create two anchor points |
| Wall looks like random pictures, not a gallery | No consistent element unifying the frames | Switch all frames to one finish color, or mat all photos with white 2-inch mats |
| Nail holes won’t hold in drywall | Nail missed stud and wall is crumbly | Use a self-drilling drywall anchor rated to 25 lbs; costs under $1 each |
| Spacing looks right on floor but wrong on wall | Floor layout wasn’t transferred accurately | Re-measure every gap with a tape measure before marking nail positions |
One Final Thought
A gallery wall isn’t about the individual pieces — it’s about the negative space between them. When something looks off, resist the urge to swap art or buy a new frame.
Instead, look at the gaps. Uneven spacing between pieces is responsible for 80% of arrangements that feel wrong. Fix the space, and the art takes care of itself.






