
Paper Quilling Basics: A Beginner’s Guide to the Art of Rolled Paper

If you’ve ever seen a greeting card decorated with tiny coiled paper flowers or an intricate paper design that looks almost like lacework, you’ve probably encountered paper quilling.
This charming craft has been around for centuries, yet it remains one of the most accessible and rewarding hobbies to pick up today. All you need is paper, glue, and a little patience.
What Is Paper Quilling?
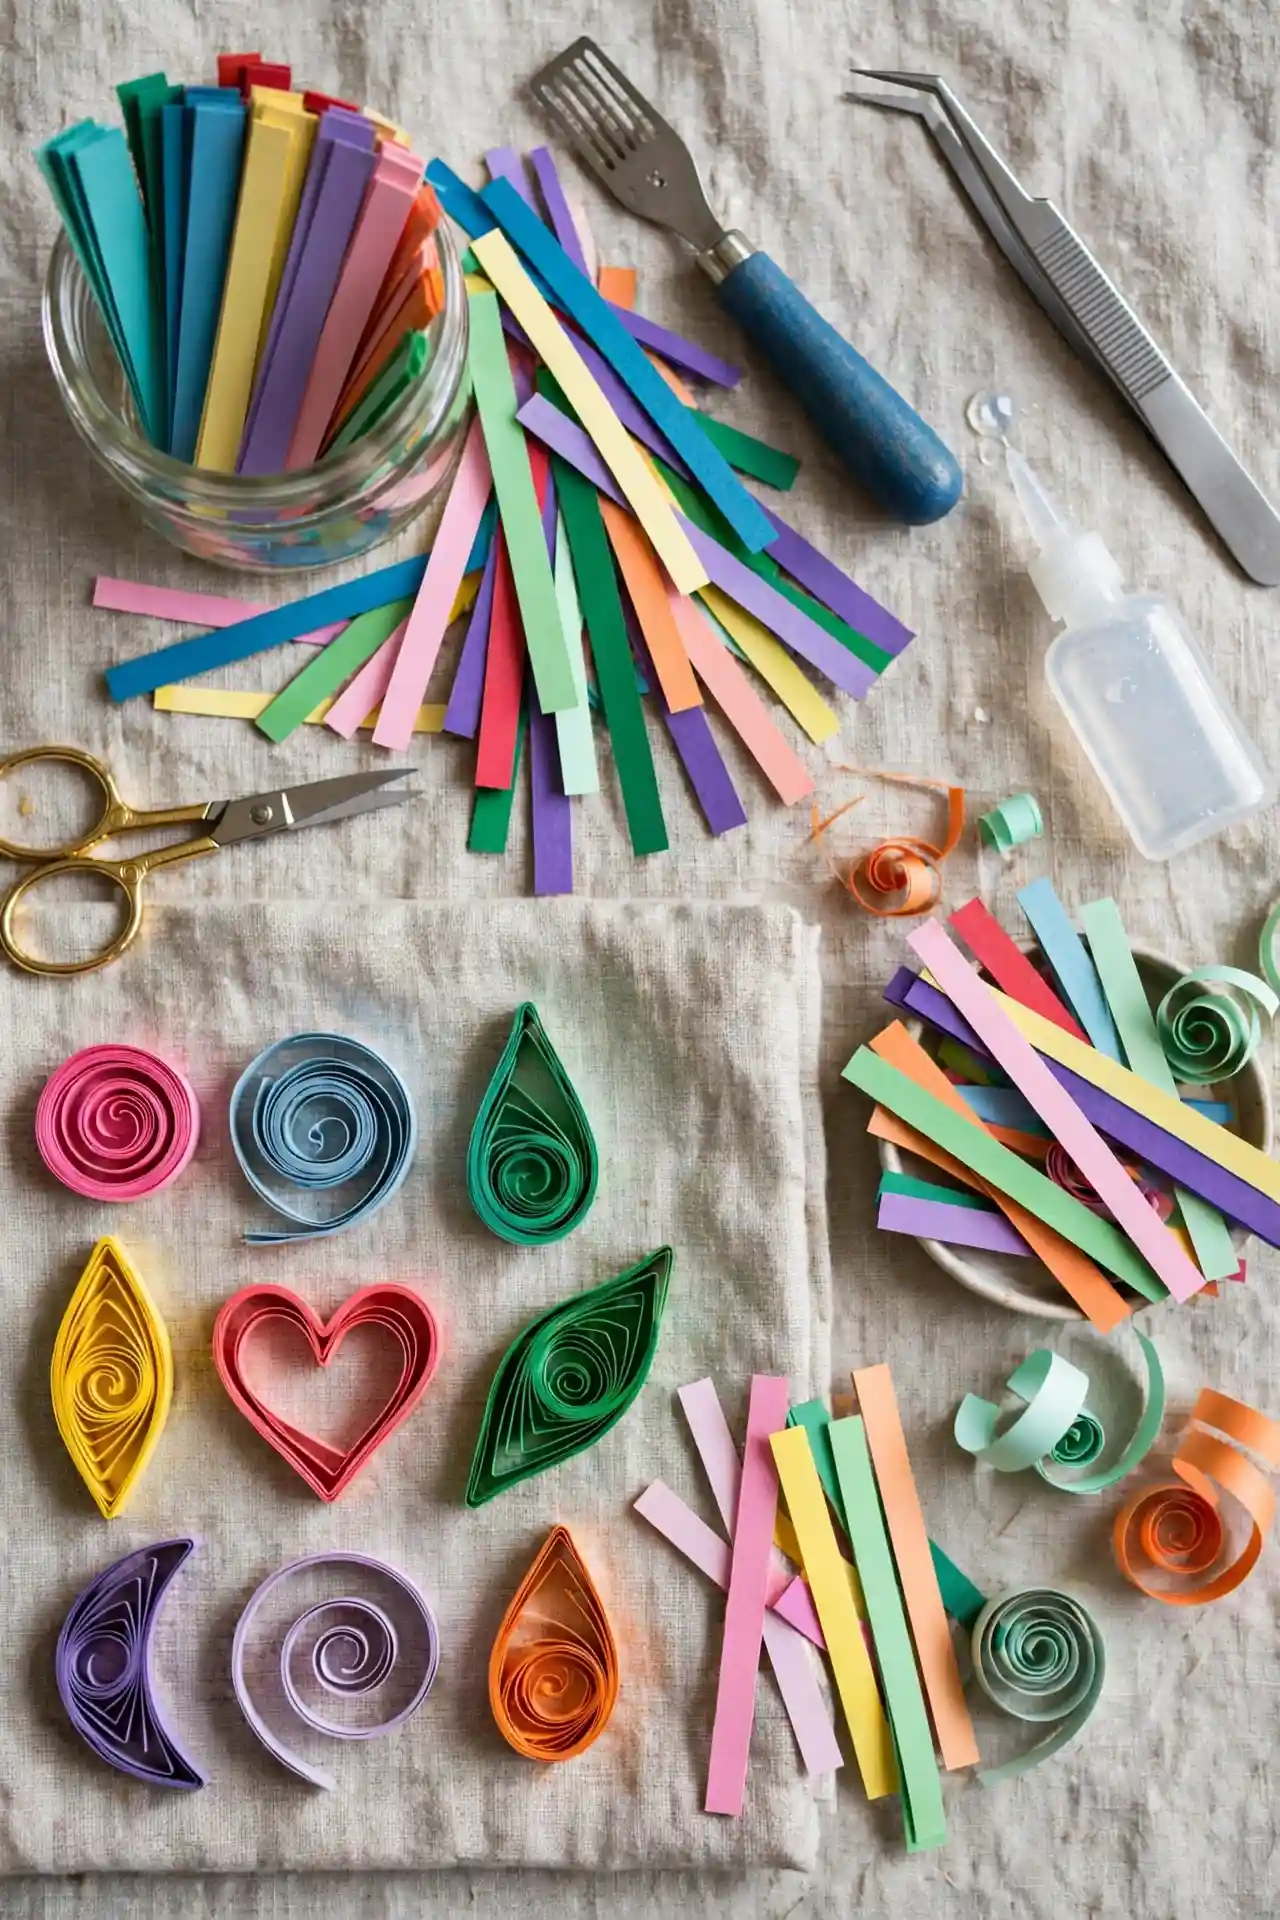
Paper quilling, also called paper filigree, is the art of rolling, shaping, and gluing thin strips of paper to create decorative designs.
The name comes from the word “quill,” since early quillers used bird feathers to roll the paper strips before specialized tools were invented.
Today, quilling is used to make everything from greeting cards and wall art to jewelry and 3D sculptures.
Why Try Paper Quilling?
Low Cost
Relaxing
Versatile
All Skill Levels
👉 Swipe to see all benefits
Despite how delicate and complex finished quilling pieces can look, the underlying technique is surprisingly simple. Most designs are built from just a handful of basic coil shapes combined in different ways.
Paper quilling is a wonderful hobby for several reasons:
- Low cost to start: You don’t need expensive equipment.
- Relaxing and meditative: The repetitive rolling motion can be calming, similar to knitting or coloring.
- Highly versatile: You can create cards, home decor, jewelry, or standalone art.
- Great for all skill levels: Beginners can create simple designs immediately, while advanced quillers can build astonishingly detailed pieces.
Essential Supplies for Beginners
Before you start, gather these basic materials:
- Quilling paper strips – Precut strips, usually 1/8 inch (3mm) wide, are best for beginners. They come in countless colors and are sold in most craft stores.
- Slotted quilling tool – A small handle with a slotted metal tip that holds the paper strip while you roll it. This is the easiest tool for beginners, though some experienced quillers prefer a needle tool for tighter coils.
- Glue – A quick-drying craft glue or white glue works well. Some quillers use a toothpick or thin applicator to place small dabs precisely.
- Tweezers – Useful for pinching shapes and placing tiny pieces without smudging glue.
- Quilling board or corkboard with pins – Helps you arrange and hold shapes in place while assembling a design.
- Ruler and circle sizer template – Helps keep coils consistent in size.
Basic Quilling Shapes
Nearly every quilling design is built from a few foundational shapes. Once you master these, you can combine them endlessly to create your own patterns.
1. Tight Coil
Roll a strip of paper tightly around your tool from one end to the other, then glue down the loose end without letting it unwind. This creates a small, solid circle often used as a center point in flowers.
2. Loose Coil
Roll the paper the same way as a tight coil, but let it unwind slightly before gluing the end. This creates a looser, more open circle, which forms the basis of many other shapes.
3. Teardrop
Take a loose coil and pinch one side to create a point, forming a teardrop or petal shape.
4. Marquise (Eye Shape)
Pinch a loose coil on two opposite sides to create a pointed oval, often used for leaves or flower petals.
5. Square and Rectangle
Pinch a loose coil at four points to form a square, or elongate it slightly for a rectangle.
6. Scroll
Instead of rolling from one end, roll the paper from both ends toward the center, creating an S-shaped or heart-shaped scroll depending on how it’s shaped.
Step-by-Step: Making Your First Quilled Flower
Here’s a simple project to practice your new skills:
🌸 6 Steps to Your First Flower
- Cut or use a precut strip of paper in your chosen petal color.
- Roll it into a loose coil using your slotted tool, then glue the end.
- Pinch one side to form a teardrop shape. Repeat to make five or six petals.
- Arrange the petals in a circle, pointed ends facing inward, and glue them together at the base.
- Roll a small tight coil in a contrasting color for the flower’s center and glue it in place.
- Optional: Add a strip of green paper folded or shaped into a leaf and stem to complete the design.
Glue the finished flower onto a card, frame, or piece of cardstock to display your work.
Tips for Beginners
Consistent, slow rolling matters more than fancy tools. A steady hand beats an expensive kit every time.
- Start with simple designs. Don’t attempt intricate mandalas or portraits right away. Master the basic shapes first.
- Keep your strips consistent. Uneven pressure while rolling can create lopsided coils. Practice rolling slowly and evenly.
- Use good quality paper. Cheap paper can tear or fray at the edges, making shapes harder to control.
- Let glue dry before handling. Moving a piece too soon can cause it to unravel or lose its shape.
- Practice patience. Quilling rewards a slow, careful hand more than speed.
Final Thoughts
Paper quilling proves that beautiful art doesn’t require expensive tools or advanced skills to get started.
With just a few strips of paper and a little practice, you can create charming, personalized designs for cards, decor, or gifts.
As you grow more comfortable with the basic shapes, you’ll find endless possibilities to expand your creativity—one coil at a time.






