
How to Make Uniform Look Cute & Stylish

A uniform is a fixed outfit you have no control over — except you actually do, just in smaller doses. Fit, accessories, grooming, and maintenance are entirely yours to own, and those four variables are what separate a sloppy uniform from a sharp one.
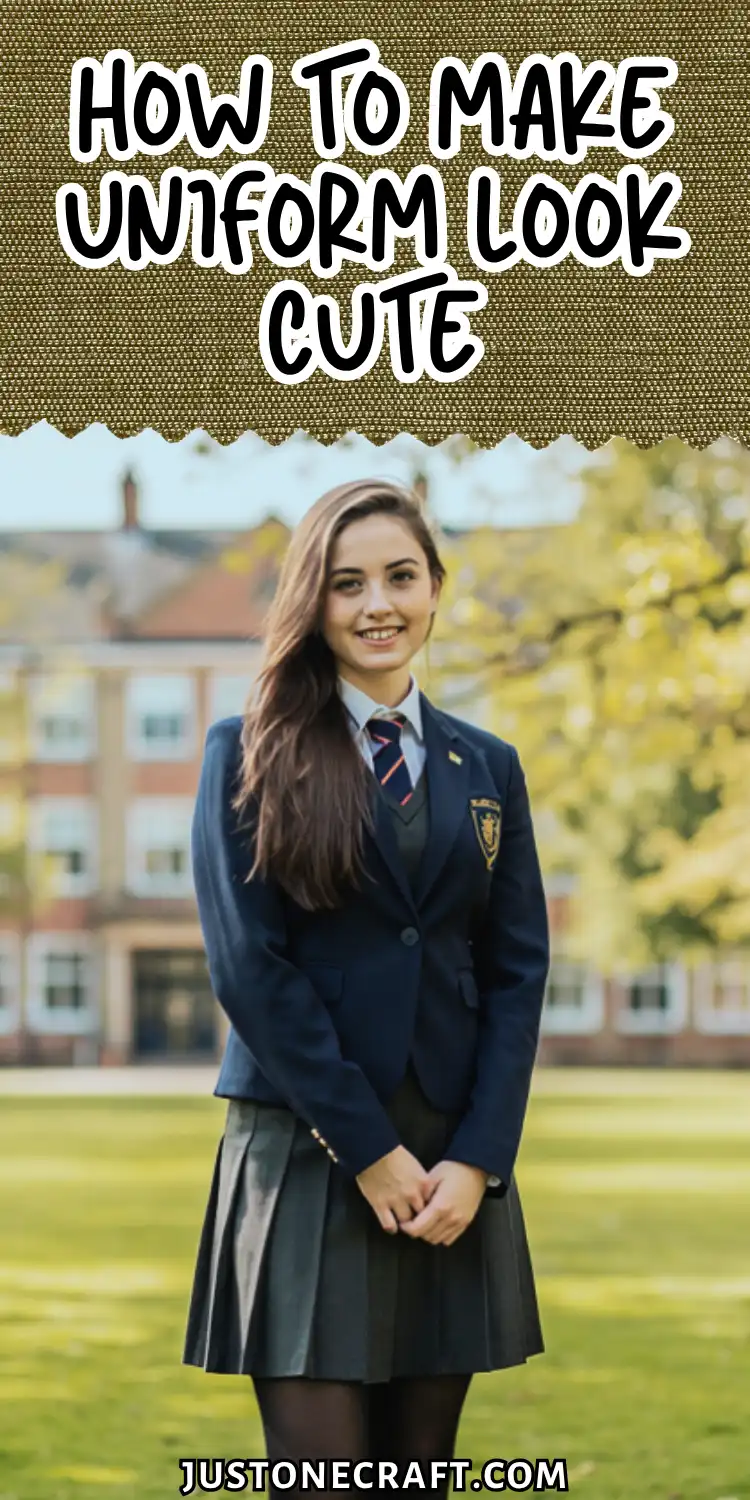
Why This Works
Uniforms work like a design constraint. When the big decisions (color, silhouette, fabric) are already made, every small choice you do control carries disproportionate weight.
A clean collar and one well-chosen accessory land harder on a uniform than they would in a full outfit of your own picking — because there’s nothing else competing for attention.
The second principle is proportion. Most uniforms are cut to fit a statistical average, which means they fit almost no one perfectly.
Fit is the single biggest visual difference between someone who looks polished in a uniform and someone who doesn’t — more than accessories, more than hair. Even a 1-inch hem adjustment changes how the entire outfit reads.
Third: grooming and maintenance do 40% of the work. A pressed, lint-free, bright-white shirt on a bad day beats a wrinkled one on a good one. Polish and upkeep aren’t finishing touches — they’re the foundation.
What You’ll Need
🧺 Shopping List at a Glance
Hem tape • Wrinkle-release spray • White vinegar • 1-2 accessories • Shoe cleaner (matched to material) • Matching hair ties
Iron-on hem tape, 3/4 inch width (Dritz or Singer brand) Skirts and trousers cut too long collapse the proportion of your legs. Hem tape is a no-sew fix that survives regular washing. Skip safety pins — they create lumps under fabric and visually read as unfinished.
Wrinkle-release spray (Downy Wrinkle Releaser) Spray, smooth by hand, wait 60 seconds. The fastest single upgrade to any uniform. Don’t substitute with regular fabric softener — it leaves residue and doesn’t release creases.
White vinegar (standard household, 5% acidity) White uniform shirts yellow from detergent buildup and heat drying. A pre-wash soak of 1 part vinegar to 4 parts cold water for 30 minutes restores brightness without weakening the cotton fibers the way bleach does.
1–2 accessories, chosen in advance One strong accessory reads as intentional. Two is a complete look. Three starts to compete with itself. Reliable options: a 16–18 inch gold or silver chain necklace, small hoop earrings under 1 inch diameter, or a silk scarf tied at the collar (which replaces both — not adds to them).
Shoe cleaner matched to your material Canvas shoes need foam cleaner (Crep Protect). Leather needs conditioner (Jason Markk).
Using the wrong product either strips the material or leaves a greasy film. Two minutes every 2–3 days keeps them looking new. (Most people skip this entirely and wonder why the rest of the outfit falls flat.)
Hair ties and pins that match your hair color Bright or contrasting hair accessories pull the eye away from your face and accessories. Matching ones disappear, keeping the visual focus where you want it.
Step-By-Step
Press
Fit
Accessory
Hair
Shoes
Check
1. Wash and press the uniform the night before. Iron every piece: collar, sleeves, and hem. What you should see: a sharp crease along trouser legs, a flat collar with no curling at the tips, no puckering at the button placket. Most beginners iron in the morning while rushed — the result is uneven and the creases fall out faster.
2. Check fit at three points: shoulders, waist, hem. Put on the uniform and check the fit in a mirror. The shoulder seams should align with your shoulders, the waistband should sit comfortably at your natural waist, and the skirt should fall 1–2 inches above the knee. Adjust the hem if needed for the best fit.
3. Choose and put on one accessory before you check your phone. Decide the night before. The most common mistake is reaching for accessories last, while distracted — that’s when you pile on three things and call it done. One piece, committed to before you’re rushed, always looks more deliberate.
4. Style your hair in one deliberate shape. A low bun, sleek ponytail, or hair down with a clean center part all work. The signal you’re looking for: no flyaways at the crown or temples. Pin them with 2–3 bobby pins in your hair color.
Avoid loose half-up styles — they read unfinished rather than effortless unless the rest of the look is very polished.
5. Clean your shoes for 2 minutes. Apply cleaner, wipe with a soft cloth, buff dry. Put shoes on last so you don’t scuff them walking around getting ready. What you should see: no visible marks, no yellowing on white soles, no scuffs across the toe cap.
6. Do a 10-second mirror check from 3 feet back. Look for anything that draws your eye in a bad way: a hem dipping on one side, a collar half-tucked, a waistband bunching. Fix those before you leave. The goal is a clean vertical line from shoulder to hem with no visual interruptions.
Aftercare
Hang the uniform immediately after wearing — floor piles and chair draping cause creases that take twice as long to iron out the next day.
Air it for 20–30 minutes before putting it in a wardrobe. Spot-clean marks the same day with a damp cloth and one drop of dish soap — stains that sit overnight bond to fabric fibers and rarely come out fully.
Variations
The minimal approach: All accessories in one metal tone (all gold or all silver), hair pulled back, spotless shoes. The cohesion of limited choices amplifies the neatness of the uniform itself.
The single statement piece: One bold hair accessory — a structured bow, a tortoiseshell clip, a patterned headband — as the only focal point. Everything else plain. One intentional pop reads as confident, not costume-y.
Layering for cold weather: A slim-fit turtleneck in white or black under the uniform shirt, or a fitted cardigan over the blazer. The rule: every added layer must be slimmer than the layer beneath it, or proportions collapse into bulk.
The elevated basics version: Swap out low-quality versions of allowed items — a thin leather belt instead of a fabric one, a structured backpack instead of nylon. The uniform looks identical but the details signal real effort.
Troubleshooting
| Problem | Likely cause | Fix |
|---|---|---|
| Uniform looks baggy after ironing | Generic sizing; too large through torso | Use hem tape to take in side seams, or visit a tailor ($10–$15) |
| White shirt keeps yellowing | Detergent buildup, heat drying | Cold wash, vinegar pre-soak, air dry |
| Accessories look like too much | Multiple pieces competing | Remove everything; add back only one item |
| Shoes dirty again within a day | Wrong product for the material | Match cleaner to fabric: foam for canvas, conditioner for leather |
| Hair messy by midday | Style too loose, elastic too weak | Add 2 extra pins at the base; switch to a stronger elastic |
| Hem drooping after washing | Tape not pressed long enough | Re-iron 10 full seconds per 2-inch section with firm, steady pressure |
The Shift That Makes It Click
The uniform decides the outfit. You decide the execution. Once you accept that fit, maintenance, and one deliberate detail are the only three levers you actually control — you stop fighting the uniform and start working with it.
That reframe is also your troubleshooting guide: any time something looks off, run through those three levers first before anything else.






