
How to Make Ribbon: Easy & Creative Methods

Ribbon is woven fabric cut or formed into a long, narrow strip — and knowing how to make it from scratch gives you control over width, fiber content, edge finish, and color that no store-bought roll can match.
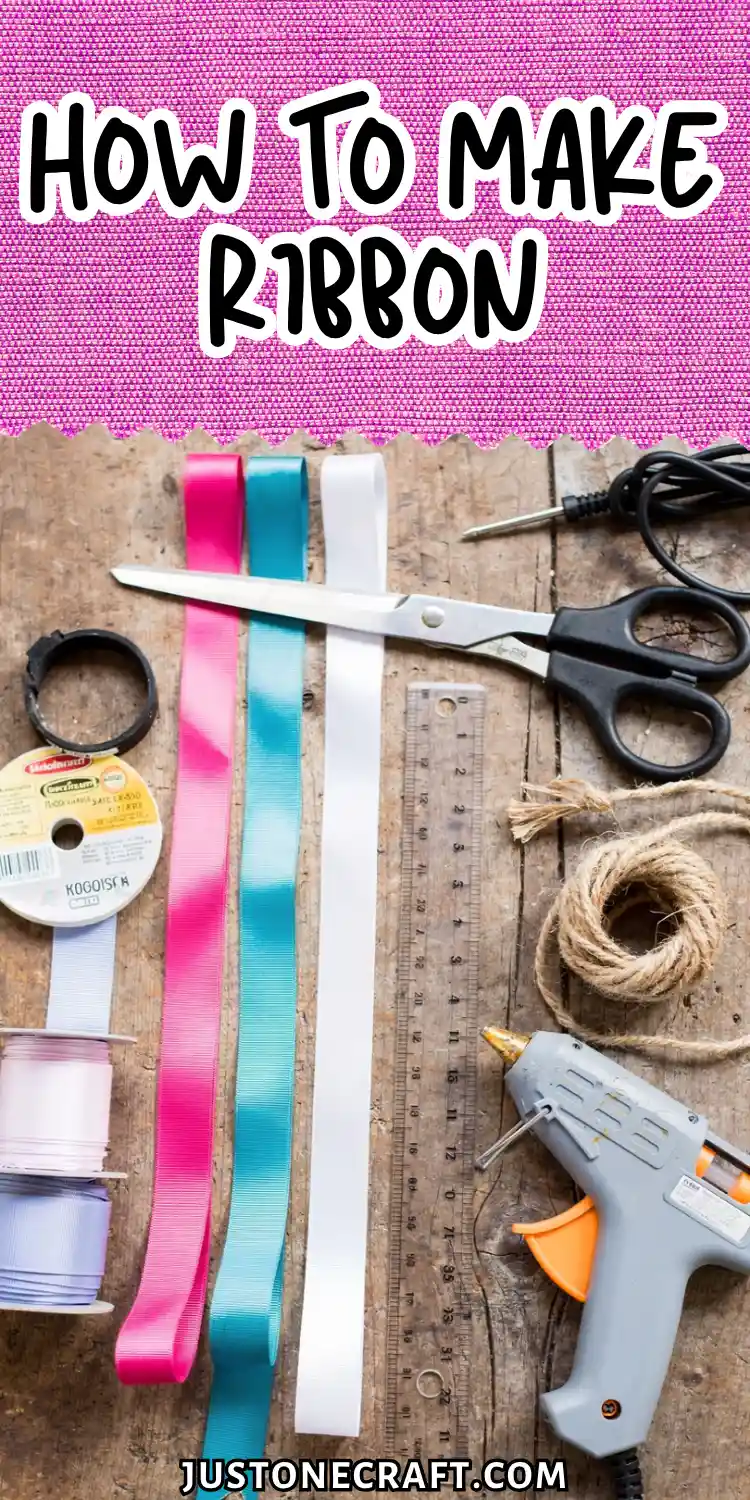
Whether you’re producing custom satin for packaging, grosgrain for millinery, or hand-dyed silk for gift wrapping, the process is the same at its core: create a strip of fabric with clean, stable edges.
Why Ribbon Holds Its Shape (And Why Most Homemade Versions Don’t)
Ribbon edges prevent fraying. Commercial ribbons have woven edges or sealed edges.
- DIY ribbon: Cut fabric to width, then finish the edges.
Edge finishing methods:
- Polyester: Seal with heat.
- Silk/Cotton: Fold and hem or use fabric/seam sealant.
Ribbon width matters:
- < 6 mm: Twists easily.
- 16–38 mm: Best for most crafts and bows.
- > 50 mm: Lies flat but may collapse when tied.
What You Need
Fabric
- Polyester satin: Easy to work with, heat-sealable, shiny finish.
- Silk charmeuse: Luxurious but frays easily; cannot be heat-sealed.
- Cotton/Linen: Matte, rustic look; requires hemming.
- Grosgrain: Strong, ribbed, and best for firm, non-slip bows.
Avoid loosely woven fabrics like muslin or burlap — the open weave means excessive fraying that no edge treatment fully controls.
Rotary cutter and cutting mat
(not scissors) A rotary cutter produces a straight, even edge in a single pass. Scissors drag the fabric and create micro-serrations that accelerate fraying. A 45 mm blade works for most fabrics; use a 60 mm blade for thick or slippery fabric.
Metal ruler or quilting ruler, minimum 60 cm long
Plastic rulers flex under rotary cutter pressure and produce wavy cuts. Metal or rigid acrylic quilting rulers stay true.
Edge finishing tool — choose one based on fabric:
- Wood-burning or hot knife tool (for polyester and nylon synthetics)
- Fray Check or similar liquid seam sealant (for silk and mixed fibres)
- 6 mm Steam-A-Seam 2 fusible tape (for cotton, linen, velvet — any fabric that can’t be heat-cut)
Rotary cutting mat, minimum A2 size
Smaller mats force you to reposition the fabric mid-cut, and that repositioning is almost always where your line goes crooked.
Iron and pressing cloth (for fusible tape method only)
Step-By-Step Instructions
1. Wash and press your fabric before cutting
Unwashed fabric contains sizing (a stiffening finish) that changes the drape once removed. Wash it as you’d wash the final ribbon — if you’ll never wet the ribbon again, skip this. Press out all creases. You need a flat, stable surface to cut accurately.
2. Mark your width lines with a fabric marker or chalk
Measure your desired ribbon width plus 0 mm for heat-sealed edges (you lose nothing) or plus 12 mm total (6 mm each side) if you’re hemming with fusible tape.
Mark lines parallel to the selvedge — not the cut edge of the fabric — since selvedges are the most dimensionally stable part of the weave. Use your ruler to mark every 30 cm to keep lines from drifting.
3. Cut each strip with the rotary cutter in one smooth, continuous pass
Hold the ruler with firm, even pressure across its entire length. Pull the cutter away from your body at a consistent 90° angle to the mat. You should hear a clean rolling sound, not a scraping sound.
If you hear scraping, your blade is dull — replace it. A dull blade requires more pressure, which shifts the fabric.
Most common beginner mistake: lifting the cutter partway through the cut to reposition. Cut as far as your arm can reach in one pass, then reposition your ruler (not the cutter) and continue.
4. Finish the edges — method depends on your fabric
For polyester or nylon satin: Run a wood-burning tool or hot knife slowly along each cut edge, 2–3 mm from the raw edge. The heat fuses the synthetic fibres instantly.
You’ll see a very slight darkening or glassy bead form. Keep the tool moving — pausing creates scorch marks. Test speed on a scrap first: aim for a 5-second pass per 30 cm.
For silk, cotton, or natural fibres: Apply Fray Check with the nozzle held 1 mm from the edge, drawing a continuous bead along the cut. Let it cure for 30 minutes before handling. It dries stiff — that’s correct.
For fusible tape hem: Fold one long edge over by 6 mm and press briefly to crease. Slide a strip of 6 mm Steam-A-Seam 2 fusible tape under the fold, aligning it with the inner fold edge.
Press with a hot iron (no steam) for 8–10 seconds. Repeat on the second edge. The ribbon will be slightly narrower than your cut strip by 12 mm total.
5. Wind completed ribbon onto a card or spool immediately
Loose ribbon stacks tangle and crease. Cut a piece of sturdy card to 5 mm narrower than your ribbon width, notch the ends, and wind firmly. Secure the tail with a pin.
Storage
Store wound ribbon away from direct light — UV degrades both dye and fibre over time, especially in silk and polyester.
Keep in a drawer or box, not displayed on open pegs. Humidity above 70% causes natural fibres to go limp and synthetic fibres to attract dust. For long storage, enclose wound spools in a zip-lock bag with a silica gel packet.
Variations
Hand-dyed ribbon:
Cut your ribbon from undyed white or natural fabric before edge finishing, then dye using fiber-reactive dye (for cotton/linen) or acid dye (for silk/wool) after cutting. Edge-finish after dyeing, since dye baths can re-activate fusible tape adhesive.
Velvet ribbon:
Use a rotary cutter only — scissors crush the pile. Seal edges with Fray Check rather than heat (heat flattens velvet permanently). Cut with pile facing down on the mat.
Wire-edge ribbon:
After cutting and edge finishing, use a hand-sewing needle to thread 30-gauge floral wire through the ribbon approximately 2 mm from each long edge, leaving 3 cm excess at each end. The wire lets the ribbon hold sculptural shapes in bows and floral arrangements.
Double-faced satin:
Bond two single-faced satin strips back-to-back using fusible webbing (Pellon 805 Wonder-Under works well), then edge-finish the bonded strip as one unit. The result is a ribbon that looks identical from both sides.
Troubleshooting
| Problem | Likely cause | Fix |
|---|---|---|
| Edges still fraying after heat sealing | Fabric is a natural fibre blend — heat doesn’t fuse natural fibres | Switch to Fray Check or fusible hem method |
| Ribbon is wavy along its length | Fabric was cut off-grain or ruler shifted mid-cut | Re-cut, keeping lines parallel to selvedge; use longer single passes |
| Fusible tape bubbling or peeling | Iron temperature too low, or steam was used | Use dry iron at wool/cotton setting; press for full 10 seconds |
| Cut edge is jagged or stepped | Rotary blade is dull | Replace blade; don’t try to salvage a dull blade |
| Ribbon won’t lie flat after hemming | Too much fusible tape adhesive on one side | Press again from the reverse side for 5 seconds |
| Heat-sealed edge is discoloured | Tool moved too slowly or temperature too high | Lower tool temperature and increase speed; test on scrap first |
One Thing to Keep in Mind
The edge is the ribbon. Everything else — the fabric choice, the colour, the width — is secondary to whether that edge is clean and stable.
When something goes wrong with homemade ribbon, it almost always traces back to the edge treatment: wrong method for the fibre, too slow with the heat tool, insufficient bonding time for the tape.
Train yourself to evaluate the edge first on every piece you cut, and the rest of the troubleshooting becomes much simpler.






