
How to Make Lip Gloss

Lip gloss is an emollient cosmetic product that sits on top of the lips, reflecting light to create a shiny appearance while sealing in moisture.
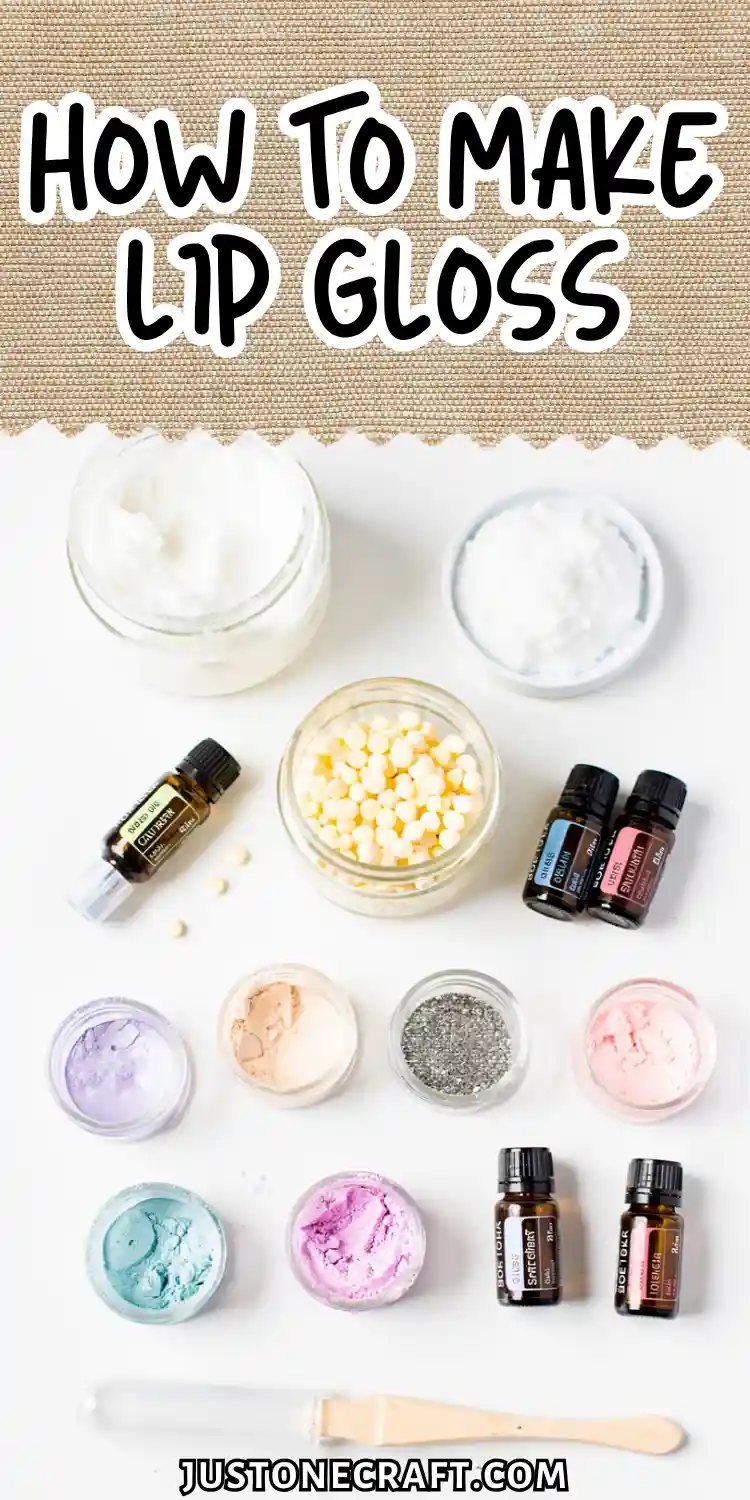
Making it at home gives you full control over ingredients, pigmentation, and scent — and the process takes under 30 minutes once you understand what you’re doing.
The Science Behind Lip Gloss
Lip gloss works by combining oils and waxes to create a smooth, shiny layer that stays on the lips. The right wax-to-oil ratio gives it a soft, glossy texture, while pigments add color.
Vitamin E helps prevent oils from going rancid, and cosmetic-grade flavor oils enhance the user experience safely.
What You Need
Castor oil — 3 tablespoons (45 ml) The backbone of any gloss formula. Castor oil has a naturally high viscosity and produces the characteristic sticky shine. Do not substitute with coconut or almond oil — they are too thin and will produce a runny, oily product that slides straight off the lips.
Beeswax pellets — 1 tablespoon (approximately 14 g) Creates the structure that holds the gloss together. Pellets melt faster and more evenly than a block. If you’re making a vegan formula, use candelilla wax — but use only half the quantity (0.5 tablespoon), as it’s roughly twice as hard as beeswax.
Shea butter or mango butter — 1 teaspoon (5 g) Adds a soft, creamy feel and helps the gloss adhere without feeling sticky. This is the ingredient most beginners skip — don’t. Without it, the finish feels tacky rather than luxuriously glossy.
Vitamin E oil — 5 drops Preserves the formula and prevents oxidation of the carrier oils. One small capsule from a pharmacy works fine. This is not optional if you want a shelf life longer than 4–6 weeks.
Cosmetic-grade mica powder or lip-safe pigment — ¼ teaspoon (approximately 1 g) For color. Must be labeled “lip-safe” or “cosmetic-grade.” Craft micas, food coloring, and eye shadow pigments are not automatically lip-safe — check the supplier’s specification sheet. Omit entirely for a clear gloss.
Cosmetic-grade flavor oil — 5–8 drops (optional) Vanilla, strawberry, and mint are popular. Never use fragrance oils meant for candles or soap — they are not formulated for skin or lip contact.
Equipment: Double boiler or a heat-safe glass bowl over a saucepan, silicone spatula, digital kitchen scale, lip gloss tubes or small pots (5 ml size), a small funnel or pipette for pouring.
Step-By-Step Instructions
1. Set up your double boiler
Fill a small saucepan with 2–3 cm of water and bring to a gentle simmer over medium-low heat. Place a heat-safe glass measuring cup or bowl on top.
The bottom of the bowl should not touch the water — you’re melting with steam, not direct heat. Direct heat scorches waxes and destroys vitamin E.
2. Melt the wax first
Add the beeswax pellets to the bowl and let them melt completely — about 3–5 minutes. You’ll know they’re fully melted when there are no white specks remaining and the liquid is completely clear.
Beginners often add the oils too soon while there are still wax chunks; this leads to uneven blending.
3. Add castor oil and shea butter
Pour in the 45 ml of castor oil and 5 g of shea butter. Stir slowly with the silicone spatula until everything is fully combined — roughly 1–2 minutes.
The mixture should be clear or slightly golden and completely uniform. If you see any separation, keep stirring — it will come together.
4. Remove from heat and add color
Take the bowl off the heat. This is important — the mixture should still be fully liquid but no longer actively hot.
Add your ¼ teaspoon of mica or pigment and stir continuously for 60 seconds, making sure no clumps remain.
Adding color while still on direct heat can cause the pigment to settle to the bottom before the formula sets.
5. Add vitamin E and flavor oil
Drop in 5 drops of vitamin E oil and, if using, 5–8 drops of your cosmetic flavor oil. Stir for another 20–30 seconds.
The mixture will still be pourable but will be cooling fast — you have a window of roughly 2–3 minutes before it starts to thicken.
6. Pour into containers
Using a small funnel or pipette, pour the mixture into your lip gloss tubes or pots. Fill to just below the rim, leaving a 1–2 mm gap.
The formula will shrink very slightly as it cools, which is normal. Most beginners overfill, which causes overflow when the gloss re-liquefies in a warm bag or car.
7. Let set at room temperature
Do not refrigerate to speed up setting — rapid cooling causes the surface to dimple or crack. Leave the containers undisturbed on a flat surface for 45–60 minutes. The gloss is set when it looks completely opaque/smooth and is no longer tacky to the touch.
Storage and shelf life
Store finished gloss away from direct sunlight and heat — a bathroom shelf is fine, a car glove box is not.
With vitamin E included, the shelf life is approximately 12 months. Without it, closer to 3–4 months before the oils begin to smell rancid. Label your containers with the date made.
Variations
Clear gloss — Skip the pigment entirely. The result is a sheer, high-shine gloss that works as a topper over any lip color. Increase the vanilla flavor oil to 10 drops for a more noticeable scent.
Tinted balm — Replace the castor oil with an equal amount of sweet almond oil and increase the beeswax to 2 tablespoons. The formula sets firmer, feels less sticky, and delivers more matte color payoff. Great for everyday wear.
Glitter gloss — Add ¼ teaspoon of cosmetic-grade loose glitter (specifically labeled body-safe or cosmetic-grade — craft glitter is not safe) along with the mica in step 4. The result is a chunky, sparkly finish. Use in small quantities as a statement product.
Plumping gloss — Add 2 drops of peppermint essential oil (cosmetic-grade) in step 5 alongside or instead of the flavor oil. Peppermint creates a mild circulation response that gives temporary fullness. Don’t exceed 2 drops — too much will sting.
Troubleshooting
| Problem | Likely cause | Fix |
|---|---|---|
| Gloss is grainy or gritty | Pigment wasn’t fully mixed in | Reheat the mixture gently, stir vigorously for 90 seconds, then re-pour |
| Formula too thick or waxy | Too much beeswax, or candelilla used in the same quantity as beeswax | Reheat, add 1 teaspoon of castor oil, and re-blend |
| Formula too runny | Too little wax, or oils too warm when poured | Reheat and add ½ tablespoon more wax, melt fully, re-pour |
| Surface has a dimple or crack | Cooled too fast, or was disturbed while setting | Reheat and re-pour; let set at room temperature undisturbed |
| Color looks streaky | Pigment added while still on heat, causing settling | Reheat, re-stir vigorously off heat, re-pour immediately |
| Unpleasant smell after a few weeks | No antioxidant used, oils going rancid | Discard and remake with vitamin E included |
One Final Thought
Think of your wax-to-oil ratio as a dial, not a fixed rule. Once you’ve made one batch, you understand what the formula feels like at different stages — liquid, thickening, fully set.
From that point, you can adjust in either direction with confidence: more wax for a firmer product, more oil for a sheerer gloss.
Every troubleshooting problem you’ll ever encounter with lip gloss comes back to that ratio. Get it right once and the rest is just flavor and color.






