
How to Make Jewelry

Jewelry making is the craft of shaping metal, wire, and stone into wearable objects — and it’s far more accessible than it looks.
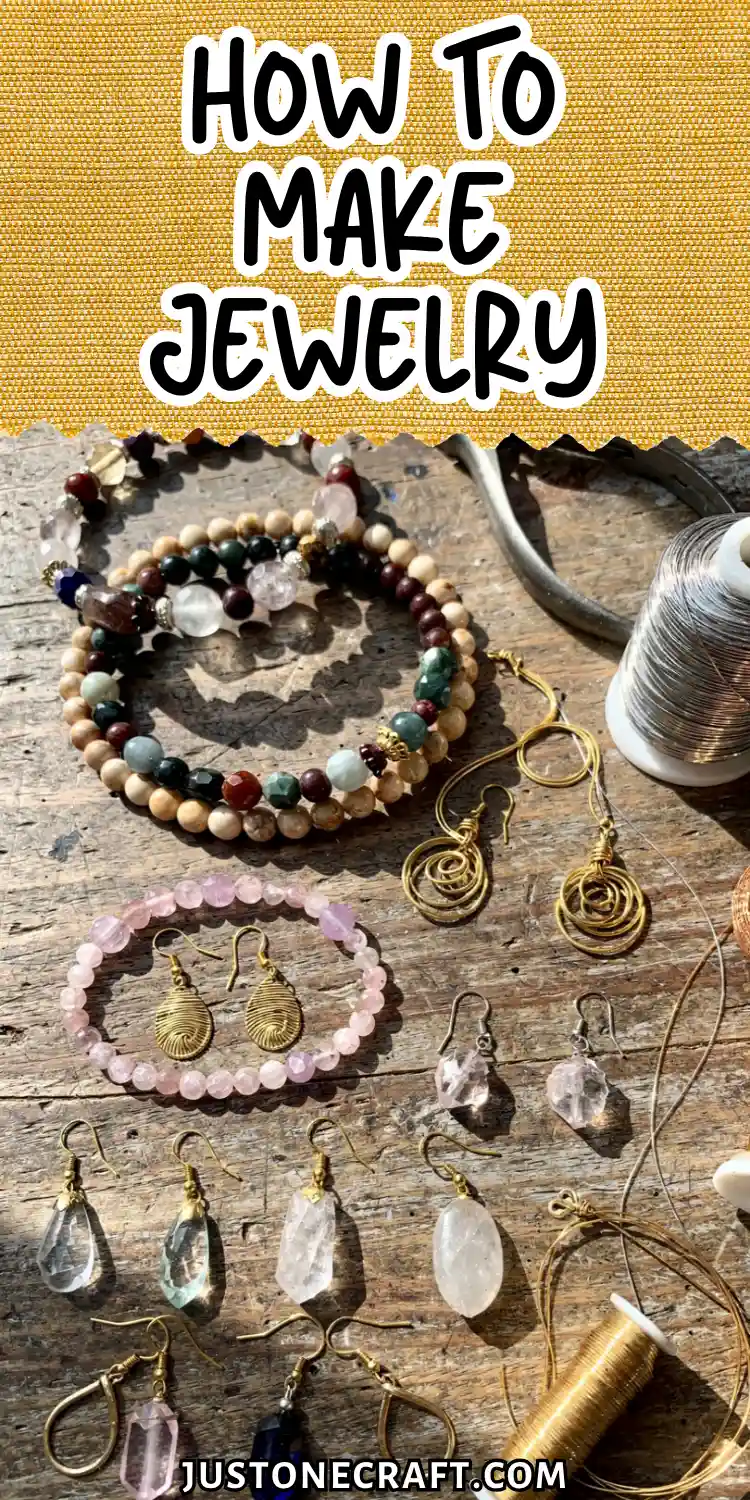
Whether you start with a pair of wire-wrapped earrings or a simple beaded bracelet, the skills you build in the first hour carry you through every project that follows.
The Science Behind It
Metal keeps its shape through work hardening, while beads stay secure because of tension in the stringing material. Strong crimps and the right wire tension create durable jewelry, making it easier to prevent and fix loose or broken designs.
What You Need
Wire
- 20-gauge sterling silver or copper wire (for structure and wrapping)
- 24-gauge wire (for fine wrapping around stones or beads)
- Why it matters: Gauge controls stiffness. 20-gauge holds a loop without flopping; 24-gauge is thin enough to coil tightly without cracking. Avoid “craft wire” from dollar stores — it snaps under repeated bending.
Beads
- Glass seed beads, size 8/0 or 6/0 for beginners
- Focal beads: 1 or 2 larger beads (8–12 mm) per piece
- Why it matters: Seed bead size determines how fine or chunky the finished piece looks. 6/0 is more forgiving for first projects.
Stringing material
- .018-inch diameter 49-strand beading wire (Beadalon or Soft Flex brand)
- Why it matters: The strand count (49) determines flexibility and drape. Single-strand or 7-strand wire kinks and breaks at stress points. Cheap alternatives snap at crimps within weeks.
Tools
- Round-nose pliers — for making loops (the round tip shapes without denting)
- Flat-nose pliers — for holding and tightening
- Wire cutters (flush cutters, not household scissors)
- Crimping tool (not regular pliers — the two-step jaw makes a proper fold)
Findings
- Crimp beads, size 2 x 2 mm
- Lobster claw clasps
- Jump rings, 6 mm, 18-gauge
Commonly skipped but essential: a bead mat or tray. Beads roll off tables and into carpets constantly without one.
Step-By-Step: a Beaded Bracelet
1. Measure your wrist and cut the wire
Cut a length of beading wire 15 cm longer than your wrist measurement. Most adult wrists are 15–19 cm. The extra length gives you 7.5 cm on each end to work with — not a centimeter less, or you’ll run out of room at the crimp.
2. Slide on one crimp bead and the clasp
Thread a crimp bead onto one end, then pass the wire through the loop of a lobster claw clasp, then back through the crimp bead.
Pull the tail until the loop sits snug against the clasp — you want a 2–3 mm loop, not a gap. Beginners often leave too much slack here; the clasp will wiggle annoyingly if you do.
3. Crimp the bead
Place the crimp bead in the second notch (the curved one) of your crimping tool and squeeze. Rotate 90 degrees and place it in the first notch (the flat one) and squeeze again.
You should see a neat, folded oval bead — not a crushed flat disc. A crushed crimp has cut into the wire; a folded crimp holds it.
4. Trim the tail Trim the wire tail to 3–4 mm. This short tail will be hidden inside the first few beads.
5. String your beads
Begin adding beads over both the main wire and the short tail simultaneously for the first 3–4 beads to lock the tail in place, then continue stringing over the single wire.
Lay the bracelet flat on your bead mat and check the pattern every 10 beads — it’s much easier to fix a sequence error now than after crimping.
6. Finish the second end
When your beaded section is the right length (test it around your wrist — it should feel snug but slide on easily), add the final crimp bead.
Thread the wire through a jump ring, then back through the crimp bead and the last 3–4 beads. Pull firm until there’s no slack. Crimp as in step 3, then trim the tail.
7. Attach the jump ring to the clasp
Using flat-nose and round-nose pliers together, twist the jump ring open sideways (never pull it apart outward). Slip it onto the clasp loop. Twist it closed. You should hear or feel a tiny click as the ends meet flush.
Aftercare
Rinse copper and silver pieces with clean water if they contact perfume, sweat, or sunscreen — acids accelerate tarnish.
Store each piece in a small zip-lock bag with one anti-tarnish strip. Hang earrings; lay bracelets flat.
Restring beaded pieces every 2–3 years if worn frequently, as even good beading wire fatigues at the crimp points over time.
Variations to Try Next
Wire-wrapped earrings — skip the beading wire entirely and use 20-gauge wire to form ear hooks and a wrapped loop that holds a single stone or bead. The principle is the same: work-hardened loops hold without adhesive.
Memory wire bracelet — memory wire is pre-coiled steel that springs back to shape. No clasp needed; beads stay on by coiling the ends into tight loops with heavy-duty round-nose pliers (don’t use regular pliers — memory wire destroys them).
Macramé cord and bead combination — swap beading wire for 1 mm waxed cotton cord. The knots replace crimps. The drape is softer and the look is more organic. Great for large or irregularly shaped stones with no drill hole.
Chain and charm bracelet — buy pre-made rolo or cable chain. Use jump rings to attach charms at intervals. Teaches jump ring technique without any beading.
Troubleshooting
| Problem | Likely cause | Fix |
|---|---|---|
| Crimp slides or pulls free | Crimp was flattened instead of folded, or wire gauge too thin for crimp size | Re-crimp using the two-step method; match crimp size to wire diameter |
| Beads won’t stay in pattern | No stopper bead used while stringing | Tape the free end or clip a bead stopper before stringing |
| Wire kinks near clasp | Tail too short, forcing a sharp bend through crimp bead | Always leave 7.5 cm of tail on each end before crimping |
| Jump ring gaps open over time | Ring was pulled apart outward instead of twisted sideways | Replace ring; always open and close rings with a twisting motion |
| Wire breaks at crimp after a few weeks | Beading wire strand count too low, or crimp was over-squeezed cutting the wire | Use 49-strand wire; apply controlled pressure with a proper crimping tool |
| Finished piece too stiff to drape | Wire gauge too heavy for small beads | Drop to .015-inch wire for delicate seed bead work |
One Final Thought
Every problem in jewelry making is either a tension problem or a connection problem. If something moves when it shouldn’t, you need more tension or a better grip.
If something breaks, a connection failed. Keep those two categories in mind and you can diagnose any future issue in seconds — no matter what material or technique you’re using.






