
How to Make Natural Dye from Plants

Plant-based dye is color extracted from roots, leaves, bark, or berries and bonded permanently to fabric using a mineral fixative.
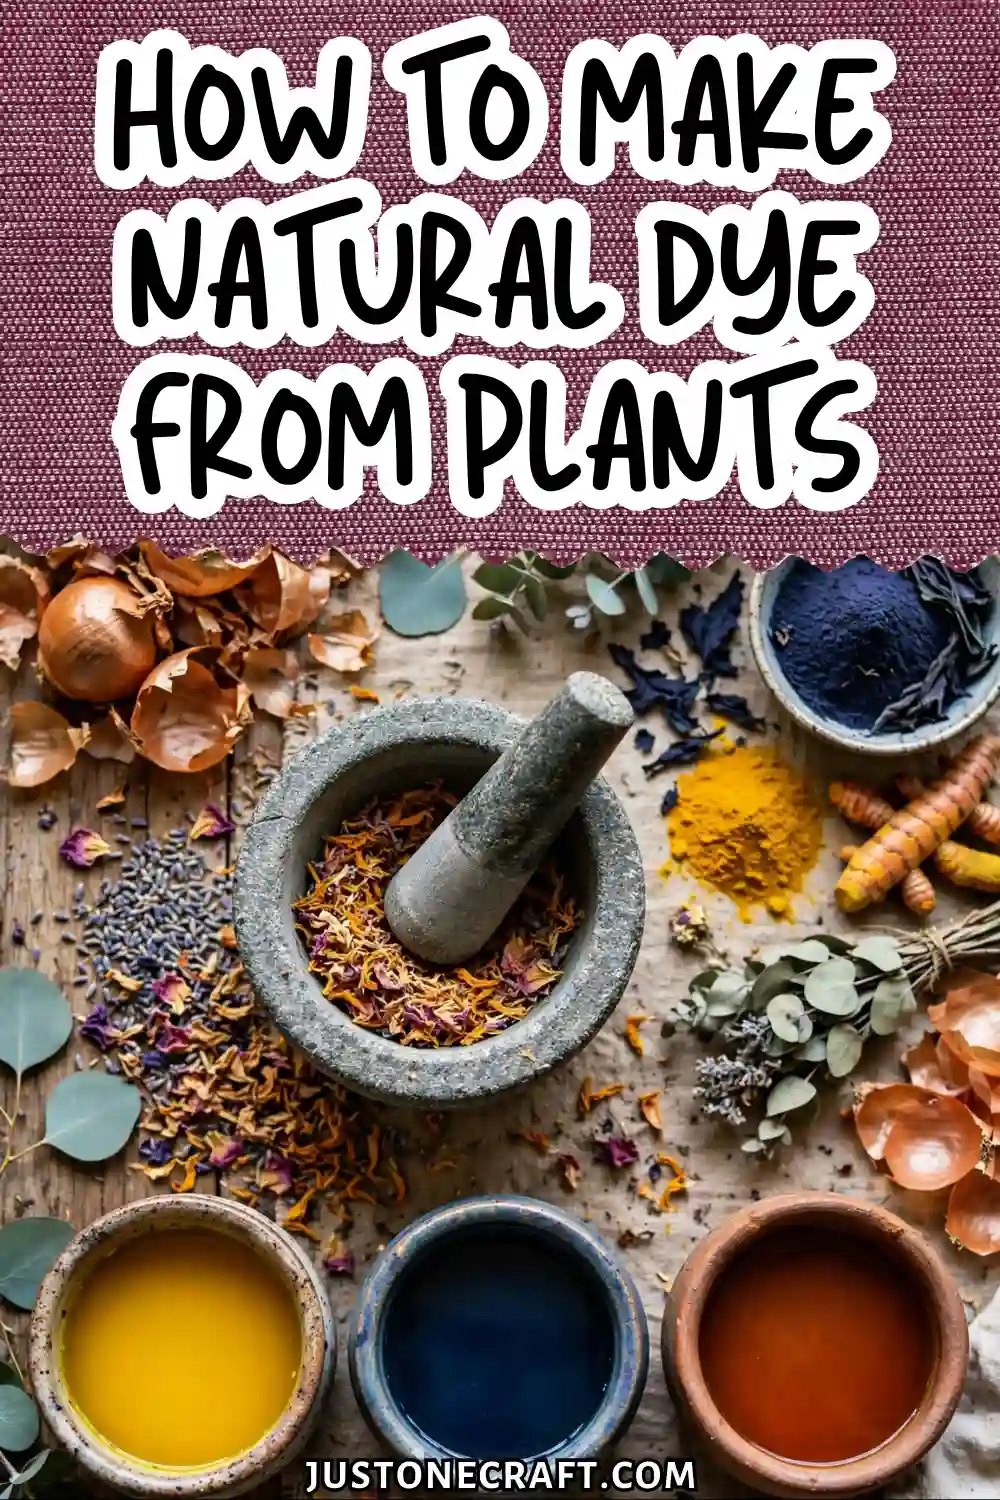
It’s how every textile in the world was colored before synthetic dyes arrived in 1856 — and the results are richer, more complex, and more satisfying than anything that comes from a packet.
Why It Works
Bright
Darker
Warmer
Cooler
Natural dyeing works by creating a chemical bond between the fabric and the dye. A mordant, such as alum, acts as a bridge that helps dye molecules attach to the fibers, making the color last much longer. Without a mordant, most natural dyes fade quickly after washing.
The final color depends on the plant, the mordant, and the water’s pH. Alum keeps colors bright, iron creates darker shades, acidic water warms colors, and alkaline water cools them.
Protein fibers like wool and silk absorb natural dyes easily, while cotton and linen need extra preparation for richer, longer-lasting results.
What You Need
- Plant material — 4 oz (115g) of dried plant matter or 8 oz (225g) fresh, per 4 oz of dry fiber. Onion skins (yellow or red), black-eyed Susan flowers, or black walnut hulls are the most reliable starters. Avoid plants you cannot positively identify — some release toxins when simmered.
- Fiber — 4 oz of pre-wetted wool yarn or fabric. Wool is non-negotiable for your first attempt; it mordants and dyes faster than any other fiber. Dry wool repels liquid and dyes unevenly, so it must be thoroughly wet before it enters any dye bath.
- Mordant: aluminum potassium sulfate (alum) — 15% weight of fiber (WOF), which equals 0.6 oz / 17g for a 4 oz fiber batch. Buy food-grade or dye-grade alum from a dye supplier like Dharma Trading or Maiwa. Hardware store alum is often impure and produces inconsistent results.
- Cream of tartar — 6% WOF (0.24 oz / 7g). Added with alum, it softens the fiber and helps the mordant distribute evenly. Commonly skipped — don’t skip it.
- A dedicated dye pot — 4–6 quart stainless steel or enamel pot. Never use this pot for food afterward, and never use aluminum pots (they react with mordants and alter color unpredictably). A secondhand stockpot from a thrift store works perfectly.
- pH-neutral dish soap — for pre-wetting fiber. One drop in warm water is enough. Avoid detergents with optical brighteners; they interfere with dye uptake.
- Kitchen scale — accurate to 0.1g. Volume measurements don’t work for mordanting; the ratios must be by weight.
- Thermometer — a candy or instant-read thermometer that reads to 200°F (93°C). Wool felts above 210°F (99°C) if agitated while hot, so temperature control isn’t optional.
⚖️ Your Ratios (per 4oz fiber)
Alum: 17g (15% WOF)
Cream of Tartar: 7g (6% WOF)
Step-by-Step Instructions
1. Soak the fiber Submerge your 4 oz of wool in warm water (around 100°F / 38°C) with one drop of pH-neutral soap for at least 30 minutes.
The fiber should feel uniformly heavy and cold all the way through when you squeeze it. If it still feels light in the center, it hasn’t absorbed water fully. Dry spots dye unevenly and no amount of re-dyeing fixes it cleanly.
2. Mordant the fiber
Dissolve 17g of alum and 7g of cream of tartar in 1 cup of hot water, then add to your dye pot filled with enough warm water to let the fiber move freely — about 3 quarts. Add the wet fiber.
🌡️ Go Slow: Fast temperature changes cause wool to felt irreversibly. Raise heat gradually over the full 30 minutes.
Raise the temperature slowly over 30 minutes to 190°F (88°C) and hold there for 45 minutes. Stir gently every 10 minutes. The water will look slightly cloudy. Do not boil. Remove the fiber, gently squeeze (don’t wring), and set aside.
Most common mistake: rushing the heat increase. Fast temperature changes cause wool to felt irreversibly.
3. Extract the dye
Place your plant material in the same pot (rinsed) with 3 quarts of water. Bring to 190°F (88°C) over 20 minutes and simmer for 45–60 minutes. Onion skins will turn the water deep amber-orange within 15 minutes.
Black walnut hulls produce a dark brown bath that smells earthy and sharp. Strain out all plant material through a fine mesh strainer or cheesecloth. The liquid remaining is your dye bath.
4. Dye the fiber
Add the mordanted, wet fiber to the dye bath. Raise temperature again slowly to 185–190°F (85–88°C) over 20 minutes and hold for 45–60 minutes.
Stir gently every 10 minutes. You’ll see color moving into the fiber visibly — the bath will lighten as the fiber darkens. When the bath looks pale and the fiber looks saturated, the dye has exhausted. This is exactly what you want.
Most common mistake: lifting the fiber in and out repeatedly to check progress. Each lift introduces oxygen and uneven cooling that creates streaks.
5. Rinse and finish
Lift the fiber out of the dye bath and let it cool to room temperature before rinsing. Never plunge hot wool into cold water.
Rinse in water the same temperature as the fiber, working from warm to cool over 2–3 rinse cycles.
Add a splash of white vinegar (1 tablespoon per quart) to the final rinse to set the pH and slightly brighten the color. Gently squeeze — never twist — and hang to dry away from direct sunlight.
Storage and Aftercare
Store undyed mordanted fiber in a sealed bag in a cool, dry place for up to 6 months — it will dye readily whenever you’re ready.
Finished dyed fiber should be washed in cool water with pH-neutral soap only. Heat and high-pH detergents (anything with “ultra” or “bright” on the label) strip natural dye faster than anything else.
Store finished textiles away from prolonged direct light; natural dyes are more lightfast than their reputation suggests, but UV still fades them over years.
Leftover dye bath can be refrigerated for up to 1 week or frozen for 3 months. Label it clearly with the plant source and date.
Variations
Iron modifier for darker tones
After dyeing, move the fiber directly into a weak iron bath — dissolve 2% WOF (0.08 oz / 2.5g) of ferrous sulfate in warm water.
Submerge for 20 minutes at 160°F (71°C). Iron reacts with tannins in the dye to shift colors dramatically toward olive, charcoal, and forest green. Use sparingly; too much iron degrades wool fiber over time.
Indigo vat for blue
Indigo doesn’t follow the same mordant-and-simmer process. It requires a reduction vat (oxygen removed from the liquid) and repeated dipping and oxidizing in open air.
It’s a separate skill, but the fiber preparation steps are identical — pre-wet, then dip.
Bundle dyeing
Lay plant material (leaves, flowers, rusty nails for iron marks) directly onto wet mordanted fabric, roll tightly around a dowel, tie with string, and steam for 90 minutes instead of simmering in a pot.
The dye transfers in the exact shape of the plant, leaving botanical prints rather than solid color.
Overdyeing
Dye the fiber yellow with onion skins first, then overdye it in an indigo vat to produce green. Layering natural dyes expands the color range dramatically — most natural greens come from overdyeing yellow on blue, since true green plant dyes are rare and unstable.
Troubleshooting
| Problem | Likely cause | Fix |
|---|---|---|
| Color washed out after first launder | No mordant, or mordant ratio too low | Re-mordant and re-dye; use 15% WOF alum minimum |
| Uneven blotchy color | Fiber wasn’t fully wet before dyeing, or temperature rose too fast | Pre-soak longer; heat more gradually next time |
| Fiber felted in the pot | Temperature exceeded 210°F or fiber was agitated while cooling | Use a thermometer; let fiber cool in the bath before removing |
| Color much lighter than expected | Plant material was too old or water pH too alkaline | Use fresh plant material; test water pH and adjust with a splash of vinegar |
| Dye bath produced no color | Plant simmered at too low a temperature, or wrong part of plant used | Confirm the plant’s dye-active part (roots vs. leaves vary); simmer at 190°F minimum |
| Fiber smells musty after drying | Fiber dried too slowly in a humid environment | Dry in better airflow; a fan helps; sunlight for 30 minutes won’t fade it but will kill bacteria |
One Final Thought
Natural dyeing isn’t about following a formula perfectly — it’s about understanding that you’re working with living chemistry.
🔑 Reframe It: Your water, heat source, and plant batch all shift results. Ask what variable changed — not what you did wrong.
Your water, your heat source, your specific batch of onion skins, even the minerals in your local tap water all shift the result slightly.
When something doesn’t go as expected, ask which variable changed, not what you did wrong.
The dyer who treats every unexpected color as information rather than failure gets better, faster, and with far less frustration.






