
DIY Paper Xmas Decorations: 5 Festive Ideas

Want to make your home feel warm and festive this holiday season? These DIY Paper Xmas Decorations are a simple yet beautiful way to transform any space. With just a few materials, you can create decorations that look stylish, cozy, and full of holiday spirit.
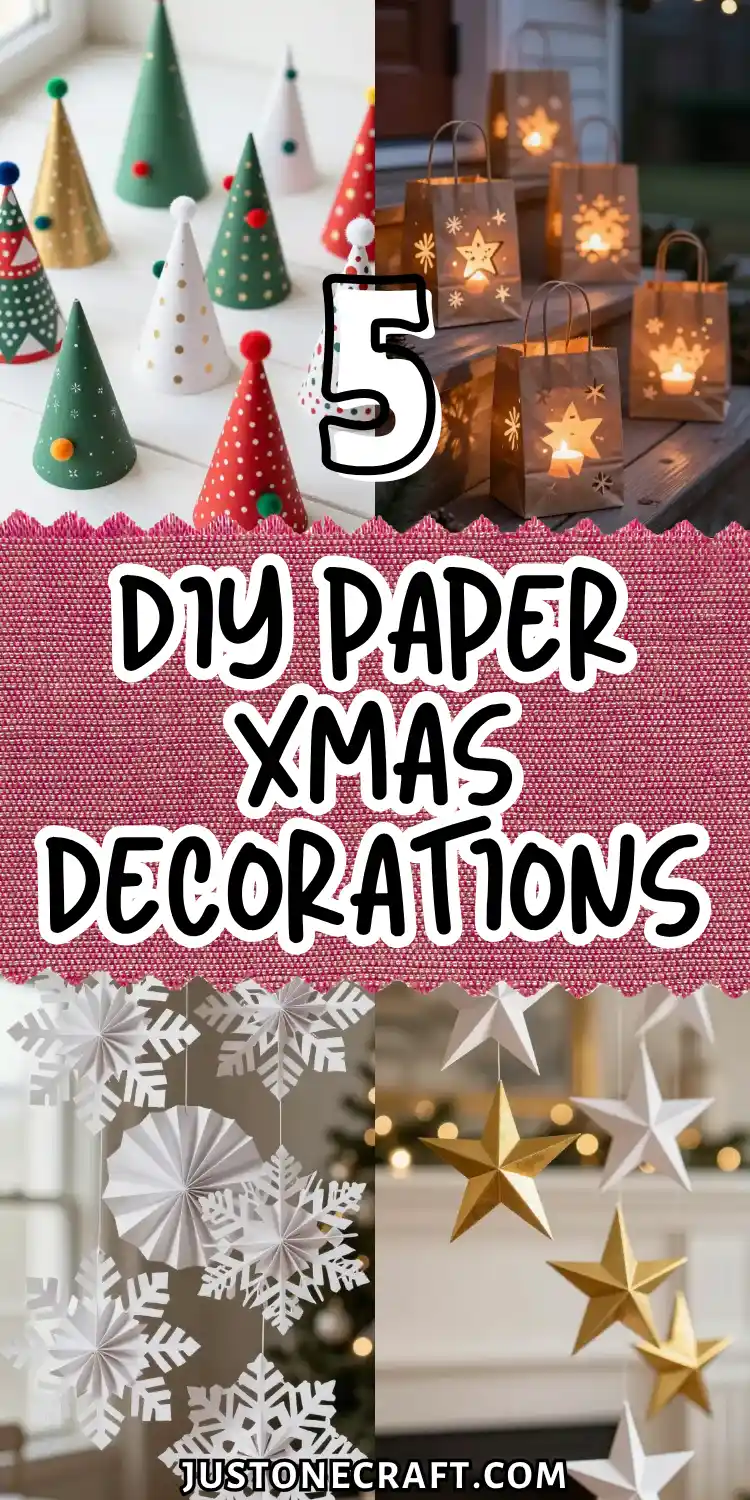
Every year, I promise to decorate early for Christmas, and every year I end up rushing. Store-bought decorations feel expensive and a bit impersonal, which is why I turned to DIY Paper Xmas Decorations.
At first, I thought paper crafts wouldn’t feel festive enough. But once I tried making simple stars, garlands, and snowflakes, I realized how beautiful and magical paper can be.
All you need is paper, scissors, and a little time to create a warm, cozy space filled with handmade charm. What started as a quick fix has now become a holiday tradition I truly enjoy.
Elegant 3D Paper Star Garland With Metallic Accents
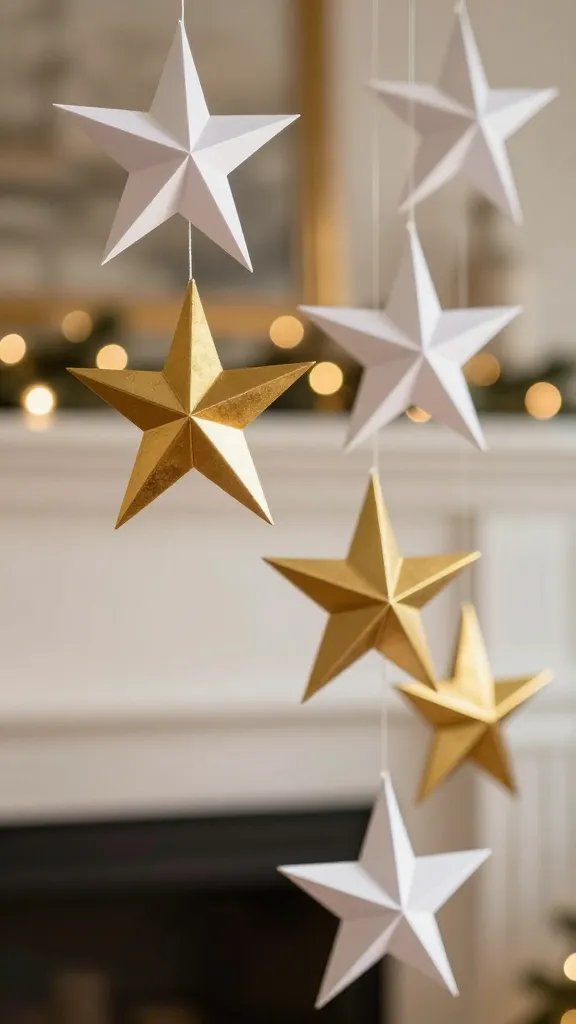
This garland combines the nostalgic charm of paper crafts with a modern metallic twist that looks way more expensive than it actually is.
The secret is in the folding technique that creates those beautiful dimensional points. You’ll be making stars from two identical star cutouts, folding along score lines, and then gluing them together at the points to create that gorgeous 3D effect.
Materials Needed
- Cardstock in white, kraft, or metallic gold and silver
- Star template (5-pointed, about 4-6 inches wide)
- Baker’s twine or thin ribbon
- Glue stick or craft glue
- Scoring tool or empty ballpoint pen
How to Make It
Start by cutting out pairs of identical stars—you’ll need two stars for each 3D piece. Score a line from each star point to the center, then gently fold along these lines to create dimension.
Apply glue to alternating points of one star, then press the second star on top, offsetting it slightly so the points don’t perfectly align.
Once your stars are dry, thread them onto your twine, spacing them about 6 inches apart. You can alternate colors or stick with a monochromatic scheme for different vibes.
Styling Ideas
This garland works beautifully draped across windows, wrapped around your Christmas tree in a spiral, or even hung vertically as backdrop decoration for your holiday photos.
Mix different sizes for extra visual interest, and don’t be afraid to get creative with colors—ombre effects look absolutely stunning.
Whimsical Paper Cone Christmas Trees
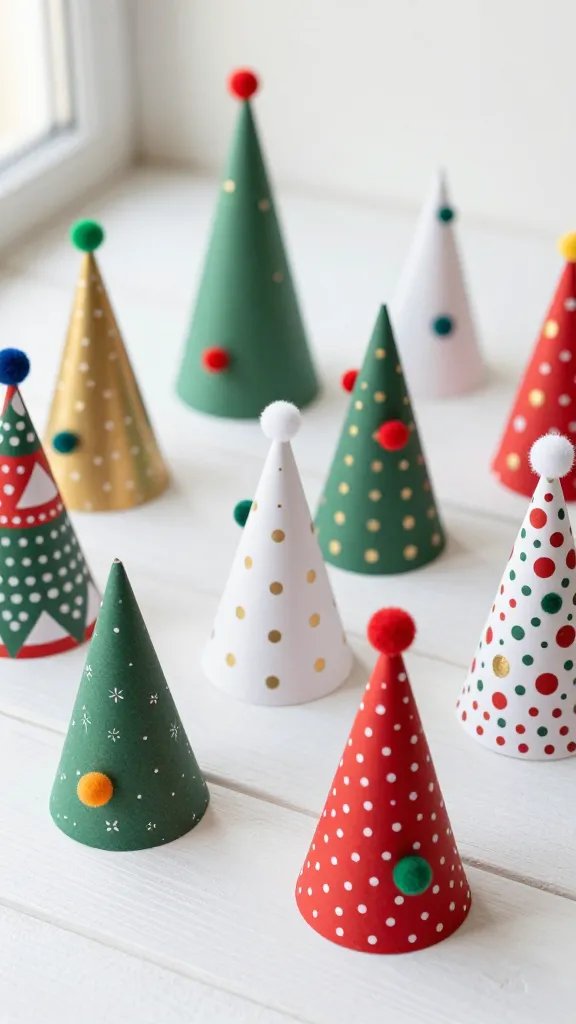
These adorable little trees are perfect for creating an entire festive forest on your dining table, bookshelf, or windowsill.
They’re incredibly versatile—you can make them modern and minimal or load them up with embellishments for maximum Christmas cheer.
What makes these trees special is how customizable they are. Each one can have its own personality based on the paper you choose and how you decorate it.
Materials Needed
- Scrapbook paper or patterned cardstock
- Hot glue gun
- Small pom-poms, sequins, or mini beads
- Wooden star cutouts or buttons for tree toppers
- Small wooden discs or cardboard circles for bases
How to Make It
Cut your paper into quarter-circles—the size depends on how tall you want your trees.
Roll the quarter-circle into a cone shape, adjusting the tightness to get your desired tree silhouette, then secure with hot glue along the seam. Trim the bottom edge so it sits flat.
Glue your cone to a small wooden base for stability. Now comes the fun part: decorating!
Add pom-poms in a spiral pattern to mimic garland, glue on sequins as ornaments, or keep it simple with just a metallic star on top.
Pro Tips
Make a whole forest in varying heights for maximum impact—try 8-inch, 6-inch, and 4-inch versions grouped together.
Use wrapping paper for a budget-friendly option, or splurge on that gorgeous foil or glitter cardstock you’ve been eyeing. These also make fantastic place card holders if you add tiny name tags!
Victorian-Inspired Paper Fan Snowflakes
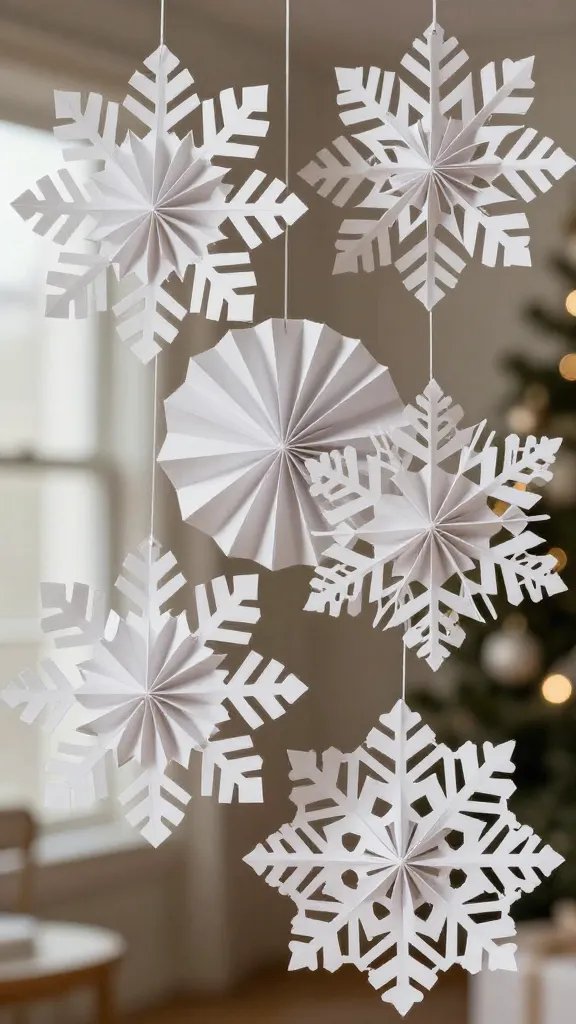
If you want drama and elegance, these fan-folded paper snowflakes are your answer. They create stunning dimensional wall art that looks like it came straight from a fancy holiday boutique. Seriously, your guests will ask where you bought them.
Unlike traditional flat snowflakes, these beauties have depth and texture that creates gorgeous shadows when hung near light sources. They’re mesmerizing and surprisingly easy to make once you get the rhythm down.
Materials Needed
- Rectangular sheets of white or colored paper (8.5 x 11 works great)
- Scissors
- Stapler or glue dots
- String or fishing line for hanging
- Optional: glitter, rhinestones, or metallic washi tape
How to Make It
Accordion-fold your paper lengthwise into half-inch pleats—precision here makes a prettier final product.
Once folded completely, fold the accordion in half to find the center point and staple it there. Cut decorative shapes along both edges of the folded paper—triangles, curves, or scallops all work beautifully.
Gently fan out both sides of your folded paper and connect the two outer edges together with glue or staples to form a complete circle. You’ve just created a stunning dimensional snowflake!
Display Ideas
Hang these at different heights in a window for a gorgeous layered effect, or create a photo wall backdrop by attaching multiple snowflakes to a large piece of cardboard.
They also look incredible as ceiling decorations at different drop lengths. FYI, making them in different sizes creates more visual interest than keeping them all uniform.
Rustic Paper Bag Luminaries With Cut-Out Designs
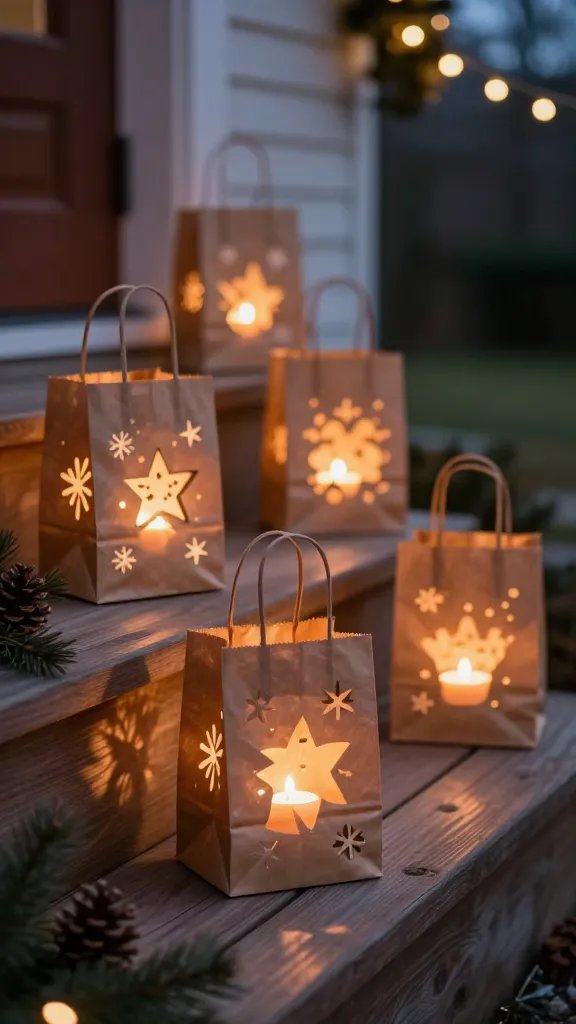
There’s something magical about the warm glow of candlelight filtering through paper, and these luminaries bring that cozy ambiance to your Christmas decor.
They’re perfect for lining your walkway, decorating your porch steps, or creating a romantic tablescape.
The beauty is in their simplicity—brown paper bags transformed into enchanting light fixtures with just a few strategic cuts. They have that rustic farmhouse vibe everyone loves right now.
Materials Needed
- Brown paper lunch bags
- Craft knife or small scissors
- Pencil for drawing designs
- Battery-operated tea lights (never real candles in paper!)
- Sand or small rocks for weight
- Optional: white paint pen for snow details
How to Make It
Lightly sketch your design on the front of the bag—think simple Christmas motifs like stars, trees, snowflakes, or even just geometric patterns.
Carefully cut out your design with a craft knife, working on a protected surface. Keep the cuts relatively small and detailed for the prettiest light patterns.
Fill the bottom of each bag with about two inches of sand or small rocks for stability and fire safety.
Pop in a battery-operated tea light, and watch your design come to life when you turn off the overhead lights.
Customization Ideas
Use white bags for a cleaner look, or decorate the bags with stamps before cutting for extra detail.
You can also fold down the tops of the bags and punch holes along the fold for a different style. These look absolutely dreamy lining a snowy walkway or grouped in clusters on your porch!
Layered Paper Wreath With Rolled Rosettes
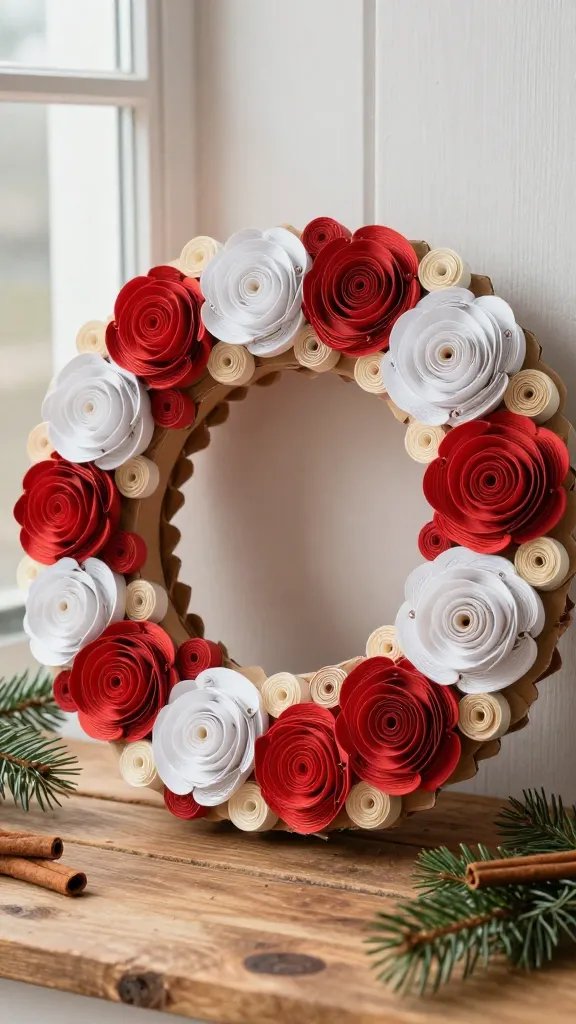
This show-stopping wreath looks like it took hours but is actually pretty straightforward to make during a cozy crafting afternoon.
The rolled paper rosettes create incredible texture and dimension that you just can’t get with flat decorations.
Hang this beauty on your front door, above your mantel, or even as a stunning centerpiece laid flat on your dining table with candles in the middle. It’s definitely a statement piece that’ll have everyone asking for your tutorial.
Materials Needed
- Cardboard wreath base (or cut your own from a cardboard box)
- Scrapbook paper in coordinating colors
- Hot glue gun with plenty of glue sticks
- Scissors or paper cutter
- Ribbon for hanging
- Optional: faux greenery, berries, or pinecones
How to Make It
Cut your scrapbook paper into strips about 1-2 inches wide and 12 inches long. To create each rosette, start rolling the strip from one end, adding a small dab of hot glue every few rotations to keep it secure.
As you roll, gradually angle the paper slightly downward to create that classic rose spiral shape.
Once you’ve made a pile of rosettes—you’ll need 30-50 depending on your wreath size—start hot gluing them to your cardboard base.
Work in a circular pattern, fitting them snugly together so no cardboard shows through. Mix different paper patterns and colors for a more dynamic look.
Finishing Touches
Fill any gaps with smaller rosettes or tuck in some faux greenery for a traditional Christmas feel.
Add a big bow at the top or bottom, or keep it simple and let those gorgeous rosettes be the star. This wreath works year-round too—just swap the colors for different seasons!
There you have it—five completely different ways to deck your halls with paper decorations that are anything but boring.
The best part about these projects is that they’re forgiving, budget-friendly, and you can totally make them your own with different colors and embellishments.
So grab your scissors and glue, put on some Christmas music, and get crafting. Your Pinterest-worthy holiday home is just a few paper crafts away!






