
DIY Paper Wall Decor: 8 Easy & Stylish Ideas

Blank walls can make a room feel unfinished. With these creative DIY paper wall decor ideas, you can turn any empty space into something beautiful and eye-catching using just simple materials.
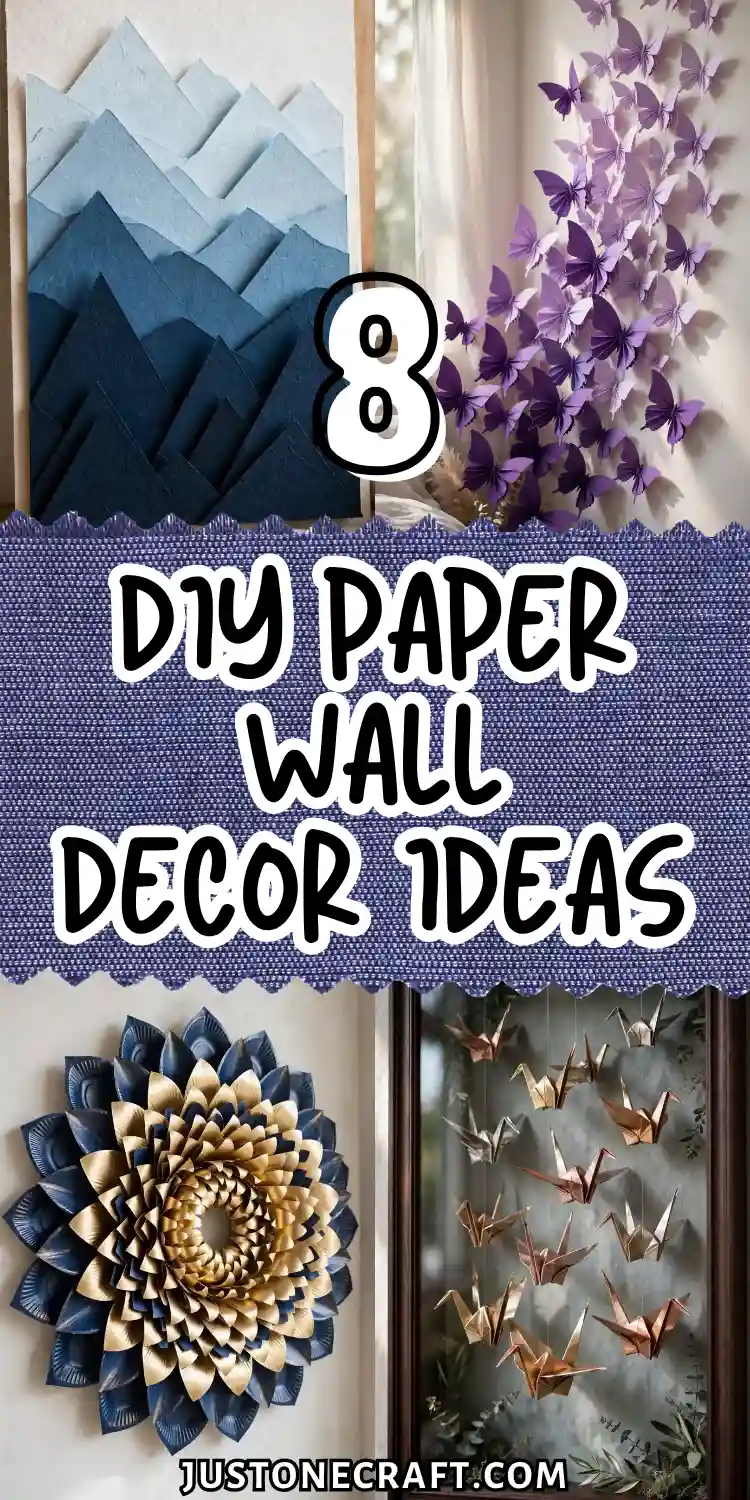
My blank walls felt cold and boring, and decor ideas seemed too expensive. Then I tried DIY Paper Wall Decor.
With simple materials like paper, glue, and scissors, I created stylish pieces that added color and personality.
It’s affordable, easy to customize, and a perfect way to make any space feel warm and personal.
Cascading 3D Butterfly Wall Installation
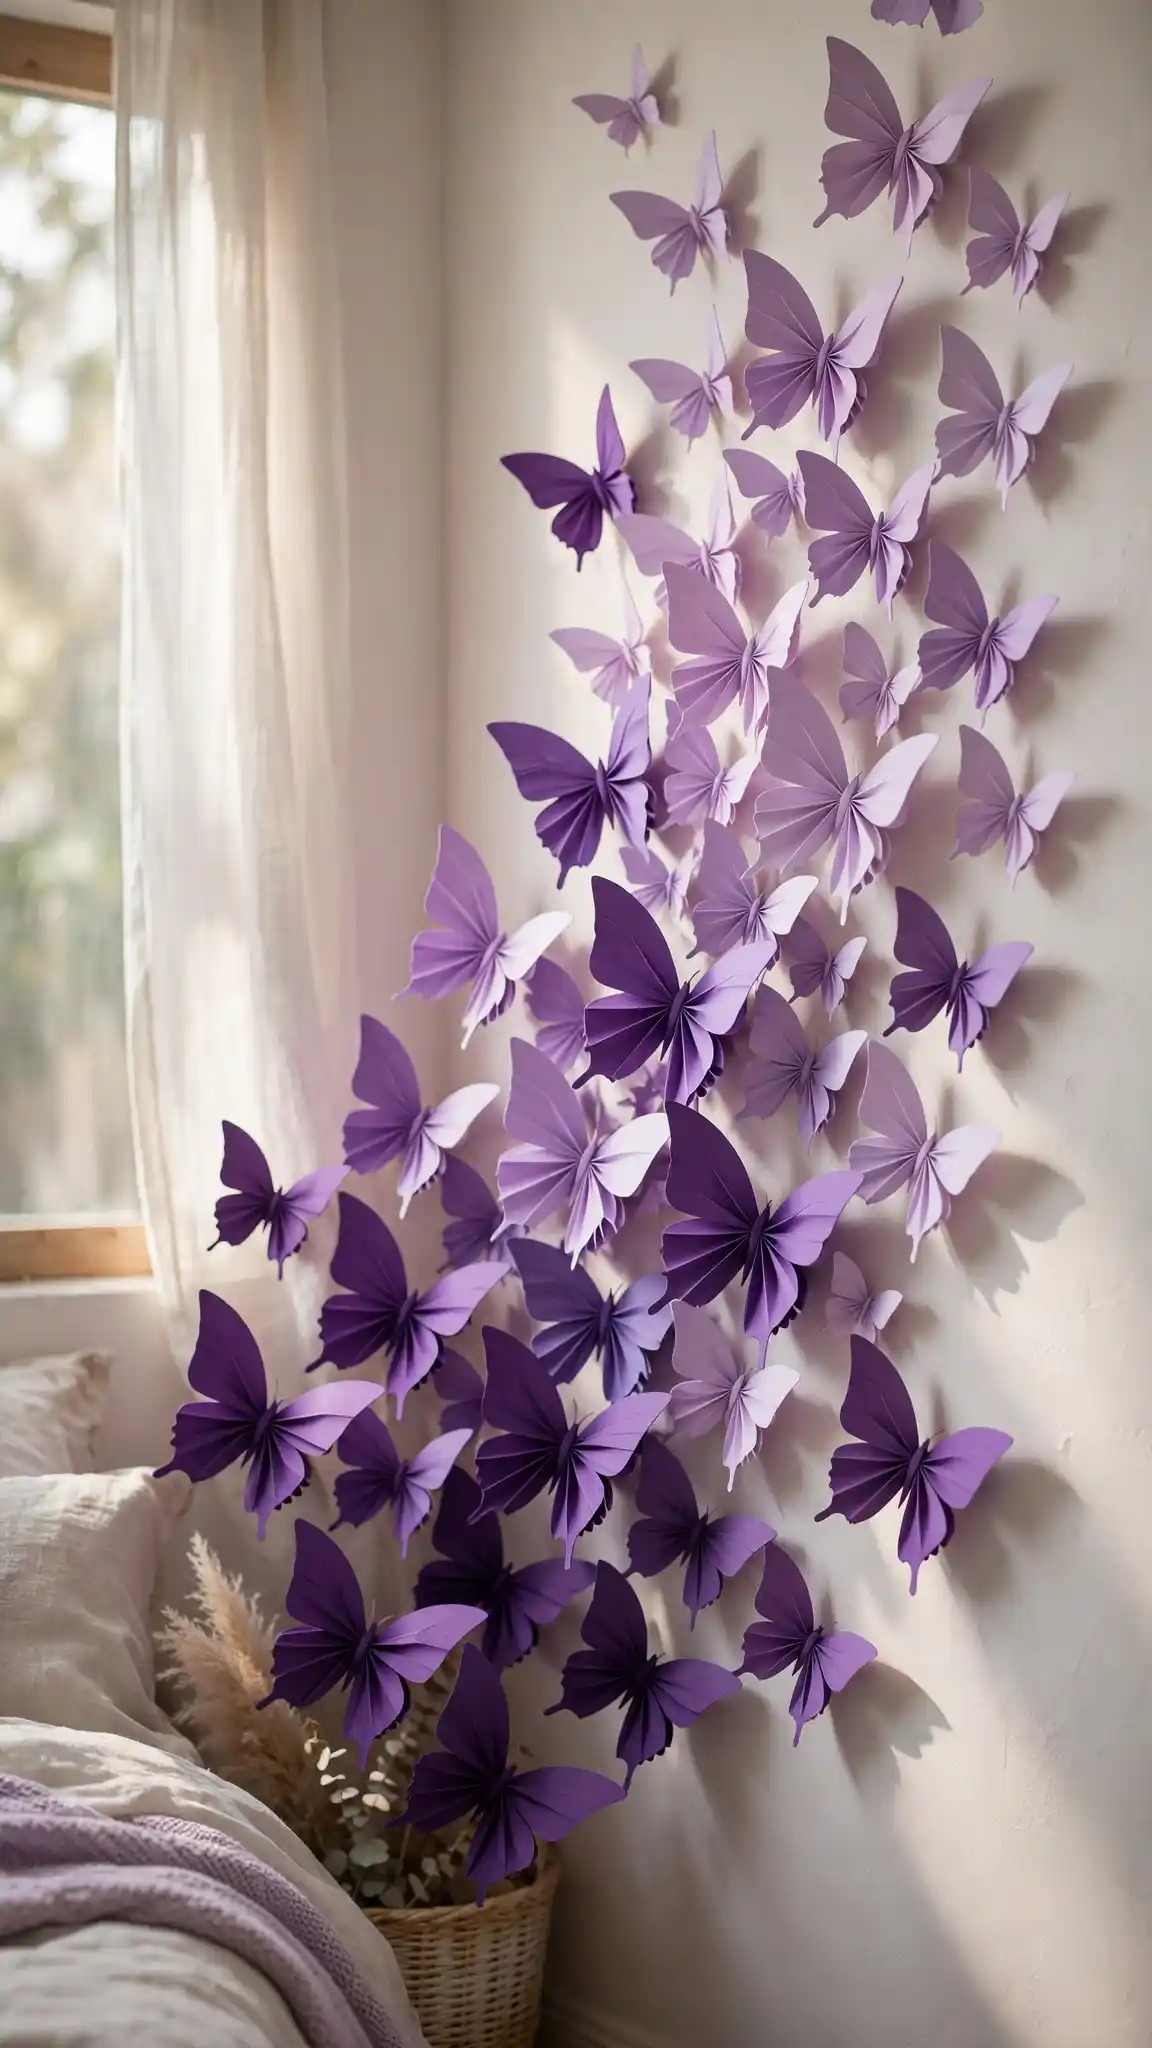
Picture a corner of your bedroom where dozens of delicate paper butterflies appear to flutter up your wall in a gorgeous gradient of colors.
This dreamy installation adds movement and magic to any space, and it’s way easier to create than it looks.
Butterflies needed for that full, flowing gradient effect
Materials Needed
- Cardstock in various colors (pastels work beautifully)
- Butterfly template or stencil
- Scissors or craft knife
- Double-sided foam tape or glue dots
- Optional: glitter or metallic paper for accent butterflies
How to Make It
Cut out butterflies in different sizes—aim for at least 30 to create that full, flowing effect.
Fold each butterfly in half down the center to give them dimension, then attach only the body to the wall so the wings pop out naturally.
Start from one corner and arrange them in a sweeping pattern that flows upward or across your wall.
The foam tape is key here because it creates shadows that make the butterflies look like they’re actually flying.
This project is perfect for nurseries, teen bedrooms, or anywhere you want a whimsical, feminine touch.
Try using ombré colors that fade from deep purple to soft lavender for a truly magical effect.
🦋 Ombré Color Flow
Rolled Paper Flower Garden Canvas
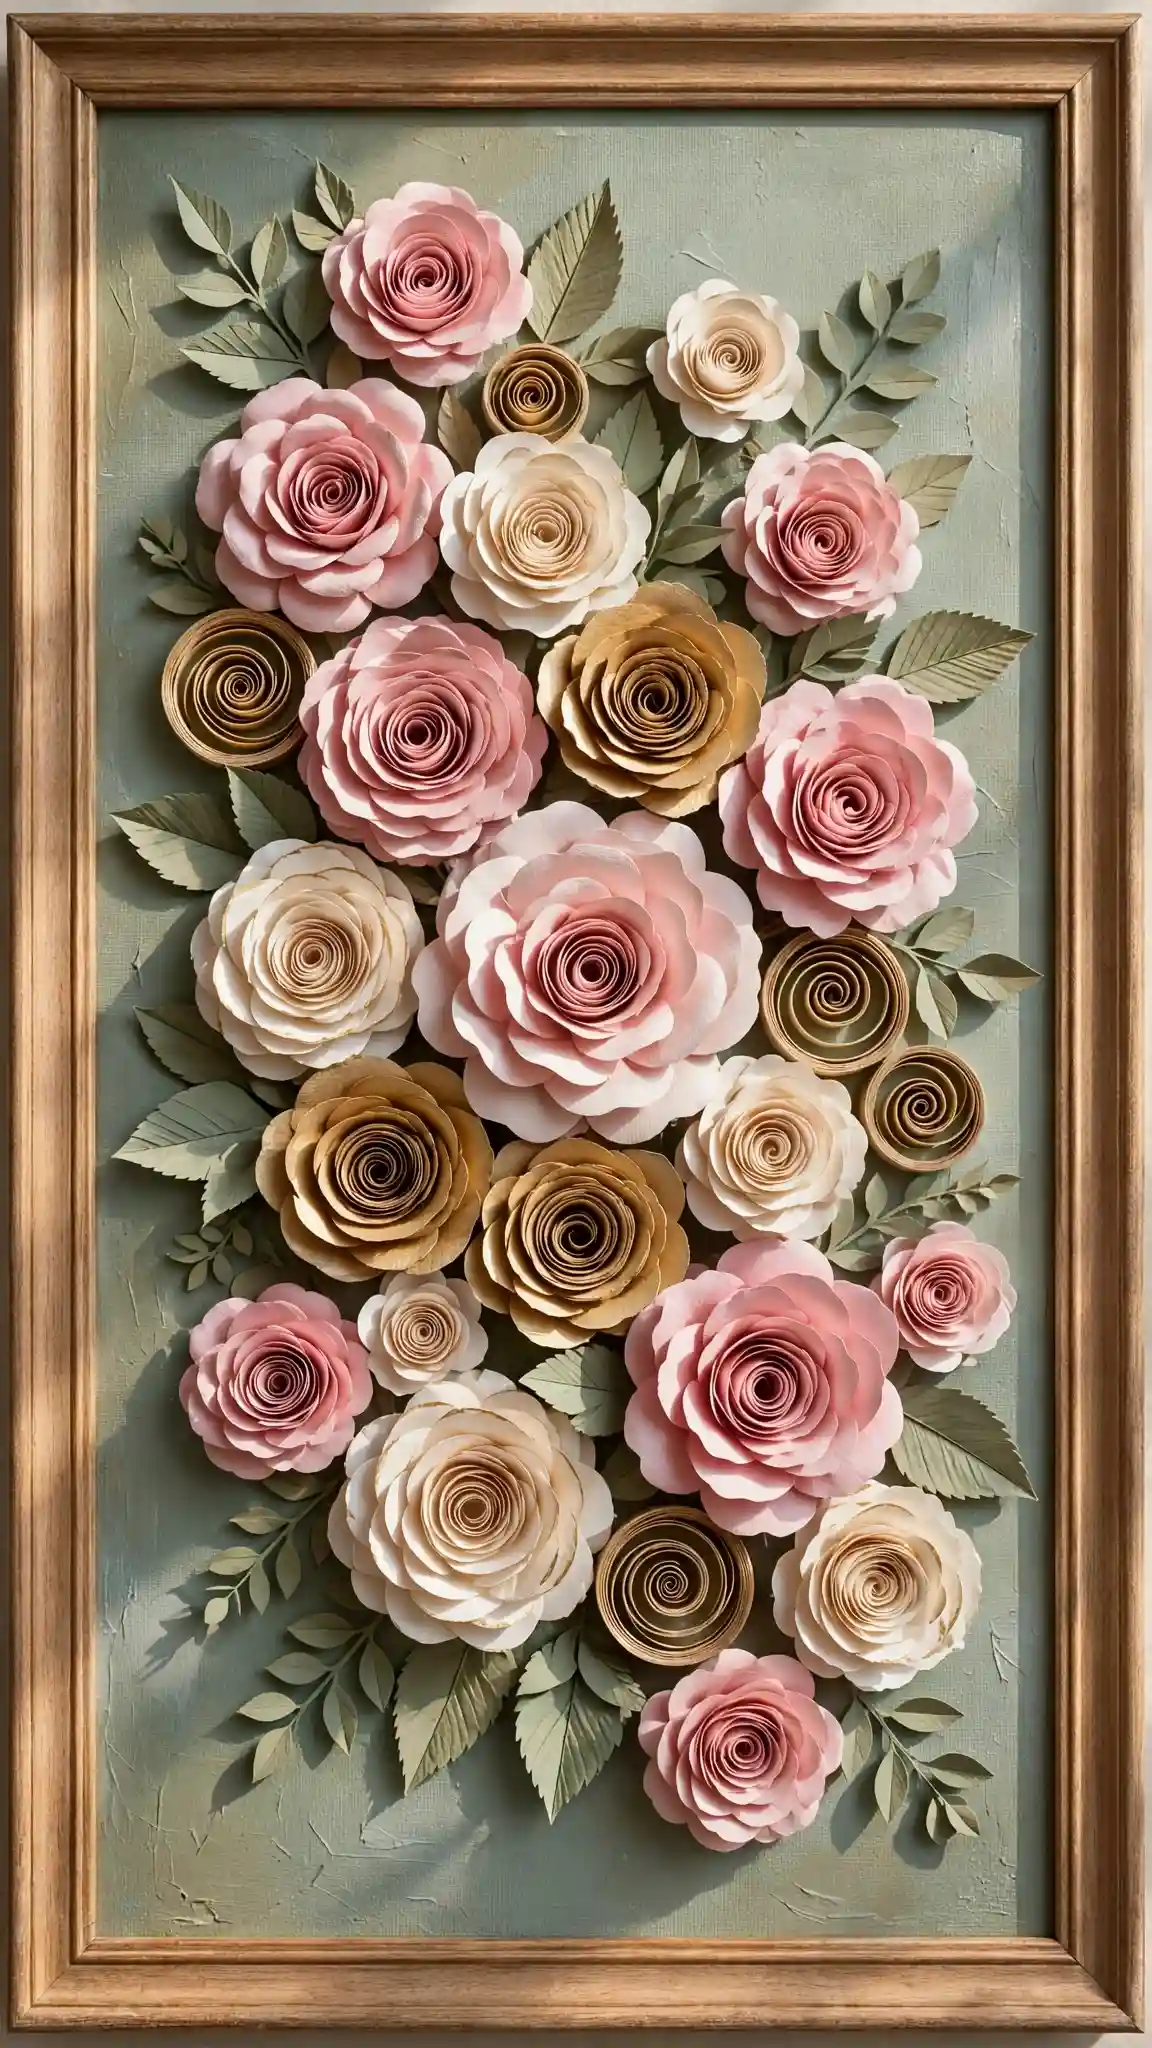
If you love the look of those chunky paper flowers but want something more refined, this framed flower garden is your answer.
You’ll create tight spiral roses and arrange them on a canvas background for a textured, dimensional piece that looks completely professional.
Cut long strips of paper about an inch wide, then roll them tightly from one end, letting the paper naturally loosen slightly as you go.
Secure the end with hot glue, then gently push up the center to create depth. Make flowers in coordinating shades—think blush pink, cream, and gold—and cluster them on a painted canvas.
Pro Tips
- Paint your canvas background first in a complementary color
- Vary the flower sizes by using different strip widths
- Add paper leaves between flowers to fill gaps
- Spray with a clear sealer to protect your finished piece
This makes an absolutely stunning focal point above a bed or sofa. The best part? You can customize the colors to match any room’s palette perfectly.
Geometric Mountain Range Silhouette
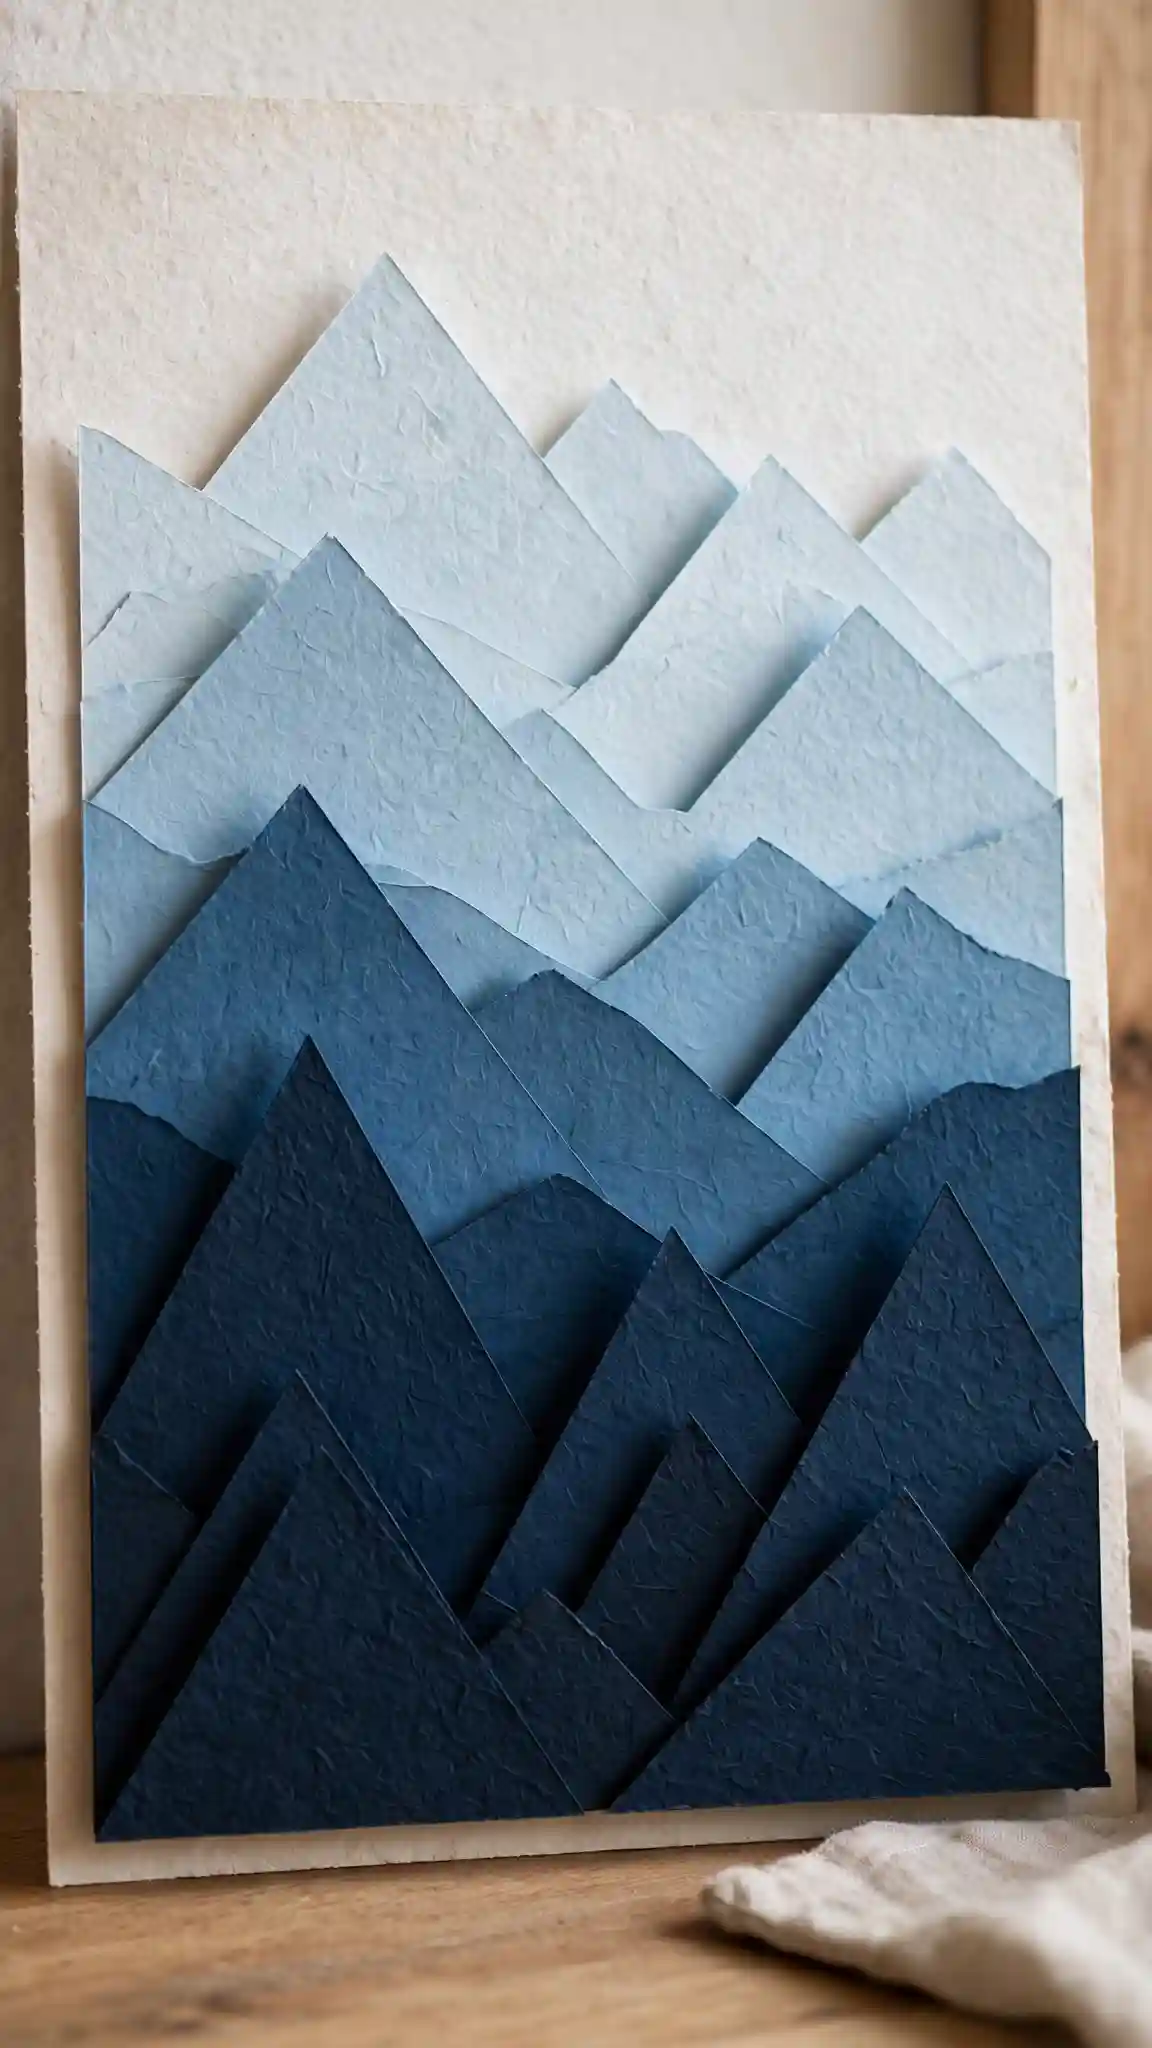
Minimalist lovers, this one’s for you. Create a multi-layered mountain landscape using triangular paper cutouts in varying shades to mimic distant peaks fading into the horizon. It’s modern, clean, and brings that outdoorsy vibe inside.
Choose four to five shades of the same color family—navy to light blue works gorgeously, or try forest green to sage.
🎨 Palette Swap: Navy-to-light-blue for cool tones, or forest-to-sage green for a warmer, nature-inspired look.
Cut mountain shapes from each shade, making the darkest mountains the largest and most detailed in the foreground. Layer them on a contrasting background, spacing each layer slightly apart for depth.
You’ll love how this transforms a boring wall into a statement piece without overwhelming the space.
It’s especially perfect for home offices, reading nooks, or anywhere you want a calming, nature-inspired aesthetic. Trust me, guests always ask where you bought this one.
Accordion-Fold Hanging Medallions
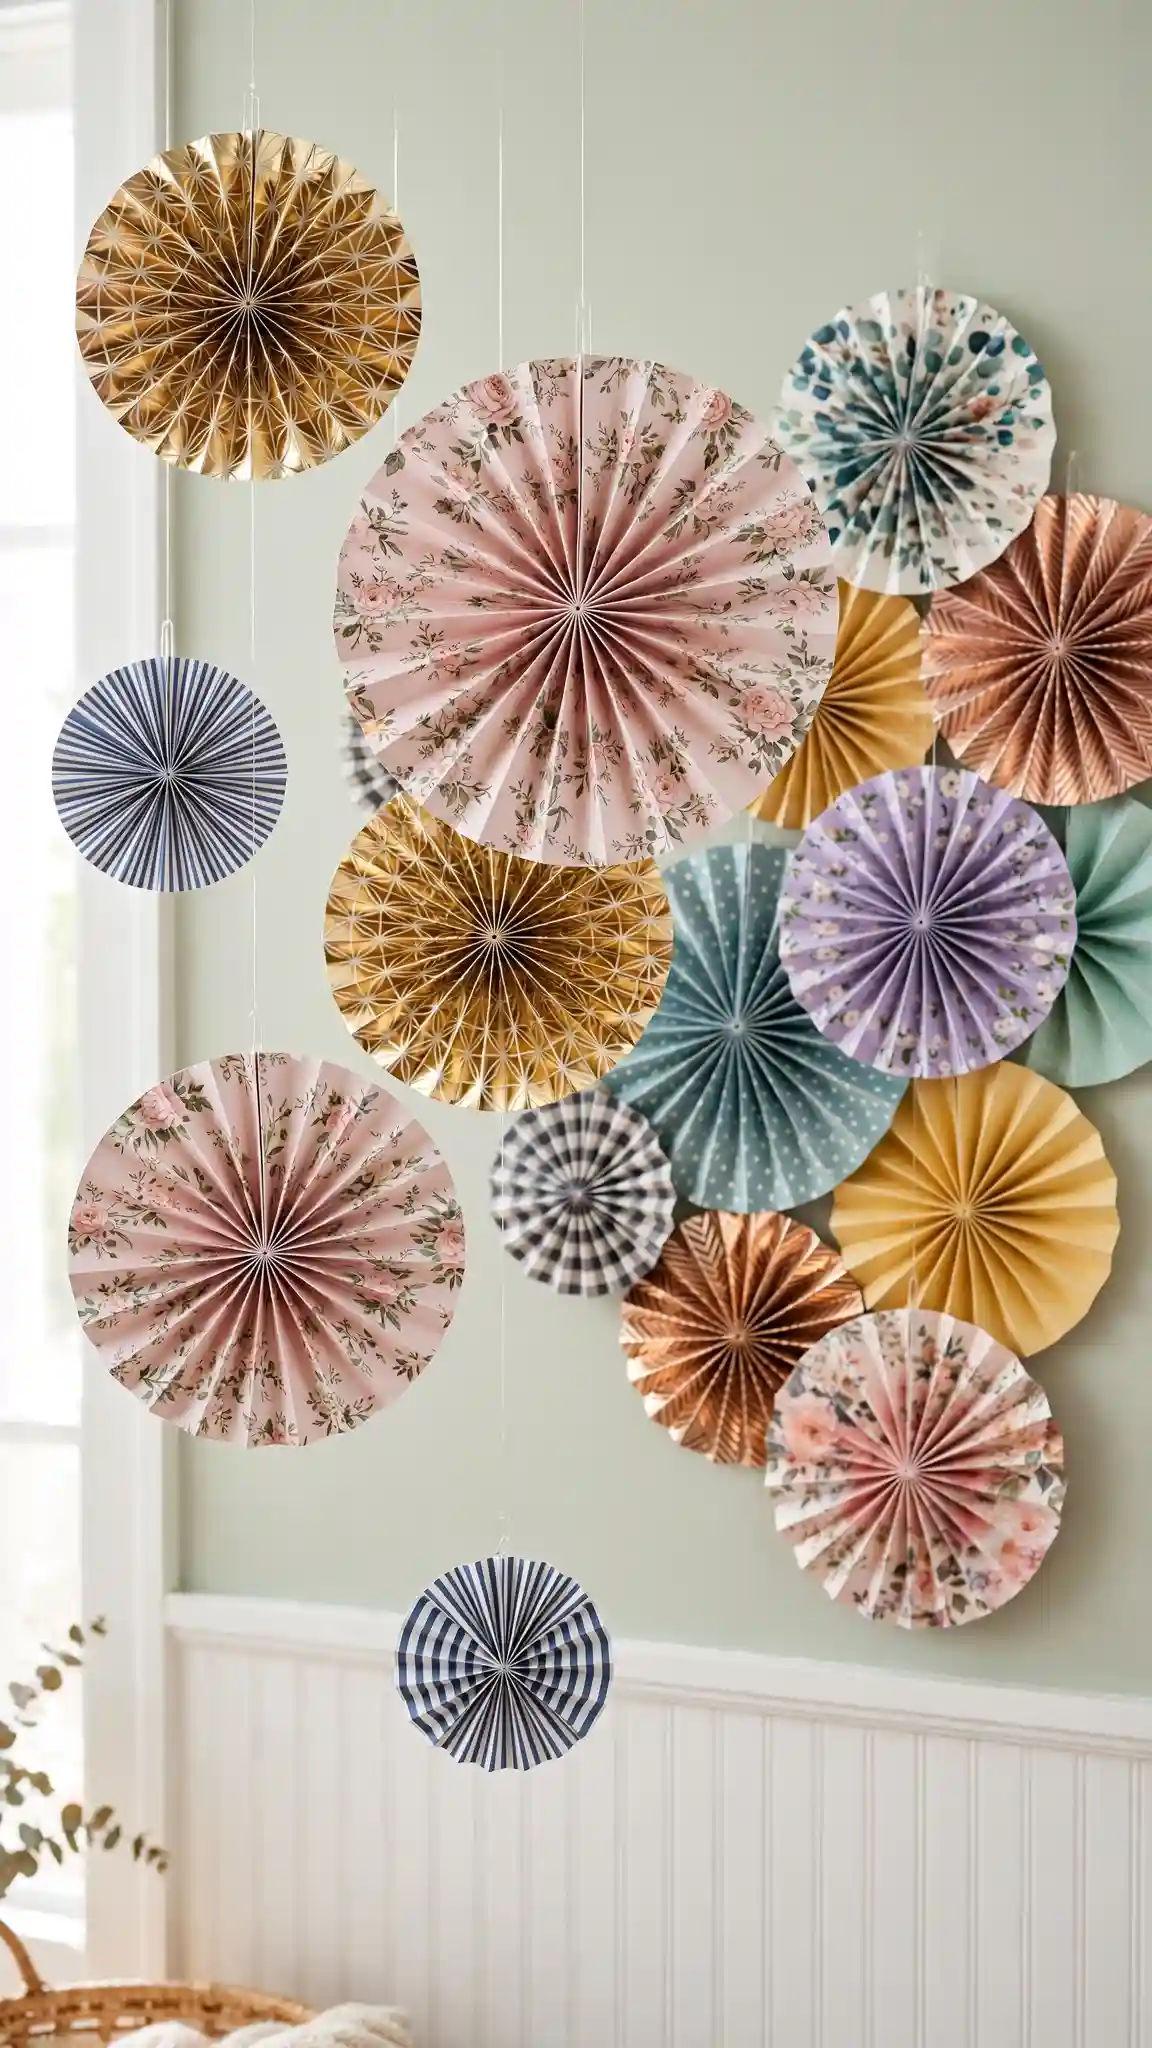
Remember those paper fans you made as a kid? Level them up into sophisticated circular medallions that create a playful backdrop for parties or permanent wall decor. These work beautifully in clusters of varying sizes and patterns.
How to Make It
Fold long strips of decorative paper or scrapbook paper accordion-style, then bring the ends together to form a circle.
Secure with glue and add a contrasting circle in the center to hide the connection point. The trick is mixing patterns—stripes with florals, solids with metallics—to create visual interest.
Hang them at different heights using clear fishing line for a floating effect, or mount them directly to the wall in a tight grouping.
They’re fantastic for nurseries, craft rooms, or as a temporary installation for birthdays and celebrations. FYI, patterned scrapbook paper makes these look incredibly polished with zero extra effort.
Origami Crane Mobile Wall Art
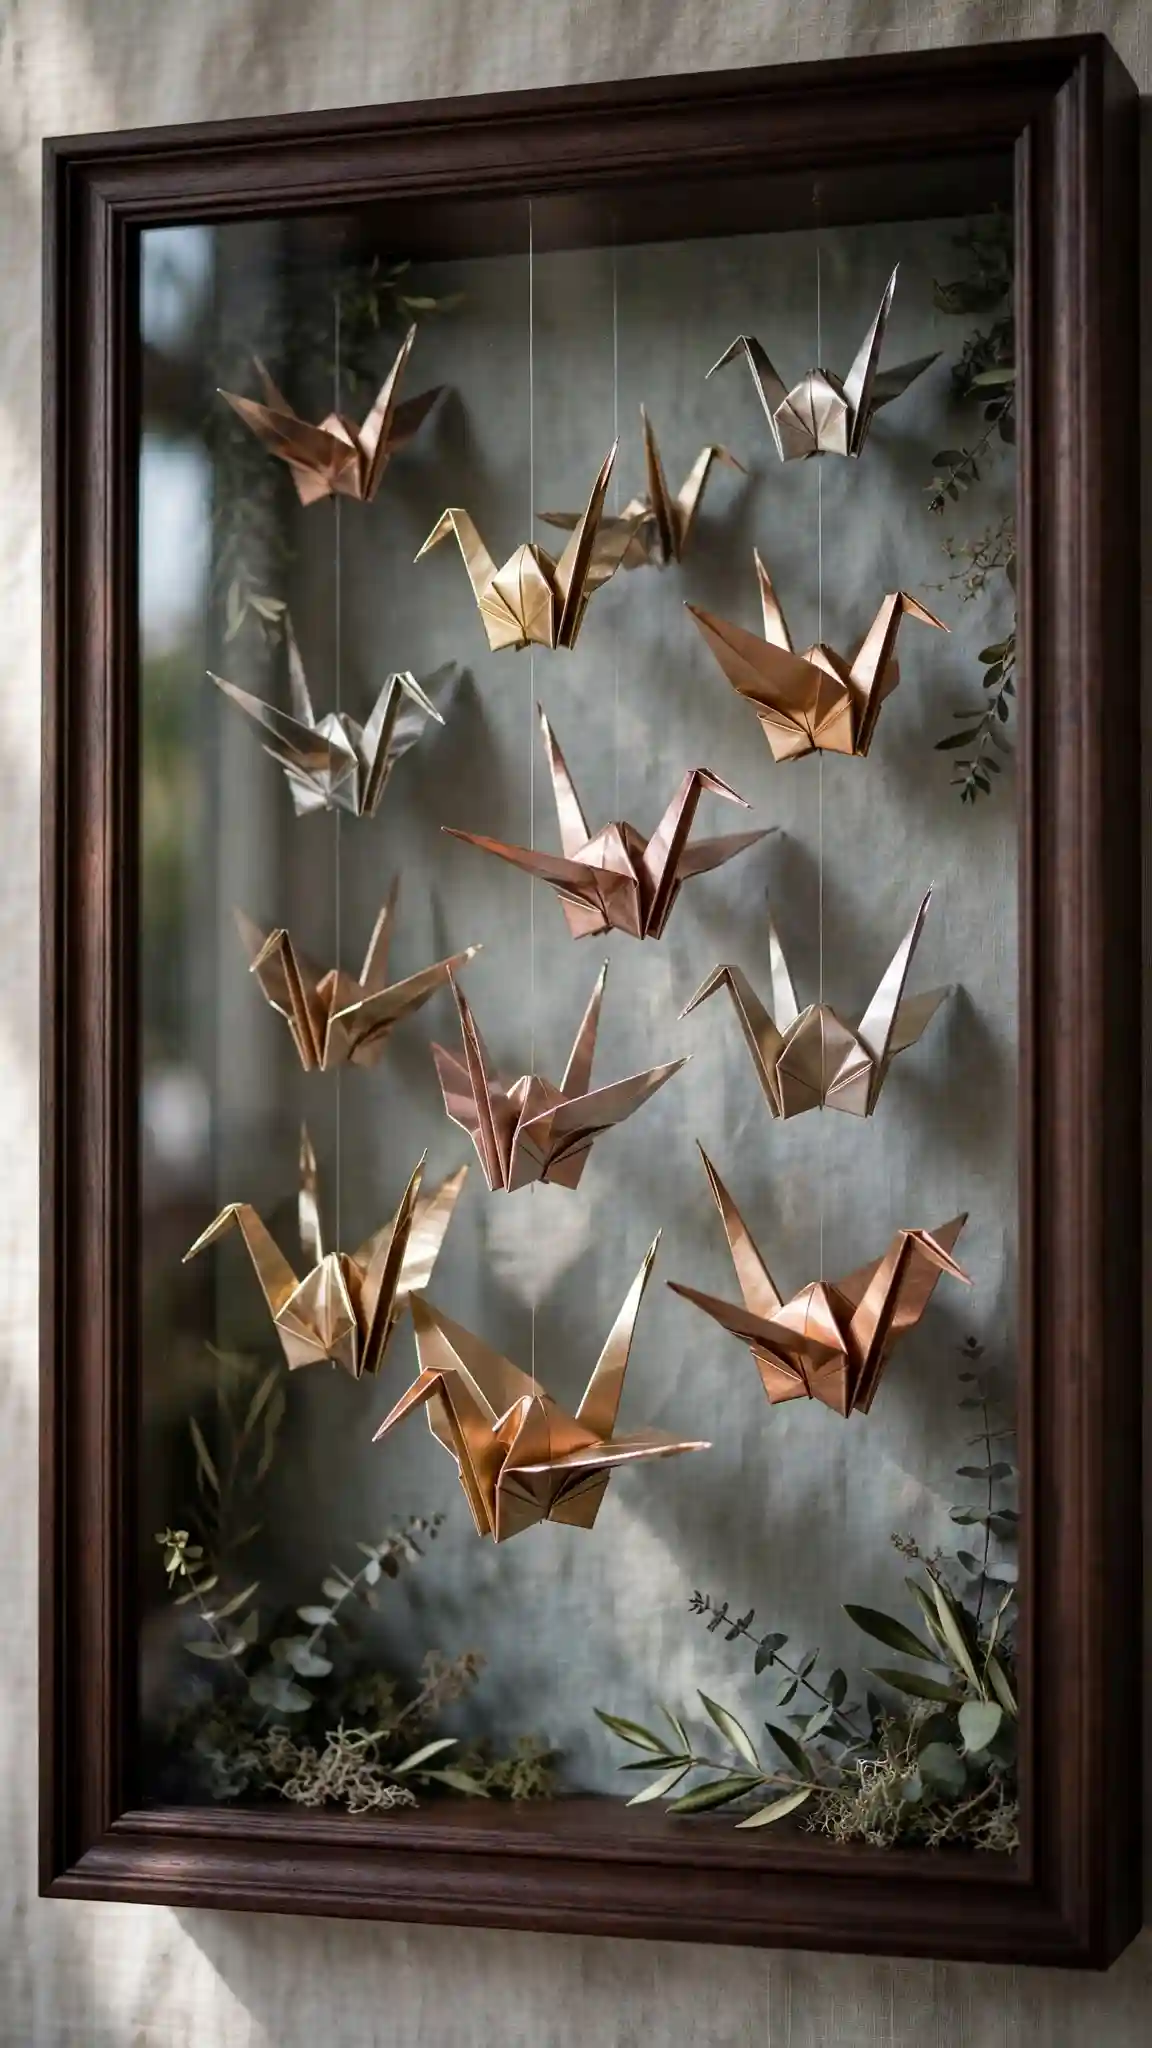
Instead of hanging origami cranes from the ceiling, create a framed piece where they’re suspended within a shadow box frame.
This captures the delicate beauty of origami while protecting your creations from dust and damage.
Fold 10-15 cranes in coordinating papers—metallic papers catch light beautifully and add elegance.
Use a deep shadow box frame and suspend the cranes at varying depths using invisible thread attached to the top of the frame. Some cranes should appear closer to the glass while others hang further back.
Styling Ideas
- Use all white cranes on a navy background for sophisticated contrast
- Try rainbow cranes for a kid’s room
- Add tiny LED string lights behind them for magical nighttime glow
- Mount dried branches inside first and hang cranes from them
This makes a thoughtful handmade gift for weddings or housewarmings since cranes symbolize peace and good fortune. Seriously, the depth and movement in this piece is captivating.
Paper Plate Wreath With Petal Layers
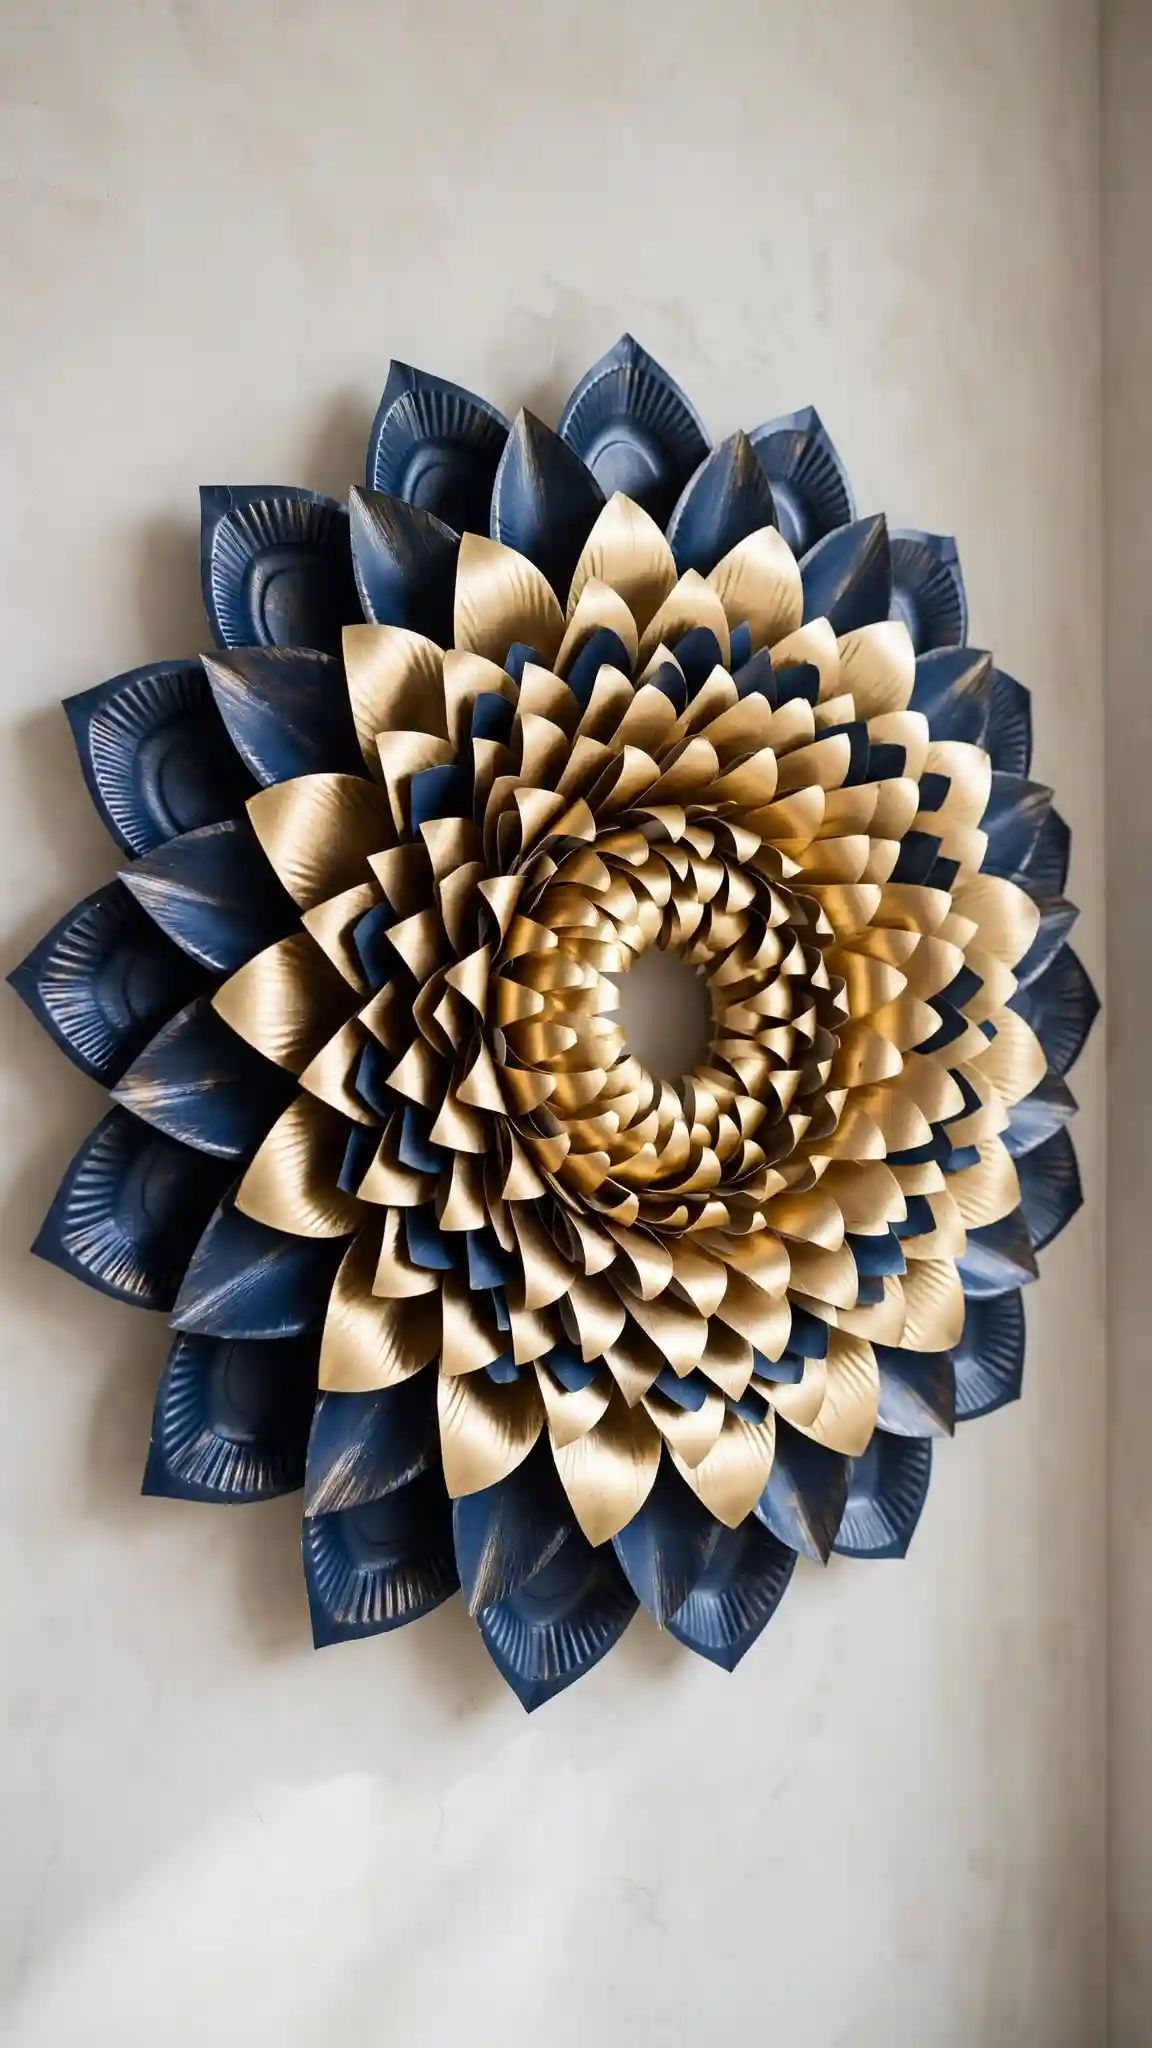
Who knew paper plates could look this elegant? Create a dimensional wreath by cutting paper plates into petal shapes and layering them in concentric circles. The result looks like a giant dahlia or chrysanthemum that’s surprisingly chic.
Cut plain white or colored paper plates into thirds, rounding the edges to create petal shapes.
Starting from the outer edge of your base (a cardboard circle or wreath form), glue petals in overlapping layers, working your way toward the center. Each layer should be slightly smaller and angled upward for dimension.
Paint the finished wreath in a solid sophisticated color like navy, emerald, or metalllic gold, or leave it white for a clean, modern look.
This works beautifully as seasonal decor—you’ll want to make one for every holiday. It’s also perfect for apartment dwellers since it’s lightweight and damage-free.
Quilled Monogram Letter
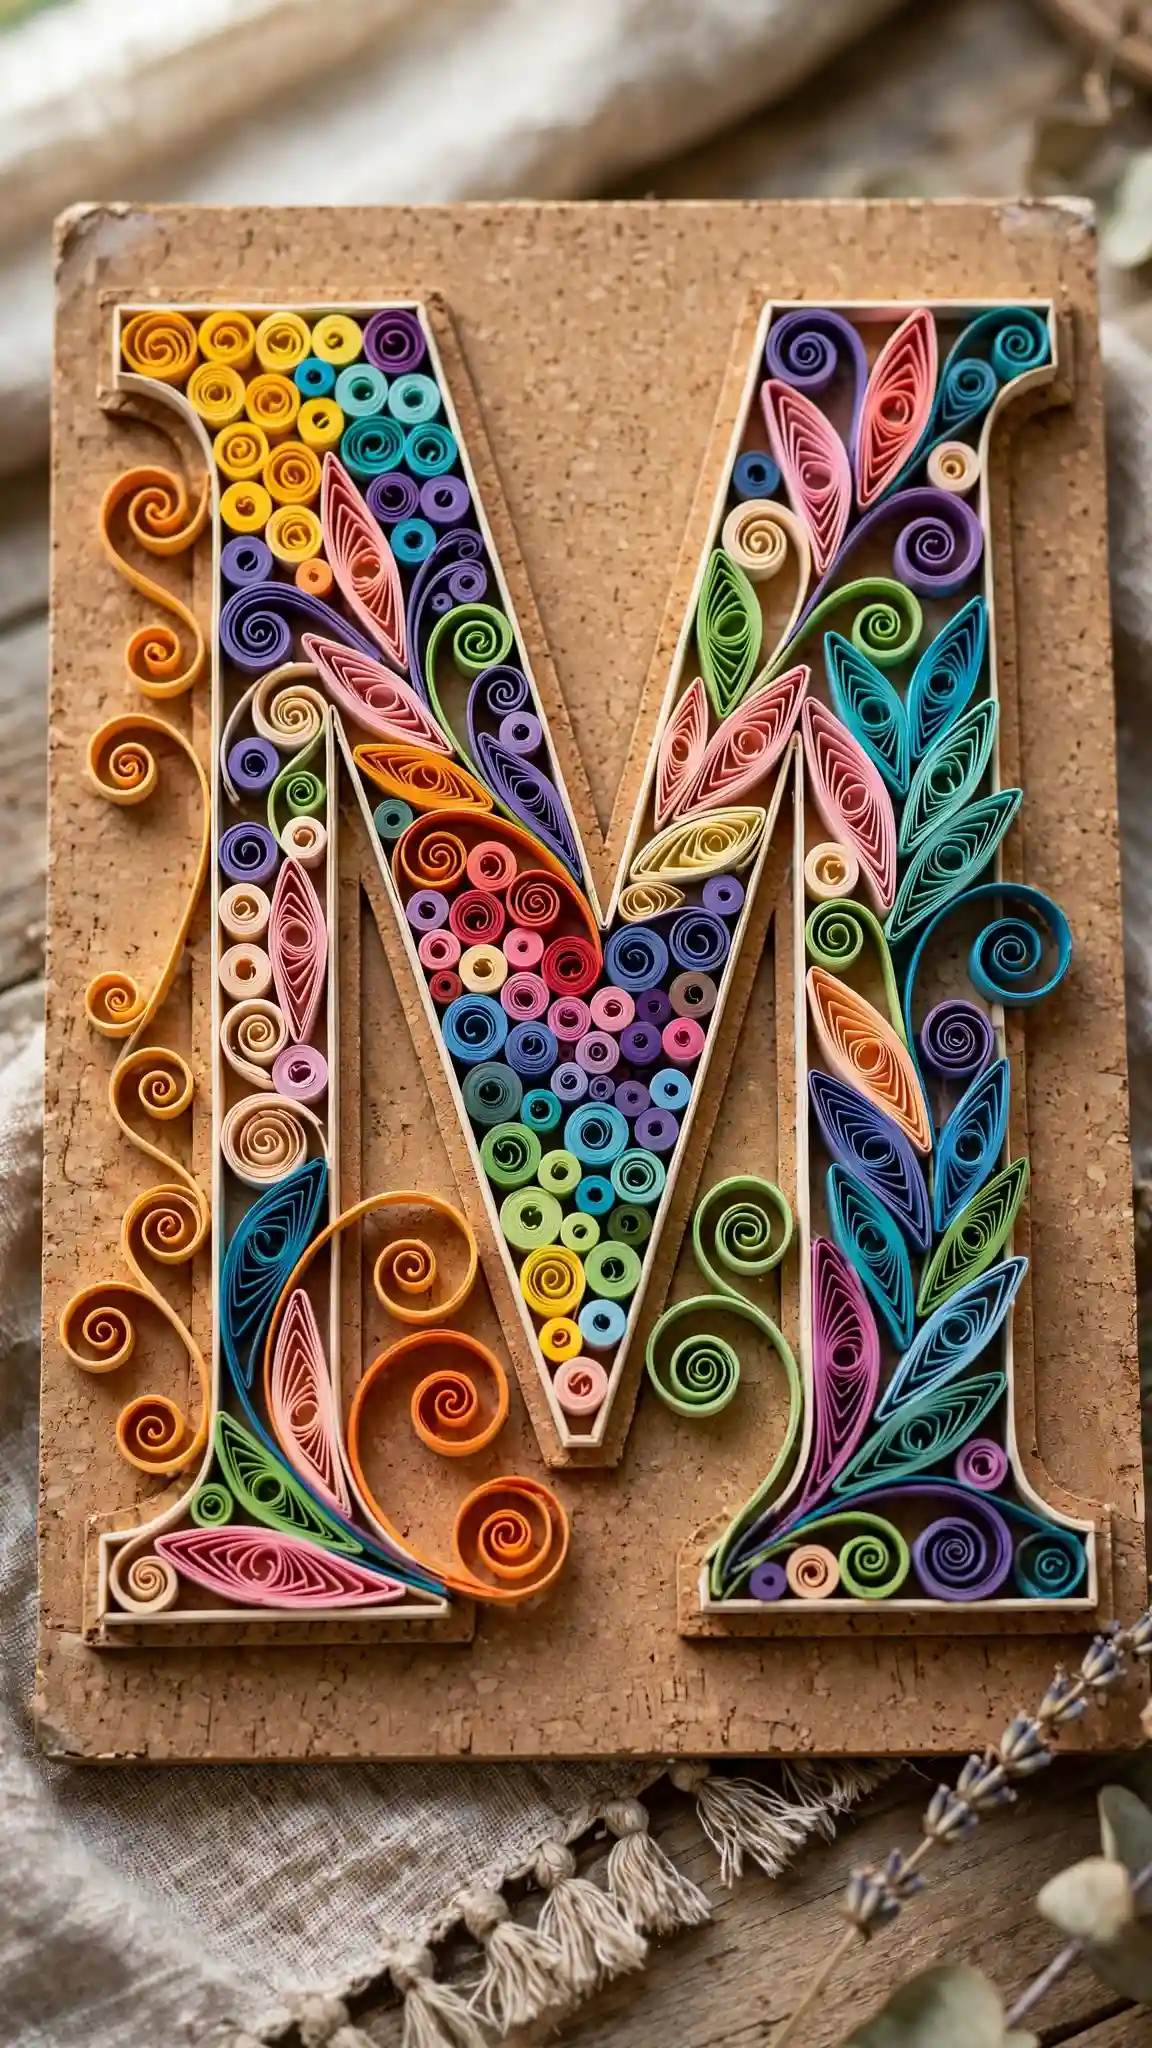
Quilling—the art of rolling thin paper strips into coils and shapes—creates incredibly intricate-looking designs that are actually quite meditative to make.
A large monogram letter filled with colorful quilled shapes becomes a personalized statement piece.
Start with a large letter outline drawn on sturdy paper or foam board. Fill the interior with quilled coils, teardrops, and scrolls in your chosen color scheme.
Tight coils create texture, while loose scrolls add movement and flow. The beauty is in the variety—mix sizes and shapes to fill every space.
Materials Needed
- Quilling paper strips (or cut your own from cardstock)
- Quilling tool or toothpick
- White glue
- Letter template or stencil
- Backing board
This makes fantastic personalized decor for kids’ rooms, entryways, or as handmade gifts for friends.
Choose colors that match the room, or go bold with rainbow shades for maximum impact. You’ll be amazed how professional this looks when you’re done.
Layered Paper Cut Shadow Box Scene
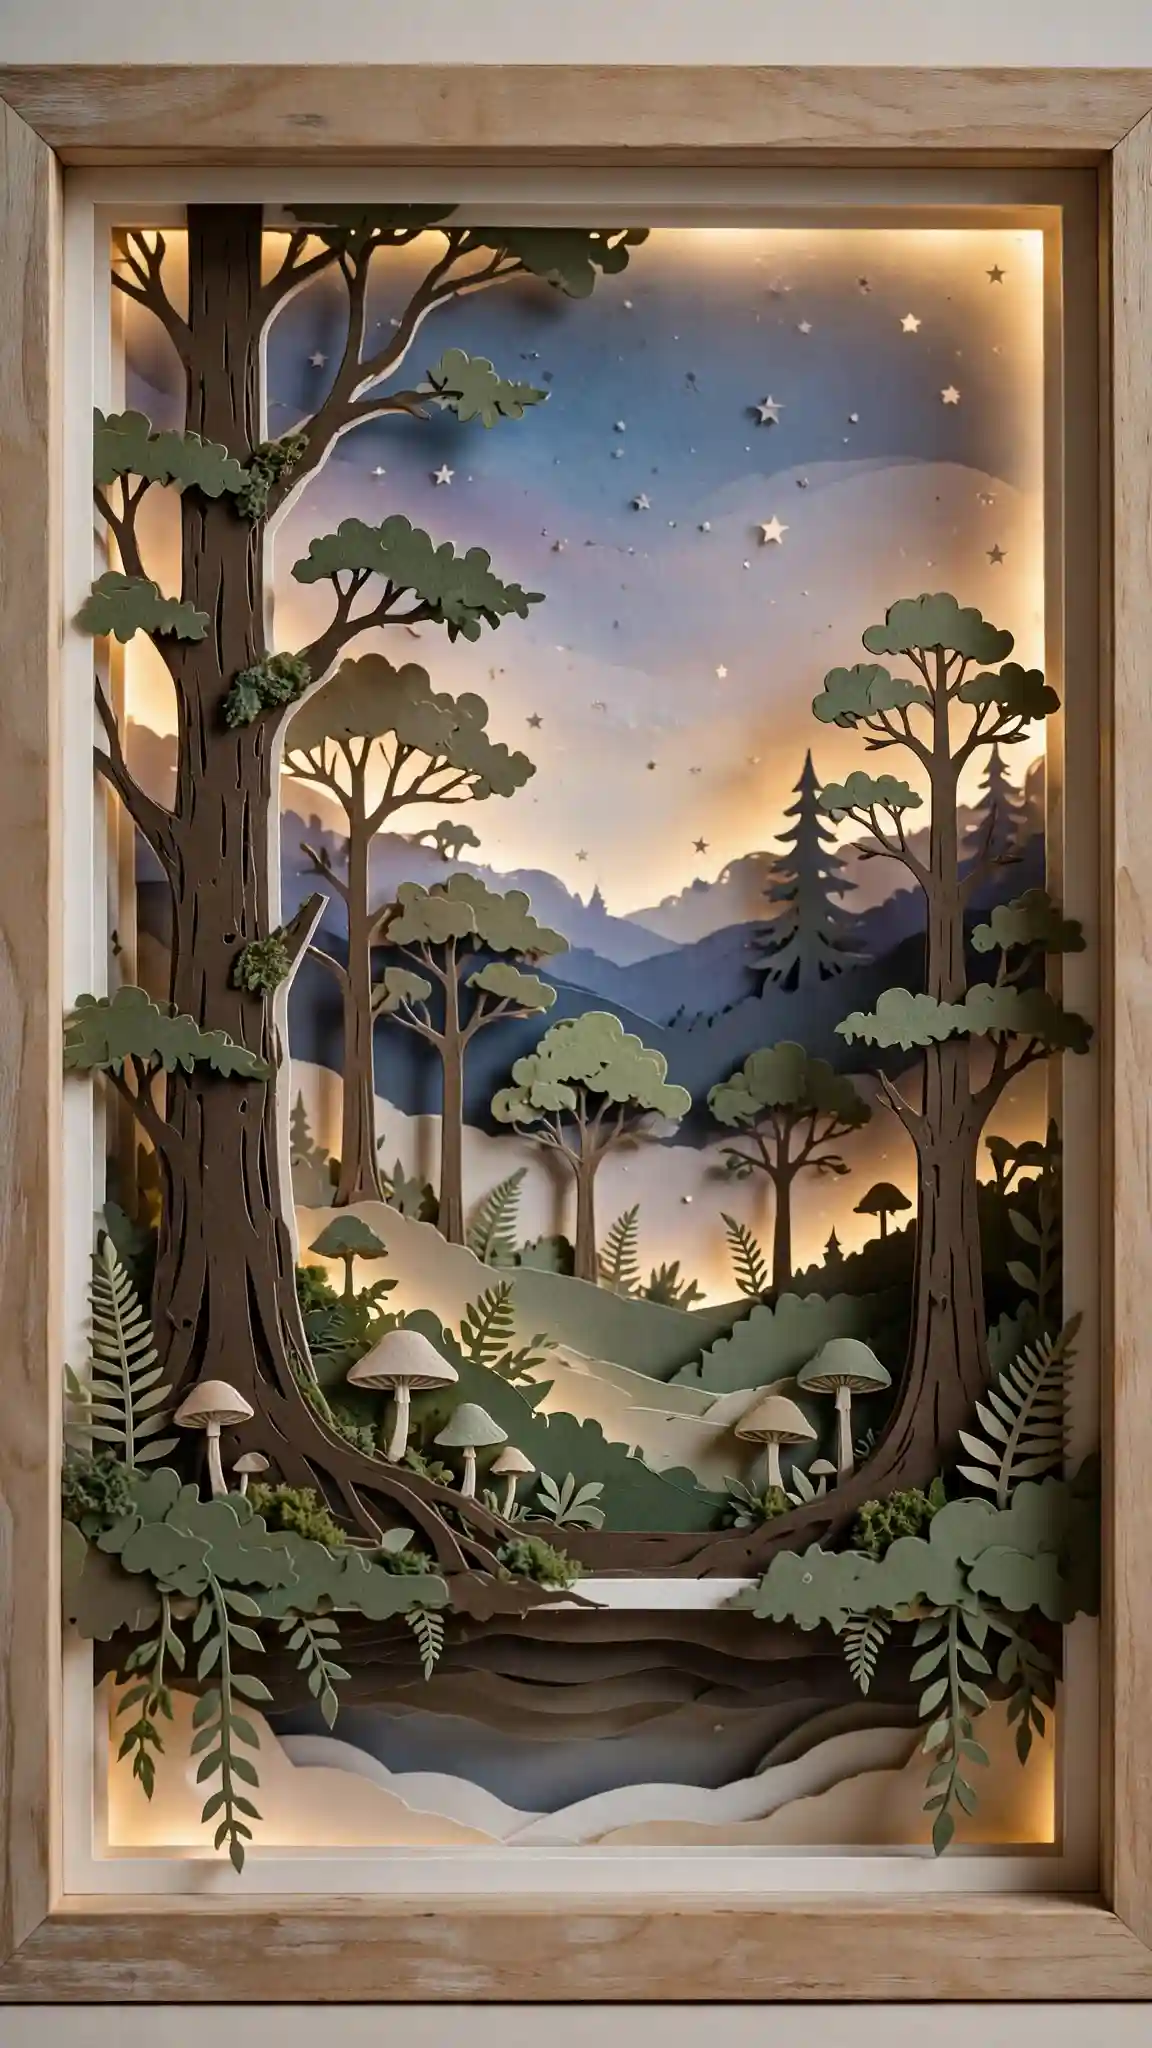
Create a three-dimensional scene inside a shadow box using layered paper cutouts. Think enchanted forest, city skyline, or underwater world—each layer adds depth and tells a story.
Cut your scene into separate layers: foreground, middle ground, and background.
The foreground might be detailed tree trunks or building silhouettes, the middle ground could be smaller trees or clouds, and the background is typically a solid or gradient sky.
📐 3-Layer Depth Build
Mount each layer on foam spacers so they sit at different depths within the frame.
The shadows created between layers make the scene come alive, especially if you add LED backlighting behind the whole thing.
This technique works for any theme—create a peaceful nature scene for a bedroom, a whimsical fairytale forest for a nursery, or a sleek cityscape for a modern living room.
The level of detail you add is completely up to you, making this perfect for beginners and advanced crafters alike.
Happy Crafting!
The beautiful thing about paper wall decor is that mistakes are easy to fix and supplies are cheap, so you can experiment without stress.
Pick the project that speaks to you and transform that blank wall into something amazing—your space deserves it!






