
DIY Paper Squishies: 5 Cute & Easy Ideas

Want a budget-friendly way to make your own squishy toys? DIY Paper Squishies are a simple and satisfying craft that anyone can try. With just paper, tape, and a little creativity, you can create soft, squeezable designs that are just as fun as store-bought ones.
When I first discovered DIY Paper Squishies, I thought they were just another trend. But after making one, I realized how simple and relaxing they can be.
Most beginners struggle with where to start. My first squishy turned out flat and stiff, nothing like the soft ones I saw online. It felt frustrating at first.
But once I learned a few basics, like proper layering, soft filling, and neat sealing, everything changed. My squishies became softer, cuter, and much more satisfying to press.
With a little patience, DIY Paper Squishies turn into fun, creative, and stress-relieving crafts you’ll want to make again and again.
Puffy Cloud Squishy With Rainbow Details
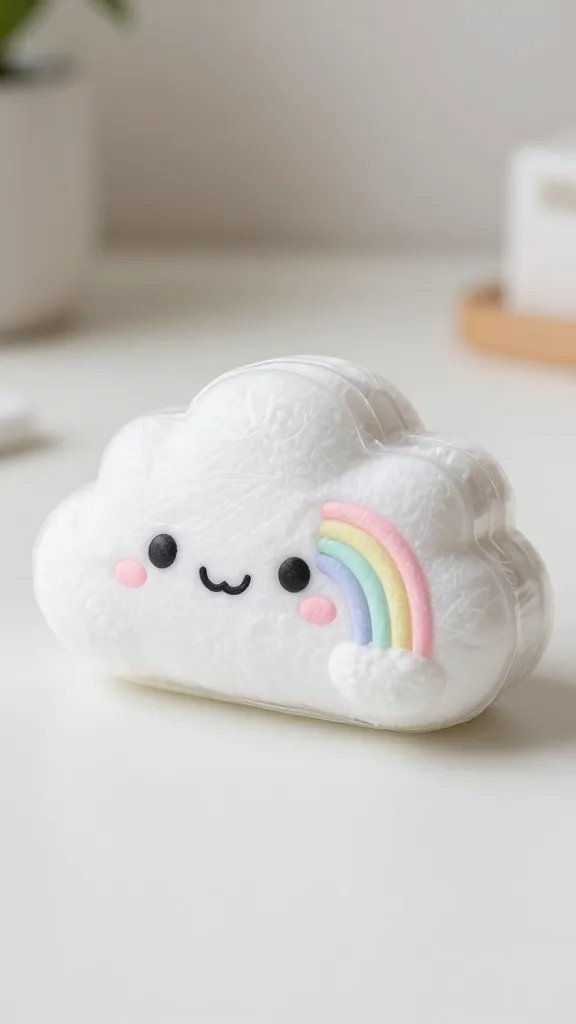
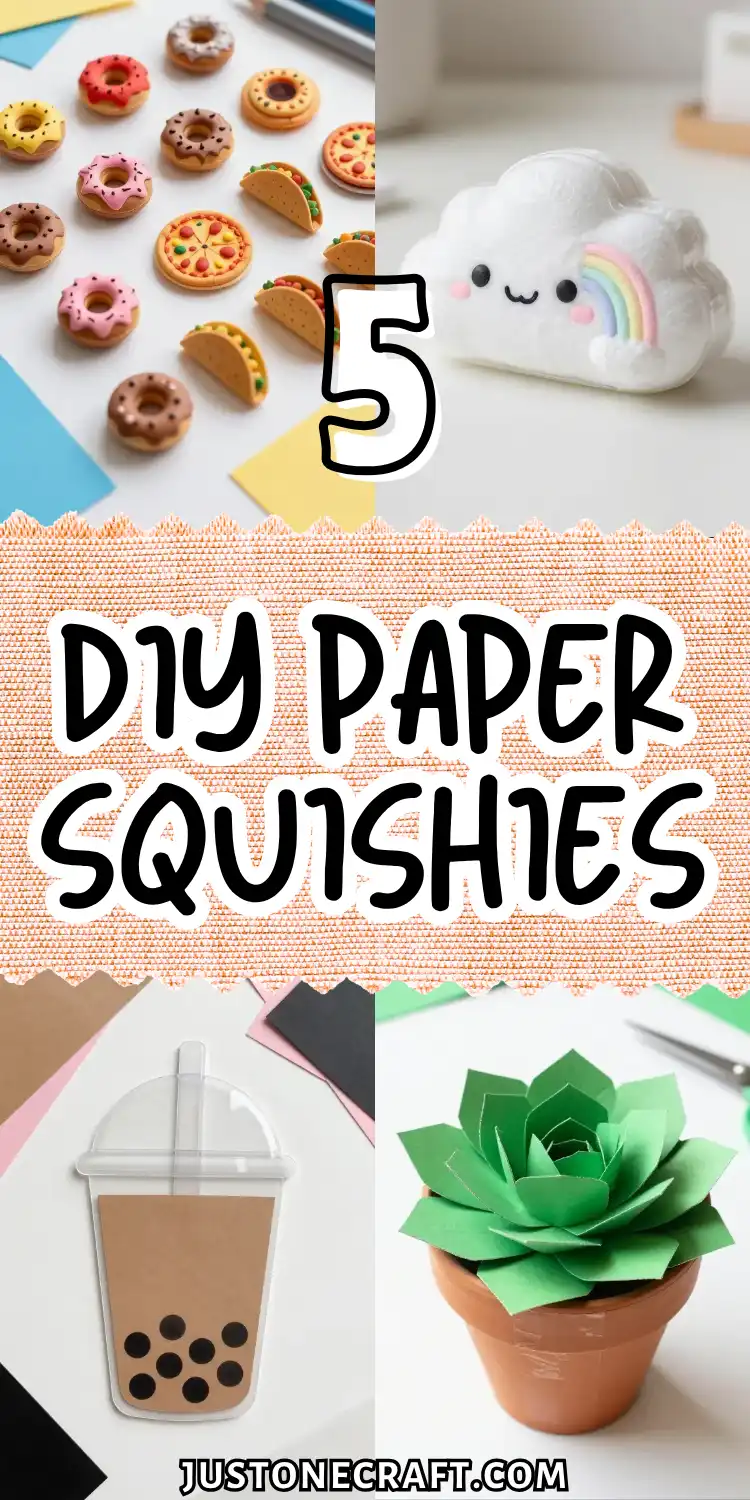
Picture the cutest little cloud you’ve ever seen, complete with a smiling face and tiny rainbow streaming from its side.
This paper squishy is pure kawaii magic and looks absolutely adorable sitting on your desk or dangling from your backpack.
The puffy texture makes it incredibly satisfying to squeeze, and the pastel colors give it that dreamy aesthetic everyone loves.
Materials Needed
- White cardstock or thick paper
- Colored paper in rainbow shades (or markers)
- Clear packing tape
- Cotton balls or polyester stuffing
- Black marker for the face
- Scissors and glue stick
How to Make It
Start by drawing a simple cloud shape on your white cardstock—think rounded, fluffy edges that make you want to take a nap on it.
Cut out two identical cloud shapes because you’ll need a front and back. Draw an adorable sleepy face on one cloud with your black marker, giving it those classic closed happy eyes and a little smile.
Now for the rainbow! Cut small strips from your colored paper in rainbow order, or simply draw them with markers if you’re going for a quicker route.
Arrange them coming out from one side of your cloud. Place your two cloud pieces together with the decorated sides facing out, then carefully seal around the edges with clear packing tape, leaving a small opening at the top.
Here’s where the magic happens—gently stuff small pieces of cotton or polyester filling through that opening until your cloud feels nice and squishy.
Don’t overstuff it or you’ll lose that satisfying squeeze factor. Seal up the opening with more tape, and you’ve got yourself the cutest little cloud companion.
This squishy is perfect for anyone who loves soft, dreamy aesthetics, and it makes an especially sweet gift for a friend who needs a little sunshine in their day.
Miniature Food Squishy Collection
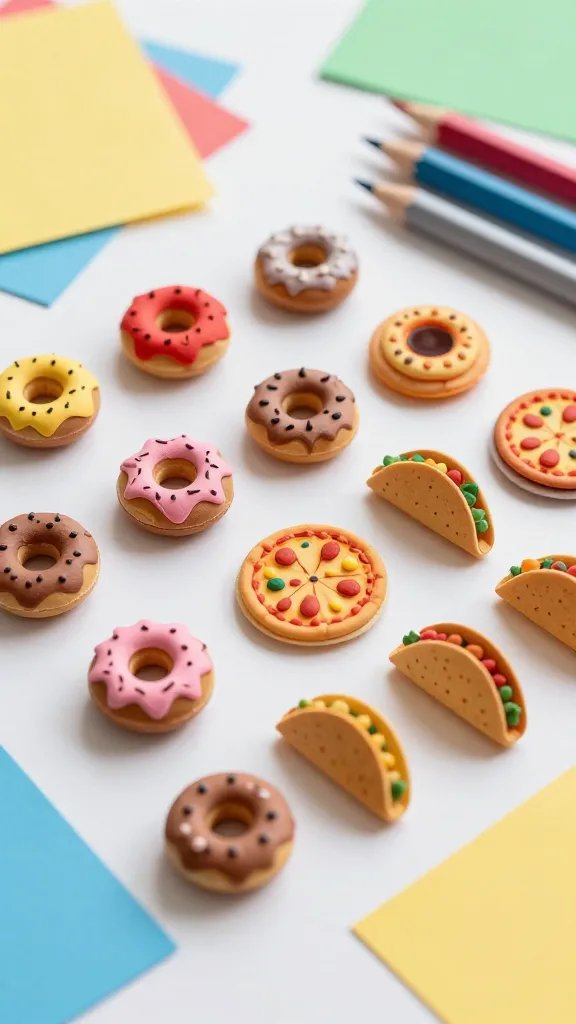
Tiny donuts, itty-bitty pizzas, and adorable little tacos—this project is all about creating a whole collection of miniature food squishies that look good enough to eat.
These are seriously addictive to make once you get started, and they’re perfect for trading with friends or creating your own squishy charm bracelet. The best part is customizing them to look like your actual favorite foods.
Materials Needed
- Colored paper or cardstock in various food colors
- Markers, colored pencils, or crayons
- Clear packing tape
- Memory foam pieces or makeup sponges
- Scissors
- Hole punch (optional, for charms)
How to Make It
Choose which mini food item you want to create first—let’s say a donut because who doesn’t love donuts? Draw a small donut shape (about 2-3 inches wide) on tan or beige cardstock, then add pink “frosting” on top with markers. Get creative with sprinkles by adding tiny colorful dashes all over.
Cut out two identical donut shapes and decorate both sides so your squishy looks good from any angle.
Layer them together and tape around the edges, but leave a small gap for stuffing. Cut tiny pieces from a makeup sponge or memory foam—these work better than cotton for food squishies because they bounce back faster when squeezed.
Stuff your donut through the opening, making sure to push filling into the ring shape evenly. Seal it up completely with tape, trimming any excess for a clean finish.
FYI, the key to realistic-looking food squishies is in the shading and details, so don’t skip adding those little shadows and highlights with your markers.
Make a whole bakery case worth of treats, from croissants to cupcakes, and display them in a cute little box.
These are fantastic for kids who love collecting miniature things or anyone who enjoys fidget toys with personality.
Succulent Plant Squishy With Textured Leaves
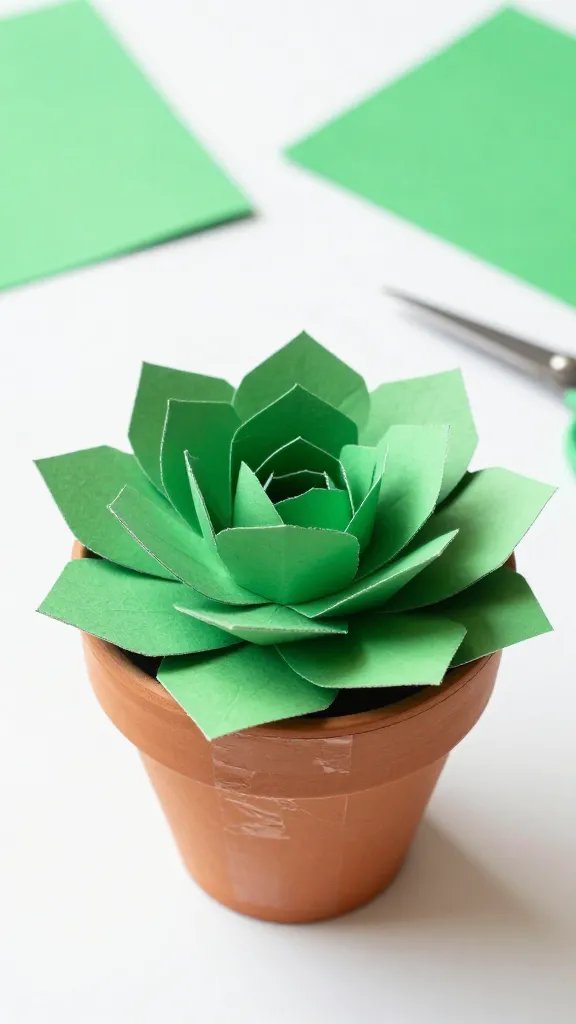
If you can’t keep real plants alive (no judgment here), this succulent squishy is your new best friend.
It captures that trendy plant aesthetic without any watering required, and the layered paper leaves give it an unexpectedly realistic texture. Plus, squeezing a cactus that won’t poke you back is oddly therapeutic.
Materials Needed
- Green cardstock in 2-3 different shades
- Small terracotta-colored paper or cardstock
- Clear packing tape
- Thin foam sheets or sponges
- Scissors and glue
- Green and darker green markers for shading
How to Make It
Draw a rounded succulent shape on your green cardstock—think of those chunky echeveria plants with their rose-like leaf patterns.
Instead of making it flat, cut out individual petal-shaped leaves in graduating sizes. This creates that dimensional look that makes your squishy stand out.
Layer and glue the leaves in a spiral pattern on one base piece, starting with larger leaves on the outside and smaller ones toward the center.
Use your markers to add shading along the edges and down the center of each leaf for depth. Create a matching back side, or keep it simple with just one decorated side.
Tape around the outer edges of your succulent, stuff it with small foam pieces for that perfect squish factor, and seal it up.
Now for the pot—cut out a small terracotta-colored pot shape and attach it to the bottom of your succulent with glue or tape.
This one is perfect for plant lovers, desk decorators, or anyone who appreciates low-maintenance greenery. Trust me, it looks adorable propped up on a shelf next to your real plants.
Galaxy-Themed Stress Ball Squishy
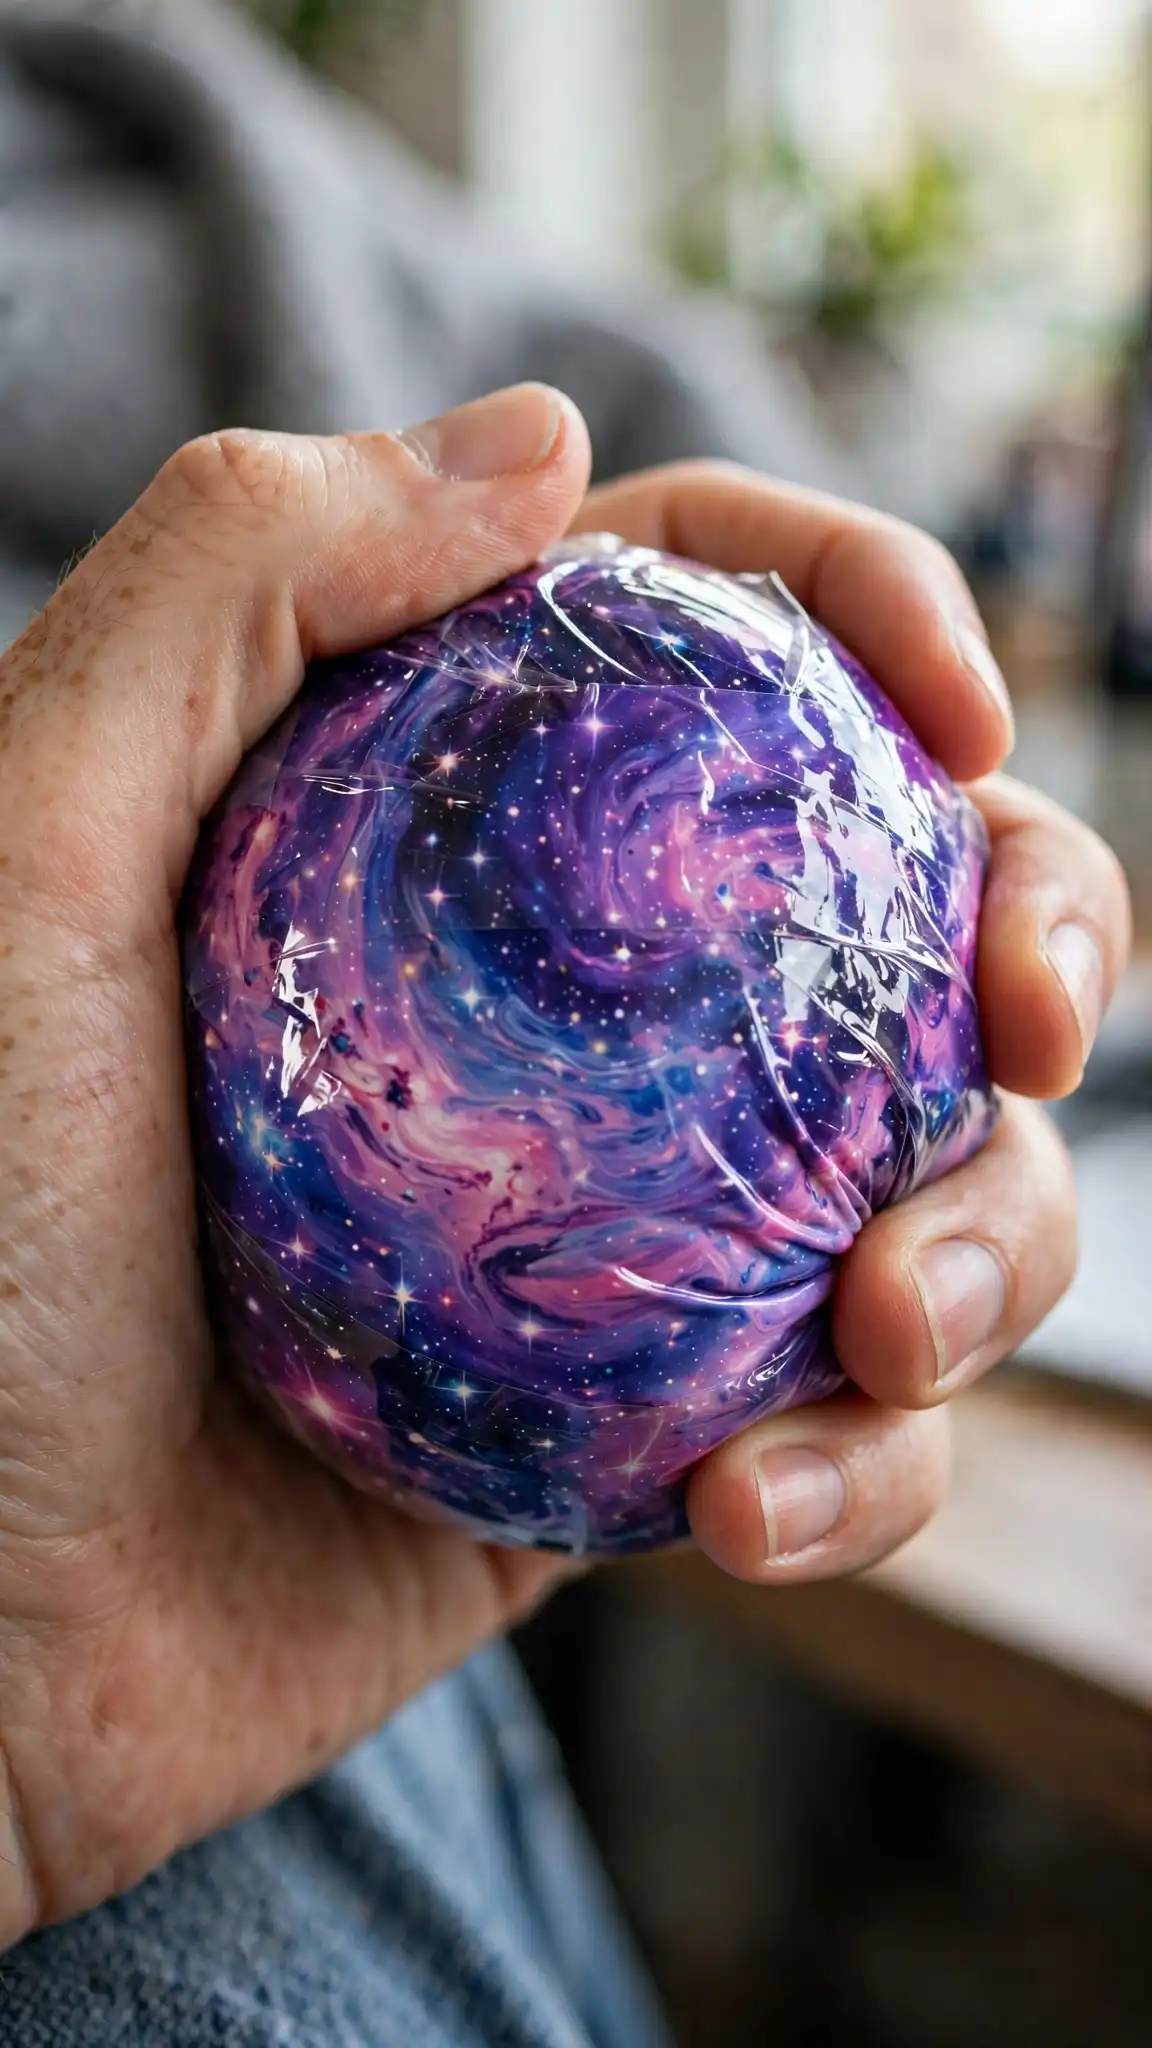
This isn’t your average paper squishy—it’s a mesmerizing swirl of purples, blues, and pinks with scattered stars that looks like you’re holding a tiny universe in your hand.
The galaxy theme makes it look way more complicated than it actually is, and the result is something you’ll want to show off to everyone. It’s also fantastic as a stress reliever during those long study sessions or work days.
Materials Needed
- White cardstock or watercolor paper
- Watercolors or markers in purple, blue, pink, and black
- White gel pen or paint pen
- Clear packing tape
- Balloon (yes, really!)
- Flour or cornstarch
- Funnel
How to Make It
Start by creating your galaxy artwork on the cardstock. Blend purples, blues, and pinks together in swirly patterns—don’t worry about being perfect, because galaxies are naturally chaotic and beautiful. Let it dry completely, then add tiny white dots for stars using your gel pen.
Here’s where this squishy gets different—cut your galaxy paper into a circle about 4-5 inches across.
Take a deflated balloon and carefully stretch the opening. Using a funnel, fill the balloon with flour or cornstarch until it’s about the size of a stress ball, then tie it off tightly.
Wrap your galaxy paper around the filled balloon, securing it with clear packing tape to create a smooth spherical shape.
The tape gives it that slightly shiny, glossy look while the flour filling provides an amazing squish texture that’s different from cotton-filled versions.
This squishy is ideal for anyone who loves space, wants a functional stress reliever, or just appreciates something that looks cool while serving a purpose. Seriously, the galaxy design makes it feel like a little work of art.
Bubble Tea Cup Squishy With Moving Pearls
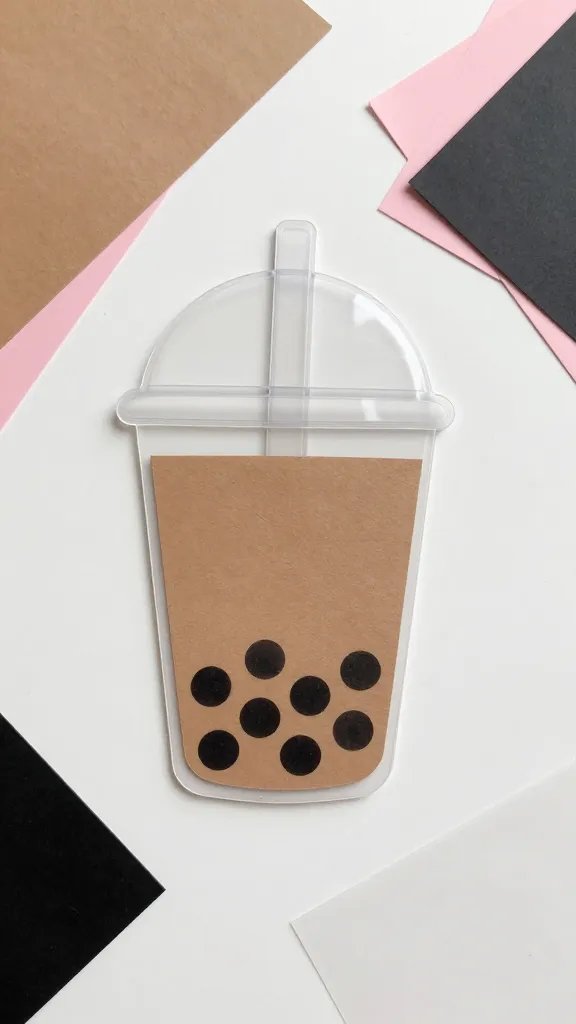
Calling all boba lovers—this one’s for you! This bubble tea squishy features a transparent “cup” design where you can actually see little paper pearls moving around inside.
It’s incredibly satisfying to shake and squeeze, and it looks exactly like your favorite boba drink.
The combination of visual appeal and tactile fun makes this the ultimate paper squishy project.
Materials Needed
- Clear contact paper or laminating sheets
- Colored paper for the “tea” (brown, pink, or purple)
- Black cardstock for boba pearls
- White paper for the lid
- Plastic straw piece
- Foam pieces or sponge bits
- Glitter or small beads (optional)
- Scissors and tape
How to Make It
Cut out two identical cup shapes from your clear contact paper—think of a typical takeout cup silhouette with a slight taper at the bottom.
Cut a matching cup shape from your colored paper, but make it slightly smaller so it sits inside the clear layers like the actual tea.
Use a hole punch to create tiny circles from black cardstock—these are your boba pearls. You’ll want about 10-15 of them.
Place your colored tea layer on one piece of clear contact paper, add your boba pearls on top, then carefully seal with the second clear layer, leaving an opening at the top.
Add small foam pieces through the opening for that squishy texture, making sure not to overfill so your pearls can still move around.
Seal the top and add a white paper lid with a small plastic straw piece poking through. You can even add a tiny paper label with a fun drink name.
When you squeeze this squishy, the pearls shift around inside just like real boba settling in a cup. It’s absolutely mesmerizing and makes the perfect gift for your bubble tea-obsessed bestie or as a cute charm for your bag.
Begin Your DIY Journey
There you have it—five completely different paper squishy projects that’ll keep your hands busy and your creativity flowing.
Each one brings something unique to the table, from stress relief to decorative charm. Pick your favorite and get crafting, or challenge yourself to make all five and start your own squishy collection. Happy squishing!






