DIY Paper Quilling Ideas: 9 Creative Designs

Are you searching for an affordable craft idea that looks impressive? These DIY Paper Quilling projects are perfect for beginners and craft lovers who want to create elegant paper designs using simple supplies and creative techniques.
When I first discovered DIY Paper Quilling, I thought it was one of those crafts that looked amazing online but was too difficult to recreate at home.
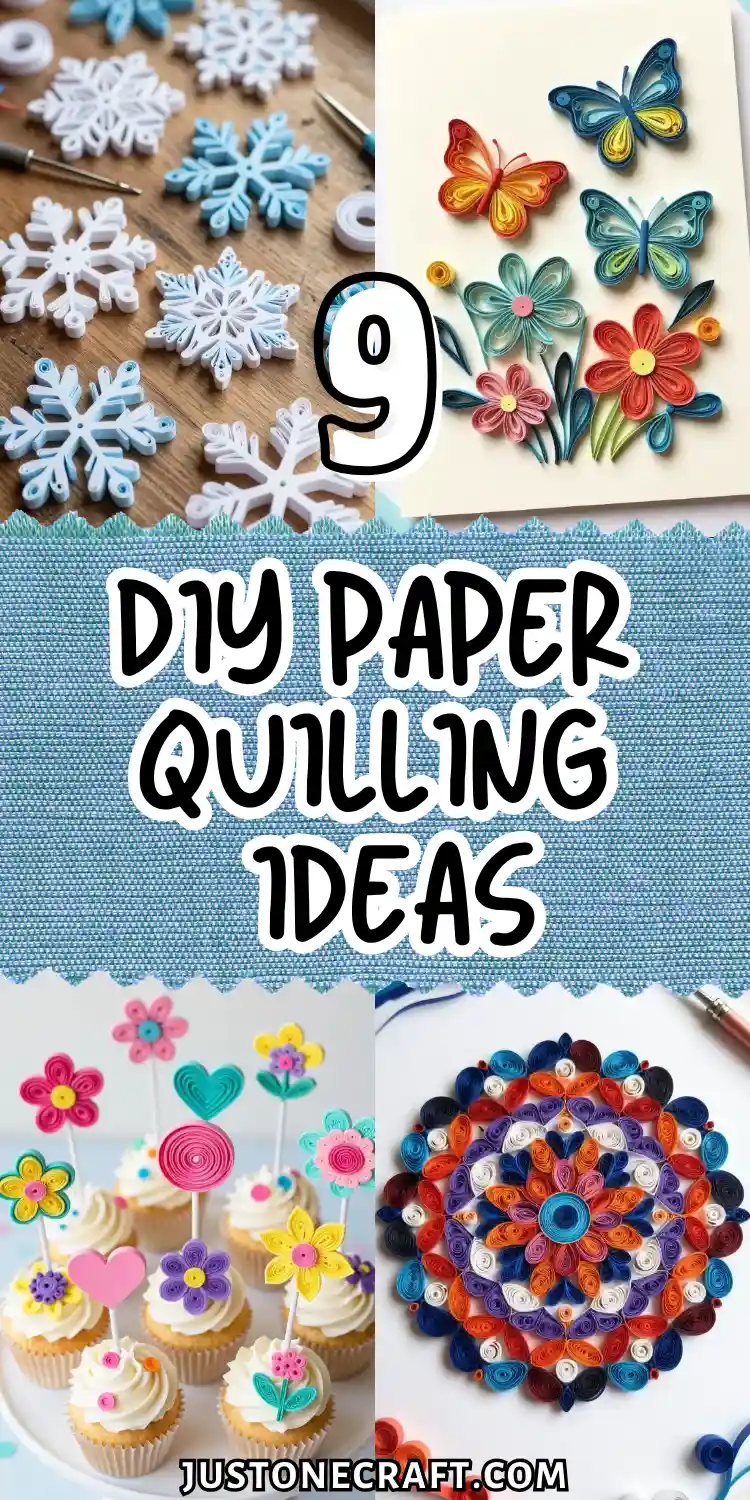
I loved seeing delicate flowers, wall art, and detailed paper designs, but I wondered how simple paper strips could become something so beautiful.
The challenge wasn’t the supplies; I already had paper, glue, and basic tools. I just needed to understand where to begin.
After trying simple projects, I discovered how a few rolls and curves could transform ordinary paper into creative handmade art.
What surprised me most was how relaxing the process felt. Paper quilling became more than a craft—it became a way to slow down, enjoy creativity, and make something personal.
Whether you want to decorate your home, create gifts, or explore a new hobby, these DIY Paper Quilling ideas will help you turn simple paper into beautiful creations.
Delicate Snowflake Ornaments Perfect for Your Winter Wonderland
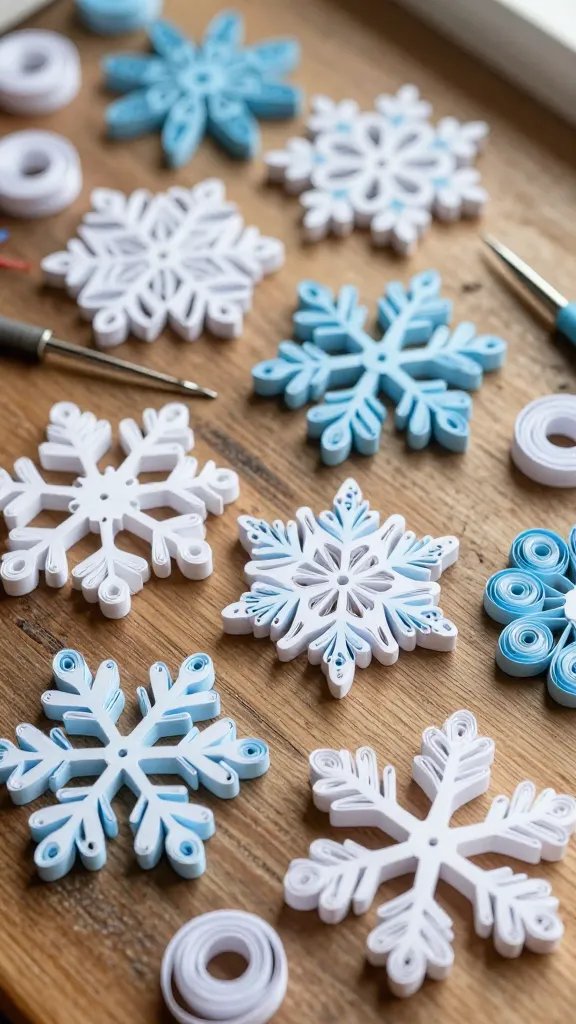
These intricate paper snowflakes bring all the magic of winter without any of the cold. Each ornament features tightly coiled white or icy blue paper strips arranged in symmetrical patterns that catch the light beautifully when hung in your window.
The best part? No two snowflakes need to look exactly alike, so you can let your creativity run wild with different coil sizes and arrangements.
Materials Needed
- White and light blue quilling paper strips (1/8 inch wide)
- Quilling tool or toothpick
- White craft glue
- Clear fishing line for hanging
- Small foam board for assembly
Start by creating loose coils and pinching them into teardrop shapes for the snowflake arms. Arrange six teardrops around a tight center coil to form the basic structure, then fill in the spaces between with smaller coils, scrolls, and marquise shapes.
Once your glue dries completely, thread fishing line through the top and hang these beauties on your Christmas tree or create a whole garland across your mantel.
These make absolutely gorgeous handmade gifts for anyone who appreciates delicate craftsmanship, and they store flat for years to come.
Vibrant Peacock Wall Art That Commands Attention
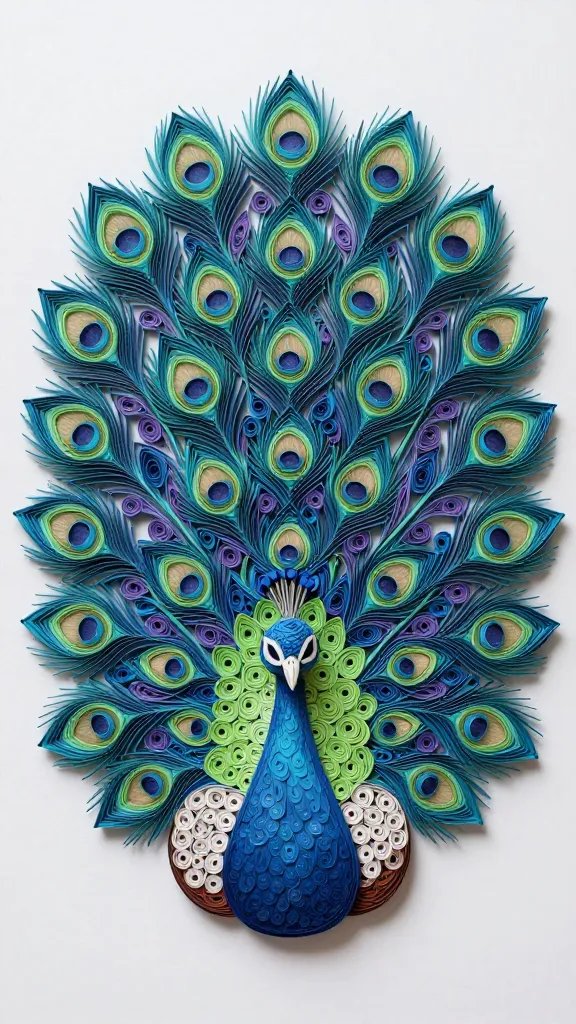
This showstopping piece features a majestic peacock with a fan of brilliantly colored tail feathers that practically leap off the wall.
Using rich teals, purples, greens, and blues, you’ll create eye-shaped feather patterns that capture the bird’s natural beauty in paper form. Seriously, guests won’t believe you made this yourself.
The peacock’s body starts with a simple pear-shaped coil in deep blue or teal, while the head features a tiny tight coil with a small triangle beak.
The real magic happens with the tail feathers—create elongated teardrop shapes and surround each one with graduated coils in different colors to mimic the peacock’s iconic “eye” pattern. Add metallic gold or copper strips along the edges for extra shimmer.
Pro Styling Tips
- Mount your finished peacock on a canvas painted in complementary colors
- Frame it in a deep shadow box to add dimension
- Create a pair facing opposite directions for dramatic symmetry
This piece works beautifully in living rooms, entryways, or anywhere you want to add a bold pop of color and artistic flair.
Monogrammed Letter for Personalized Nursery Decor
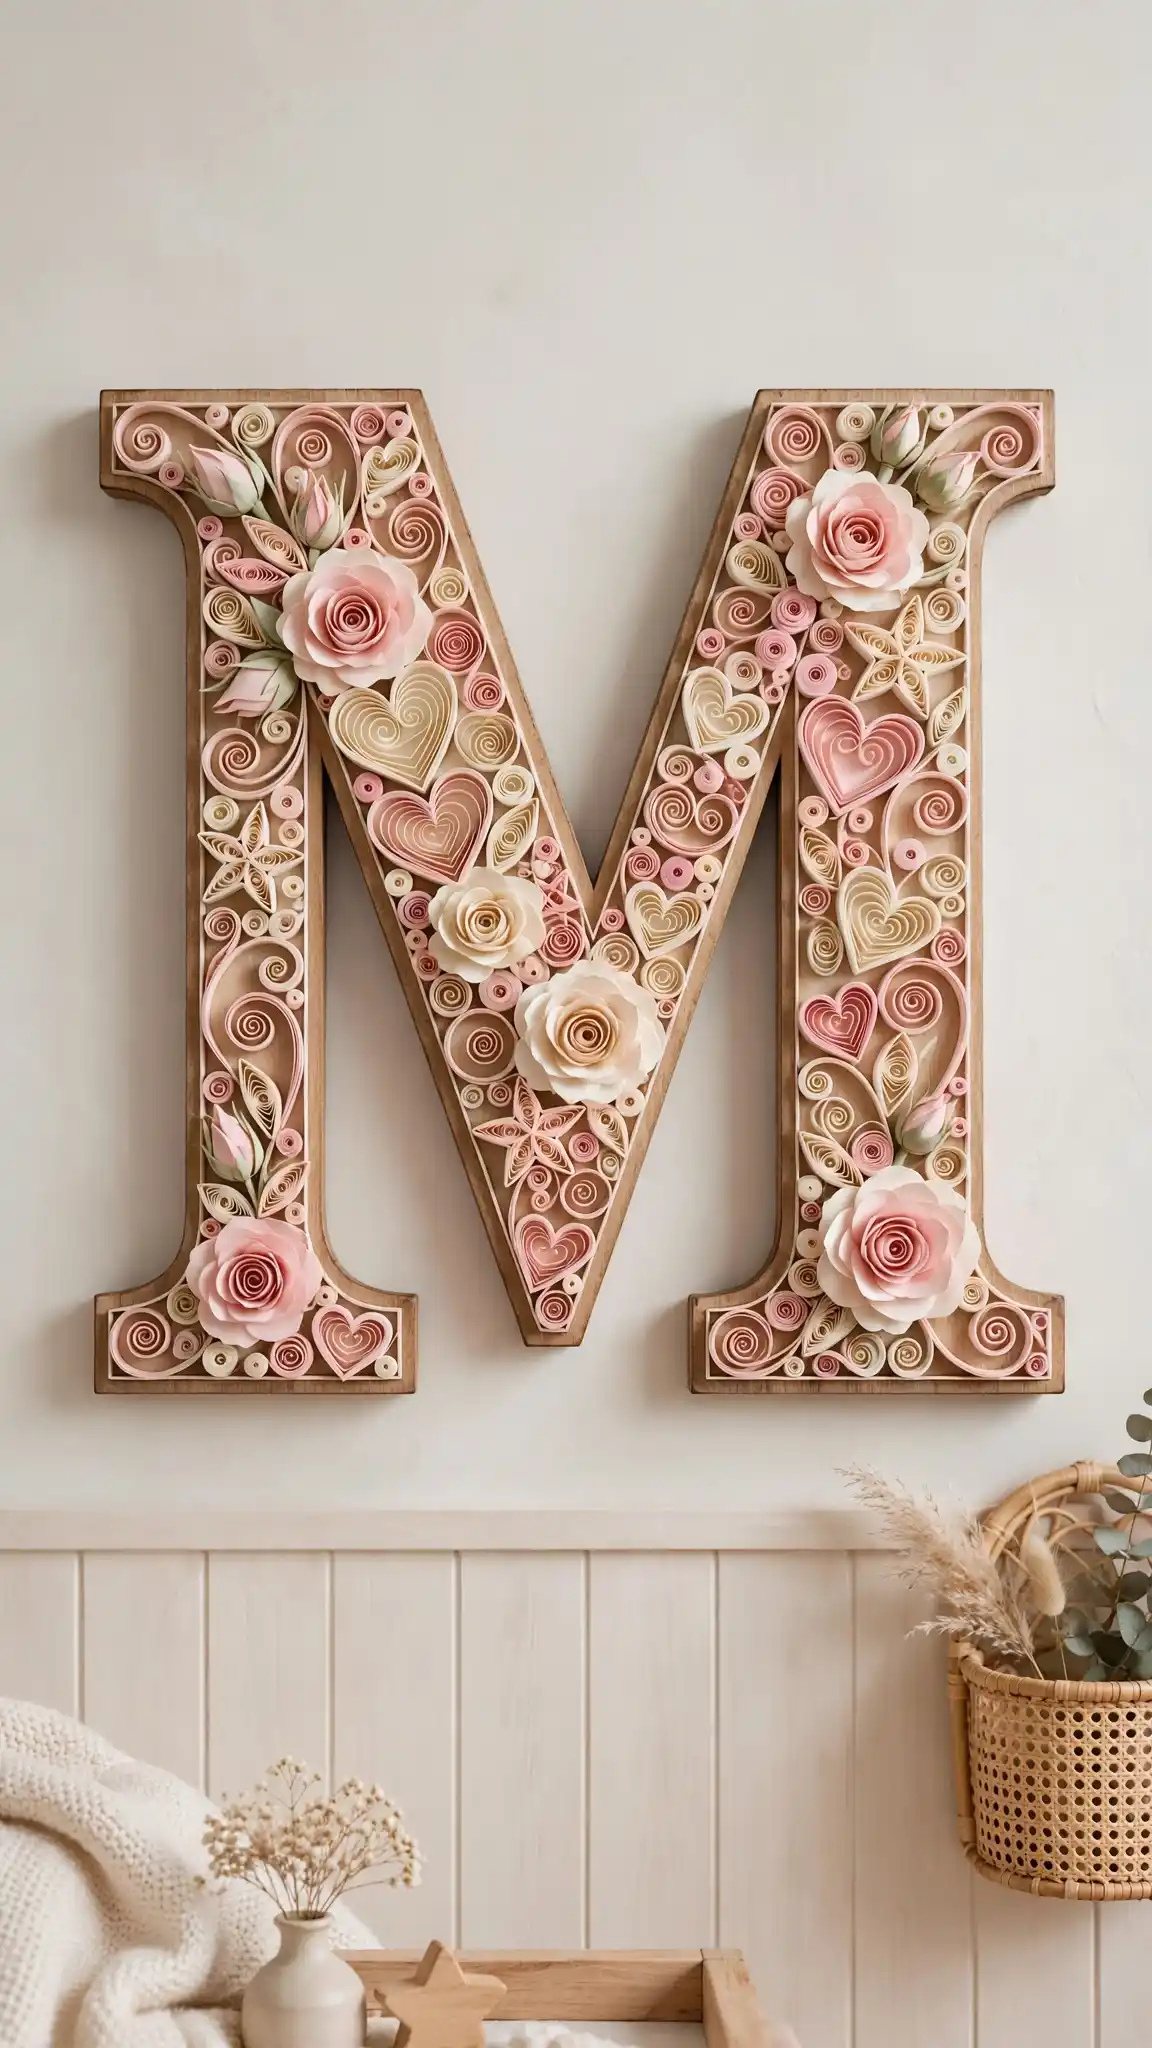
Transform a simple wooden or cardboard letter into a whimsical masterpiece perfect for a baby’s room.
This project lets you completely customize colors to match any nursery theme—think soft pastels for a dreamy look or bright primary colors for something more playful.
You’ll cover the entire letter surface with various quilled shapes, creating texture and visual interest that flat paint just can’t achieve.
Choose flowers, hearts, stars, or simple coils depending on your style preference. For a baby girl’s room, try filling the letter with tiny quilled roses in pink and cream.
For a gender-neutral space, geometric coils in mint, yellow, and gray create a modern Scandinavian vibe.
The technique is simple—just glue your quilled shapes directly onto the letter form, working from the outside edges toward the center.
Fill any gaps with tight coils in coordinating colors until the entire surface is covered. Trust me, this becomes an instant family heirloom that parents will treasure long after the nursery years.
Whimsical Butterfly Garden Card for Special Occasions
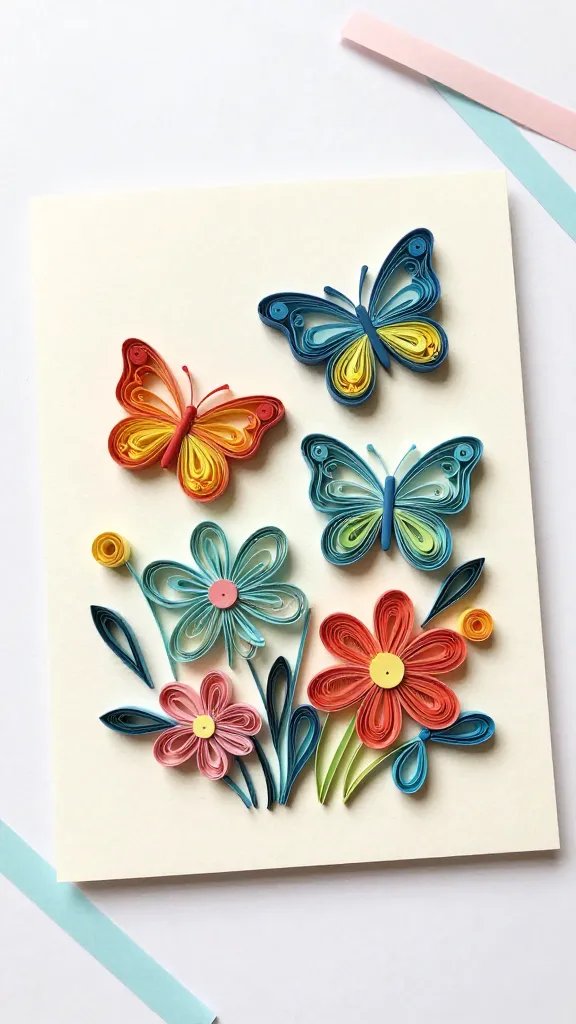
Forget store-bought greeting cards—this handmade beauty features delicate butterflies hovering over quilled flowers that pop right off the page.
The dimensional quality makes recipients feel like they’re peeking into a miniature paper garden.
Each butterfly wing is created separately using marquise and teardrop shapes, then assembled with a simple coiled body down the center.
How to Make It
- Create four wing shapes using tight scrolls in complementary colors
- Add a small elongated coil for the body
- Position butterflies at varying heights using foam dots
- Add quilled flowers and grass at the bottom for context
- Write your message inside with a coordinating pen
These cards work beautifully for birthdays, Mother’s Day, or just-because occasions when you want to send something truly special. The best part? They’re flat enough to mail without extra postage.
Elegant Jewelry Featuring Miniature Quilled Pendants
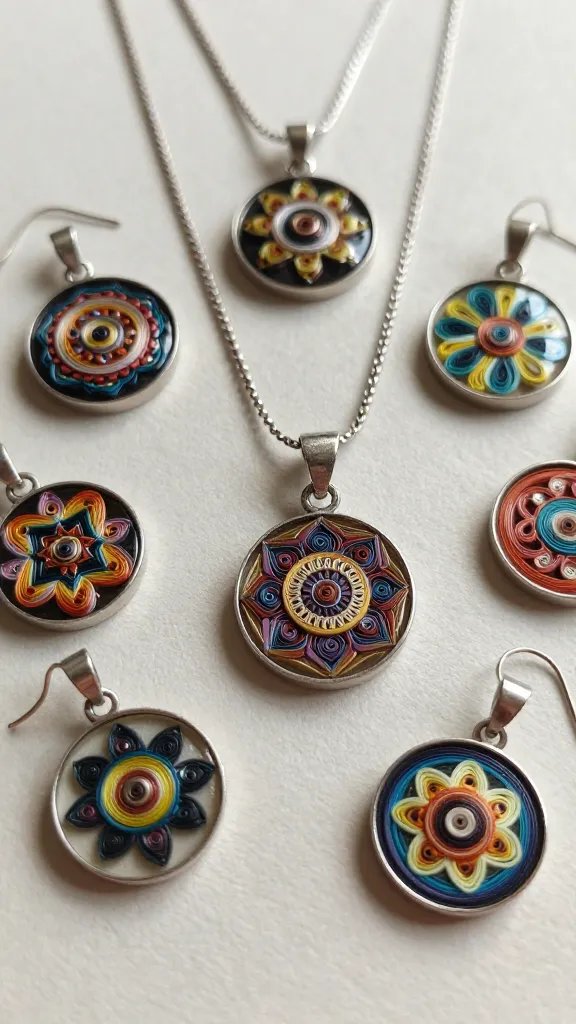
Who says paper quilling is just for wall art? These tiny quilled pendants get sealed with resin or dimensional glaze to create waterproof, wearable art pieces that look absolutely stunning.
Create mini mandalas, flowers, or abstract swirls no bigger than a quarter, then set them in pendant bezels for necklaces or earring frames for seriously unique accessories.
The key is working with very thin quilling strips (1/16 inch) to keep your designs delicate and jewelry-appropriate.
Choose metallic papers for elegant evening pieces or bright colors for fun everyday wear. Once you’ve arranged your design and let it dry completely, apply several coats of clear resin or dimensional glaze to protect the paper and give it a glass-like finish.
These make incredible handmade gifts because each piece is completely one-of-a-kind, and people are always amazed when you tell them they’re made from paper.
Stunning Sunburst Mirror Frame That Steals the Show
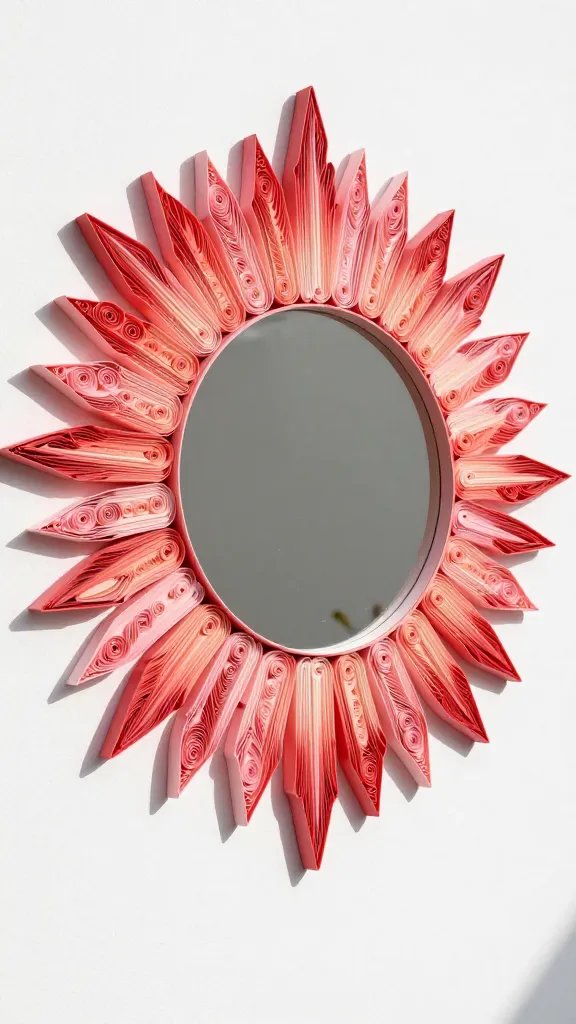
Take a basic round mirror and transform it into a statement piece with quilled paper rays extending outward like a sunburst.
This project combines geometric precision with creative color choices—go for classic gold and yellow for a traditional sun motif, or try ombre shades of coral and pink for a sunset vibe.
The dimensional quality of the quilled rays creates beautiful shadows that change throughout the day as natural light shifts.
Creating the Rays
- Make elongated loose coils in varying lengths
- Pinch one or both ends for flame-like shapes
- Arrange rays around the mirror edge in alternating lengths
- Add smaller accent coils between larger rays for fullness
Mount your finished mirror in an entryway, bathroom, or bedroom where it can serve as both functional and artistic decor. FYI, this looks particularly gorgeous above a console table with a few candles nearby.
Adorable Cupcake Toppers for Celebration Cakes
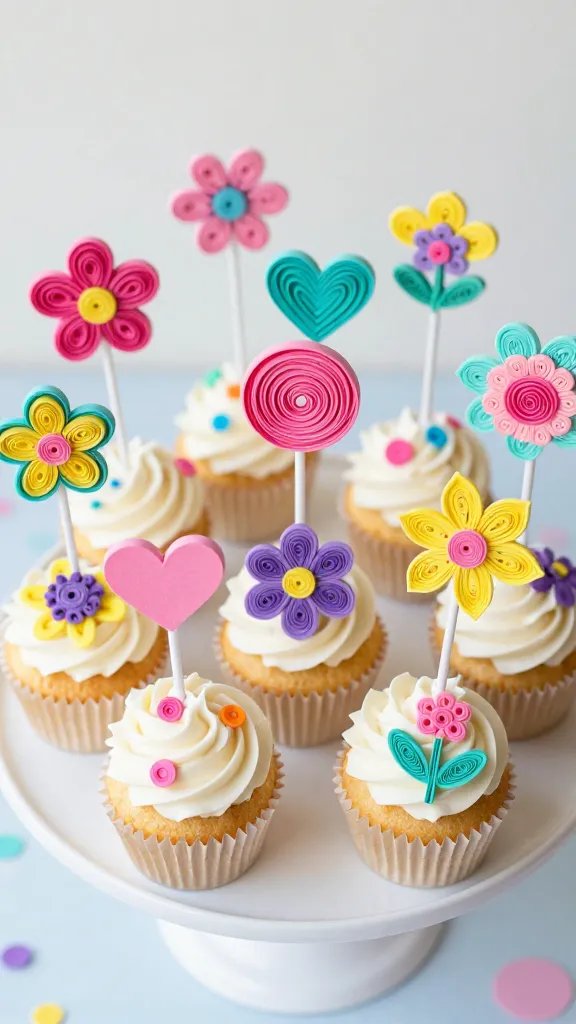
Elevate your next birthday party or celebration with these charming quilled cupcake toppers that look almost too cute to eat.
Create miniature flowers, numbers, hearts, or themed shapes that coordinate with your party colors, then attach them to toothpicks or lollipop sticks. Each topper becomes a tiny work of art sitting atop your frosted cupcakes.
The secret to food-safe quilled toppers is keeping the paper element completely separate from the frosting—the stick provides that barrier.
Make simple flowers with five teardrops arranged around a center coil, or spell out initials for personalized party treats.
Seal finished designs with edible glaze or keep them as paper-only decorations that guests can take home as favors.
These work wonderfully for weddings, baby showers, milestone birthdays, or any event where you want that extra handmade touch that shows you really care.
Intricate Mandala Design for Meditation and Mindfulness
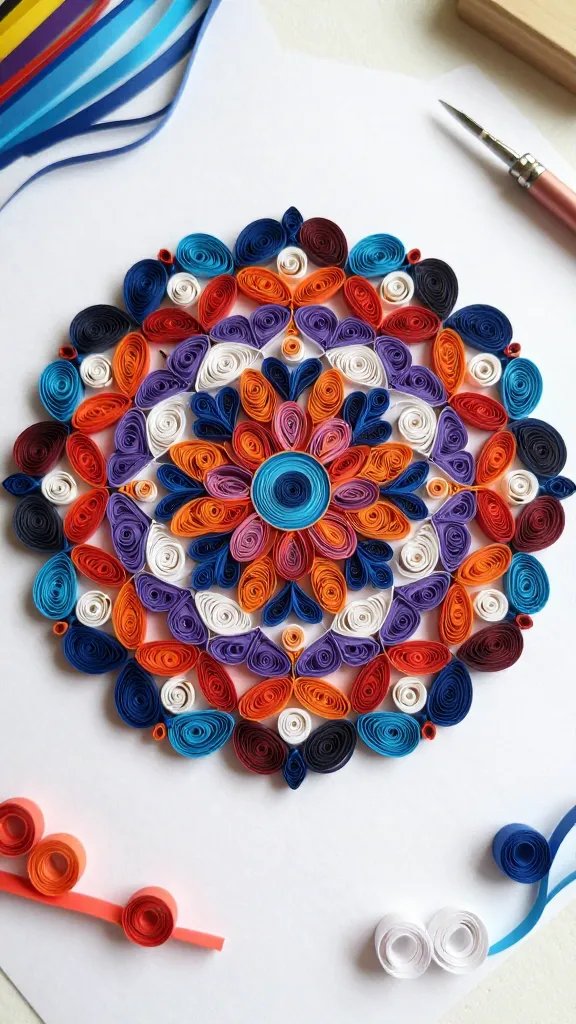
Creating a quilled mandala is as therapeutic as the finished piece is beautiful. This circular, symmetrical design radiates outward from a central point, incorporating repetitive patterns that make the actual crafting process meditative and calming.
Choose a color palette that speaks to you—cool blues and purples for tranquility, or warm oranges and reds for energy.
Start with a tight center coil and work your way outward in rings, keeping each layer symmetrical by repeating the same shapes around the circle.
You might use eight teardrop shapes in the first ring, sixteen smaller teardrops in the second, and so on.
The repetitive motion of creating identical coils becomes almost zen-like, and before you know it, you’ve created a stunning piece of geometric art.
Frame your completed mandala and hang it in your yoga space, bedroom, or office as a reminder to pause and breathe.
The symmetry naturally draws the eye inward, making it perfect for moments when you need to center yourself.
Charming Miniature Succulents in Tiny Pots
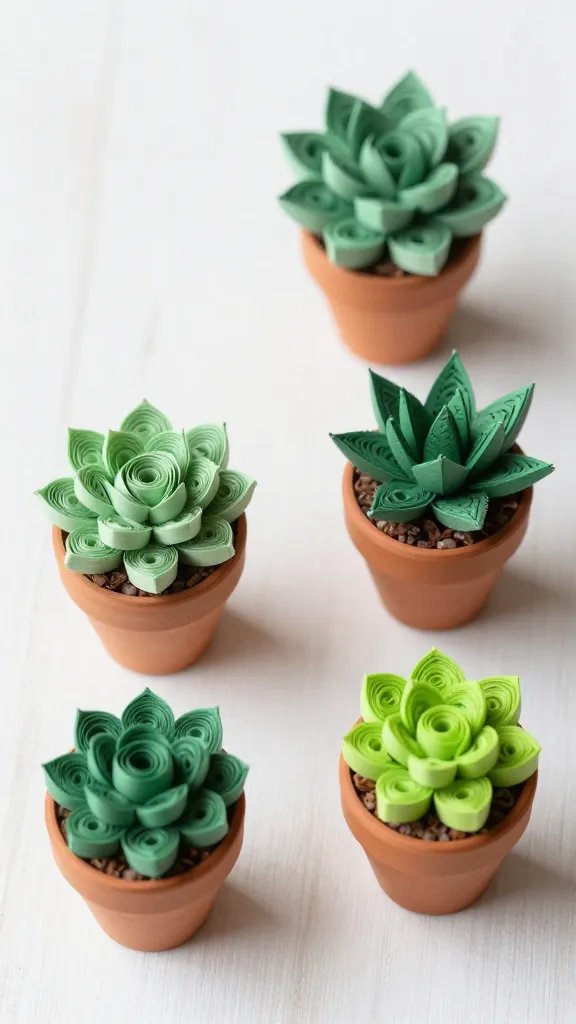
These adorable paper plants give you all the aesthetic appeal of real succulents without any of the watering responsibilities.
Create different succulent varieties using various shades of green quilling paper—from sage to emerald to lime.
Each plant type uses different coil shapes and arrangements to mimic popular varieties like echeveria, jade plants, or aloe.
Assembly Ideas
- Use small terracotta pots or painted wooden containers
- Fill pots with brown paper shreds or small pebbles for “soil”
- Create multiple plants in varying heights for a desktop garden
- Mix in tiny quilled flowers for pops of color
These work perfectly for office desks, bathroom shelves, or gifting to friends who love plants but struggle to keep them alive.
You’ll love this project because each little succulent has so much personality, and arranging several together creates an entire miniature garden scene that never needs sunlight.
Your Turn to Craft
Now that you’ve got nine amazing quilling projects to choose from, grab some paper strips and get rolling!
Whether you start with something simple like the cupcake toppers or dive right into that peacock masterpiece, you’re about to discover just how addictive this craft can be. The best part? You probably won’t be able to stop at just one.






