
DIY Paper Hat Ideas for Creative Fun

Never underestimate the magic of paper! With these DIY paper hat ideas, you can turn ordinary sheets into eye-catching accessories. From cute party hats to creative dress-up pieces, these ideas will spark your imagination and bring your crafts to life.
I didn’t think much about paper crafts until one rainy afternoon when I needed a quick activity to keep little hands busy. That’s when I discovered the charm of a DIY Paper Hat, simple, fun, and surprisingly creative.
The problem with quick crafts is they often feel too basic or get boring fast. But with the right folds, colors, and a bit of imagination, a plain sheet of paper can turn into something wearable and exciting.
Add patterns, stickers, or recycled materials, and suddenly a simple hat becomes a playful masterpiece. Easy to make and budget-friendly, a DIY Paper Hat is a fun way to get creative for any age.
Vintage Newspaper Sailor Hat With a Modern Twist
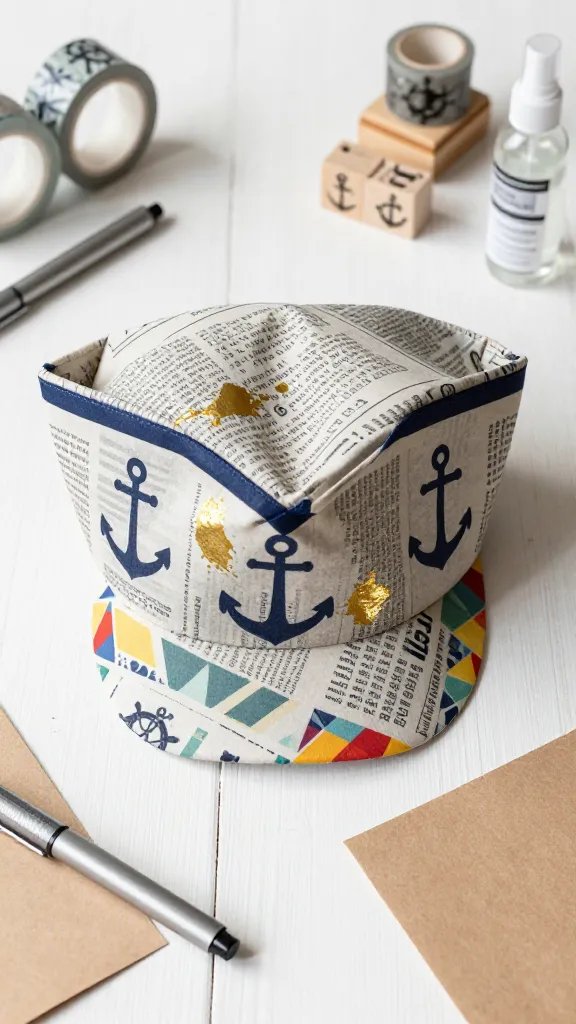
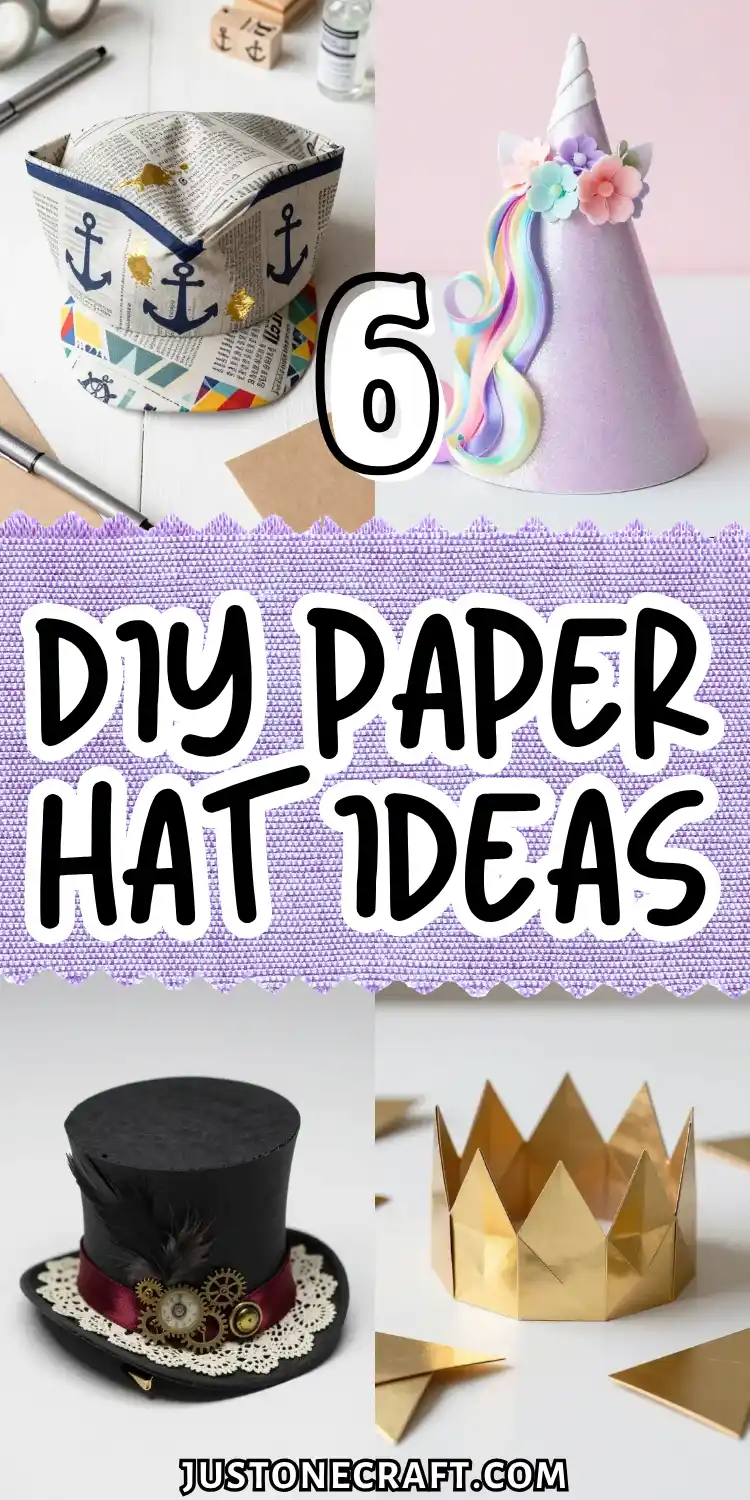
This classic never goes out of style, but we’re giving it a serious upgrade. Imagine a crisp sailor hat folded from newspaper, then customized with colorful washi tape borders, hand-drawn anchor designs, or even splattered with metallic paint for that trendy mixed-media look.
It’s the perfect blend of nostalgic and now.
Materials Needed
- Large newspaper sheets or kraft paper
- Washi tape in various patterns
- Metallic paint pens or acrylic paint
- Rubber stamps (nautical themes work great)
- Clear spray sealant
How to Make It
Start with your basic sailor hat fold—you know, that rectangular fold-and-tuck technique your grandfather probably taught you. Once your hat shape is secure, let the decorating begin!
Add washi tape along the brim for instant color, use stamps to create repeating patterns, or go freehand with paint pens to write fun phrases like “Captain Awesome” or “Sea You Later.”
The beauty here is personalization. Each hat becomes a miniature canvas, and seriously, kids go wild customizing their own.
These work beautifully for nautical-themed parties or as quirky photo booth props at summer gatherings.
Whimsical Unicorn Horn Party Hat
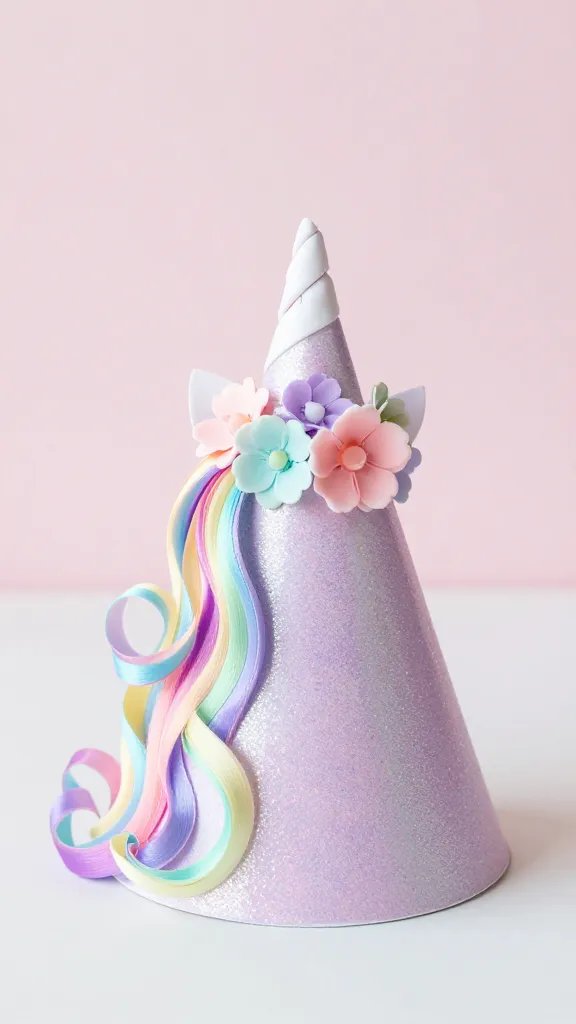
Unicorns aren’t going anywhere, and honestly, we’re not mad about it. This sparkly, magical creation starts with a simple cone shape but transforms into pure enchantment with the right embellishments.
Think pastel gradients, flowing ribbon mane, and enough glitter to make a craft store jealous.
Materials Needed
- Cardstock in white, pink, or lavender
- Glitter glue or loose glitter with mod podge
- Curling ribbon in rainbow colors
- Faux flowers (small ones work best)
- Elastic string for chin strap
- Hot glue gun
Roll your cardstock into a cone shape and secure it with glue or tape. Now comes the fun part—coating that horn in a gradient of glitter from tip to base.
While the glue dries, cut long strips of curling ribbon and attach them to the inside base of the cone so they cascade down like a magical mane.
Finish with a crown of tiny faux flowers around the base, and add your elastic strap. Trust me, every kid at the party will want one, and the photo ops are absolutely Instagram-worthy. These also make adorable party favors when made in advance!
Geometric Origami Crown for Your Inner Royalty
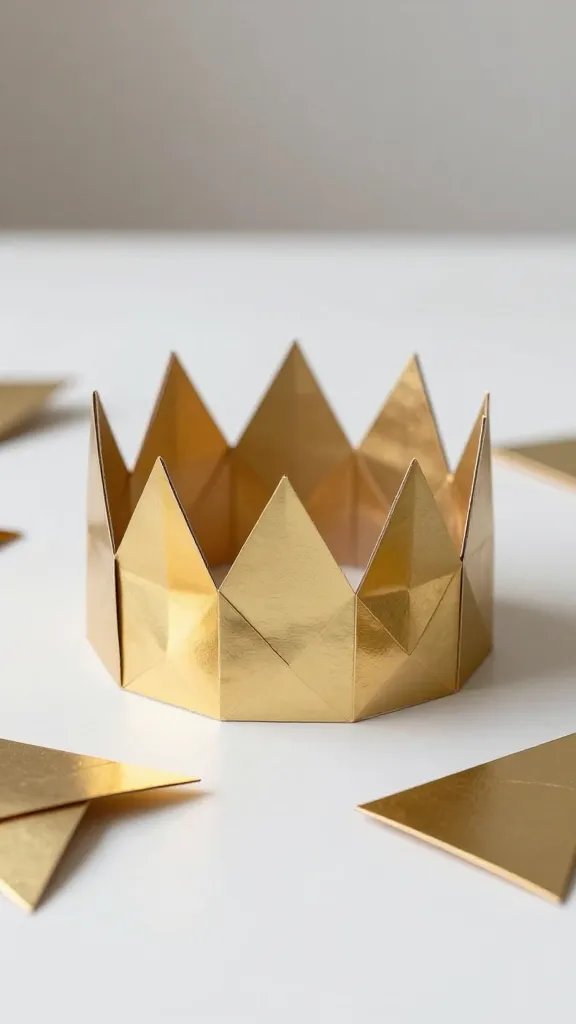
If you’re into clean lines and modern aesthetics, this geometric crown is calling your name. Made from metallic or solid-colored paper, it features sharp folds that create dimensional triangular peaks.
The result? A contemporary crown that looks way more complicated than it actually is.
Materials Needed
- Origami paper or metallic cardstock
- Ruler and bone folder
- Double-sided tape
- Optional: adhesive gems or small mirrors
How to Make It
This project uses a repeated folding pattern to create identical triangular segments that connect into a circular crown.
Each triangle is folded with precision to create that three-dimensional effect. Once you’ve mastered one segment (which takes about two minutes), you’ll create six to eight more and link them together.
The metallic paper catches light beautifully, making it perfect for New Year’s parties, birthday celebrations, or even as a cake topper.
You can keep it minimalist and sleek, or add tiny adhesive gems at each peak for extra sparkle. FYI, adults secretly love wearing these just as much as kids do.
Tropical Pineapple Hat for Summer Vibes
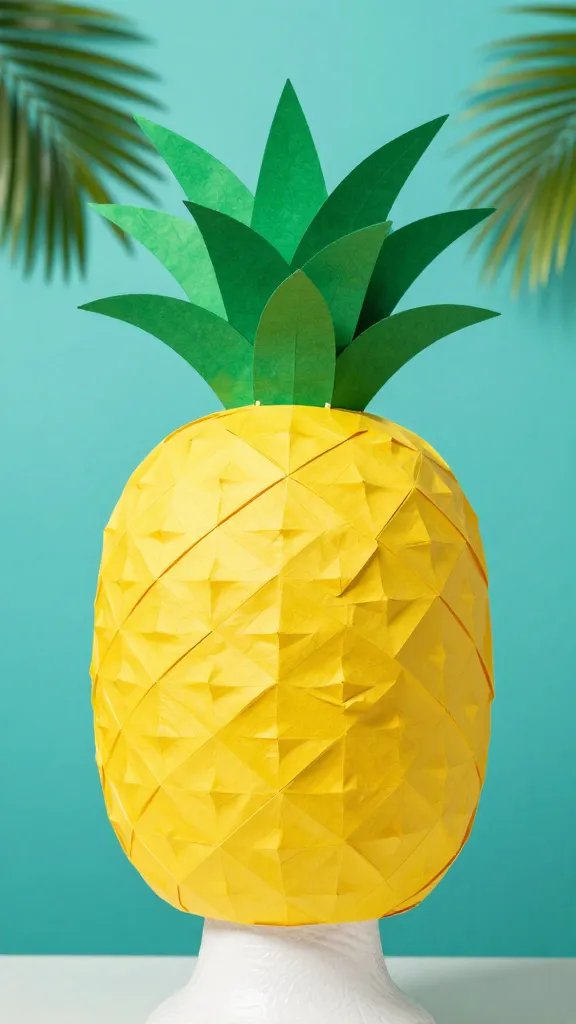
Why settle for boring when you can literally wear a pineapple on your head? This cheerful creation uses yellow and green paper to construct a three-dimensional fruit hat that screams summer fun. It’s quirky, it’s adorable, and it’s guaranteed to get laughs at any pool party or luau.
Materials Needed
- Yellow construction paper or cardstock
- Green cardstock for leaves
- Brown marker or crayon
- Scissors
- Stapler and tape
- Headband base or elastic strap
Create a cylinder from yellow paper that fits comfortably on the head, then draw crisscross diagonal lines with brown marker to mimic pineapple texture.
The top is where this gets fun—cut out long, spiky leaf shapes from green cardstock and arrange them in a fan formation. Attach everything to a simple headband base, and boom—instant tropical vibes.
These work wonderfully for themed parties, silly dress-up days, or even as costume accessories.
The best part? You can make a whole fruit basket collection by adding watermelon, strawberry, or orange variations!
Victorian-Inspired Mini Top Hat Fascinator
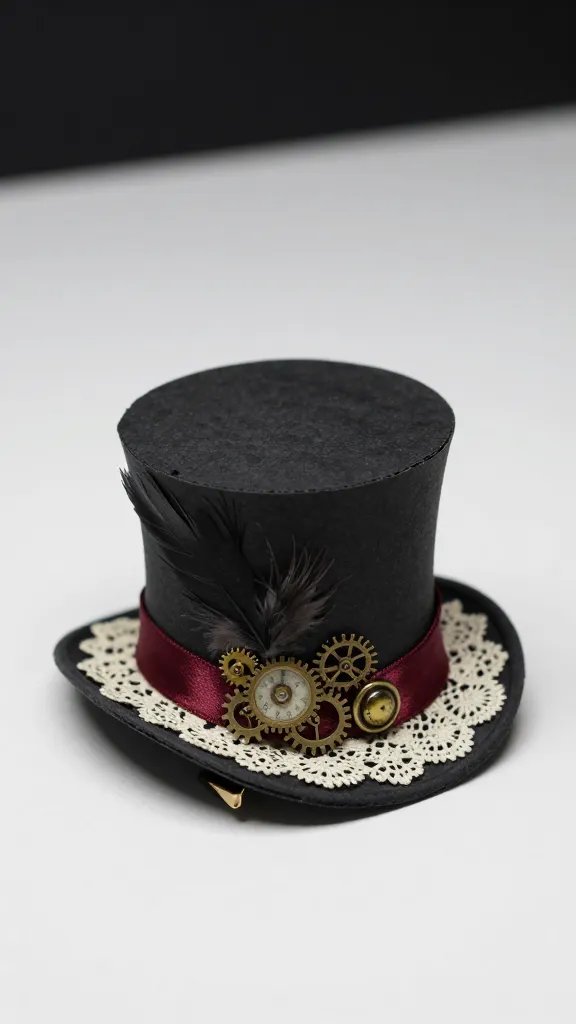
Channel your inner steampunk enthusiast or vintage fashion lover with this adorable miniature top hat.
Perched at a jaunty angle and decorated with lace, ribbon, or even tiny clock gears, it brings major sophistication to your paper crafting game. This isn’t your average kiddie craft—it’s genuinely stylish.
Materials Needed
- Black or burgundy cardstock
- Lace trim and satin ribbon
- Small decorative elements (feathers, vintage buttons, clock parts)
- Hot glue gun
- Hair clip or headband for attachment
- Circle cutter or compass
How to Make It
You’ll need three components: a cylinder for the hat body, a circular brim, and a top circle. Cut these precisely, assemble with hot glue, then let your creativity run wild with embellishments.
Wrap the base with ribbon, add a cascade of lace down one side, or hot-glue vintage buttons and tiny clock gears for that steampunk aesthetic.
Attach your finished mini hat to a hair clip or thin headband, positioning it at an angle for maximum charm.
These are perfect for tea parties, costume events, or adding flair to wedding photo booths. Seriously, your guests will be fighting over who gets to wear it next!
Dinosaur Spike Hat for Little Prehistoric Fans
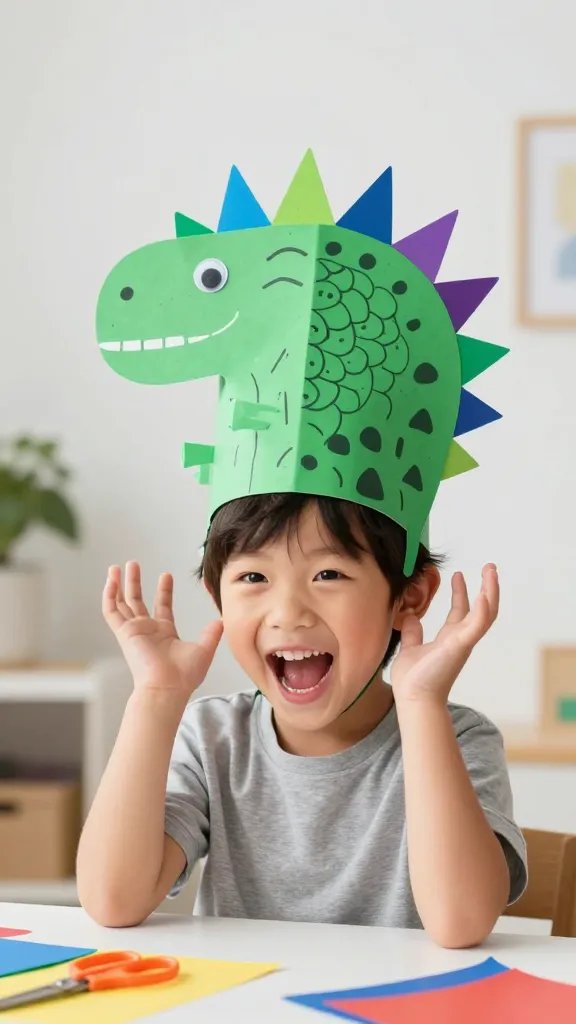
Roar! This spiky creation transforms any kid into their favorite dinosaur with a simple headband base and colorful triangular spikes.
It’s bold, it’s fun, and it’s endlessly customizable depending on which dino species you’re channeling. Triceratops? Stegosaurus? The choice is yours!
Materials Needed
- Cardstock in various colors (greens, blues, purples)
- Thick headband base or paper strip
- Scissors and stapler
- Googly eyes (optional but highly recommended)
- Markers for scales or spots
Cut out triangle shapes in graduated sizes and fold each one at the base to create a tab for attachment.
Staple or glue these spikes along a headband or thick paper strip that wraps around the head. Alternate colors for a rainbow dino or keep it monochromatic for specific species accuracy.
Add personality with hand-drawn scales, spots, or stripes using markers. Some crafty parents even attach googly eyes to the front for extra silliness.
This hat is absolutely perfect for dinosaur birthday parties, museum trips, or just Tuesday afternoon when someone needs to be a T-Rex for a while. You’ll love this one if you’ve got energetic little paleontologists at home!
Let’s Get Started
There you have it—six completely different ways to turn simple paper into wearable art!
Whether you’re drawn to elegant fascinators or roaring dinosaurs, there’s a paper hat project here for every style and occasion.
Grab your supplies, pick your favorite (or make all six—we won’t judge), and get ready to craft something fun.
Your next party, playdate, or creative afternoon just got a whole lot more interesting!






