
DIY Paper Flower Bouquet: 5 Ideas That Look Real

Want to create stunning flowers that never fade? These DIY paper flower bouquet ideas will help you craft gorgeous arrangements using easy materials. From beginner-friendly designs to more detailed styles, there’s something here for everyone.
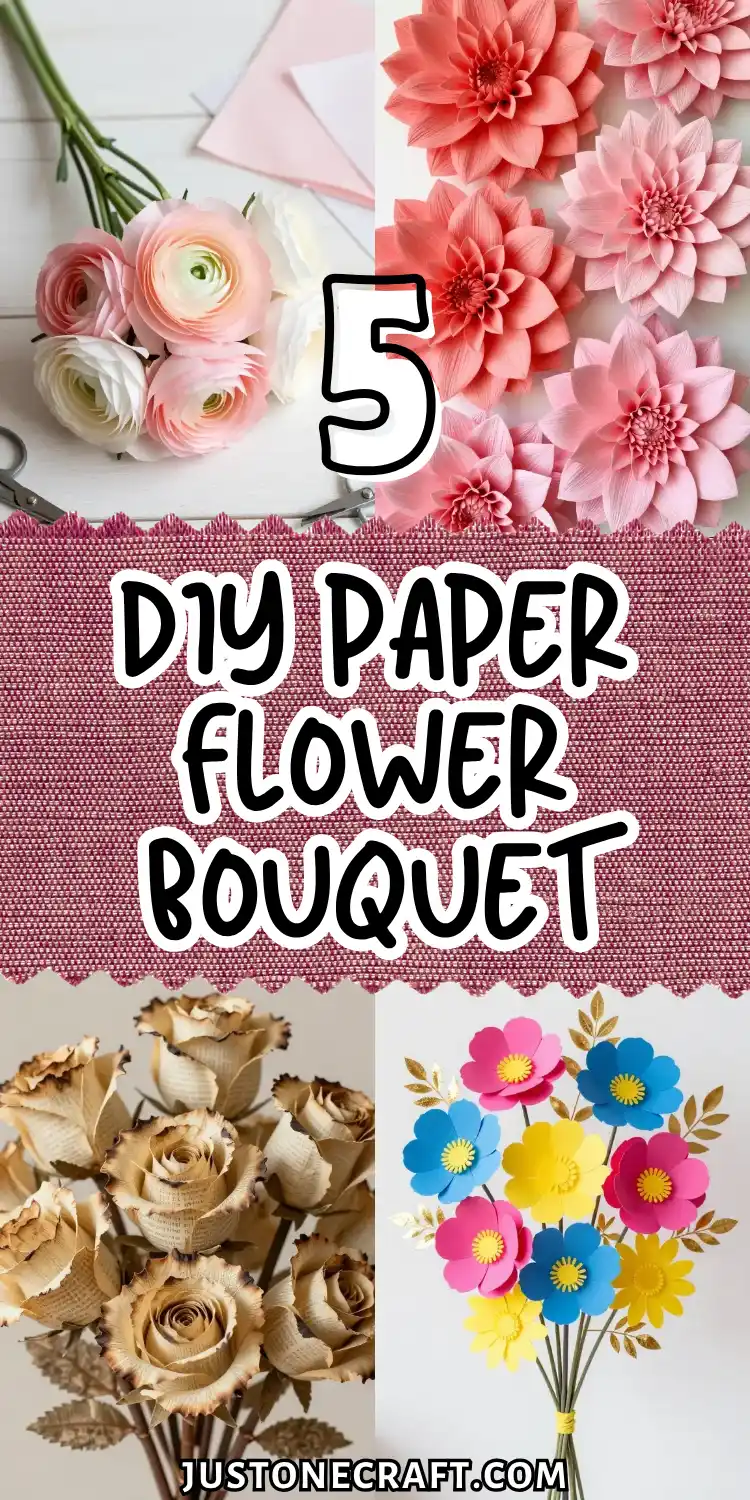
I still remember the first time I tried to make a DIY Paper Flower Bouquet. It was right before a birthday, and I didn’t have the time or budget for fresh flowers. The idea felt exciting, but also a little intimidating. Could paper really look beautiful?
At first, my flowers weren’t great, uneven petals, messy glue, and mismatched colors. But as I kept trying, I realized something important: paper flowers don’t need to be perfect to be meaningful. Their charm comes from being handmade.
Unlike real bouquets that fade quickly, a DIY Paper Flower Bouquet lasts forever and can be customized in any color or style.
With simple techniques like layering petals and shaping them by hand, everything started to feel easier and more fun.
If you’ve ever wanted flowers that never wilt, these DIY Paper Flower Bouquet ideas will show you just how simple and rewarding it can be.
Why DIY Paper Flower Bouquets Are a Smart Craft Choice
Paper flower bouquets are not only visually appealing but also practical, making them a preferred option for modern home decor and gifting ideas.
Unlike fresh flowers, these bouquets last for a long time, require no maintenance, and can be customized in colors, shapes, and sizes.
They are also budget-friendly, allowing you to create luxurious-looking arrangements without spending too much money on expensive materials.
Additionally, crafting your own bouquet gives you full creative control, making each piece unique and meaningful for special occasions.
5 DIY Paper Flower Bouquet ideas
Coffee Filter Peonies With Watercolor Ombre Tips
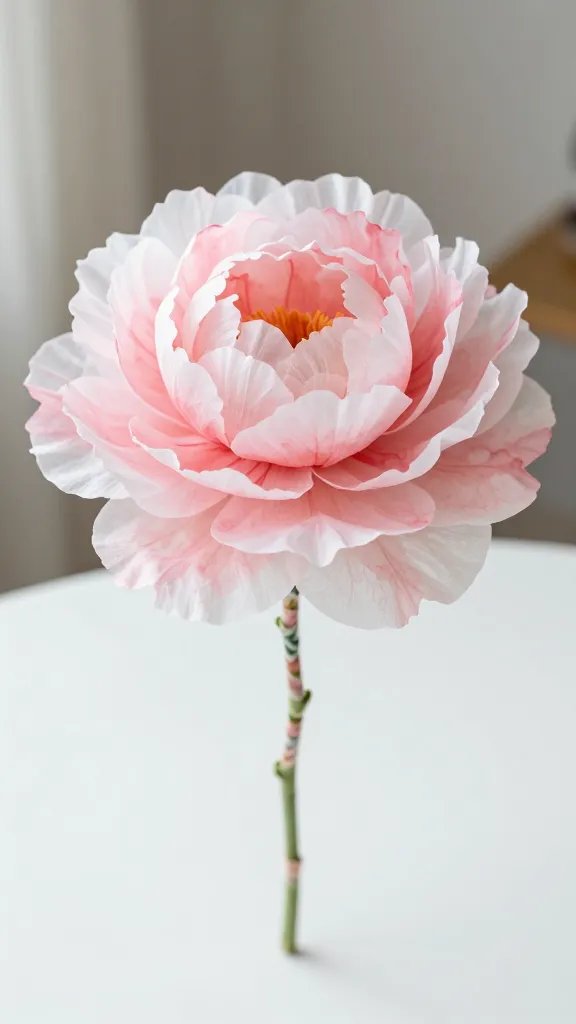
These fluffy, dreamy peonies are absolute show-stoppers, and the secret ingredient is sitting in your kitchen right now.
Coffee filters create the most delicate, tissue-like petals that look incredibly realistic when shaped and layered. The watercolor ombre effect adds that professional florist touch that’ll have everyone asking where you bought them.
Materials Needed
- White coffee filters (the basket kind works best)
- Watercolor paints or diluted food coloring
- Floral wire
- Green floral tape
- Hot glue gun
- Scissors
How to Make It
Start by painting the edges of your coffee filters with soft watercolors in shades like blush pink, coral, or lavender.
Let them dry completely—this is the perfect excuse for a coffee break. Once dry, stack about 4-5 filters together and cut them into petal shapes, keeping the center intact.
Pinch the center and twist it around floral wire, securing with hot glue. Fluff and separate each layer of petals, scrunching them slightly to create that signature peony texture. Wrap the wire stem with green floral tape, and add a few leaves if you’re feeling fancy.
Pro Tips
Mix different shades of the same color family for a more natural look. FYI, spray the finished flowers lightly with hairspray to help them hold their shape longer.
These beauties look absolutely stunning in mason jars for a rustic wedding centerpiece or bridal shower decor.
Giant Crepe Paper Dahlias for Statement Wall Decor
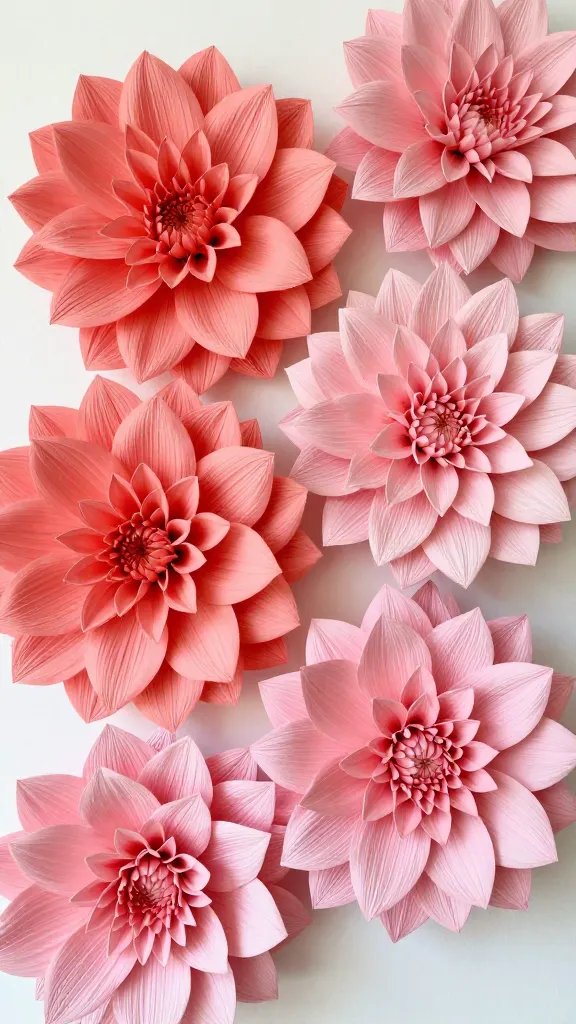
If you want to make a serious impact, go big or go home with these oversized dahlias. We’re talking flowers that are 12-18 inches across—the kind that transform an entire wall into an Instagram-worthy backdrop. Crepe paper is your best friend here because it stretches and shapes like actual flower petals.
Materials Needed
- Heavy-duty crepe paper in your chosen colors
- Cardboard circles (various sizes for the base)
- Hot glue gun and extra glue sticks
- Scissors or petal templates
- Command strips for hanging
How to Make It
Cut your crepe paper into petal shapes of varying sizes—small ones for the center, gradually getting larger.
The dahlia has tons of layered petals, so don’t be shy about cutting at least 40-50 per flower. Gently stretch the center of each petal to create a cupped shape.
Start gluing petals around the edge of your cardboard circle base, working your way inward in concentric circles.
Each layer should slightly overlap the previous one. The center should be tightly packed with the smallest petals standing upright for that classic dahlia look.
Styling Ideas
Create an entire flower wall using 5-7 of these giants in coordinating colors. They’re perfect for birthday parties, baby showers, or just because your living room needs some permanent floral drama. Seriously, guests won’t stop taking photos in front of these.
Vintage Book Page Roses With Distressed Edges
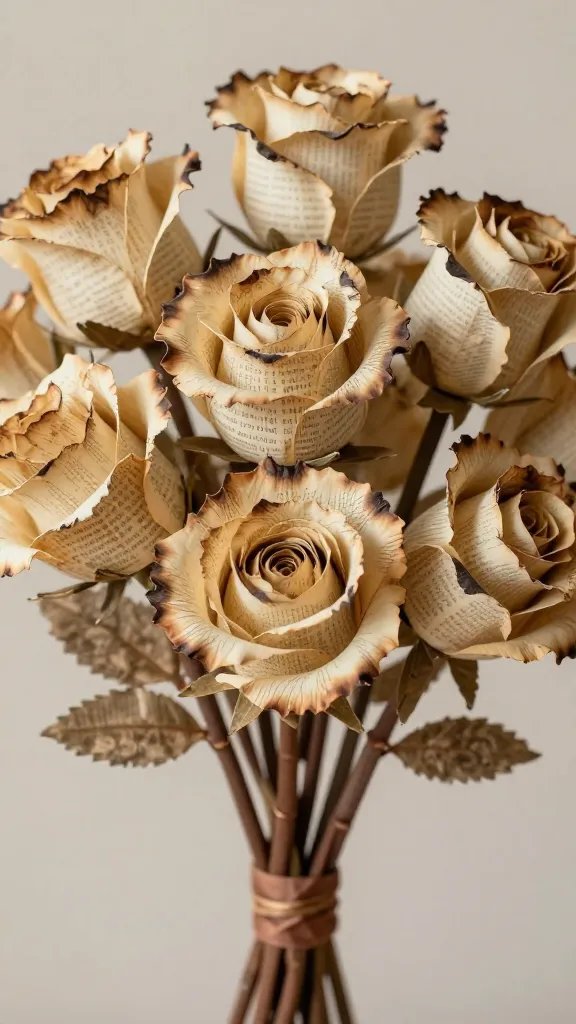
There’s something incredibly romantic about turning old book pages into delicate roses. This project is perfect for literature lovers, vintage enthusiasts, or anyone who wants a bouquet that doubles as a conversation starter.
The aged paper gives these flowers an antique charm that you simply can’t buy at a store.
Materials Needed
- Pages from old books (thrift store finds work great)
- Floral wire or wooden skewers
- Brown floral tape
- Scissors
- Lighter or candle (optional, for aging edges)
- Mod Podge (optional, for sealing)
How to Make It
Cut the book pages into heart or petal shapes of different sizes. For that extra vintage vibe, carefully singe the edges with a lighter—just a quick pass to create a slightly browned, aged effect. Trust me, this detail makes all the difference.
Start with the smallest petal wrapped tightly around the wire stem, securing with a dab of glue. Add larger petals one by one, offsetting each layer and fanning them out gradually.
The beauty of roses is in the spiral, so keep wrapping and layering until you’re happy with the fullness.
Pro Tips
Mix in pages with interesting text or illustrations for visual interest. Sheet music works beautifully too.
These make incredibly thoughtful gifts for teachers, librarians, or book club friends. Display them in vintage teacups or antique bottles for maximum charm.
Neon Cardstock Wildflower Bouquet With Gold Leaf Accents
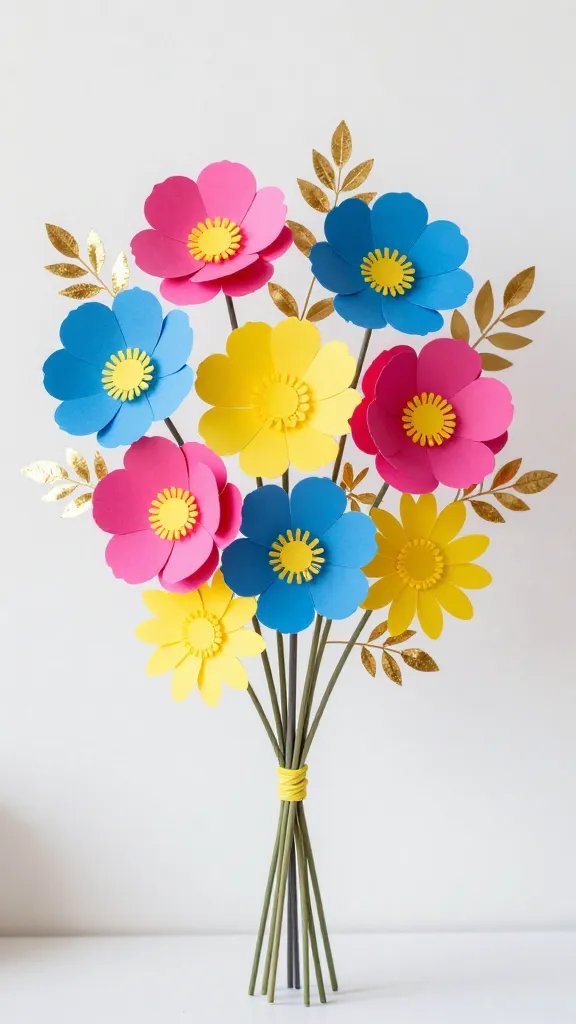
Who says paper flowers have to look natural? This modern, artsy bouquet embraces bold colors and metallic touches for something totally unexpected.
Think hot pink poppies, electric blue cosmos, and sunny yellow daisies all mixed together with glam gold accents.
Materials Needed
- Bright neon cardstock
- Gold leaf sheets or gold paint pen
- Wire stems
- Yellow pom-poms or buttons for centers
- Hot glue gun
- Circle punches or templates
How to Make It
Cut out simple five-petal flower shapes in various sizes from your neon cardstock. Keep the shapes loose and organic—wildflowers aren’t perfect, and that’s what makes them cool. Glue a yellow pom-pom or button to the center of each flower.
Before assembling, add gold leaf accents to random petal tips or paint delicate gold lines along the edges.
Attach flowers to wire stems with hot glue, varying the heights for a natural, gathered-from-the-meadow look. Mix in different flower shapes and sizes for the most dynamic arrangement.
Styling Ideas
This bouquet is perfect for modern home offices, creative studio spaces, or as a birthday gift for someone with bold taste.
The color combo possibilities are endless—try metallics with pastels for a softer version, or go full rainbow for maximum joy.
Tissue Paper Ranunculus Bundle With Twisted Stems
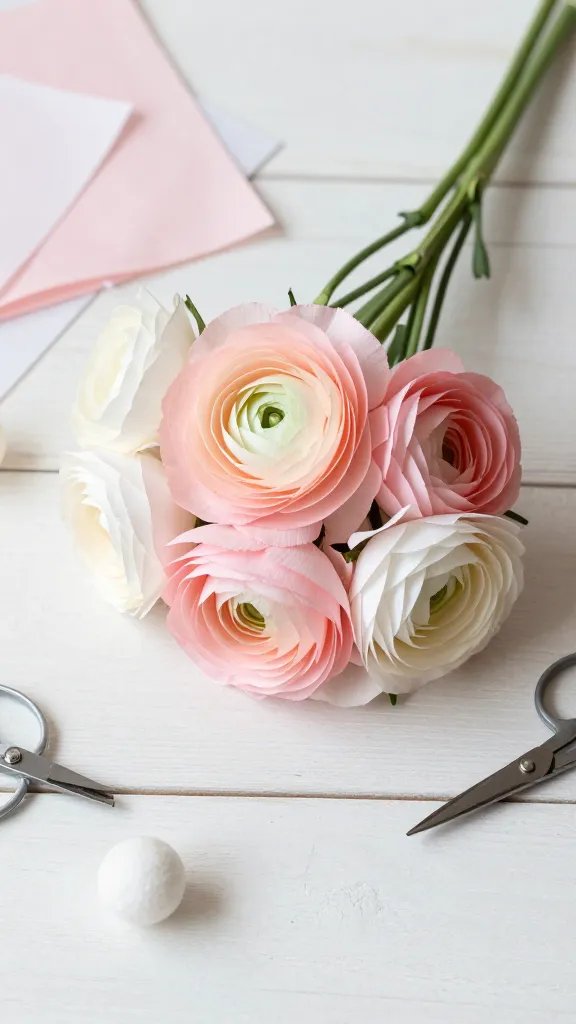
Ranunculus flowers have those impossibly delicate, ruffled layers that look crazy complicated but are actually super achievable with tissue paper.
These beauties have a soft, romantic quality that works for everything from wedding bouquets to Mother’s Day gifts.
Materials Needed
- Tissue paper in soft colors (pink, peach, white, cream)
- Scissors
- Floral wire
- Green floral tape
- Small styrofoam balls (optional, for centers)
How to Make It
Stack 4-5 sheets of tissue paper and cut them into strips about 2 inches wide. Make small cuts along one long edge, creating a fringe without cutting all the way through.
Starting at one end, begin rolling the tissue strip, twisting slightly as you go to create those characteristic ruffled layers.
Once rolled, secure the bottom with floral wire and fan out the petals gently. Wrap the stem area with green floral tape, pulling and stretching the tape as you wrap for better adhesion. The more layers you add, the fuller and more luxurious your ranunculus will look.
Pro Tips
Use two different shades of the same color for depth—like light pink with darker pink tips. You’ll love this trick because it adds dimension without extra effort. Bundle 5-7 stems together with a pretty ribbon for an elegant handheld bouquet that won’t wilt before the photos are done.
Ready to get crafty? Pick your favorite style and give it a try this weekend—you’ll be amazed at what you can create with just some paper and a little patience.
Whether you’re decorating for a special event or just want to brighten up your space with flowers that last forever, these DIY paper bouquets deliver serious wow factor without the wilting.






