
DIY Paper Bag Crafts: 8 Creative Ideas

Don’t throw away those old paper bags just yet! With these easy DIY paper bag ideas, you can transform them into beautiful crafts, storage solutions, and decor pieces in no time.
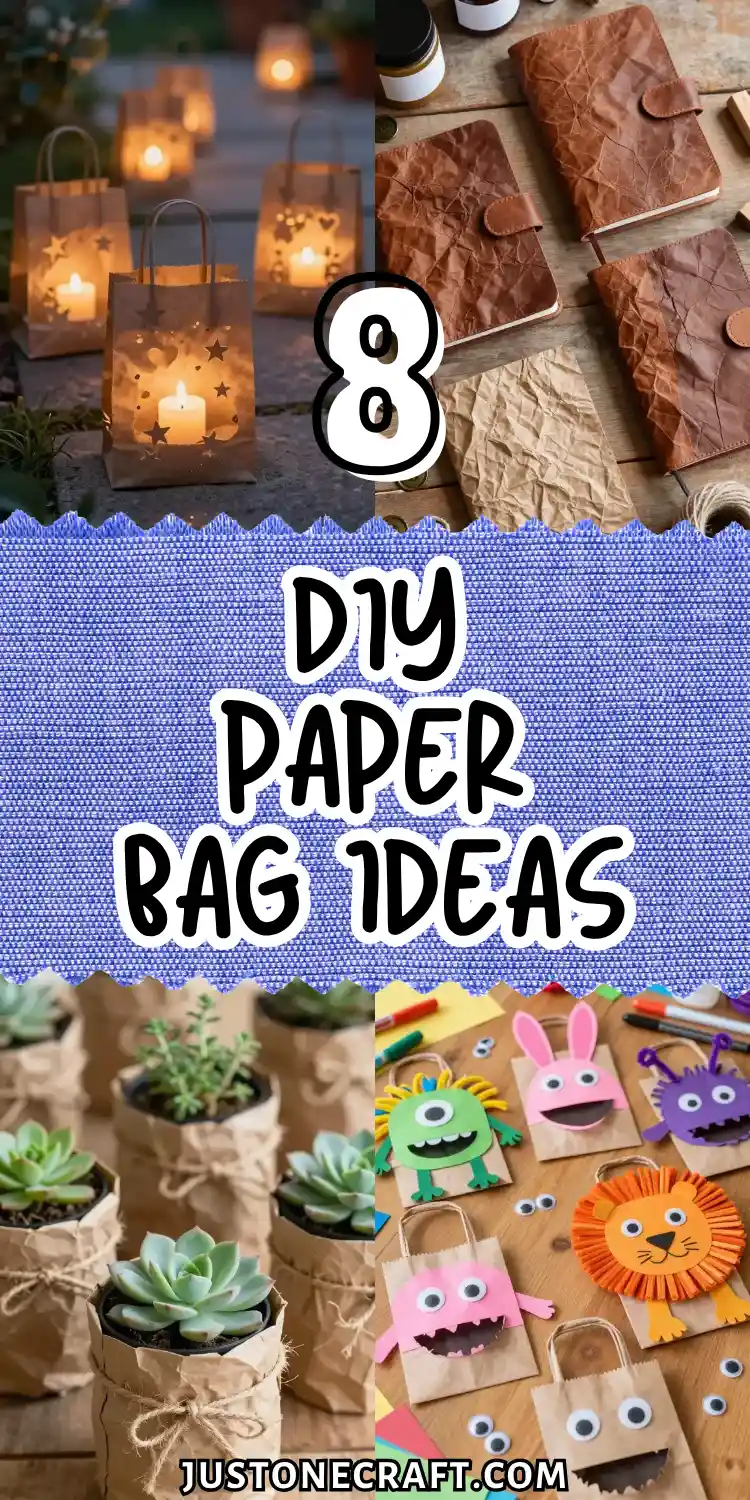
I never paid much attention to paper bags until I realized how many I was throwing away every week. They kept piling up, and it felt wasteful.
That’s when I started exploring DIY Paper Bag ideas, and it completely changed how I see something so simple.
At first, I thought they were too plain for crafts. But with a little cutting, folding, and creativity, I discovered they can turn into beautiful and useful pieces, from storage solutions to handmade gift wraps.
The best part? You don’t need expensive supplies. With just a few simple touches, even a basic paper bag can become something special. Below, I’m sharing easy and budget-friendly DIY Paper Bag ideas you’ll love trying.
8 DIY Paper Bag Ideas
Vintage-Style Luminaries for Dreamy Outdoor Lighting
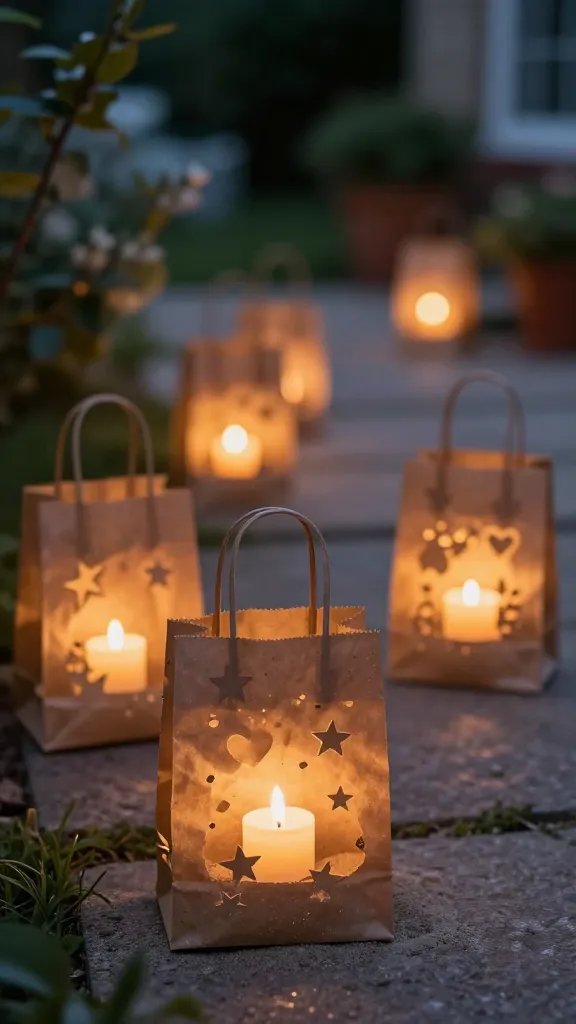
Picture this: soft, glowing lights lining your walkway or patio, creating the coziest ambiance for your next backyard gathering.
Paper bag luminaries are ridiculously easy to make and give off serious rustic-romantic vibes. You can customize them with punched designs, cutouts, or even leave them plain for that minimalist aesthetic.
How to Make Them
Fill the bottom of each bag with about two inches of sand to weigh them down and prevent fire hazards. Fold the top of the bag down a few times to create a cuff—this adds stability and looks intentional. Drop in an LED tea light or battery-operated candle, and you’re done!
Styling Ideas
Try cutting out star or heart shapes along the sides before adding your light source. The patterns will cast gorgeous shadows when lit.
These are perfect for summer parties, wedding pathways, or even holiday decorating. Trust me, your guests will ask where you bought them.
Faux Leather Journal Covers That Look Expensive
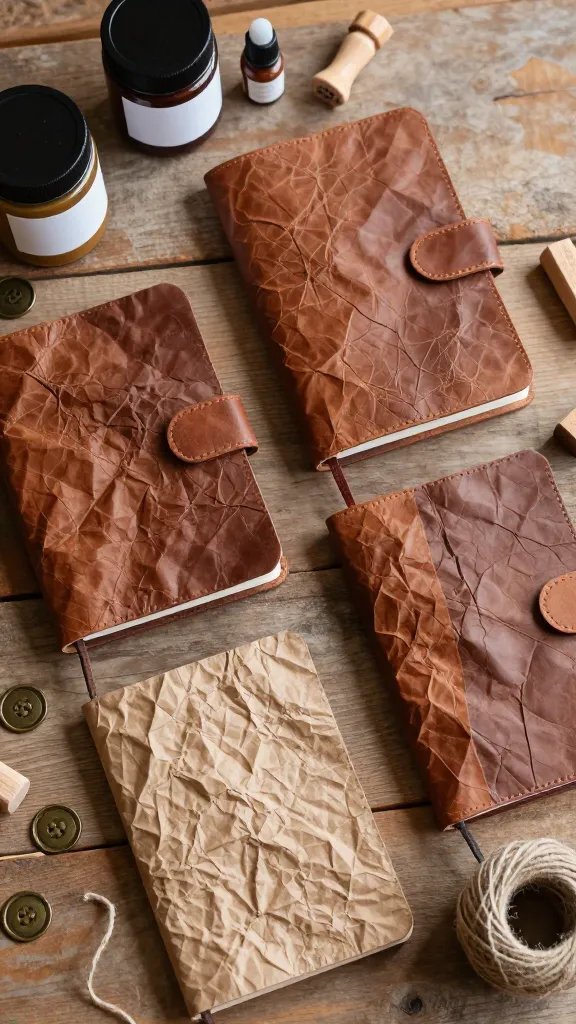
Here’s a secret: crumpled paper bags can look surprisingly like distressed leather. This technique transforms ordinary composition notebooks into beautiful journals that make amazing gifts. The best part? The more you wrinkle and crease the paper, the better it looks.
Materials Needed
- Brown paper bags
- Composition notebook or plain journal
- Mod Podge or white glue
- Acrylic paint or stain (optional)
- Decorative elements like buttons, stamps, or twine
The Process
Tear your paper bag into a piece large enough to wrap your notebook. Crumple it into a tight ball, then carefully unfold it and flatten it out.
Apply a thin layer of Mod Podge to your notebook cover and smooth the wrinkled paper over it, creating even more creases as you go. Once dry, you can add a coat of brown acrylic paint or wood stain for extra depth.
These make thoughtful gifts for writers, artists, or anyone who loves stationery. Add their initials with stamps or paint for a personalized touch!
Adorable Gift Bags With Custom Stamping
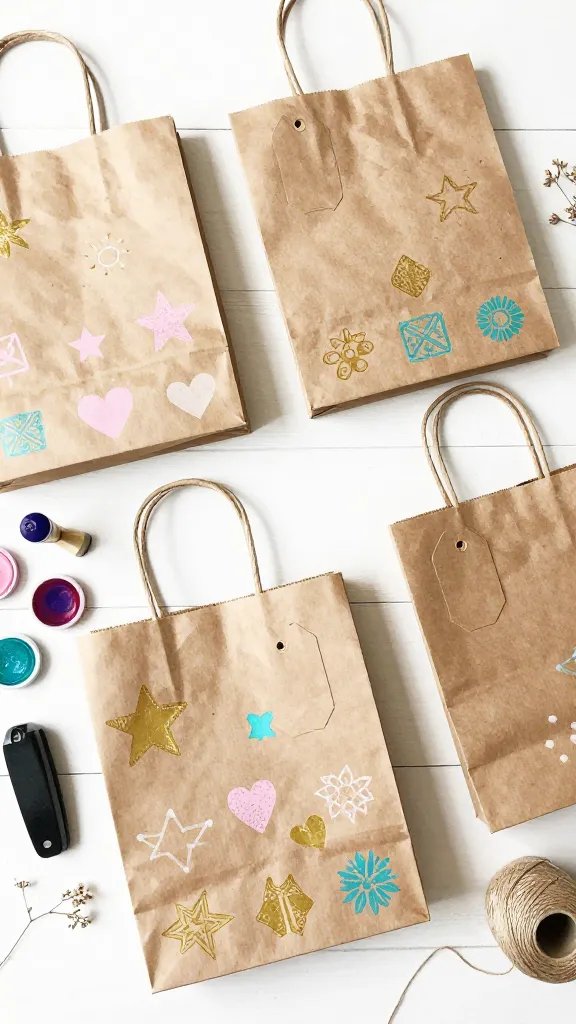
Why spend money on fancy gift bags when you can create personalized ones that look way better? Standard lunch-sized paper bags become charming gift packaging with just a few simple touches.
This is especially perfect if you’re giving homemade cookies, small plants, or handmade soaps.
Grab some rubber stamps and ink pads in colors that match your occasion—metallics for holidays, pastels for baby showers, bold colors for birthdays.
Stamp patterns across the bag, fold the top down, and punch two holes to thread through some ribbon or twine. You can also add tags with the recipient’s name written in pretty lettering.
FYI, these also work brilliantly as party favor bags. Fill them with treats and personalize each one for your guests!
Textured Wall Art on a Budget
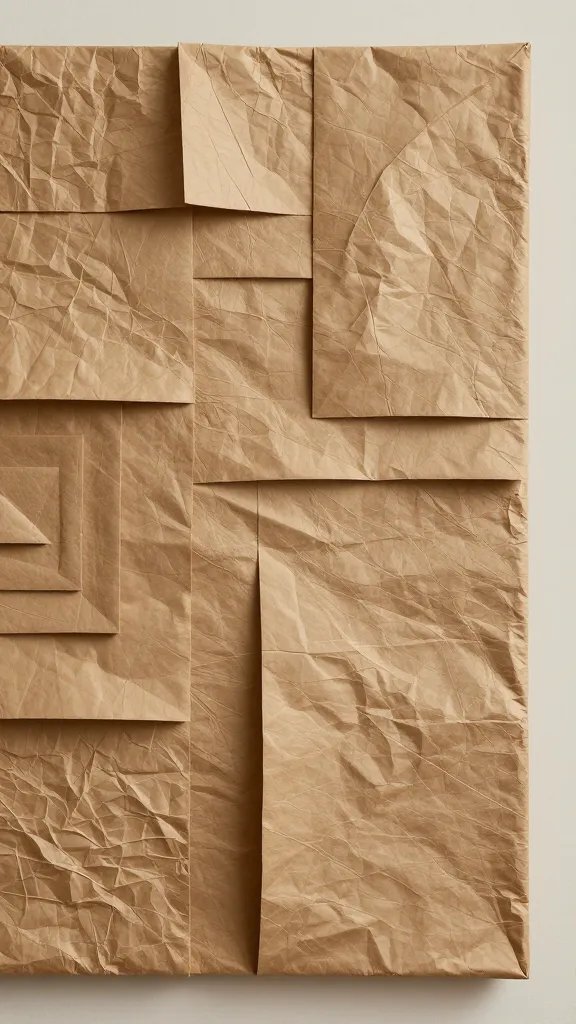
Who knew paper bags could become sophisticated wall décor? Using the same faux leather technique, you can create dimensional artwork that adds warmth and texture to any room.
This project lets you get creative with shapes—think geometric patterns, flower petals, or abstract designs.
Creating Your Masterpiece
Cut your crumpled paper bag pieces into your desired shapes. Arrange them on a canvas or thick cardboard backing, overlapping pieces to create dimension.
Glue everything down with a strong adhesive. You can leave the natural brown color or experiment with metallic paints, ombré effects, or even white for a completely different vibe.
This technique works beautifully for creating large statement pieces without the gallery price tag. Hang it in your living room and watch everyone try to figure out what material you used!
Rustic Flower Pots With Vintage Charm
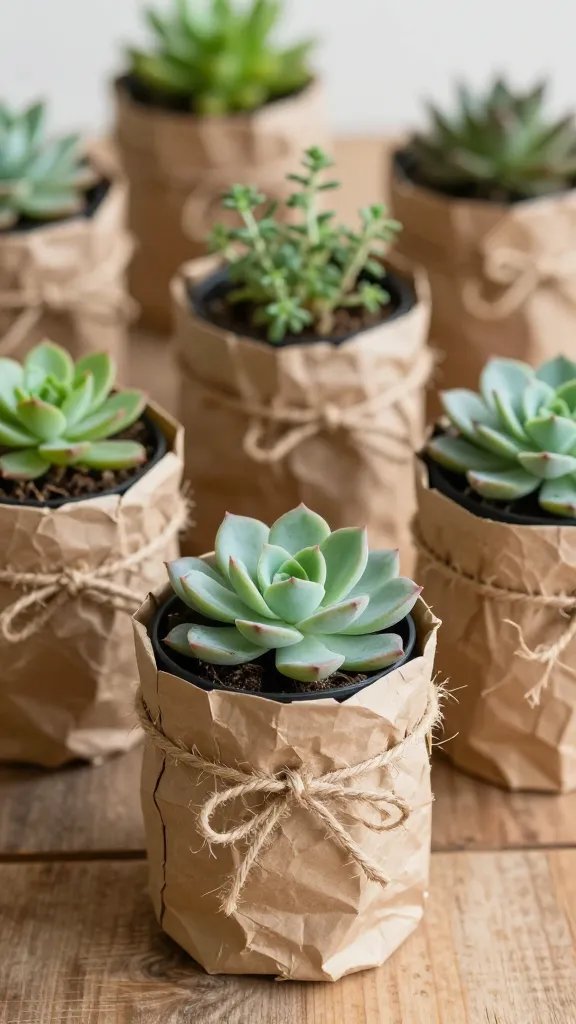
Transform boring plastic plant pots into rustic beauties using paper bags as a covering. This is basically like giving your plants a stylish outfit!
The paper bag material creates that farmhouse-chic look that pairs perfectly with succulents, herbs, or small houseplants.
Wrap your pot in crumpled paper bag material, securing it with Mod Podge or glue. Once dry, tie twine or jute rope around the rim for extra detail.
You can also add labels with the plant name using chalkboard paint sections or hang tags.
These make wonderful gifts for plant lovers, and they’re perfect for creating a cohesive look when you have multiple plants grouped together on a windowsill or shelf.
Kid-Friendly Puppet Theater Characters
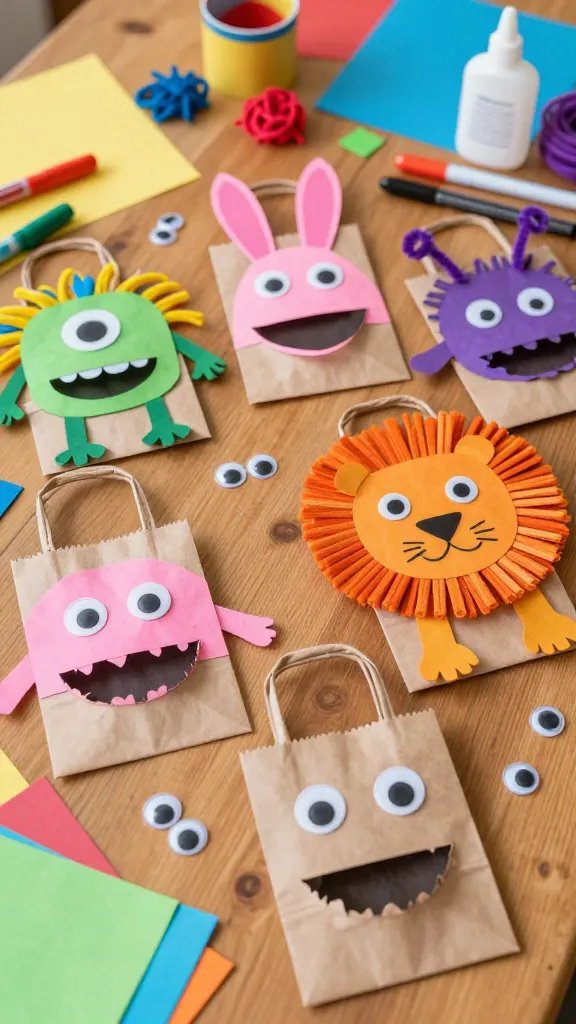
Small paper bags are basically begging to become puppets—the bottom flap creates a perfect mouth for your characters!
This is an amazing rainy-day activity that keeps kids entertained for hours, both making and playing with their creations.
Bringing Puppets to Life
The bottom folded section becomes the head and mouth area. Kids can use markers, crayons, construction paper, googly eyes, yarn for hair, and any other craft supplies you have lying around. Animals, monsters, people, superheroes—anything goes!
Seriously, set up a simple “stage” using a cardboard box and let the puppet shows begin. This craft combines creativity with imaginative play, making it a winner for parents and teachers alike.
Eco-Friendly Storage Bins for Every Room
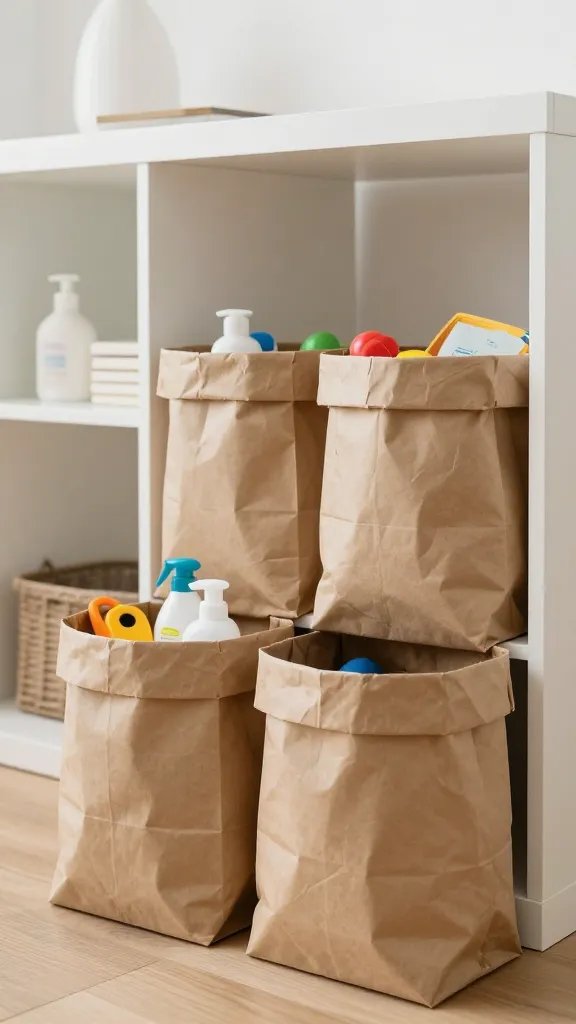
Large paper bags can be reinforced and transformed into surprisingly sturdy storage containers. These work wonderfully for organizing everything from kids’ toys to bathroom toiletries.
The natural aesthetic fits beautifully with any décor style, especially Scandinavian, minimalist, or boho spaces.
Making Them Sturdy
Roll the top edge of the bag down several times until you reach your desired height. This creates a thick cuff that helps the bag stand upright. For extra reinforcement, you can apply a coat of Mod Podge or even line the inside with fabric.
Customization Options
- Add fabric handles by punching holes and threading through rope or ribbon
- Stencil designs or labels on the front
- Line with patterned fabric for a pop of color
- Group several together on shelves for cohesive organization
These bins are perfect for anyone trying to organize their space without spending a fortune on matching storage containers!
Festive Garland for Any Celebration
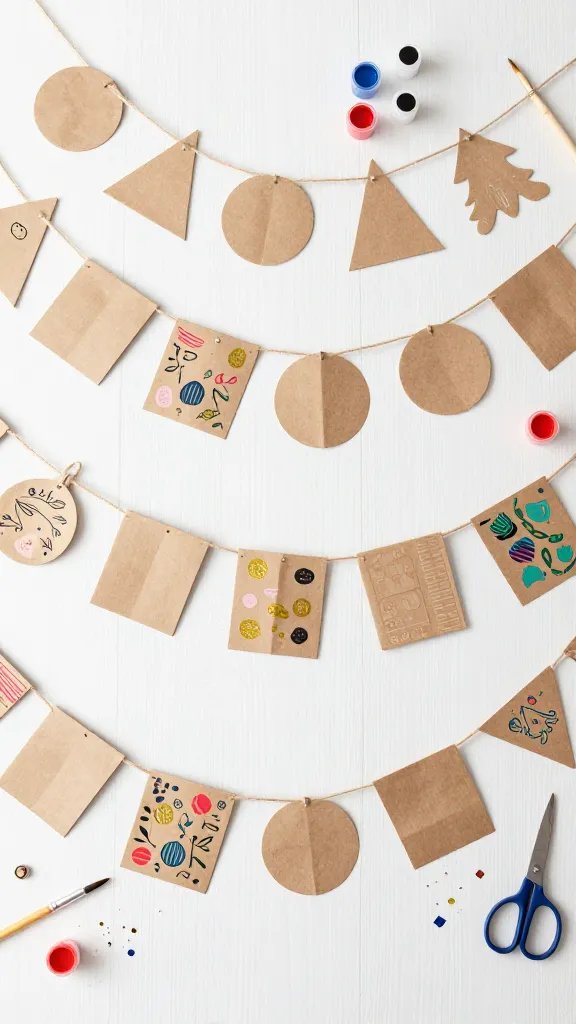
Create charming bunting or garland using paper bags cut into shapes and strung together. This versatile decoration works for birthdays, holidays, weddings, or just adding a cheerful touch to your everyday space. The neutral brown color of paper bags gives you the perfect blank canvas.
Cut your bags into triangles, circles, squares, or any shape you like. You can leave them natural, paint them, stamp designs on them, or add glitter for sparkle.
Punch holes in the corners and thread them onto twine, ribbon, or string. Space them evenly or cluster them for different looks.
Layer different sizes and shapes for visual interest, or keep everything uniform for a cleaner aesthetic. Add letter cutouts to spell messages like “HAPPY BIRTHDAY” or “CELEBRATE.”
You’ll love this project because it’s ridiculously affordable and completely customizable to match any theme or color scheme.
Ready to Get Crafting?
See what I mean? Paper bags are so much more than grocery store essentials! These eight projects prove that the simplest materials can create the most charming results.
Pick one project to try this weekend, or challenge yourself to work through all eight—your home (and gift recipients) will thank you. Happy crafting!






