
8 DIY Clay Vase Ideas for a Modern Home Look

If you love decorating your home with handmade items, these DIY clay vase ideas are just what you need. They’re simple, fun, and perfect for adding charm to any space. Even beginners can create beautiful vases with these inspiring ideas.
When I first started experimenting with clay, I wasn’t aiming for perfection. I just wanted something simple and handmade that felt different from store-bought decor. That’s how I discovered the idea of a DIY Clay Vase.
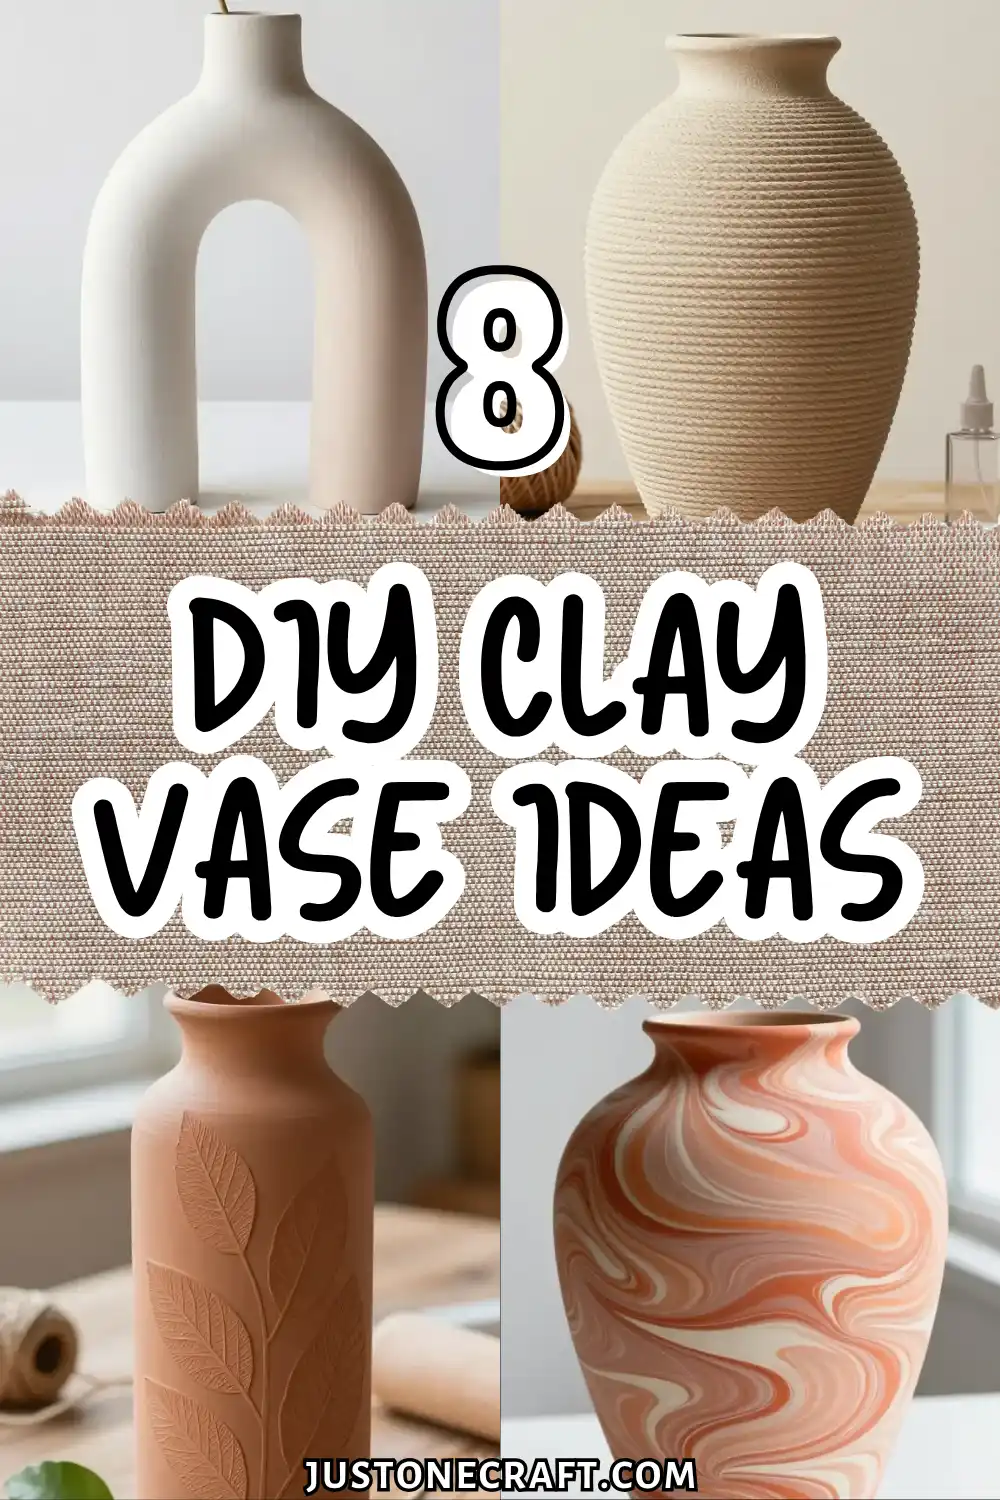
At first, it seemed difficult, like I’d need special tools or skills. But my first try proved otherwise. It wasn’t perfect, but its uneven texture gave it a unique charm.
The truth is, most home decor starts to feel the same. A DIY Clay Vase lets you create something personal, from soft minimal styles to bold textured designs.
With just a few basic materials, you can turn simple clay into a beautiful piece. And the best part? There’s no right or wrong way to make it.
Sculptural Arch Clay Vase With Modern Minimalist Vibes
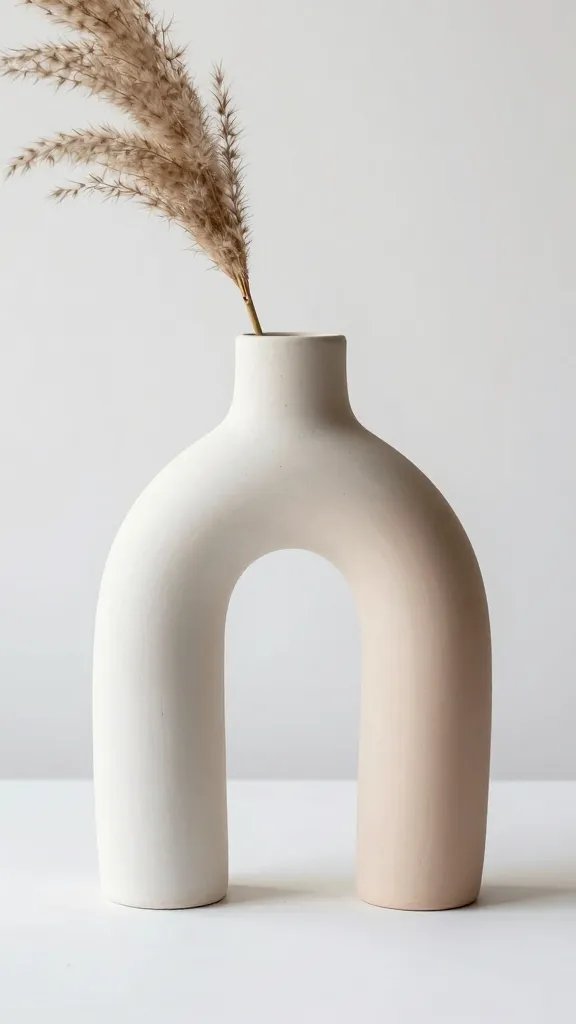
This gorgeous vase features a sleek archway cutout that gives it serious modern art gallery energy.
The negative space design makes it a statement piece even when it’s empty, and when you add a single stem or dried pampas grass, it’s absolutely chef’s kiss.
Materials Needed
- Air-dry clay or polymer clay
- Rolling pin
- Clay sculpting tools
- Small glass bottle or tube for inner structure
- Sandpaper
- White or terracotta paint (optional)
How to Make It
Roll out your clay into thick slabs and wrap them around a cylindrical object to form the vase body.
Before the clay dries, carefully carve out an arch shape from one side using a craft knife. Insert a small glass bottle inside to hold water, then let everything dry completely.
Sand the edges smooth for that professional finish, and leave it natural or paint it in a matte white for that trendy Scandinavian look.
This baby looks incredible on a console table or bookshelf next to your favorite coffee table books.
Textured Rope-Wrapped Boho Clay Vase
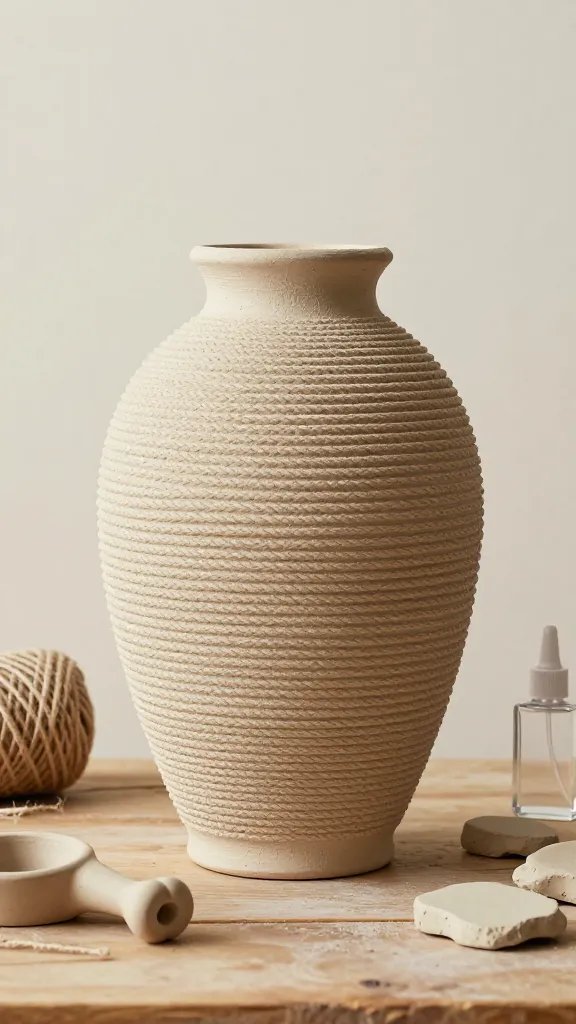
Channel those earthy, bohemian vibes with this rope-textured masterpiece. The technique involves pressing actual rope into the clay to create beautiful ridged patterns that catch the light in the most gorgeous way.
Materials Needed
- Air-dry clay
- Cotton rope or twine
- Balloon or vase-shaped mold
- Acrylic sealer
Wrap rope tightly around your balloon or mold, then press clay coils between the rope lines. Once you’ve built up the shape, carefully remove the rope to reveal those stunning textured grooves.
The organic pattern gives off serious handmade pottery vibes that people will swear came from an expensive boutique.
This vase is perfect for holding wildflowers or eucalyptus branches, and it looks absolutely stunning styled with macramé wall hangings and rattan furniture.
Marbled Swirl Clay Vase in Sunset Colors
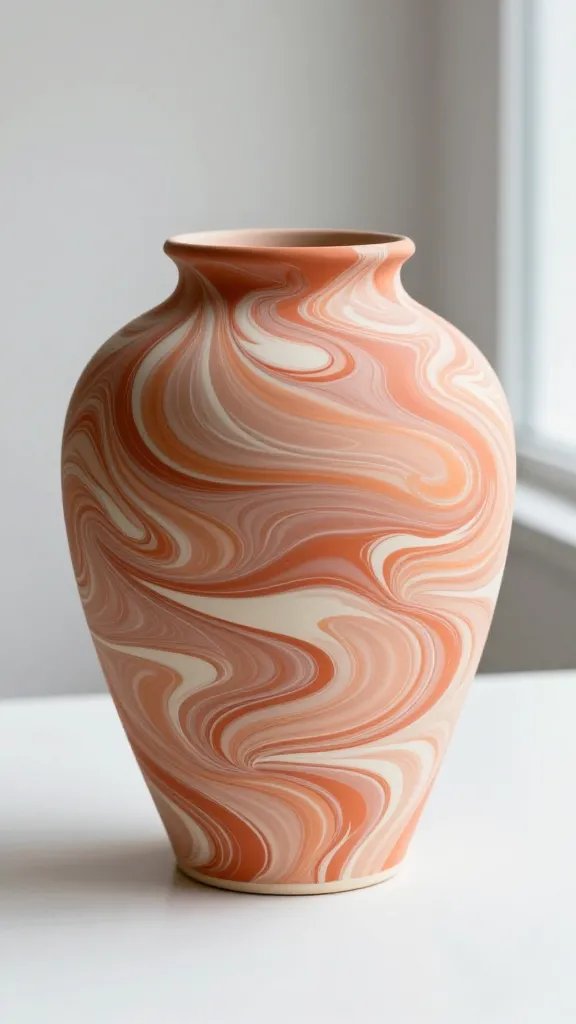
Who says you can’t have fun with color? This marbled beauty combines terracotta, peach, and cream clay to create mesmerizing swirls that look different from every angle.
How to Make It
Grab three different colors of polymer clay and twist them together without fully blending. Roll the marbled clay into a flat sheet and drape it over an upside-down glass or bottle. Smooth the seams and trim the bottom edge for a clean finish.
The magic happens when you bake it according to the clay package instructions—those swirls become permanent and waterproof.
FYI, no two vases will ever look exactly the same, which makes each one truly one-of-a-kind. Display this stunner where it can catch natural light, and watch those colors absolutely glow during golden hour.
Geometric Faceted Clay Vase With Edgy Angles
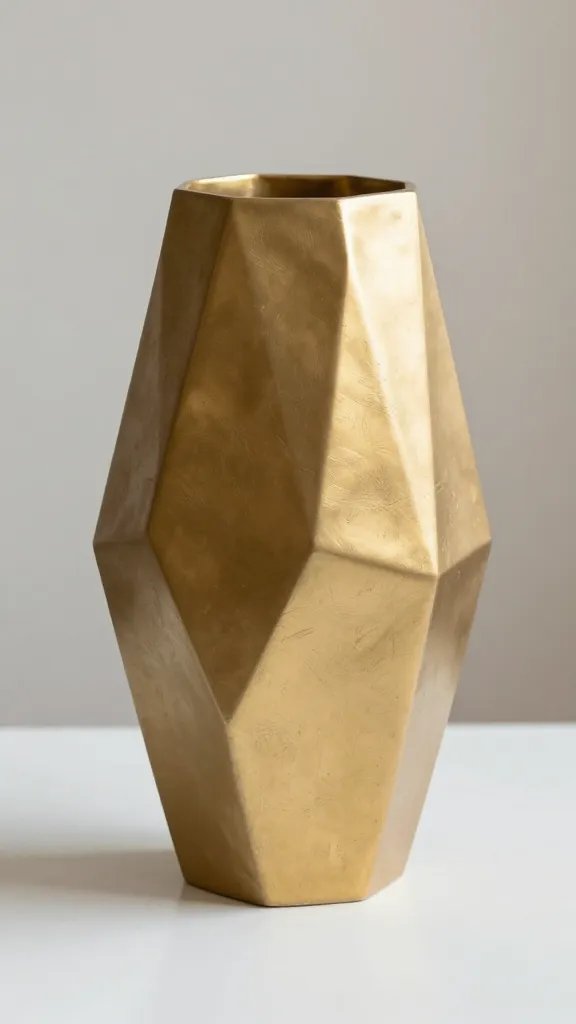
Ditch the smooth curves and embrace sharp, geometric angles with this ultra-modern faceted vase. It looks like something straight out of a contemporary art museum, and your guests will be seriously impressed.
Materials Needed
- Air-dry clay
- Ruler and craft knife
- Cardboard template
- Small cylindrical container for insert
- Metallic gold or copper paint
Create a template with flat geometric panels, then cut each facet from rolled clay. Assemble the pieces around your container insert, smoothing the seams with water and your fingers. Once dry, you can leave it natural or add a touch of metallic paint to the edges for extra drama.
This vase is absolutely perfect for single-stem flowers or sculptural branches, and it fits right into industrial, modern farmhouse, or contemporary decor styles.
Double-Bubble Connected Clay Vase Set
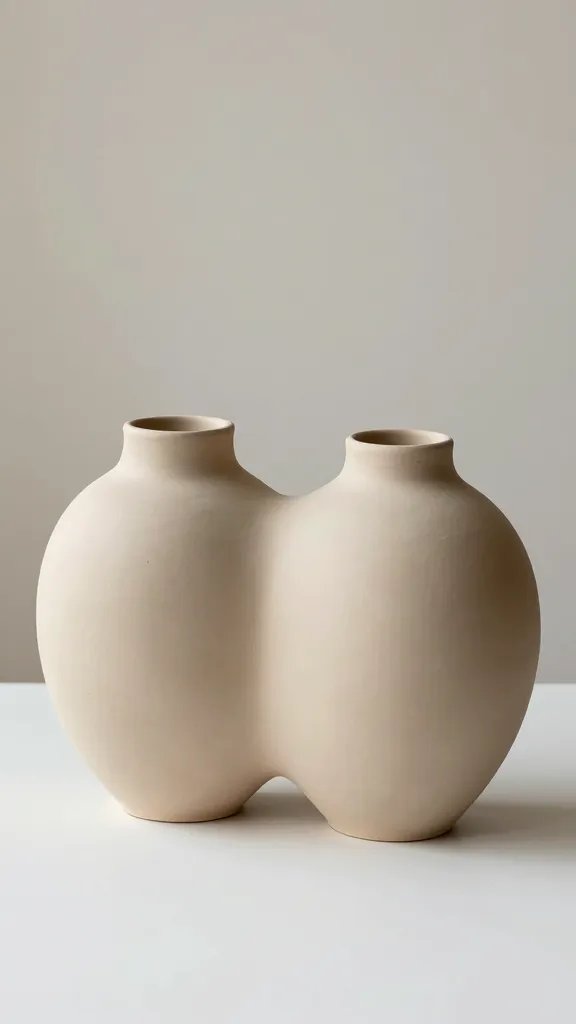
Two vases are better than one, especially when they’re connected in this adorable bubble design.
This sculptural piece features two rounded vessels joined together, creating an organic, flowing shape that’s both functional and artistic.
How to Make It
Form two sphere-shaped vessels using the pinch pot method, leaving openings at the top. While the clay is still pliable, gently press the sides together and blend the seam to create one continuous piece. You can add small glass tubes inside each opening to hold water.
The beauty of this design is that you can display two different flower varieties or mix fresh flowers in one side with dried stems in the other. Trust me, this conversation starter looks incredible on dining tables and mantels.
Imprinted Botanical Clay Vase With Pressed Leaves
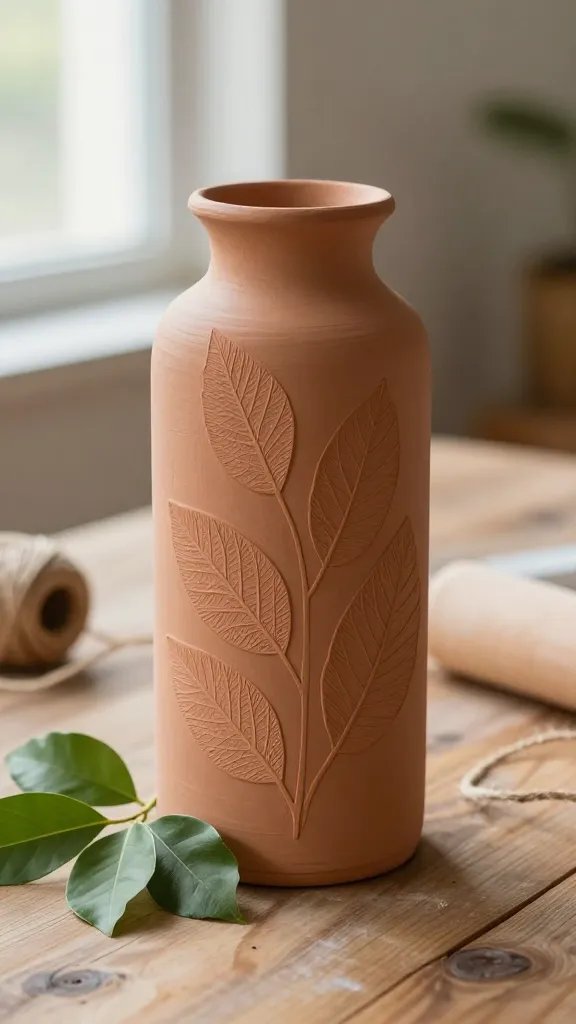
Bring the outdoors in with this nature-inspired vase featuring delicate leaf imprints. The technique is surprisingly simple but creates an incredibly elegant result that looks like it came from a high-end garden shop.
Materials Needed
- Air-dry clay
- Fresh leaves with interesting shapes
- Rolling pin
- Cylindrical mold
- Natural jute twine (optional)
Roll out your clay and press fresh leaves firmly into the surface before wrapping it around your mold.
Carefully peel away the leaves to reveal beautiful botanical impressions. Once dried, you can highlight the imprints with a light wash of diluted paint in the crevices.
This vase screams cottage core and farmhouse chic, making it perfect for displaying garden roses, lavender, or wildflowers from your morning walk.
Abstract Wave Clay Vase With Flowing Rim
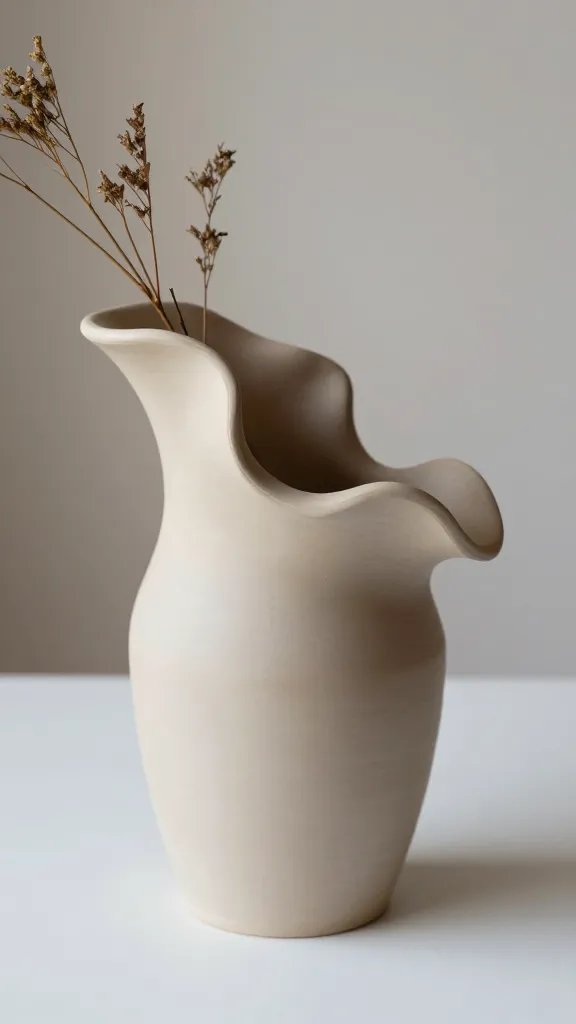
Forget symmetry—this artistic vase features an undulating, wavy rim that adds movement and personality to your space.
The irregular top edge makes it look like a true sculptural art piece that just happens to hold flowers.
How to Make It
Build a basic cylinder vase, then use your fingers and clay tools to gently pull and shape the rim into flowing waves while the clay is still workable. Create dramatic peaks and valleys, or keep the waves subtle and gentle—totally your call.
The organic, imperfect shape is what makes this vase so special. It pairs beautifully with loose, unstructured floral arrangements, and seriously, even a single curly willow branch looks like a million bucks in this baby. Display it somewhere it can be admired from all angles.
Stacked Ring Clay Vase With Dimensional Texture
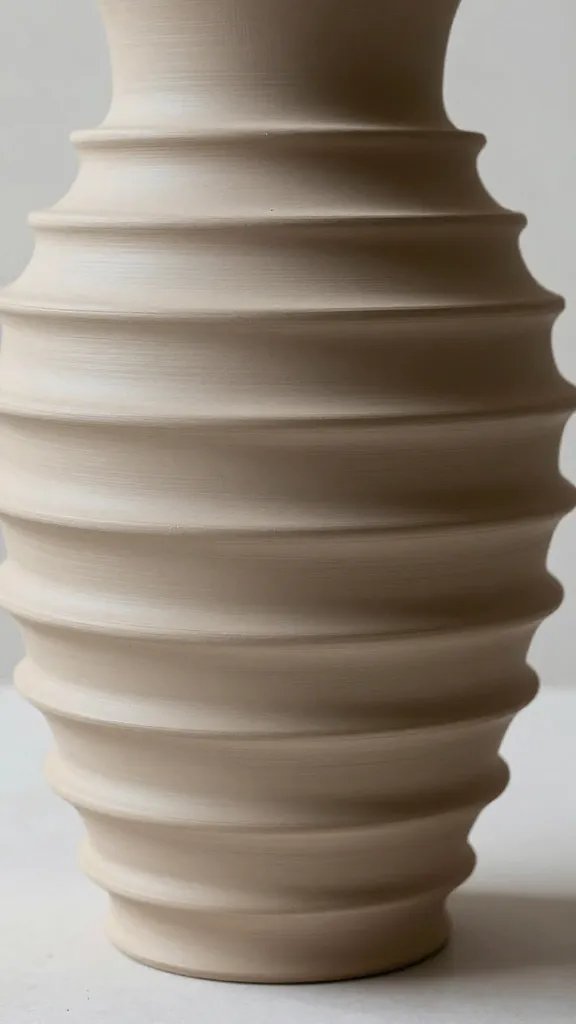
This eye-catching design features raised rings stacked up the vase body, creating gorgeous shadows and three-dimensional texture. It’s like architectural design meets functional pottery, and the result is absolutely stunning.
Materials Needed
- Air-dry clay
- Clay coils in varying thicknesses
- Glass insert jar
- Clay smoothing tools
- Matte sealer
Build your base vase shape around a glass insert, then attach clay coils horizontally around the exterior at different intervals.
You can make the rings perfectly even or vary their thickness and spacing for a more organic look. Smooth the attachment points or leave them slightly visible for added texture.
The rings catch light beautifully, making this vase look completely different throughout the day. It works with everything from minimalist single stems to lush, overflowing bouquets, and looks particularly gorgeous in monochromatic color schemes.
Time to Create
There you have it—eight completely different ways to create stunning clay vases that’ll make your home look like it was styled by a professional.
Whether you’re drawn to modern minimalism, boho textures, or artistic abstract designs, there’s definitely a project here calling your name.
So grab some clay, put on your favorite playlist, and get ready to craft something beautiful that you’ll be proud to display or gift to someone special!






