
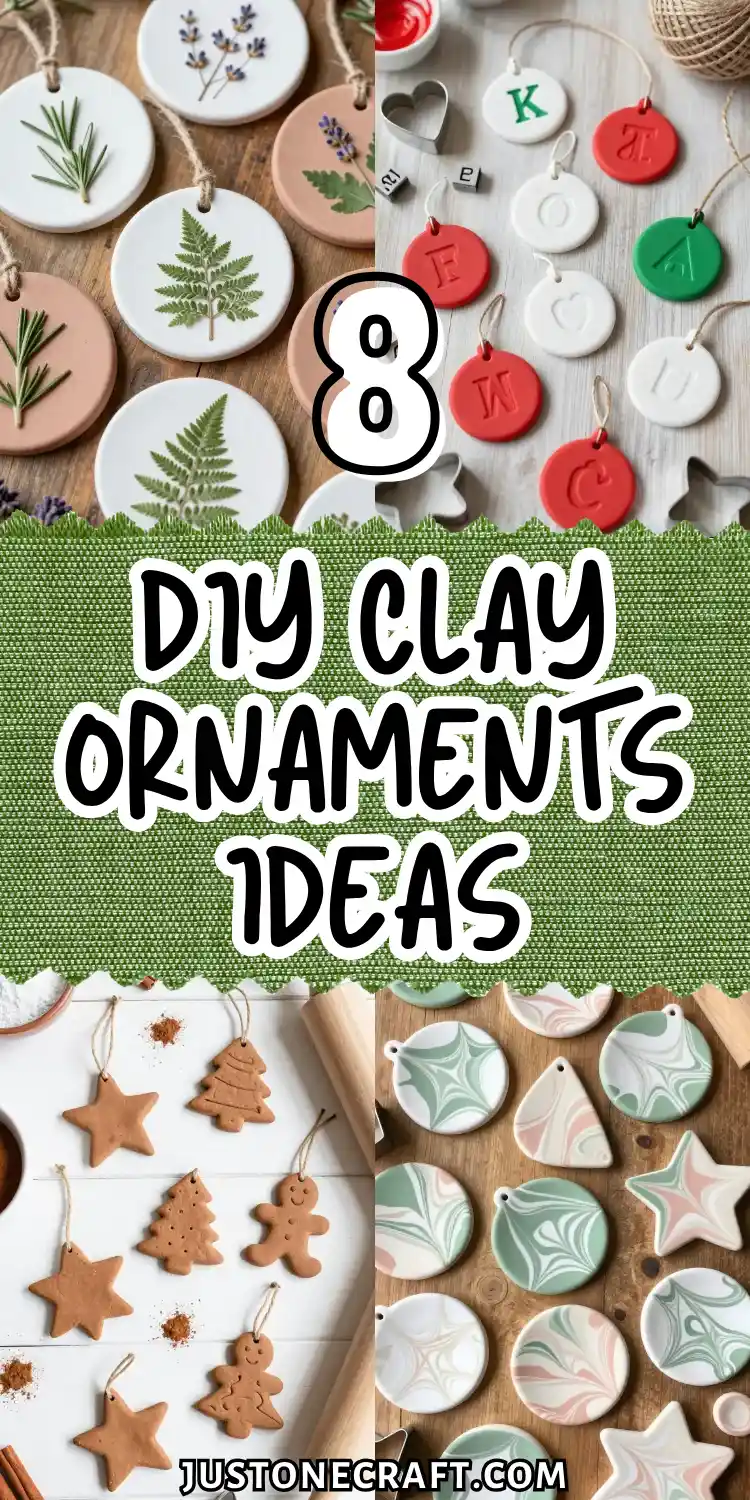
8 DIY Clay Ornaments for a Cozy Handmade Look

Ready to create beautiful holiday decorations with your own hands? These DIY clay ornaments are the perfect craft project for beginners and experienced makers alike. Discover simple and charming ideas that will bring a cozy, handmade feel to your festive space.
When I first started making handmade decorations, I loved the beauty of clay ornaments but assumed they required special tools and advanced skills.
My first attempts were far from perfect—some cracked, and others looked nothing like my inspiration photos.
Over time, I discovered that the charm of DIY clay ornaments comes from their handmade imperfections. With simple shapes, textures, and a little creativity, even beginners can create beautiful pieces.
Whether you want to decorate your home, make gifts, or enjoy a relaxing craft project, these DIY clay ornaments ideas are simple, creative, and perfect for adding a personal touch.
Minimalist Geometric Clay Ornaments With Gold Leaf Accents
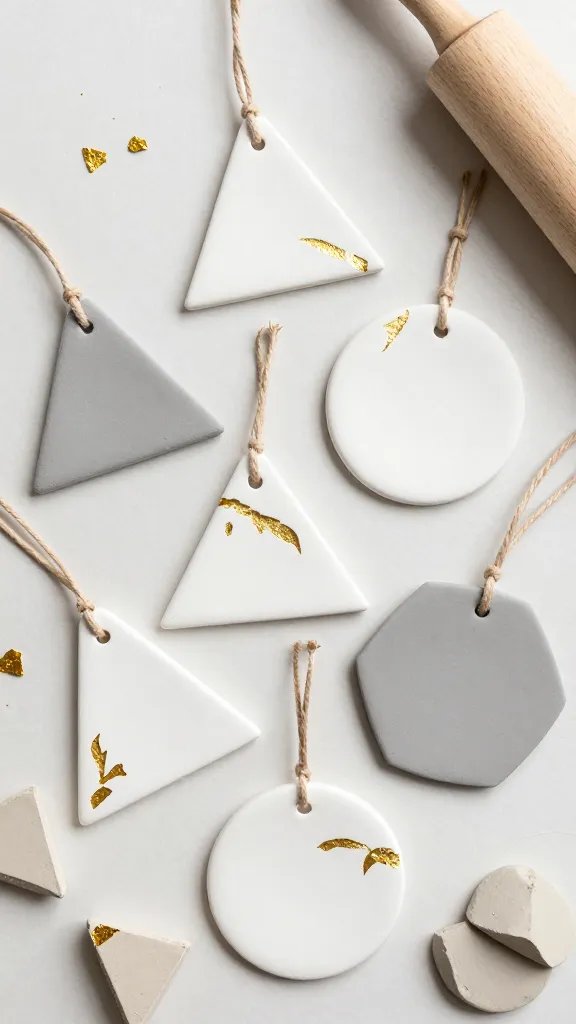
These modern minimalist ornaments are perfect if you’re into that clean, Scandinavian aesthetic that’s taking over home decor feeds everywhere.
Materials Needed
- Air-dry or polymer clay in white or gray
- Cookie cutters in geometric shapes
- Gold leaf sheets
- Rolling pin
- Adhesive for gold leaf
- Twine or leather cord
How to Make It
Roll your clay to about a quarter-inch thickness and cut out your shapes. Before the clay dries, use a straw to punch a hole at the top for hanging.
Once completely dry, apply small sections of gold leaf to corners or edges for that elevated, boutique look.
These ornaments look absolutely stunning against dark green pine branches, and they’re sophisticated enough that you’ll want to keep them on display year after year. Trust me, your guests will ask where you bought them.
Pressed Botanical Clay Discs With Natural Imprints
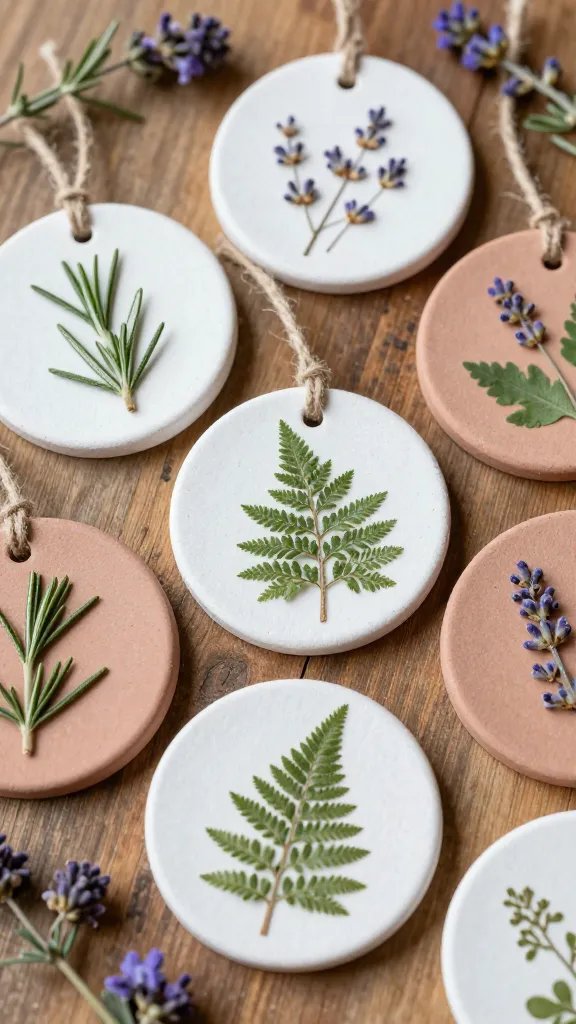
Nothing says earthy elegance quite like real herb and flower imprints preserved in clay. These botanical beauties bring the garden to your tree and make your whole space feel like a cozy farmhouse retreat.
Materials Needed
- White or terracotta air-dry clay
- Fresh herbs like rosemary, lavender, or ferns
- Rolling pin
- Round cookie cutter or jar lid
- Natural jute string
Simply roll out your clay, press fresh botanicals firmly into the surface, then carefully remove them to reveal gorgeous natural patterns.
Cut into circles, punch your hanging hole, and let dry completely. The imprints create such beautiful texture that you won’t even need paint.
These work wonderfully as gift tags too—just write a name on the back with a gold paint pen. Your friends who love all things natural and organic will absolutely adore these.
Hand-Stamped Initial Ornaments For Personalized Gifts
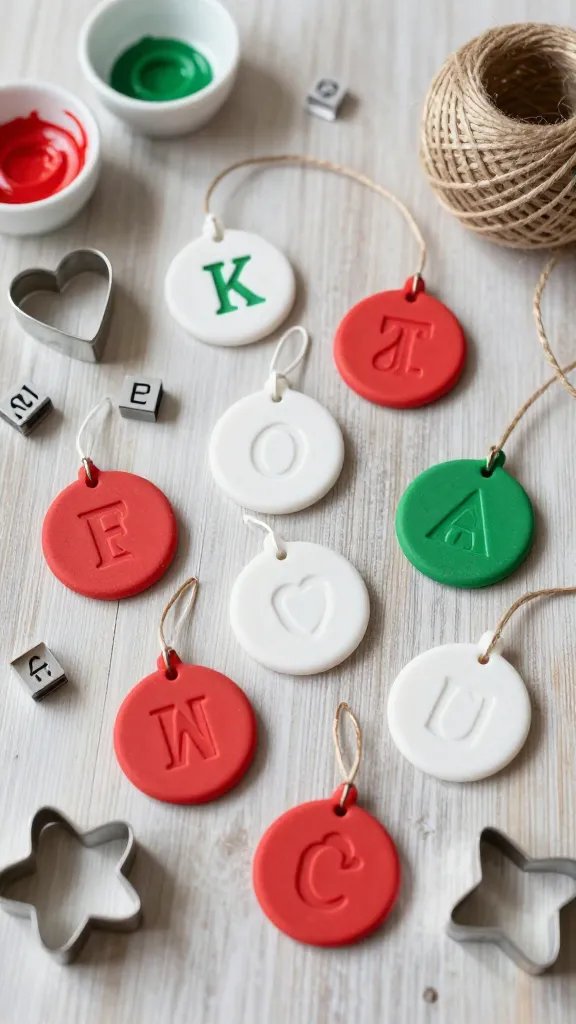
Want to create something special for everyone on your list without breaking the bank? These personalized initial ornaments are the answer, and they look way more expensive than they actually are.
Materials Needed
- Polymer clay in festive colors
- Alphabet stamps or metal letter stamps
- Cookie cutters in various shapes
- Acrylic paint for stamped letters
- Ribbon or baker’s twine
How to Make It
Cut your clay into shapes like hearts, stars, or classic circles. Press alphabet stamps into the clay to create initials or short words like “JOY” or “NOEL.”
After baking according to package directions, rub contrasting paint into the stamped letters and wipe away the excess for that professional finish.
Package these in clear cellophane bags tied with ribbon, and you’ve got yourself the perfect stocking stuffers. Seriously, make extras because everyone will want one for their own tree.
Marbled Clay Ornaments With Swirled Colors
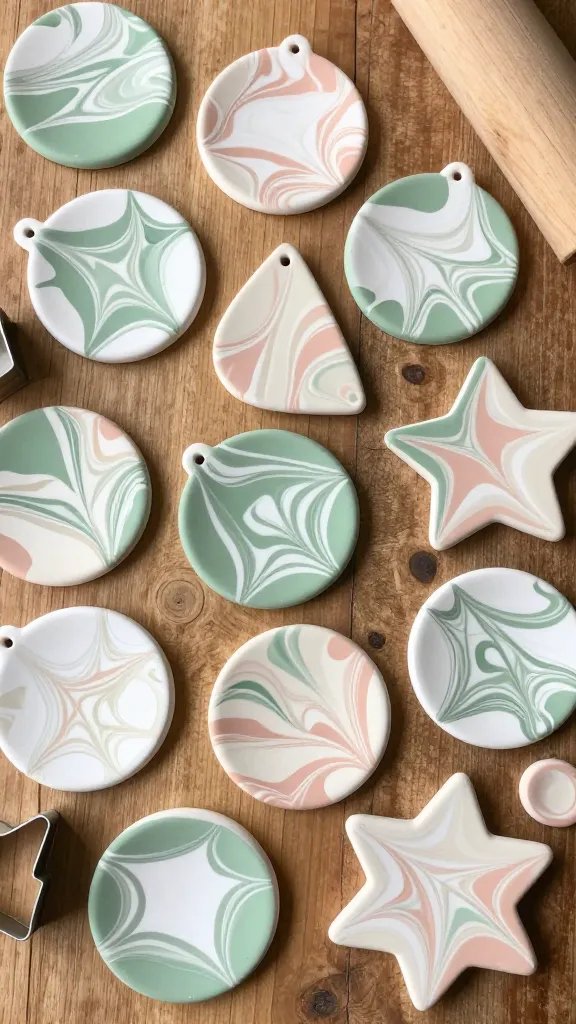
If you can’t decide on a color scheme, why choose? Marbled clay ornaments give you that dreamy, swirled effect that looks like modern art hanging on your tree.
Grab two or three colors of polymer clay—think white with sage green, or cream with dusty rose—and twist them together without fully blending.
Roll out the partially mixed clay to create those gorgeous marbled patterns, then cut into your desired shapes. Each ornament becomes completely unique, like little one-of-a-kind masterpieces.
Pro Tips
- Don’t overmix or you’ll lose the marbled effect
- Stick to two or three complementary colors max
- Roll in different directions to create varied patterns
These look especially beautiful when you make several in the same color family and cluster them together on one section of your tree. The cohesive-yet-varied look is total Pinterest gold.
Rustic Cinnamon-Scented Clay Ornaments
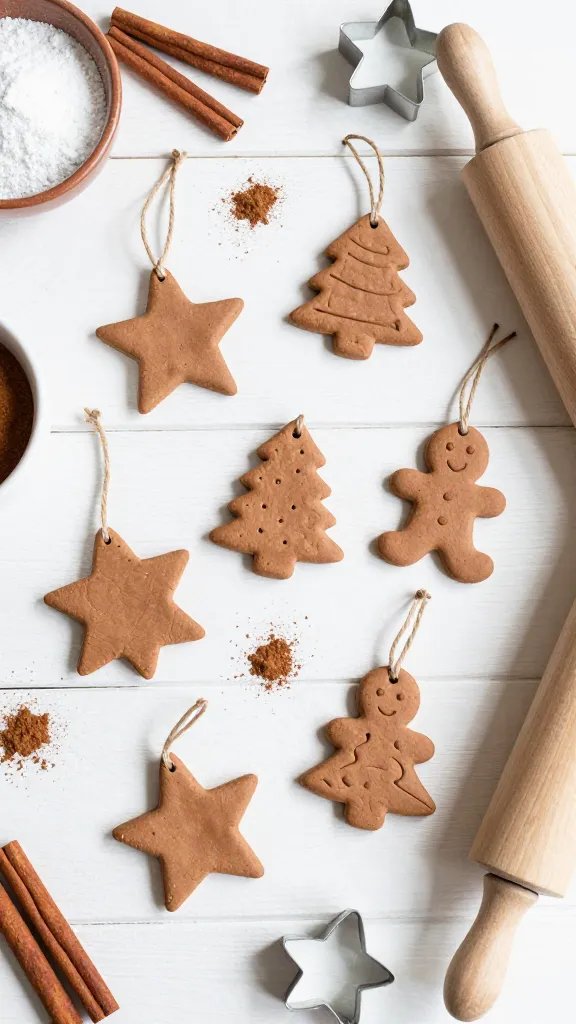
Who says ornaments can’t smell as good as they look? These cinnamon-infused clay decorations bring that warm, spicy fragrance that makes your whole home feel like the holidays.
Materials Needed
- 2 cups baking soda
- 1 cup cornstarch
- 1.5 cups water
- Ground cinnamon (lots of it)
- Cookie cutters
- Natural twine
Mix your ingredients to create a cinnamon dough, roll it out, and cut into classic shapes like stars, trees, and gingerbread people.
The natural brown color looks gorgeously rustic without any paint needed. FYI, these will make your kitchen smell absolutely amazing while they dry.
Tie them with chunky natural twine and maybe add a small sprig of dried greenery. These are perfect for anyone who loves that vintage, homespun Christmas vibe.
Delicate Lace-Textured Clay Medallions
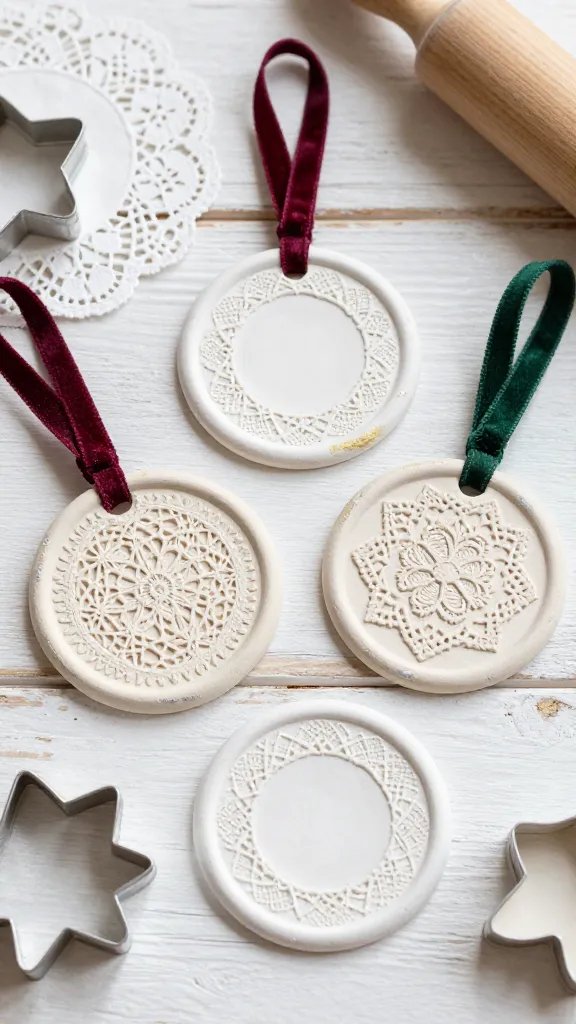
Want to create something that looks incredibly intricate without actually being difficult? Lace-textured ornaments are your new best friend, giving you that heirloom quality with minimal effort.
Press actual lace doilies or lace fabric into rolled clay to transfer the delicate pattern. Cut into circles or ovals, let dry, then paint with white or cream for that vintage-inspired look. You can even add a subtle wash of gold or silver around the edges for extra elegance.
Styling Ideas
- Tie with velvet ribbon for a Victorian feel
- Keep them all white for a winter wonderland theme
- Add tiny pearl beads to the ribbon for extra charm
These ornaments would look absolutely stunning on a flocked white tree or mixed with other vintage-inspired decorations. Your grandmother would approve.
Moon Phase Clay Ornament Set
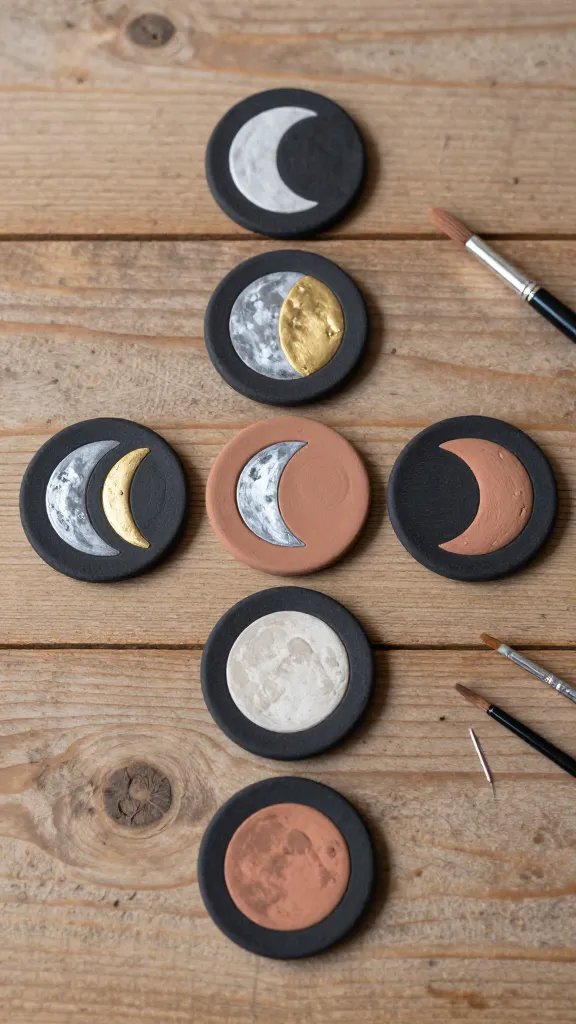
Calling all celestial lovers! This set of moon phase ornaments brings a touch of cosmic magic to your holiday decor and works year-round as wall hangings.
Create circular clay discs and use various round objects to carve out the different moon phases—new moon, crescent, half, gibbous, and full.
Paint them in metallic silver or gold, or keep them natural clay color with black painted backgrounds.
You’ll love this if you’re into astrology, astronomy, or just appreciate unique decor that sparks conversation.
Materials Needed
- White or gray polymer clay
- Circle cutters in different sizes
- Black and metallic paint
- Fine paintbrushes
- Thin black cord
Display all eight phases together on a garland or give them as a set to your witchy friend who will definitely appreciate the thoughtfulness.
Rainbow Arch Clay Ornaments For A Modern Pop Of Color
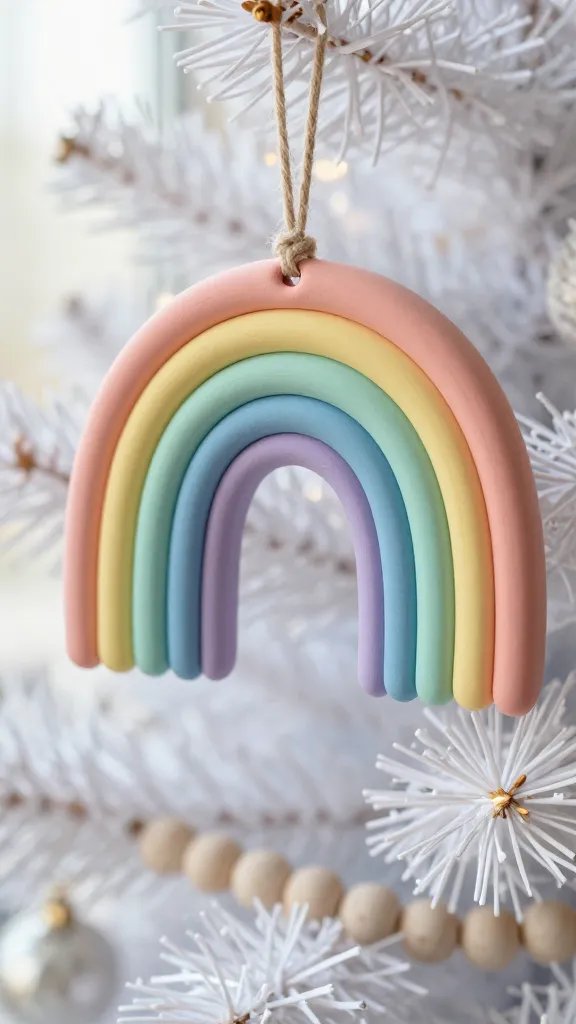
Sometimes you need ornaments that just make you smile, and these cheerful rainbow arches absolutely deliver. They’re fun, colorful, and give major modern boho vibes to any tree.
Cut clay into arch shapes and paint them in gradient rainbow stripes—think dusty pastels for a soft look or bright primaries for something bold and playful.
These work beautifully on a white or neutral tree where the colors really pop, or mix them with natural wood ornaments for that trendy eclectic style.
How to Make It
Shape your clay into arches using a template or freehand it for a more organic look. After baking or drying, use acrylic paints to add your rainbow stripes. Seal with a clear varnish to make the colors really sing.
Kids absolutely love helping make and paint these, so they’re perfect for a family crafting afternoon. Plus, they photograph beautifully if you’re trying to up your holiday decor Instagram game.
Conclusion
There you have it—eight completely different ways to create stunning clay ornaments that’ll make your tree the talk of the season.
Whether you’re drawn to minimalist metallics, rustic cinnamon vibes, or colorful rainbow arches, there’s something here for every style and skill level.
Grab your clay, put on some holiday music, and get crafting—your tree is about to get a serious handmade upgrade.






